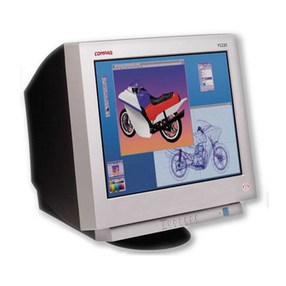
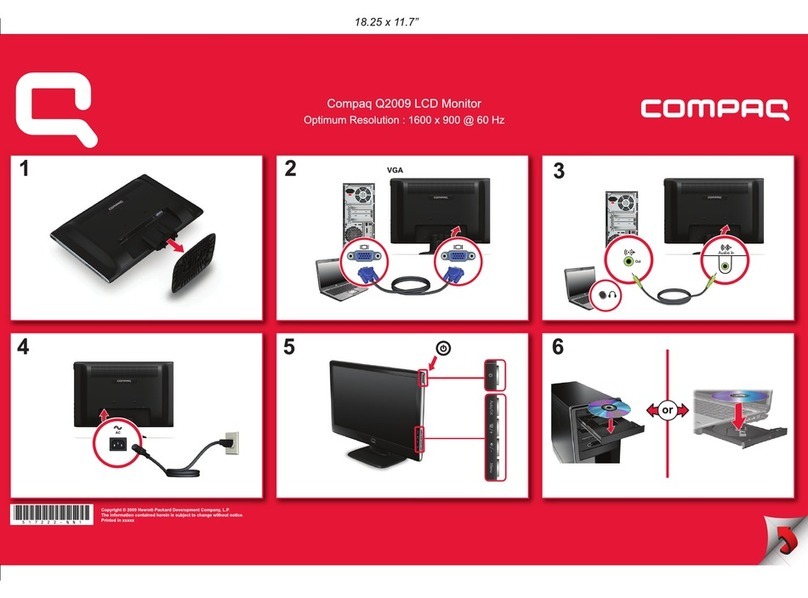
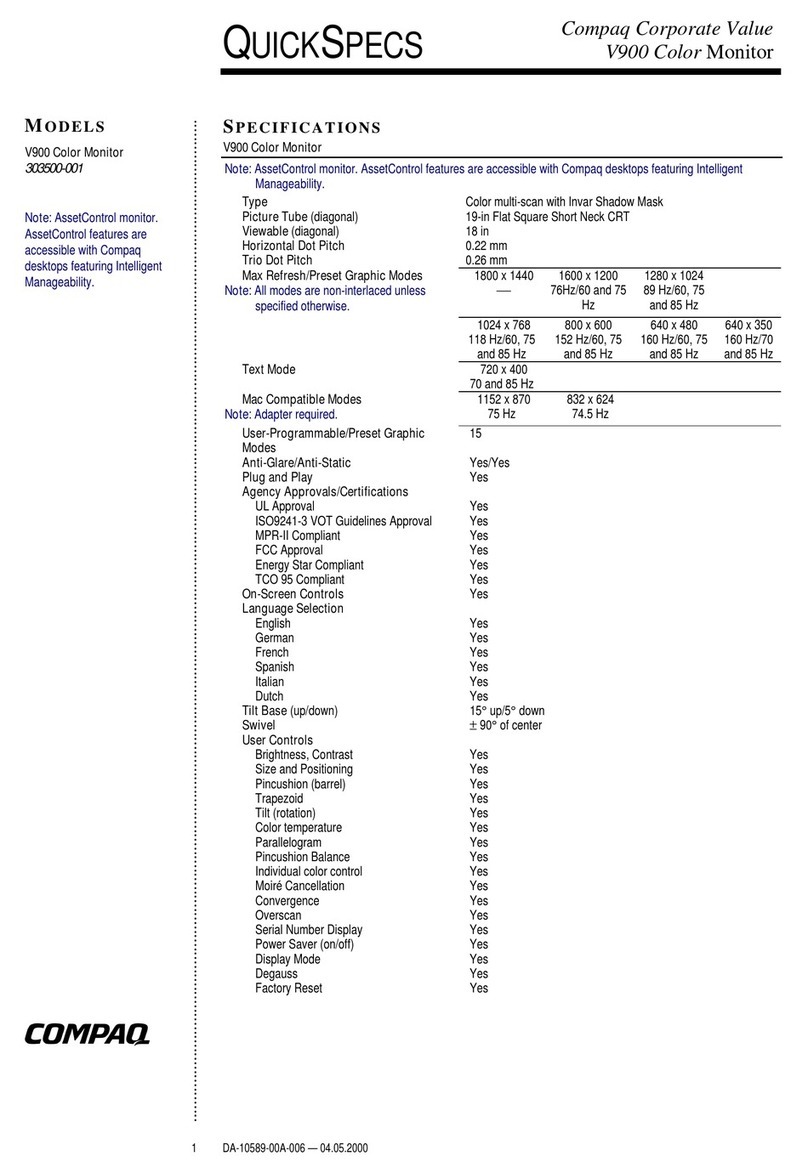
Compaq V40 User manual

English 1-1
NOTICE
The information in this guide is subject to change without notice.
COMPAQ COMPUTER CORPORATION SHALL NOT BE LI-
ABLE FOR TECHNICAL OR EDITORIAL ERRORS OR OMIS-
SIONS CONTAINED HEREIN; NOR FOR INCIDENTAL OR
CONSEQUENTIAL DAMAGES RESULTING FROM THE FUR-
NISHING, PERFORMANCE, OR USE OF THIS MATERIAL.
This guide contains information protected by copyright. No part of
this guide may be photocopied or reproduced in any form without
prior written consent from Compaq Computer Corporation.
© 1997 Compaq Computer Corporation.
All rights reserved. Printed in Taiwan.
Compaq, Deskpro, and QVision are registered in the
U. S. Patent and Trademark Office.
Microsoft, MS-DOS, Windows,Windows NT, and other names of
Microsoft products referenced herein are registered trademarks of
Microsoft Corporation.
Product names mentioned herein may be trademarks and/or regis-
tered trademarks of their respective companies.
The software described in this guide is furnished under a license
agreement or nondisclosure agreement. The software may be used or
copied only in accordance with the terms of the agreement.
User’s Guide
CompaqV40 Color Monitor
Second Edition (September 1997)
First Edition (June 1997)
Part Number 295503-002
CompaqComputer Corporation
V40.p65 3/6/98, 2:42 PM1

1-2 English
V40.p65 3/6/98, 2:42 PM2

English 1-3
USER'SGUIDE
The Compaq V40 Color Monitor is a noninterlaced color monitor
that automatically locks in on the most common display modes. The
visible image size (VIS), the actual viewing area of the screen, is
13.1 inches (33.3 cm).
Some of the monitor features include:
nVGA and SVGA support, and a maximum noninterlaced
resolution of 1024 x 768.
nFront panel controls.
nAutomatic scanning of vertical frequencies from 50 to 100 Hz.
nAn energy-saving feature.
nEnergy Star compliant.
nPlug and Play compatible.
V40.p65 3/6/98, 2:42 PM3

1-4 English
Installing the Base Pedestal
To install the base pedestal, follow the steps below:
1. Turn the monitor upside down.
2. Position the base pedestal with the latch
1
facing the back of the
monitor.
3. Insert the six tabs on the base pedestal 2into the six slots 3
found on the bottom of the monitor.
4. Push the base pedestal toward the front of the monitor 4until it
snaps into position.
NOTE: To remove the base pedestal, raise the latch, pull back, and
lift off.
Connecting the Monitor to the Computer
To connect the monitor, ensure that the power is off to the monitor,
computer system, and other attached devices, then follow the steps
below:
1. Place the monitor in a convenient, well-ventilated location near
your computer.
2. Connect the video cable
1
on the monitor to the 15-pin video
graphics connector on the rear panel of the computer and tighten
the fastening screws.
IMPORTANT: Be sure the video cable aligns with the video graphics
connector. Do not force the cable onto the connector, or you may
damage the video cable pins.
V40.p65 3/6/98, 2:42 PM4

English 1-5
3. Connect one end of the monitor power cord
2
to the connector
on the back of the monitor, and the other end
3
to a properly
grounded electrical outlet that is easily accessible and located as
near to the monitor as possible.
NOTE: Depending on your geographic location, the power cord
for your monitor may be different from the one in the illustration.
!WARNING: To reduce the risk of electric shock or damage
to the equipment:
nDo not disable the power cord grounding plug. The
grounding plus is an important safety feature.
nPlug the power cord into a grounded (earthed) electrical
outlet that is easily accessible at all times.
nDisconnect power from the monitor by unplugging the
power cord from the electrical outlet.
V40.p65 3/6/98, 2:42 PM5

1-6 English
Front Panel Controls
FrontPanelControls
Icon Control Function
Vertical Position Centers the image vertically.
Vertical Size Sizes the image vertically.
Horizontal Position Centers the image horizontally.
Horizontal Size Sizes the image horizontally.
Contrast Adjusts the screen contrast.
Brightness Adjusts the screen brightness.
Power Switch Turns the monitor on and off.
CAUTION: To prevent damage to the monitor, wait at least three
seconds after turning off the monitor before you turn it on again.
EnergySaverFeature
EnergySaverModes
Mode Power Usage Description
On 75 watts On = Normal operation
Suspend Less than Monitor screen is blank.
25 watts Full power mode returns quickly.
NOTE: The Suspend feature for monitors works only when connected
to computers that have Suspend capability.
V40.p65 3/6/98, 2:42 PM6

English 1-7
Care and Maintenance
nUse only a power source and connection appropriate for the
monitor as indicated on the marking label.
nWhen you connect the monitor to an outlet or extension cord,
be sure the total ampere rating of the products connected to the
outlet does not exceed the current rating of the electrical outlet,
and the total ampere rating of the products connected to the
cord does not exceed the rating of the cord.
nInstall the monitor near an outlet that you can reach easily.
Disconnect the product by grasping the plug firmly and pulling
it from the outlet. Never disconnect it by pulling the cord.
nUnplug the monitor from the wall outlet before cleaning. Do
not use liquid cleaners or aerosol cleaners. Use a damp cloth for
cleaning.
nDo not drop the monitor or place it on an unstable surface.
nDo not block or cover slots and openings in the cabinet as they
are provided for ventilation. Never push objects of any kind into
cabinet slots or other openings.
nDo not allow anything to rest on the power cord. Do not walk
on the cord.
nKeep the monitor in a well-ventilated area, away from excessive
light, heat, and moisture. Keep the monitor away from high
capacity transformers, electric motors, and other strong mag-
netic fields.
nDo not open the monitor cabinet or attempt to service this
product yourself.Adjust only those controls that are discussed
in the operating instructions. If the monitor is not operating
properly, or has been dropped or damaged, contact your
Compaq authorized dealer, reseller, or service provider.
Shipping or Packing
Keep the original packing box in a storage area.You may need it
later if you move or ship your monitor.
V40.p65 3/6/98, 2:42 PM7

1-8 English
MONITOR SPECIFICATIONS
Specifications
CRT size 14-inch diagonal 35.6 cm
CRT description 90degreesdeflection,polished or
nonglare/antistatic(MPR compliant)
screen, black matrix, light transmission
57%, phosphor P22 medium short, dot
pitch0.28 mm
Screen area (14-inch) 250 mm (H) × 188 mm (V)
Diagonal visible image area 13.1 in 33.3 cm
Scan Frequencies Horizontal 31 Khz - 48.4 Khz
Vertical 50 Hz - 100 Hz
Weight (unpacked) 24.3 lb 11 kg
Dimensions (W × H × L): 356 x 370 x 385 mm
Power source AC 90-265 VAC, 50-60 Hz
Power consumption Less than 75 watts maximum
Input terminal 15-pin D-type connector with cable
Operating temperature 50°F to 104°F 10°C to 40°C
Relative humidity 5% to 95%
Display resolutions:
31.5 kHz 70 Hz 640 × 350
31.5 kHz 60 Hz 640 × 480
37.8 kHz 75 Hz 640 × 480-VESA timing
31.5 kHz 70 Hz 720 × 400
37.8 kHz 60 Hz 800 × 600-VESA timing
46.9 kHz 75 Hz 800 × 600-VESA timing
48.4 kHz 60 Hz 1024 × 768-VESA timing
CIE Chromaticity Coordinates
Commission International d'Eclairage, 1931 Standard
XY
Red 0.643+/-0.015 0.324 +/-0.015
Green 0.301+/-0.015 0.606 +/-0.015
Blue 0.412+/-0.015 0.056 +/-0.015
WhitePoint 0.281+/-0.020 0.314 +/-0.020
Gamma: 2.84
V40.p65 3/6/98, 2:42 PM8

English 1-9
AGENCY REGULATORYNOTICES
FederalCommunicationsCommissionNotice
This equipment has been tested and found to comply with the limits
for a Class B digital device, pursuant to Part 15 of the FCC Rules.
These limits are designed to provide reasonable protection against
harmful interference in a residential installation. This equipment
generates, uses, and can radiate radio frequency energy and, if not
installed and used in accordance with the instructions, may cause
harmful interference to radio communications. However, there is no
guarantee that interference will not occur in a particular installation.
If this equipment does cause harmful interference to radio or televi-
sion reception, which can be determined by turning the equipment
off and on, the user is encouraged to try to correct the interference by
one or more of the following measures:
nReorient or relocate the receiving antenna.
nIncrease the separation between the equipment and the receiver.
nConnect the equipment into an outlet on a circuit different from
that to which the receiver is connected.
nConsult the dealer or an experienced radio or television techni-
cian for help.
Modifications
The FCC requires the user to be notified that any changes or modifi-
cations made to this device that are not expressly approved by
Compaq Computer Corporation may void the user’s authority to
operate the equipment.
Cables
Connections to this device must be made with shielded cables with
metallic RFI/EMI connector hoods to maintain compliance with FCC
Rules and Regulations.
V40.p65 3/6/98, 2:42 PM9

1-10 English
CountryNotices
CanadianNotice
This Class B digital apparatus meets all requirements of the Cana-
dian Interference-Causing Equipment Regulations.
AvisCanadien
Cet appareil numérique de la classe B respecte toutes les exigences
du Règlement sur le matériel brouilleur du Canada.
GermanErgonomicsNotice
Compaq computers, when tested with Compaq Series 613 monitors,
were evaluated and found compliant to the requirements of ZH1/618
in the Text Mode (720 x 400) using MS-DOS Version 3.31 (or
higher) and BASICA as published by Compaq Computer Corpora-
tion.
EuropeanNotice
Products with the CE Marking comply with both the EMC Directive
(89/336/EEC) and the Low Voltage Directive (73/23/EEC) issued by
the Commission of the European Community.
Compliance with these directives implies conformity to the following
European Norms:
nEN55022 (CISPR 22) — Radio Frequency Interference
nEN50082-1 (IEC801-2, IEC801-3, IEC801-4) — Electromag-
netic Immunity
nEN60555-2 (IEC555-2) — Power Line Harmonics
nEN60950 (IEC950) — Product Safety
JapaneseNotice
V40.p65 3/6/98, 2:42 PM10

English 1-11
EnergyStarNotice
Monitors that are marked with the Energy Star Logo meet the
requirements of the EPA Energy Star program.As an Energy Star
partner, Compaq Computer Corporation has determined that this
product meets the Energy Star guidelines for energy efficiency when
used with a computer equipped with Display Power Management
Signaling (DPMS). Specific details on using the Energy Saving
features can be found in the energy savings or power management
section of the computer manual.
PowerCordSetRequirements
The power cord set used with the monitor must meet the require-
ments of the country where you use the monitor, whether
it is 100-120 or 220-240 VAC.
The following information explains the requirements for power cord
set selection.
nThe cord set must be approved for the country in which it is
used.
nThe appliance coupler (that is, the connector to the device itself,
not the wall plug) must have a configuration for mating with a
EN60320/IEC 320 appliance inlet (Standard Sheet C13).
U.S.andCanada
1. The cord set must be UL Listed and CSA Certified.
2. The minimum specifications for the flexible cord are:
- No. 18AWG
- Type SVT
- 3-Conductor
3. The cord set must have a rated current capacity of at least
7 amperes.
4. The attachment plug must be an earth-grounding type with
a NEMA 5-15P (15A, 125V) configuration.
V40.p65 3/6/98, 2:42 PM11

1-12 English
Japan
1. All components of the cord set (cord, receptacle, and plug) must
bear a “T” mark and registration number in accordance with the
Japanese Dentori Law.
2. The minimum specifications for the flexible cord are:
- 0.75mm2conductors
- Type VCT or VCTF
- 3-Conductor
3. The cord set must have a minimum rated current capacity of
7 amperes.
4. The attachment plug must be a two-pole, earth-grounding type
with a Japanese Industrial Standard C8303 (15A, 125V) configu-
ration.
OtherCountries
1. The cord set fittings must bear the certification mark of the
agency responsible for evaluation in a specific country. Accept-
able agencies include:
BSI (United Kingdom) MITI (Japan)
CEBEC (Belgium) NEMKO (Norway)
DEMKO (Denmark) OVE (Austria)
EANSW (Australia) SEMKO (Sweden)
SETI (Finland) SEV (Switzerland)
IMQ (Italy) UTE (France)
KEMA (The Netherlands) VDE (Germany)
2. The flexible cord must be of a HAR (harmonized) type HO5VV-
F 3-conductor cord with a minimum conductor size of 0.03
square inches (1.0 square millimeter).
3. The cord set must have a current capacity of at least 10 amperes
and a nominal voltage rating of 125 or 250 VAC, as required by
each country’s power system.
For more information about power cord set requirements, contact
your Compaq authorized dealer, reseller, or service provider.
V40.p65 3/6/98, 2:42 PM12
Table of contents
Other Compaq Monitor manuals

Compaq
Compaq Compaq S720 User manual

Compaq
Compaq 8000 - Elite Convertible Minitower PC User manual

Compaq
Compaq S500 User manual

Compaq
Compaq P1220 User instructions

Compaq
Compaq CV7500 User manual

Compaq
Compaq D-1H User manual

Compaq
Compaq S920 User instructions

Compaq
Compaq QVision Graphics System User manual

Compaq
Compaq V55 User manual

Compaq
Compaq P900 User manual

Compaq
Compaq Compaq S710 User manual

Compaq
Compaq P700 User manual

Compaq
Compaq P75 User manual

Compaq
Compaq TFT5000S User instructions

Compaq
Compaq Compaq P1610 User manual

Compaq
Compaq P1220 User manual

Compaq
Compaq P700 User manual
Compaq
Compaq TFT450 User manual

Compaq
Compaq P1100 User manual

Compaq
Compaq P1210 User manual