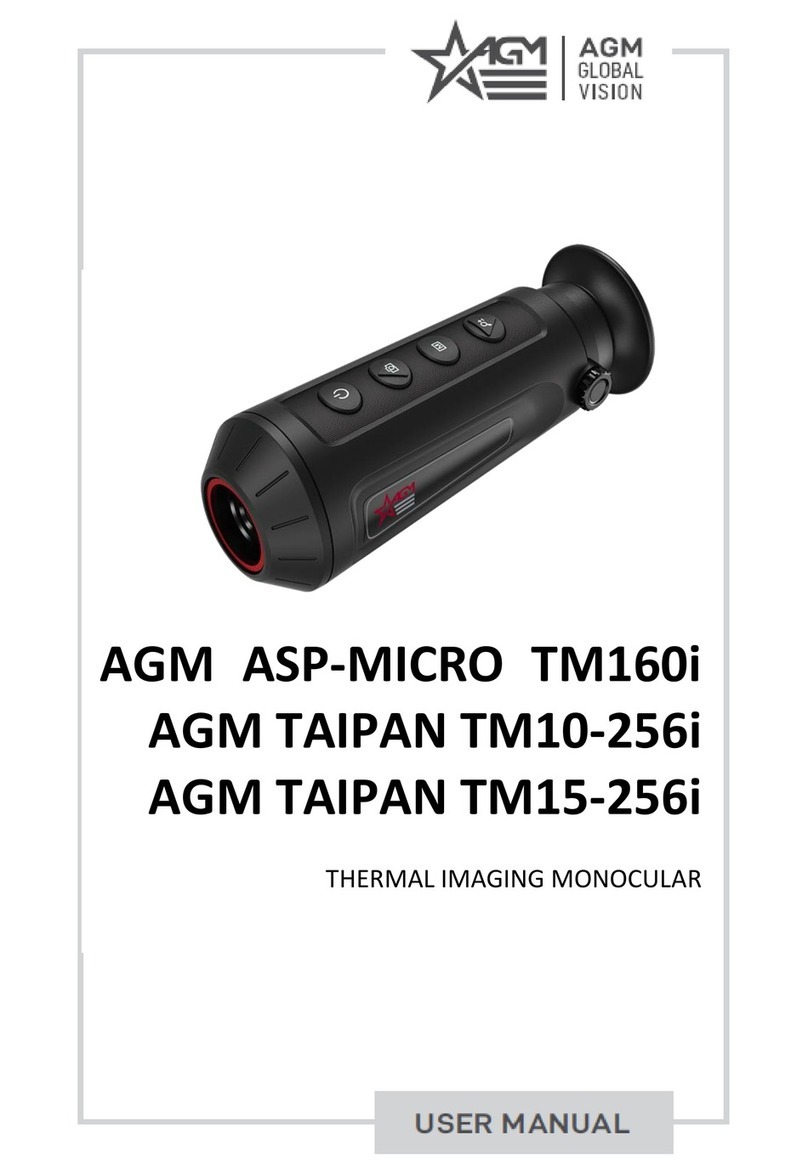
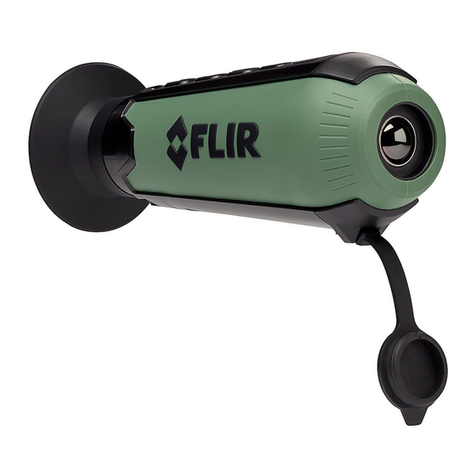
CONOTECH Tracer6 35LRF User manual

Attention!
May have export limitations depending on
the laws in your region. RoHS
Export of Tracer635/50LRF models.

ATTENTION!
The proper usage of the device is important for safe exploitation!
Therefore read carefully the present manual!
If the device was left in storage for a longer period of time, before
exploitation check its funtionality.
Disassembling of the device is prohibited,except in authorized repair
centers.
The external optical surfaces should be clean at all times.Touching
the optical surfaces with bare hands is not recommended.
Sand and sea water can damage the optical coatings!
Do not point the device directly at the sun!
When left in storage for a longer period of time,batteries have to be
removed and stored in polyethylene bags to prevent contact with
metal.(It is recommended to recharge the batteries every two to
three months)
Image performance is dependent on scenery and atmosphere conditions.
Contrast in the same image may vary as a function of the time of day due
to the effect of the sun.For example,at sunset objects will have absorbed
different levels of heat resulting in greater temperature differences and
better contrast.
ATTENTION!
When carrying or transporting the device,put the protective lens cap!
Condensation can cause fogging of the optical surfaces! Condensation
occurs when the temperature or humidity changes as follows:
· When moving the device from cold to warm place or vice versa;
· In places with high humidity.
When equalizing the temperature of the device with the environmental,
the condensation disappears.Use the towel to remove moistu
Clean the lens surfaces with the Lens Cloth or with the napkin!
Before attaching to weapons,check the regional legal regulations in the area of application.
The attachment to a weapon is always the sole responsibility of the user.

APPEARANCE
Laser rangefinder
All images used in this instruction manual are for illustrative purpose only.
Actual product may vary due to product enhancement.
NOTE
CLASS 1
LASER PRODUCT
BS/EN 60825-1:2014
10
11
Power
Button
LED indicator
Lens cover
Focus ring
Button
Eyepiece
1
2
3
4
5
7
9
8USB port
Eyepiece
rubber
6
Wrist
band joint

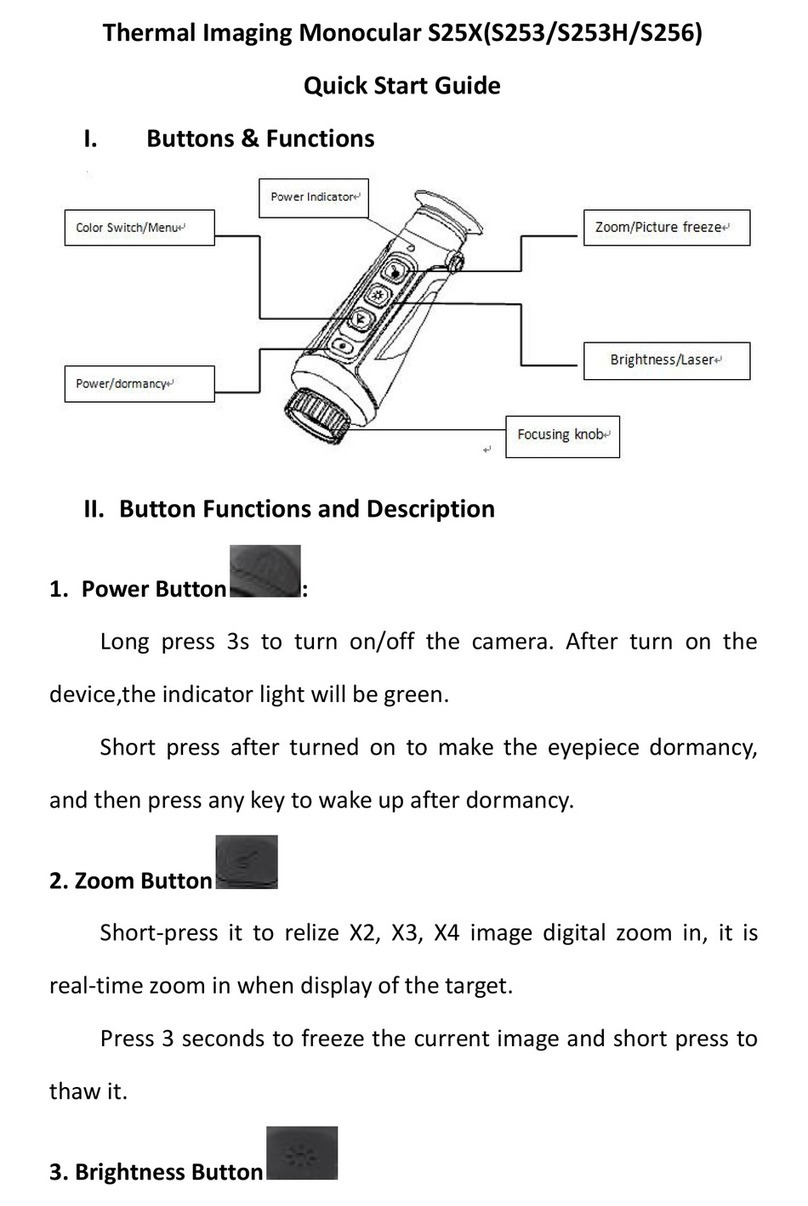
HOT KEY
2
Switch color mode / Perform NUC
Activate quick menu / Enter Setup menu
Take photo/ On-boarding video
Start single measurement
/ Start-stop scan measurement
Standby / Power on - power off

Palette
Short press button to switch the color modes activated in the setup menu.
HOT KEY
3
NUC
Take photo / video recording
Long press button to perform non-uniforming calibration.
Short press button to take photo, number of photo will be shown in the top left of screen.
long press button to start/stop video recording, recording icon will be shown in the top left
of screen.

Take photo by CONOTECH
User can take photo / video by CONOTECH App.
Replay on Smart phone.
To get started, install the free CONOTECH App on your mobile device.
You can search and download at App Store and GooglePlay.
CONOTECH
4

How to replay on PC ?
1.Connect the Type-C usb cable to PC.
2.Turn on WIFI and wait 10s.
5
Open this folder.
A new folder is created each time when you
re-power on the device and take
photo/record video.
Open the folder you will see phots / videos that you took.
You will see a folder name “camera”.

Laser rangefinder
Short press the button, the ranging box and distance appear.
Short press the button to have range measured once and displayed.
The distance is displayed for 5 seconds then disappear.
6
9 9 9

OPERATING FEATURES:
1.The accuracy and distance of the measurement depends on the reflection coefficient of
the object surface and weather conditions. The reflection coefficient depends on the
texture, color, size and shape of the object. Generally, lighter colored objects and those with
a shiny surface will have a higher reflection coefficient.
2.Measurement accuracy can be influenced by the light conditions, fog, haze, rain, snow,
etc. The results may be less accurate when operating in sunny weather or if the rangefinder
is directed towards the sun.
3.It is easier and more reliable to measure the distance to large objects than to small ones.
4.The distance of measurement is able to display on your mobile device by CONOTECH App.
Long press button to start the scan mode, and the scan mode ranging box and distance
Long press button again to turn off the scan mode. The ranging box and figures will
appear in the real-time image.
disappear together.
7

Start up image
Power off image
Long press of button for 3 second to power on device.
Long press of button for 3 seconds to power off device.
8

9
Color mode (WH, BH, RH SE, RM, UM, RB, VL)
Standby (Auto, 2min, 5min)
Time
The status display shows information on the actual operating status of the
device including:
Calibration mode (Automatic, Manual, Silent)
Zoom (35---7.6X, 50---10.8X)
WiFi
Battery capacity
Extreme mode
STATUS DISPLAY

Short press button under real time image to activate quick menu.
Quick menu icons show on the right side of screen.
Press button shortly to switch from quick menu setting, short press
and button to select and confirm setting.
Long press button to exit quick menu.
QUICK MENU
10
NOTE
1.If there is no operation within 5 seconds, it will exit quick menu automatically.
2.The cursor will stay at last icon if re-activating the quick menu within 1
second; the cursor will stay at default function (Zoom), If re-activating the
quick menu after 3 seconds.
Short press or button to have smooth zoom in and out.
Zoom
Tracer 635LRF has magnification from 1.9~7.6X.
Tracer 650LRF has magnification from 2.7~10.8X.

Wi-Fi
Wi-Fi status is shown in the display, means Wi-Fi is on.
11
Enter password:
12345678 After wait for 10s
Find WIFI named:
Tracer LRF ******
Tracer LRF ******
Tracer LRF ******
Tracer LRF ***
Short press or button to turn PIP mode On/Off.
means the PIP mode is on, means the PIP mode is off.
PIP
Short press or button to turn WiFi On/Off.
means the WiFi is on, means the WiFi is off.
Short press or button to turn Extreme Mode On/off.
means the Extreme mode is on, means the Extreme mode is off.
Extreme Mode
Short press or button to adjust the screen brightness from 1 to 10.
Screen Brightness
The default brightness is 5.

Short press and button to select different color modes.
Short press button to activate/deactivate the selected color mode.
means the color mode is on, means the color mode is off.
The activated color models will appear in the quick menu for switching.
SETUP MENU
12
NOTE
When under real time image, long press Mbutton to Enter/Exit Setup menu.
Short press Mbutton to enter sub-menu.
Short press Up/Down button to select between the menu options.
Long press Mbutton to exit sub-menu.
Color Mode
UH
WH—WHITE HOT
RM—RED MONOCROME
BH—BLACK HOT
UM—ULTRAMARINE
RH—RED HOT
RB—RAINBOW
SE—SEPIA
VL—VIOLET
BH RH SH
RM RB VL

13
Defective Repair
Pure Mode
Cover lens cover, shot press button perform defective pixel repair.
Short press button to turn on/off pure mode.
Calibration Mode
Advanced Setting
Short press button to select Automatic Calibration
Mode, Manual Calibration Mode or Silent Calibration Mode.

Short press or button to select Unit from Language and Date/Time.
Short press button to enter Unit, short press or button to
switch between m and yard. Then short press button to save setting.
Auto is set to automatically activate Standby mode if no operation within 1min.
2min is set to automatically activate Standby mode if no operation within 2mins.
5min is set to automatically activate Standby mode if no operation within 5mins.
Off is set to turn off Standby mode.
Standby setting
Language
Unit
Date/Time
Short press or button to select Standby setting from Reset and
Language.
Short press button to enter Standby setting, short press or
button to switch from Auto, 2min, 5min or Off. Then short press button
to save setting.
Short press or button to select Language from Standby setting
and Unit.
Short press button to enter Language, short press or button
to switch from EN, KR, ES, CZ, RU, DE. Then short press button to save
setting.
Short press or button to select Unit from Device Info and Unit.
Short press button to enter Date/Time, short press or button to
change and save the selected the number, then short press the button to
switch to next number, long press M button to exit Date/Time setting.
14

Short press or button to select from Device info and Standby setting.
Short press button to enter Reset, short press or to switch
between Yes and No. Then short press button to perform Reset.
Device Info
Short press or button to select from Date/Time and Reset.
Reset
15

The Tracer LRF series comes with built-in rechargeable Lithium-ion battery.
Before first use, make sure the battery is fully charged.
It is not recommended to use when charging, which will shorten the battery
life.
Charging batteries from an external source at temperatures below 0°C can
reduce battery life.
When using external power, connect the Power Bank to the device only after
it has been turned on and working for at least several minutes.
CHARGING AND
FIRMWARE UPDATE
Attention
Power supply / Firmware update
When charging the LED light will be in red color.
When battery is fully charged LED light will be in green color.
16

Before storing it, clean obligatory the device
(if on its surface there are moisture, dust or traces of dirt)!
Make sure that there are no traces of moisture, and the battery compartment is empty!
STORAGE AND
TRANSPORTATION
It is also possible for a short periods of time device to be stored in a suitable soft pack,
bag or cartridge box.
The premises in which the device is kept for long term have to be dry, enclosed, unheated
and ventilated.
During the storage should not be allowed exposure to aggressive environments,
temperatures below -50°C and above +60°C, relative humidity greater than 80%, and
prolonged periods of direct sunlight.
Before each transportation, the product should be neatly packed in its original packaging
(transport bag) and all other items and accessories should be carefully and steadily placed
in the bag. After that the bag should be steadily placed in the transport suitcase.
You can ship the product with all types of transport at different distances and at altitude
up to 12 000 m.
17
This manual suits for next models
1
Table of contents
Other CONOTECH Monocular manuals