6 English
4. Using the RF-RXU
4.1 Volume adjustment
Adjustthevolume control initially to a low volume to protect your ears.
The volume increases when you turn the dial in the direction of »5« and it
decreases when you turn the dial in the direction of »0«.
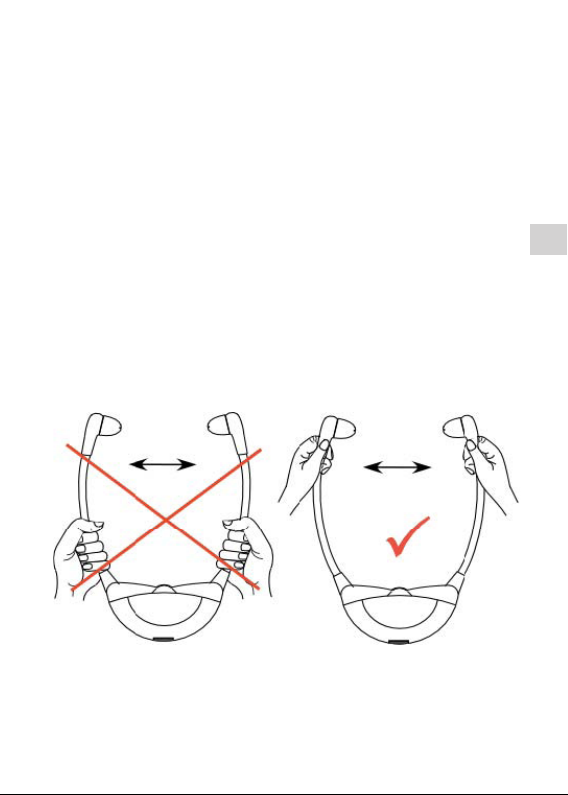
4.2 Switching on and o
Place the receiver on your ears. The receiver switches on automatically when
thespeakerarmsareexpanded.Thereceiverisswitchedoautomatically
whentakingito.
4.3 Reception
Reception will start as soon as the device is switched on. The blue indicator
LED will blink twice every second during an active connection with a Con-
tacta RF transmitter. The indicator LED will begin to blink if there is no active
connection.
4.3 Connecting to a Contacta RF transmitter
Switch a Contacta RF transmitter (RF-TX1, RF-TRX, RF-TXS, or RF-TXRM) on.
The transmitter should be set to MASTER-priority (except RF-TX1, which is
MASTER by default).
To make sure that the RF-RXU connects to the transmission of the intended
transmitter, the receiver should be in close proximity to this transmitter. Place
theRF-RXUonyourearsanduseapointedobjecttopresstheinternalCON-
NECT-button for 2 seconds. The LED blinks in fast succession and the receiver
will now connect with the transmitter.
When switchingthereceiveroandonagain,thereceiverwillautomatically
connect to the previously connected transmitter, given that its channel group
number has not been changed since then. If the channel group number of the
respective transmitter has changed, the receiver needs to be reconnected by
means of the CONNECT button, as described above.
4.4 Power supply / recharge
The device is equipped with a rechargeable lithium-polymer battery of 3,7 V
/280mAh.PlacetheRF-RXUinthechargingdockoftherespectivecharger
(single charger, charging case RF-RXU-DC10).