16:00
400F
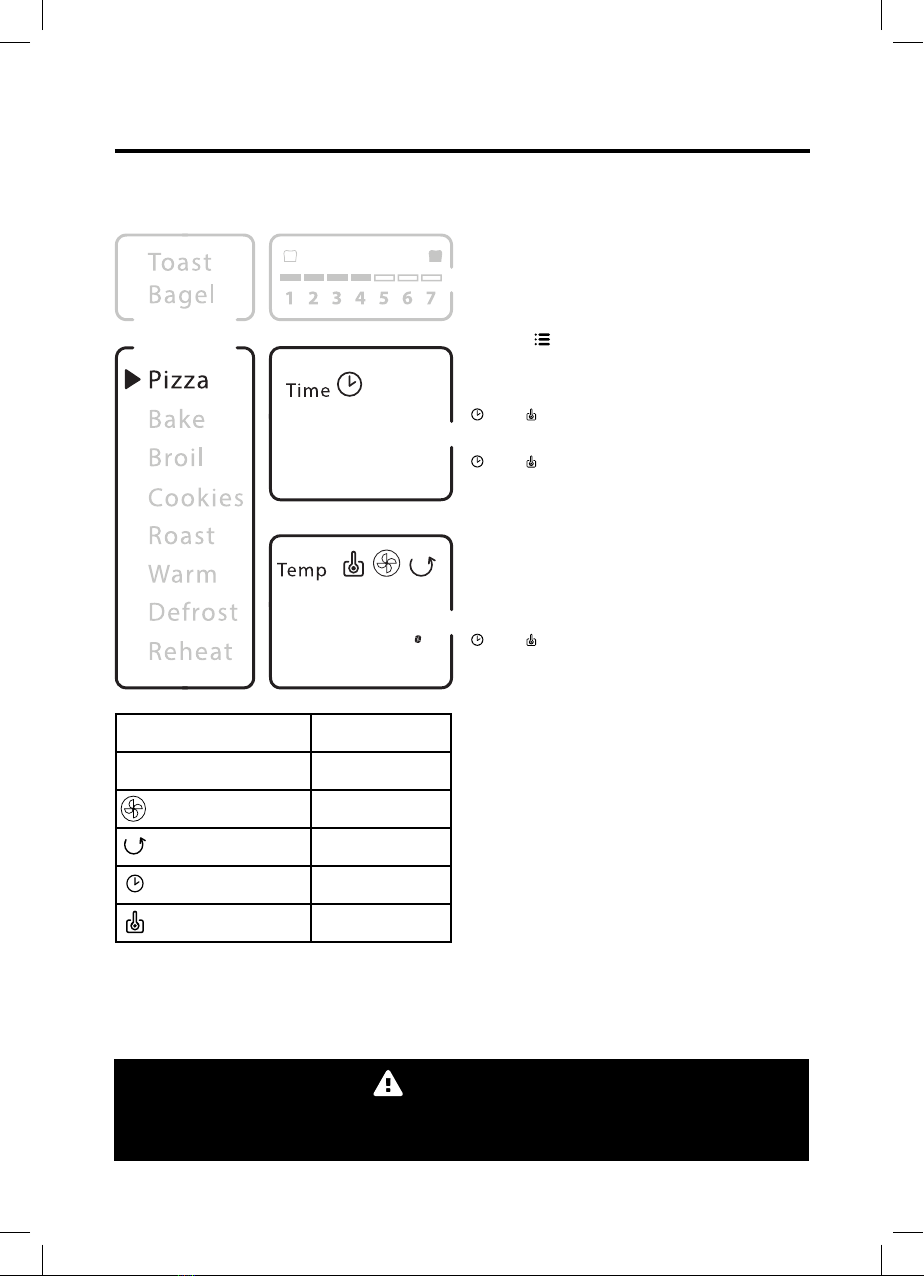
USING YOUR OVEN
PIZZA function
1. Place your pizza, up to 12” diameter, on the cooking pan.
2. Insert the cooking pan into the oven, in the middle or
bottom rack placement.
3. Close the oven door and ensure it is fully closed.
4. Turn the SELECT dial until the PIZZA function is
selected. The default settings for the PIZZA function is 16
minutes cook time at 400ºF temperature.
5. To adjust the default settings of the PIZZA function, turn the
TIME / TEMP dial counter-clockwise to decrease the cook
time, or turn it clockwise to increase it. Press on the dial once
to adjust the temperature setting by turning the
TIME / TEMP dial counter-clockwise to decrease the
temperature or turn it clockwise to increase it.
6. Press the START/PAUSE button once to commence the
PIZZA function. The oven alert will sound once, while the LED
Backlit screen and START/PAUSE button will both illuminate.
7. To pause the function, press the START/PAUSE button once.
The oven alert will sound once, while the LED backlit screen
and START/PAUSE button will both illuminate.
8. At any time of the function, press down on the
TIME / TEMP dial to illuminate both the LED backlit
screen and the oven.
9. The function can be cancelled anytime by pressing and
holding down the START/PAUSE button. The oven alert will
sound for 2 seconds, indicating that the function has been
cancelled.
10. Once the PIZZA function has concluded, the oven alert will
sound once, the LED backlit screen will illuminate blue while
the START/PAUSE button backlight will go out.
The PIZZA function creates the perfect slice of pie with a crisp
texture crust, melted cheese and well-cooked toppings.
Rack Placement Middle & Bottom
Cooking Surface Cooking Pan
CONVECTION function Yes
ROTISSERIE function - Not Available -
TIME function 1 - 60 mins
TEMP function 350-450ºf / 177-232ºc
WARNING:
PLEASE EXERCISE CAUTION BY GIVING YOUR OVEN ABOUT 20 SECONDS
TO COOL DOWN BEFORE OPENING THE OVEN DOOR.
10