The Essentials (Quickstart)
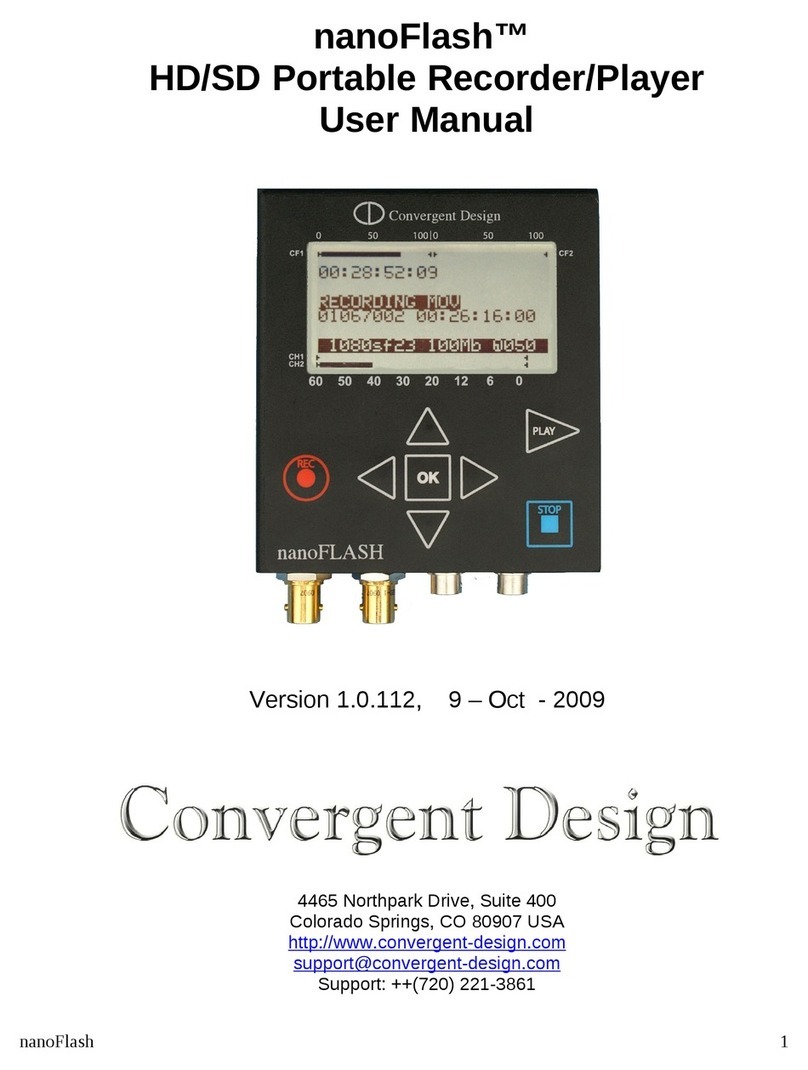
1. Please Register your nanoFlash by sending a simple e-mail to “cd” “support” “at”
“convergent-design.com” with your name and the serial number off the right side of the
nanoFlash. You will get automatic notice of firmware updates and service bulletins. Please
take a moment to do this, in order to help provide a better user experience with the nanoFlash.
2. Use only the qualifie Compact Flash car s for the specifie bit rates:
1. Lexar 32/16/8 Gbyte 300x CF cards up to 280 Mbps
2. *Transcend 400x 64 Gbyte CF cards up to 180-220 Mbps (ver1.5.55)
3. *Delkin UDM 64/32/16 Gbyte CF cards up to 180-220 Mbps
4. SanDisk Extreme 32 Gbyte CF cards up to 280 Mbps
5. SanDisk Extreme Pro 64/32 Gbyte CF cards up to 280 Mbps
*Please note that card performance may vary from card to card. The bit rate will
automatically be reduced during record for under-performing cards. (ver1.5.31)
3. Check your nanoFlash firmware version in System-> bout. See http://www.convergent-
design.com for any updates. See page 20 for details on how to update the firmware. Use a
reliable power source during updates! Run a test after every firmware update, capture 1
minute of audio / video and play back out of the nanoFlash and on a computer.
4. ** Note: This user manual is subject to change with each firmware update. Please see the
most up-to-date nanoFlash user manual at:
http://www.convergent-design.com/downloads/nanoFlash/nanoFlash_Manual.pdf
5. Connect a power source to the 4-pin Hirose and press the red power button on the nanoFlash.
6. Set the time and date (page 11)
7. Set the video input (System->Vid Src) as SDI or HDMI
8. Set the file format to Quicktime (M C) or MXF (PC) (page 11)
9. Select the Record Trigger Source (page 11)
10.Select the Time-code source and set the initial value (if needed) (page 11)
11.Set the compressed bit-rate and choose I-Frame or Long-GOP CODEC (page 13)
12.Set the PSF In and PSF Out options, depending on your video format (page 13)
13.Set up the audio source, line/microphone input and gain (page 15)
14.Connect a valid SDI or HDMI source and time-code source (as appropriate). Connect the SDI
or HDMI output to a compatible monitor. You should see valid video output.
15.Insert a qualified Compact Flash card into CF slot #1 (manufacturer’s logo side up) and format
(System->Format). Warning: all files will be erased off the card!
16. Ensure that your camera's SDI / HDMI output has any status overlay information turned off, to
that this is not recorded to the CF cards.
17.For a simple test, do a 60-second recording and playback from nanoFlash.
18. Please back up your data. There is a very slight risk of damage to CF cards upon
insertion and usage with a USB or Firewire CF reader attached to a computer. As a
precaution to protect your video, please consider backing up your data as a 1st step
after recor ing, an before inserting CF car into a CF rea er attache to a computer. We
suggest using the portable Nexto Drive for this purpose (see accessories, page 21).
Nexto drives provide confirmation after a successful copy – please note this to confirm
the data copy.
19.Insert CompactFlash card with recorded video in USB or Firewire CF reader for transfer to
your NLE system for review / editing. (See other viewing / NLE options, page 18).
20.Charge your batteries or use a reliable C source to prevent loss of data.
21.Do not remove or insert Compact Flash cards while in record or playback.
22.Enjoy some fantastic video/audio!
nanoFlash 5


