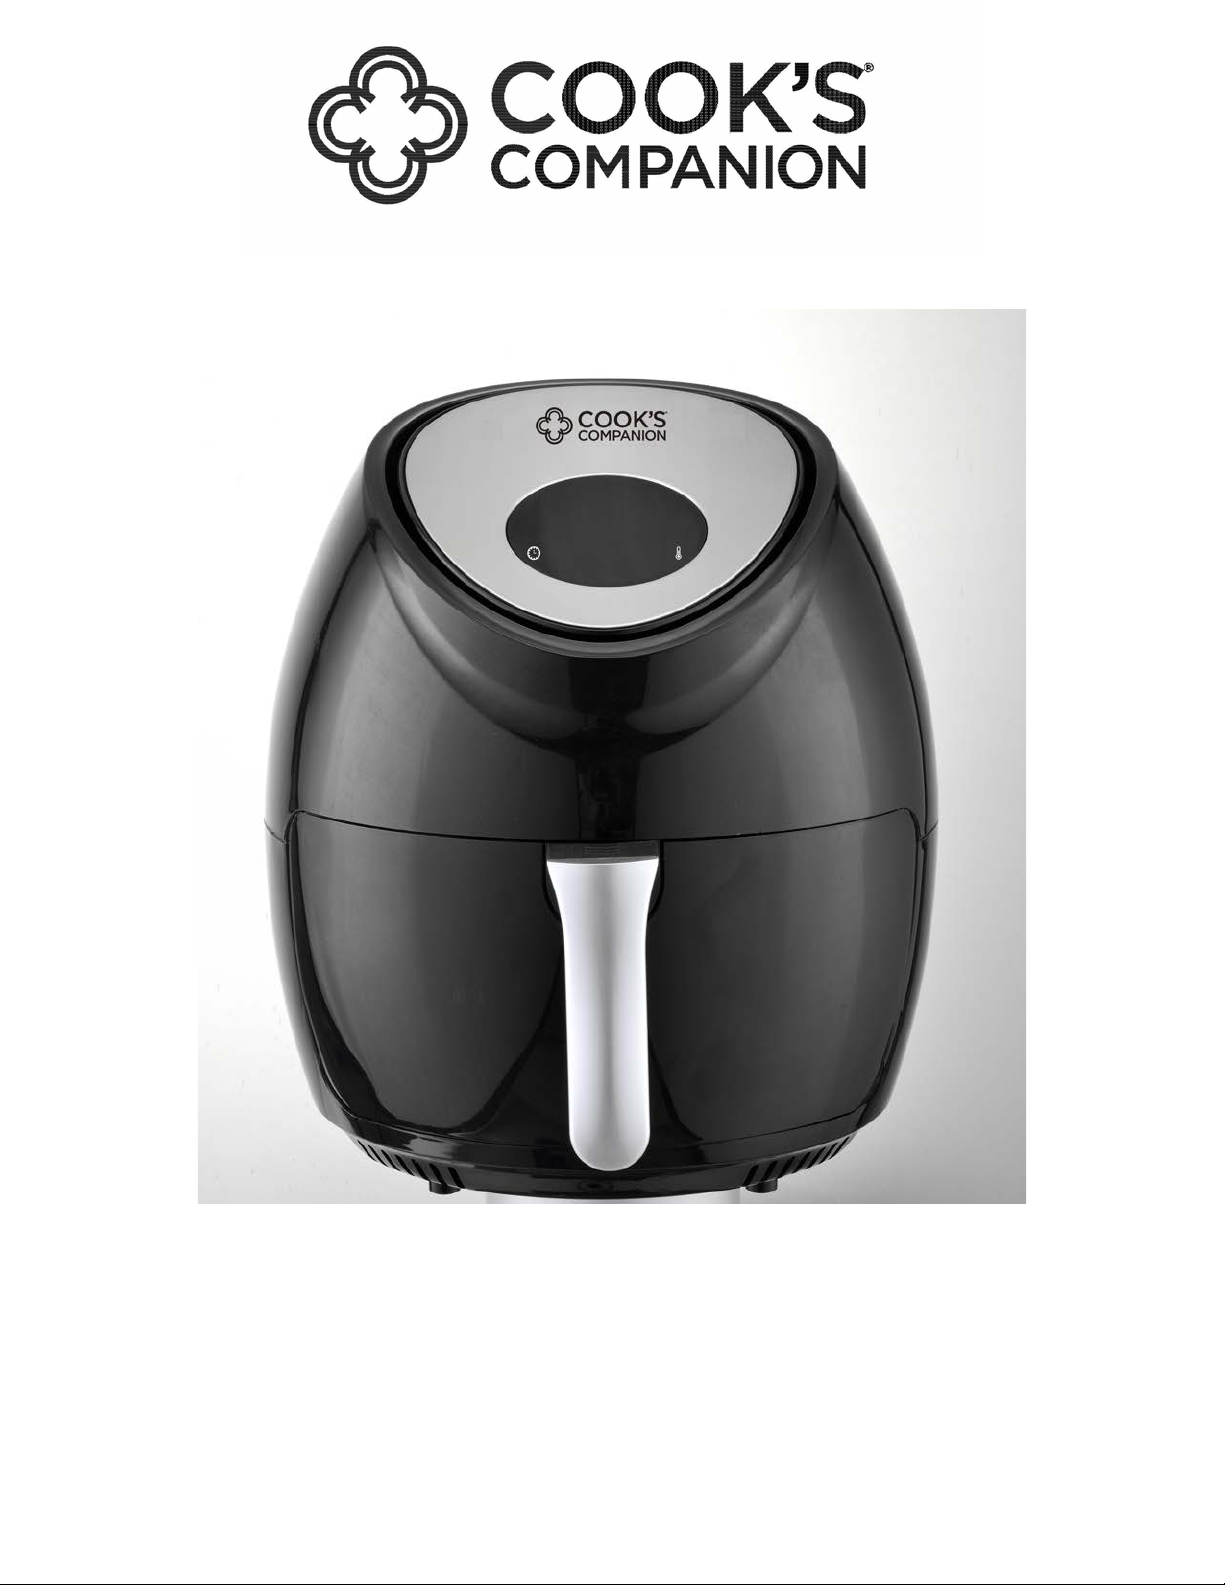
Cook's Companion AF702DCC User manual

7.4QT DIGITAL AIR FRYER
MODEL AF702DCC
1

CONGRATULATIONS!
The air fryer makes cooking quick, convenient and
most importantly—healthy. By using rapid hot air
convection cooking technology, the air fryer evenly
circulates hot air to cook fresh or frozen foods, giving them
the same crunchy bite and moist interiors produced by
conventional deep fryers. Food is never submerged in
cooking oils or fats while cooking. The air fryer can bake,
broil and steam a wide variety of foods, such as meats,
vegetables, pizzas and even cakes.
WHAT’S INCLUDED
2
Air Fryer
Cooking Chamber and
Crisping Insert
Instruction Manual

IMPORTANT SAFEGAURDS
READ ALL INSTRUCTIONS BEFORE USE:
• This appliance is designed for household use only.
• Do not place the appliance against a wall or against
another appliance. Leave at least 5 inches of free space
on the back and sides and 5 inches of free space above
the appliance.
• Do not place anything on top of the appliance.
• Do not use the appliance for any purpose other than
described in this manual.
• Do not leave the unit unattended when in operation.
• Any accessible surfaces may become hot during use.
• Do not place the appliance on or near combustible
materials, such as a tablecloth or curtain.
• The appliance needs approximately 30 minutes to cool
down before safely handling or cleaning.
• Do not cover the air inlets and air outlets when the
appliance is working.
• Do not immerse the housing in water or rinse under the
tap due to the electrical and heating components.
• Never use the air fryer without the cooking chamber in
place.
• Keep all ingredients in the cooking chamber to prevent
any contact with the appliance’s heating elements. Do
not overfill the basket.
• During hot air frying, hot steam is released through the
air outlets. Keep your hands and face at a safe distance
3

from the steam and from the air outlets. Also be careful
of hot steam and air when you remove the chamber
from the appliance.
• Do not touch the inside of the air fryer during or
immediately after use, as it will be very hot. Only hold
the cooking chamber by its handle. Always use oven
mitts. Unit is hot!
• Keep all cords away from hot surfaces.
• Keep the appliance and its cords out of the reach of
children.
• Do not use any unauthorized person to replace or fix a
damaged main cord.
• Do not use the appliance if there is any damage to the
plug, cord or other parts.
• Check that the voltage indicated on the appliance fits
the voltage for your outlet.
• Do not connect appliance to an external timer switch.
• Immediately unplug the appliance if you see dark smoke
coming out of the appliance. Wait for the smoke
emission to stop before you remove the cooking
chamber from the appliance.
• Do not let any liquid enter the appliance (aside from
cooking liquids added to the pan) to prevent electric
shock or short-circuiting.
• Do not use with an extension cord, it must be plugged
into a wall outlet.
• Always unplug the appliance when not in use.
• SAVE THESE INSTRUCTIONS.
4

PARTS IDENTIFICATION
5
1. Air Fryer
2. Cooking Chamber
3. Handle
4. Timer Control
5. Temperature Control
6. Air Outlet Openings
Preset Menu Button
Heating Icon
Fan Icon
Icons- Various Preset Functions
1
2
3
4
5
6

BEFORE FIRST USE
1. Remove all packaging materials, stickers and labels.
2. Clean the cooking chamber with hot water,
dishwashing liquid, and a non-abrasive sponge.
3. Wipe the inside and outside of the appliance with a
cloth.
USING THE APPLIANCE
1. Place the appliance on a stable, horizontal and even
surface.
2. Remove the cooking chamber from the air fryer. Place
crisping insert in the bottom of the Air Fryer.
3. Place the ingredients in the cooking chamber, if
desired spritz with cooking oil for a crispier finish.
NOTE: Do not overfill the cooking chamber, as it may
affect the quality of the food.
4. Slide the cooking chamber back into the air fryer.
5. Plug the unit into a 3- prong grounded wall socket. The
On/Off icon will be illuminated.
6. To start the Air Fryer, press On/Off. Use the M button
to choose the preset function. (Chart below for times
and temperatures.) For any function the time can be
adjusted in 1- minute increments by pressing + or - on
the left side of the control panel. Temperature can be
adjusted in 10°F increments by pressing + or - on the
right side of the control panel.
6

7. The heating icon will illuminate red while the Air Fryer
is working. The fan icon will illuminate blue during the
cooking process, it will stay blue during the cooling
period.
8. Some ingredients require shaking halfway during the
preparation time. At the halfway point, pull the cooking
chamber out of the air fryer by the handle and shake it.
Then slide the cooking chamber back into the air fryer.
9. Once the set preparation time has elapsed, pull the
cooking chamber out of the appliance and place it on a
heat-proof surface.
NOTE: You can also switch off the appliance manually by
pressing the On/Off button.
10. Check to make sure the ingredients are ready. If the
ingredients are not fully cooked, simply slide the
cooking chamber back into the appliance and reset the
timer for a few extra minutes.
WARNING: The cooking chamber and the ingredients are
hot after hot air frying. Depending on the moisture content
of the ingredients in the fryer, steam may escape from the
cooking chamber.
11. To remove ingredients, lift the ingredients out of the
cooking chamber using tongs (not included).
CAUTION: There may be excess liquid at the
bottom of the cooking chamber after cooking cycle
is complete. Do not turn the cooking chamber
upside down.
7

CLEANING
1. Remove the main plug from the wall socket and let the
appliance cool down for at least 30 minutes.
2. Clean the appliance after every use. Do not clean the
inside of the appliance with any metal kitchen utensils
or abrasive cleaning materials, as this may damage
the non-stick coating.
3. Wipe the outside of the appliance with a moist cloth.
4. Clean the cooking chamber and crisping insert with hot
water, some liquid detergent and a non-abrasive
sponge. You can remove any remaining food residue
with degreasing liquid.
5. Clean the inside of the appliance with hot water and a
non-abrasive sponge.
6. Clean the heating element with a cleaning brush to
remove any food residue.
STORAGE
1. Unplug the cord.
2. Make sure all parts are clean and dry.
8

COOKING ADVICE
•Smaller ingredients usually require a slightly shorter
cooking time than larger ingredients.
•Shaking smaller ingredients halfway during the
preparation time optimizes the end result and can help
prevent unevenly fried ingredients.
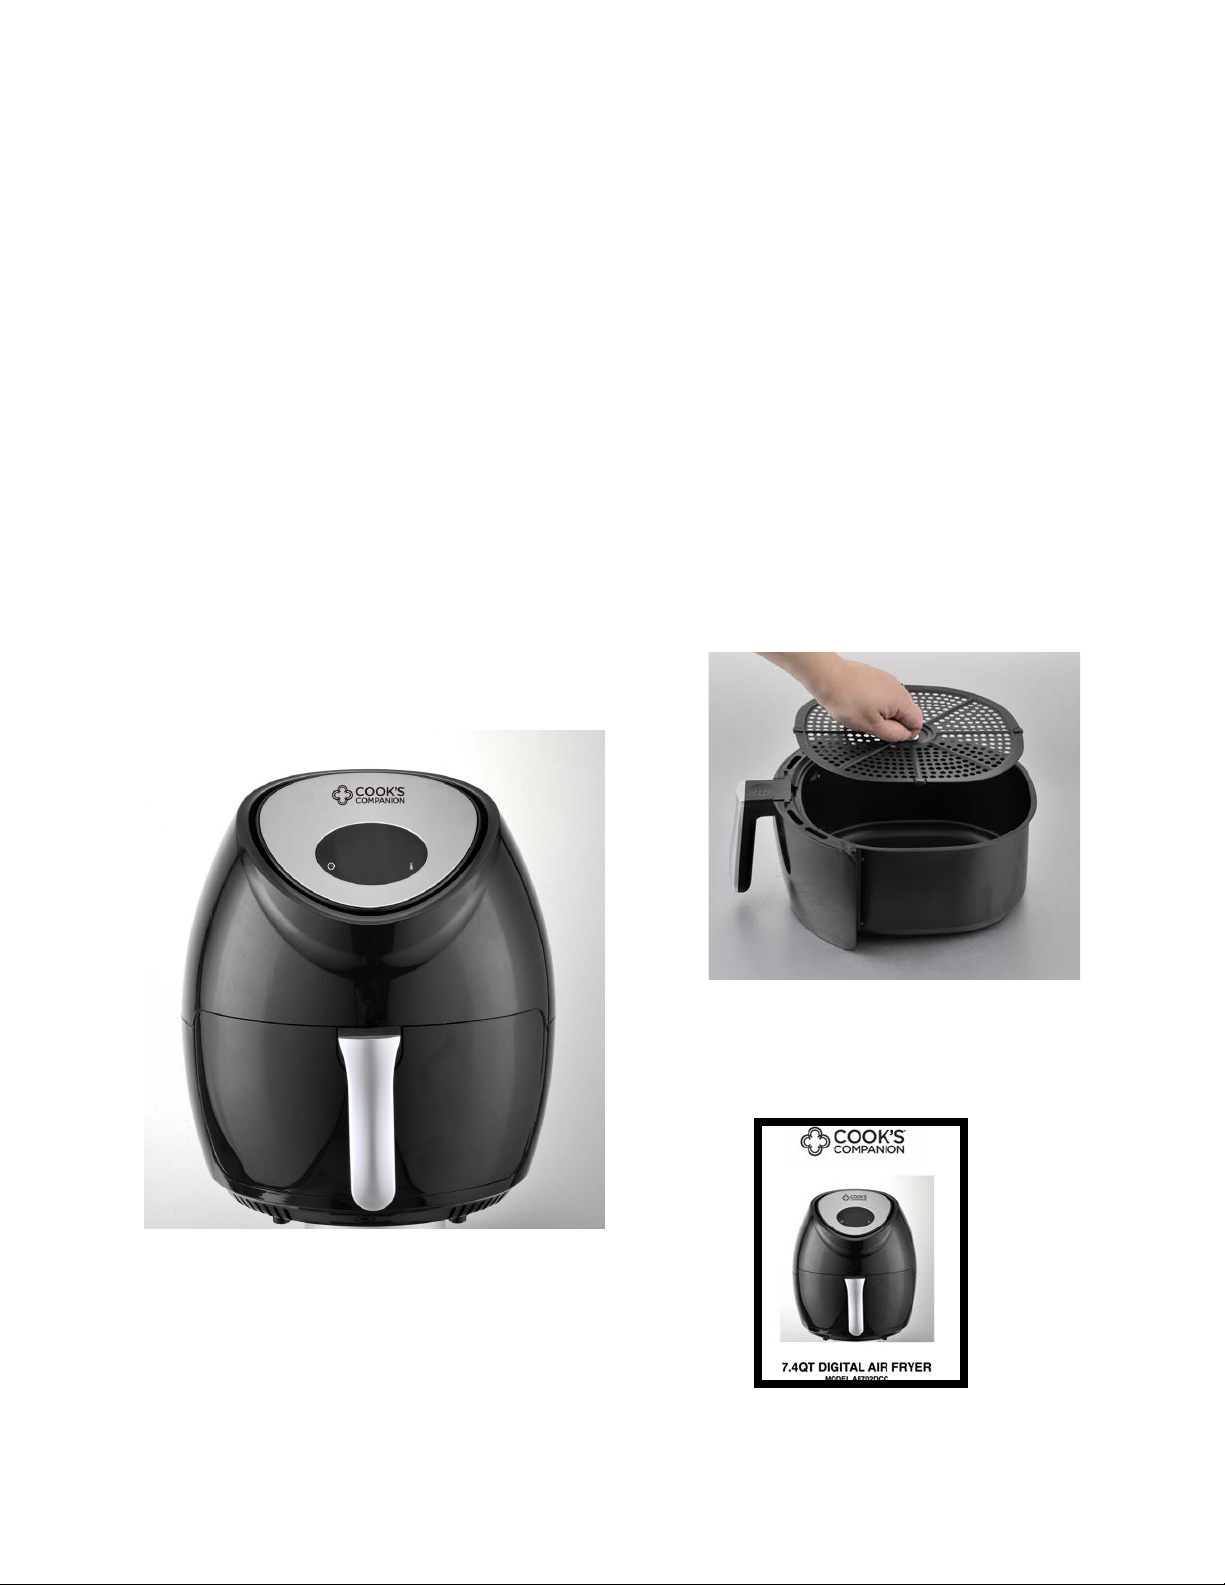
•Never overfill, as this will damage the air fryer. Use
caution when removing the cooking chamber from the
unit, as contents will be very hot.
•A small amount of water (3–4 tbsp.) can be added to the
cooking chamber for steaming food. Use caution when
removing the cooking chamber from the unit, as
ingredients and any remaining steam or water will be
very hot.
•Because the rapid air technology reheats the air inside
the appliance instantly, pulling the cooking chamber out
of the appliance briefly during hot air frying barely
disturbs the process.
•Frozen foods, such as fries, chicken nuggets and fish
sticks can be prepared by following the cooking chart on
page 10.
•Snacks that can be prepared in an oven can also be
prepared in the air fryer.
•Place an oven-safe dish in the air fryer cooking
chamber when baking a cake or quiche.
•For a crispy texture, spritz vegetable, olive or non-stick
oil over ingredients in the cooking chamber.
•You can also use the air fryer to reheat ingredients by
setting the temperature to 300°F for up to 10 minutes.
9

COOKING CHART
10
INGREDIENTS
SUGGESTED
AMOUNT
TEMP (°F)
TIME
(MINUTES)
ADDITIONAL
INFORMATION
Thin frozen fries
1 pound
400
15 minutes
Spritz with oil, Shake 2 times
Thick frozen fries
1 pound
400
20 minutes
Spritz with oil, Shake 2 times
Potato wedges
1 pound
400
25 minutes
Spritz with oil, turn once
Hamburger
1/2 inch thick 4 oz.
370
10 minutes
Turn once
Steak
1-1 1/4 inch steak
medium rare
370
12-14 minutes
Turn once
Pork Chops
1 inch boneless pork
chops
370
12 minutes
Turn once
Frozen chicken wings
10 wings
350
25 minutes
Spritz with oil, Shake 2 times
Frozen chicken tenders
6 tenders
350
15 minutes
Turn once
Frozen chicken nuggets
10 nuggets
350
12 minutes
Shake 2 times
Shrimp
10 shrimp
350
12 minutes
Spritz with oil, turn once
Frozen fish fingers
4 fish fingers
350
12 minutes
Turn once
Frozen crabcakes
4 cakes
350
12 minutes
Spritz with oil, turn once
Frozen green beans
2 cups
375
10 minutes
Spritz with oil, Shake 2 times
Baked Potato
2 potatoes
375
45 minutes
Frozen onion rings
1 pound
375
15 minutes
Spritz with oil, Shake 2 times
Frozen Quiche
6 mini quiche
325
15 minutes
Frozen Pretzels
2-5 oz.
325
6 minutes
Spritz with oil, turn once
Frozen Cinnamon Rolls
4 rolls
325
15 minutes
Frozen Thin Crust Pizza
1-6 inch
350
15 minutes
Frozen Thick Crust Pizza
1-6 inch
350
20 minutes
Frozen Pizza Bites
8 pizza bites
350
12 minutes
Muffins
2 muffins
350
5 minutes
Bagel
1 bagel sliced
350
10 minutes
Turn once
2 Pieces of Toast
2 slices
350
6 minutes
Turn once

RECIPE NOTES
________________________________
________________________________
________________________________
________________________________
________________________________
________________________________
________________________________
________________________________
________________________________
________________________________
________________________________
________________________________
________________________________
________________________________
________________________________
________________________________
________________________________
________________________________
________________________________
________________________________
________________________________
11

LIMITED ONE YEAR WARRANTY
This warranty covers all defects in workmanship or materials in the
mechanical and electrical parts, arising under normal use and care in this product
for a period of 12 months from the date of purchase provided you are able to
present a valid proof-of-purchase. A valid proof-of-purchase is a receipt
specifying item, date purchased, and cost of item. A gift receipt showing item and
date of purchase is an acceptable proof-of-purchase. Product is intended for
household use only. Any commercial use voids the warranty.
This warranty covers the original retail purchaser or gift recipient. During the
applicable warranty period within normal household use, we will repair or replace,
at our discretion, any mechanical or electrical part which proves defective, or
replace unit with a comparable model. Shipping and handling costs are not
included for warranty replacements and are the responsibility of the customer.
To obtain service under the terms of this warranty, send an email to
Please provide the model number listed on the bottom of this page when
contacting us.
THIS LIMITED WARRANTY COVERS UNITS PURCHASED AND USED WITHIN
THE UNITED STATES AND DOES NOT COVER:
• Damages from improper installation.
• Damages in transit.
• Defects other than manufacturing defects.
• Damages from misuse, abuse, accident, alteration, lack of proper
care and maintenance, or incorrect current or voltage.
• Damage from service by other than authorized dealer or service
center.
• Shipping and handling costs.
• This warranty gives you special legal rights and you may also have
other rights to which you are entitled which may vary from state to
state.
Manufacturer does not assume responsibility for loss or damage for return
shipment. We recommend that you keep your original packaging should you
require repair service. Before returning product please contact our customer care
department for return authorization. When returning product for repair please
include your full name, return address, and daytime phone number. Also include
a brief description of the problem you are experiencing and a copy of your sales
receipt or other proof of purchase in order to validate warranty status.
MODEL AF702DCC
12

13
Table of contents
Other Cook's Companion Fryer manuals

Cook's Companion
Cook's Companion B422047-00003-00000 User manual

Cook's Companion
Cook's Companion CCAFJ42 User manual

Cook's Companion
Cook's Companion CC7115 User manual

Cook's Companion
Cook's Companion CCAF126 Quick guide

Cook's Companion
Cook's Companion 488-026 User manual

Cook's Companion
Cook's Companion CC801847C User manual