Safety
These instructions are for your safety. Please read through
them thoroughly prior to installation and retain them for
future reference.
This appliance complies with all current European safety legislation,
however, the Manufacturer must emphasise that this compliance does
not prevent the surfaces of the appliance from heating up during use and
remaining hot during its operation.
Accessible parts may become hot during use. Young children should be kept
away. Care should be taken to avoid touching the appliance (e.g hob, cooker).
Therefore, the Manufacturer highly recommends that this appliance be kept
out of the reach of babies and small children.
Children should be supervised to ensure that they do not play with the
appliance.
This appliance is not intended for use by persons (including children) with
reduced physical sensory, or mental capabilities, or by those who lack
experience and knowledge, unless they have been given supervision and
instruction concerning the use of the appliance by a person responsible for
their safety.
Do not allow the electric cables to touch the hot parts of the appliance.
Make sure that the power cord is not caught under or in the appliance and
avoid damage to the power cable.
Do not remove the plug in the presence of ammable gas.
Do not install the appliance outdoors in a damp place or in an area which
may be prone to water leaks such as under or near a sink unit. In the event
of a water leak allow the machine to dry naturally.
Please dispose of the packing material carefully.
Do not use ammable sprays in close vicinity to the appliance.
• All installation work must be carried out by a
competent person or qualied electrician.
• This appliance must be installed correctly by a
suitably qualied person, strictly following the
manufacturer’s instructions.
8
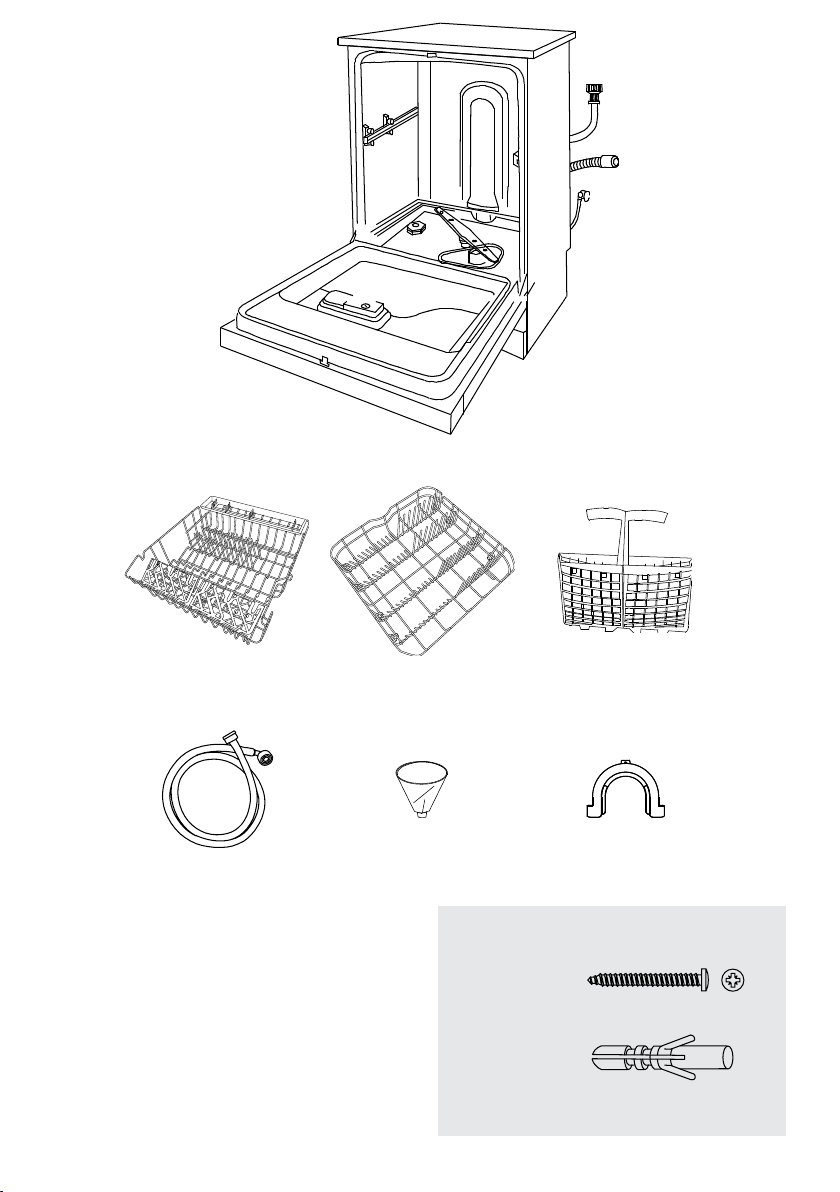
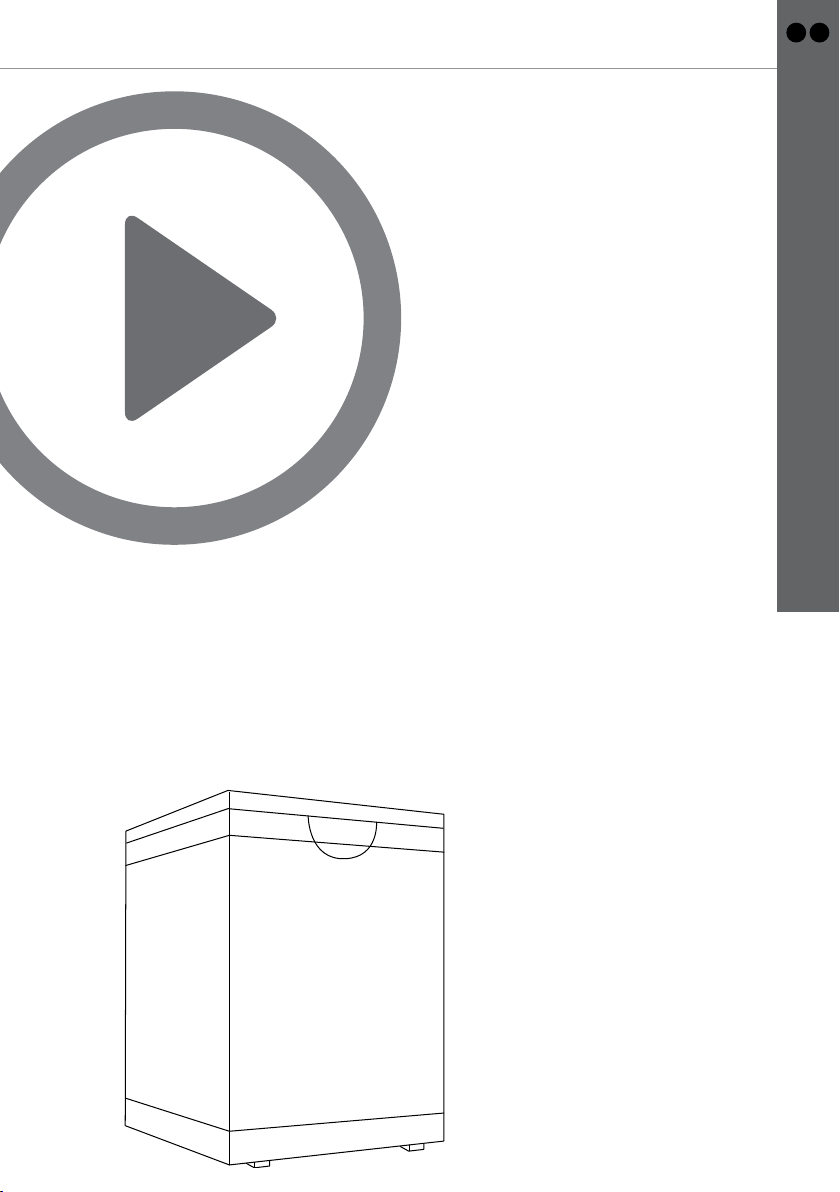
Getting started...
GB IE