SCC102 SCC202 - Version B - Released August 16, 2019 - Copernicus Educational Products Inc. 3
Warning! Hazard Risks!
This product is to be used under the supervision of an adult.
Indoor Use
Only
This product is intended for indoor use only. The internal components are not sealed from the
environment.
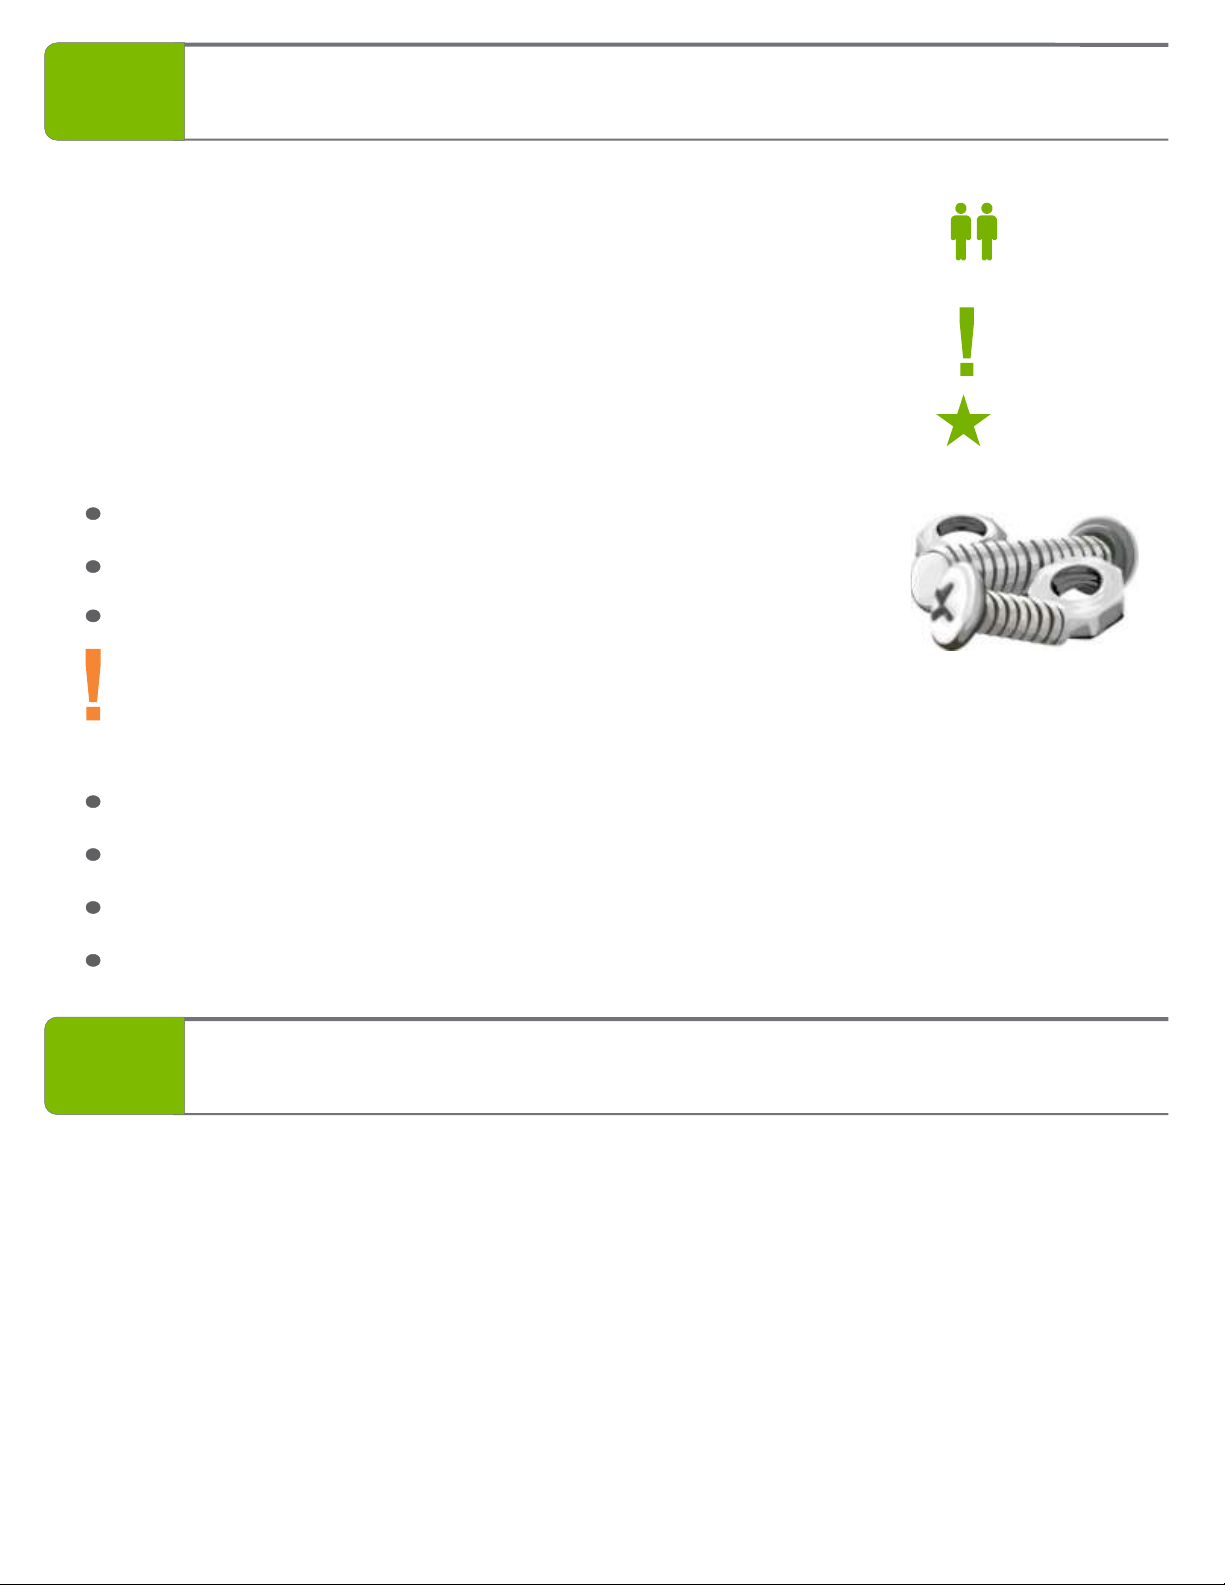
In its unassembled state, this product contains parts that can be hazardous to small children. This
product should be assembled by an adult.
Small
Parts
Adult
Supervision
Please read the warnings below for important safety information regarding your product. Failure to
read these warnings or to follow the instructions below could result in personal injury or damage to
your product that could void your warranty.
As with all exercise equipment or programs, consult a physician prior to use and stop if you feel faint, dizzy
or exhausted.
The equipment should only be used in a supervised environment.
The equipment must be set up and operated on a solid, level surface.
A complete visual inspection and test of the features and functions of the assembled Self-regulation
Classroom Cruiser is to be made prior to use. Immediately report worn, loose or damaged equipment to
the teacher and refrain from using the bike.
Keep body and clothing free and clear of all moving parts.
Ensure all adjustments and locking features are properly secured before using bike.
No adjustment should be made, which may limit the movements of the user.
This equipment is not intended for athletic training purposes.
Maximum user capacity is 143lbs/ 65kgs
BEFORE
USING
Minimum clearance required around equipment for access to, passage around and emergency dismount.
Minimum dimensions are 0.5m (19.7in) on at least one side and 0.5m (19.7in) either behind or in front of
the bike.
Actual area for access/passage is the responsibility of the facility and should take into account this
training envelope, ADA Accessibility Guideline requirements and any required local codes or regulations.
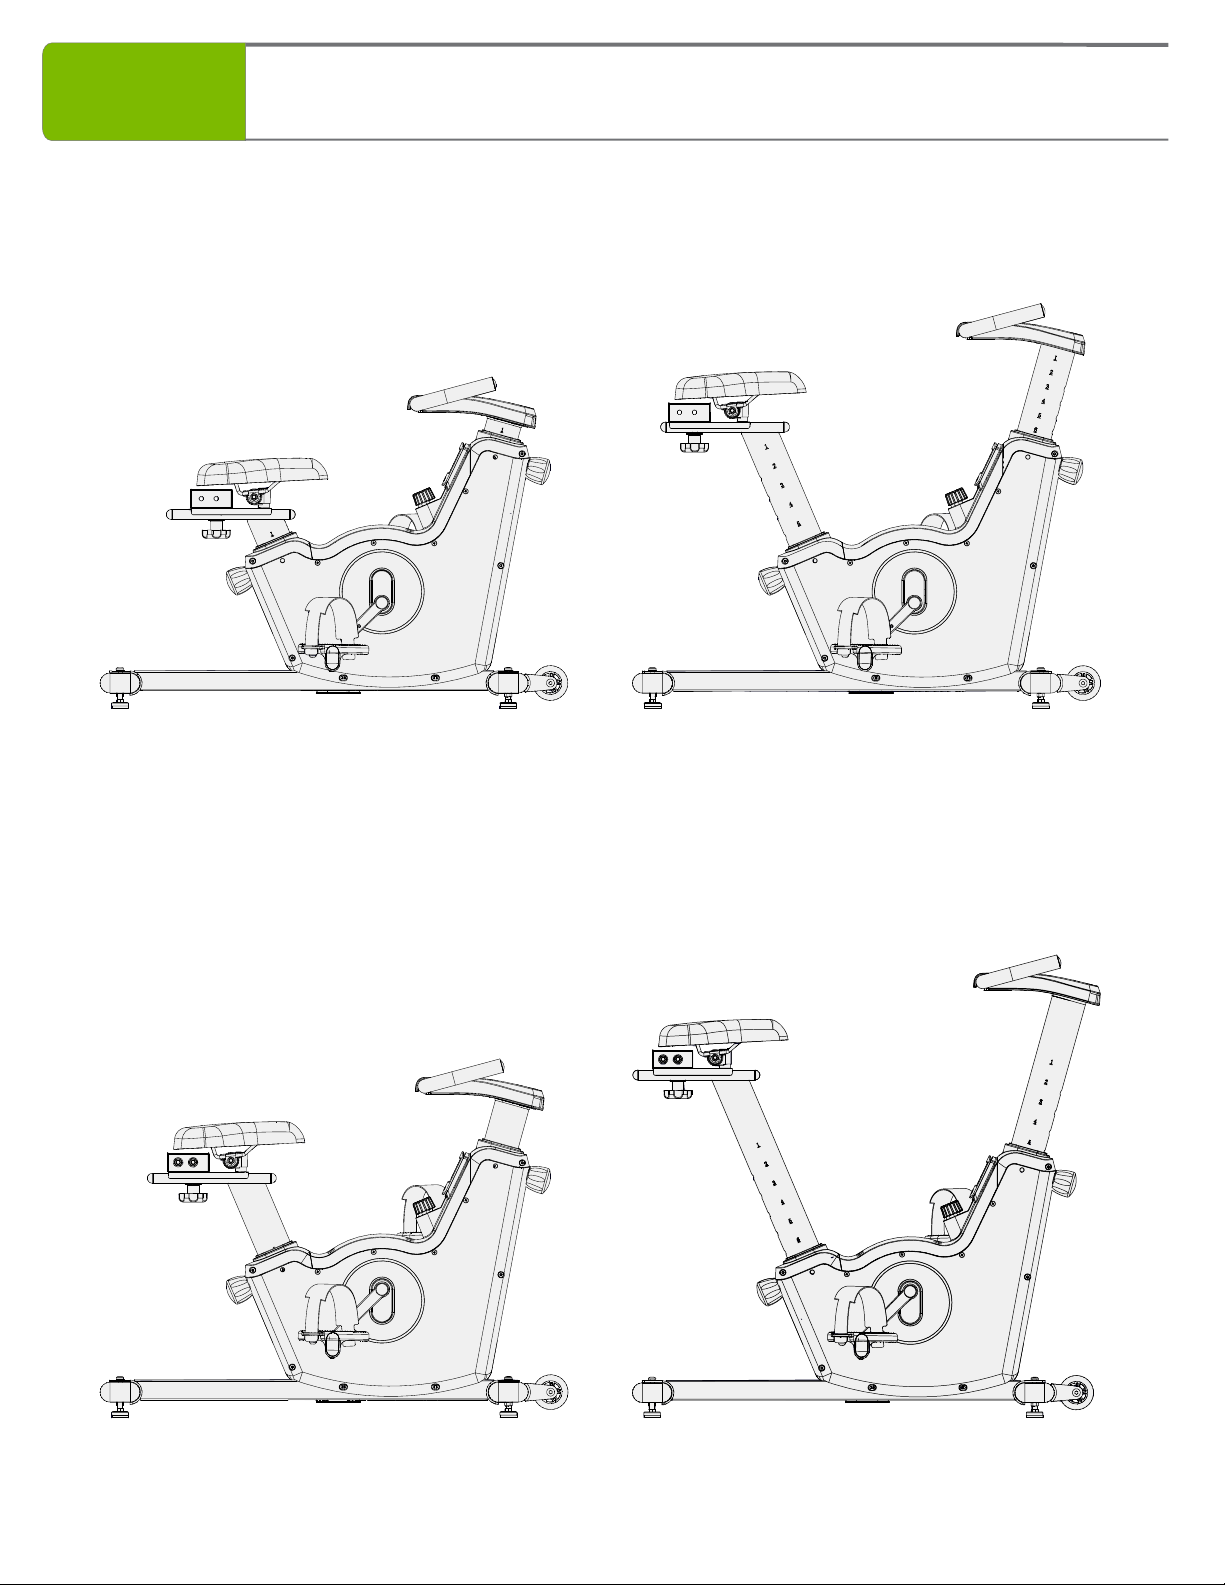
54cm (22inch)
94cm (37inch) +50cm (20inch)
Front or Behind
+50cm (20inch)
Front or Behind
+50cm (20inch)
Either Side
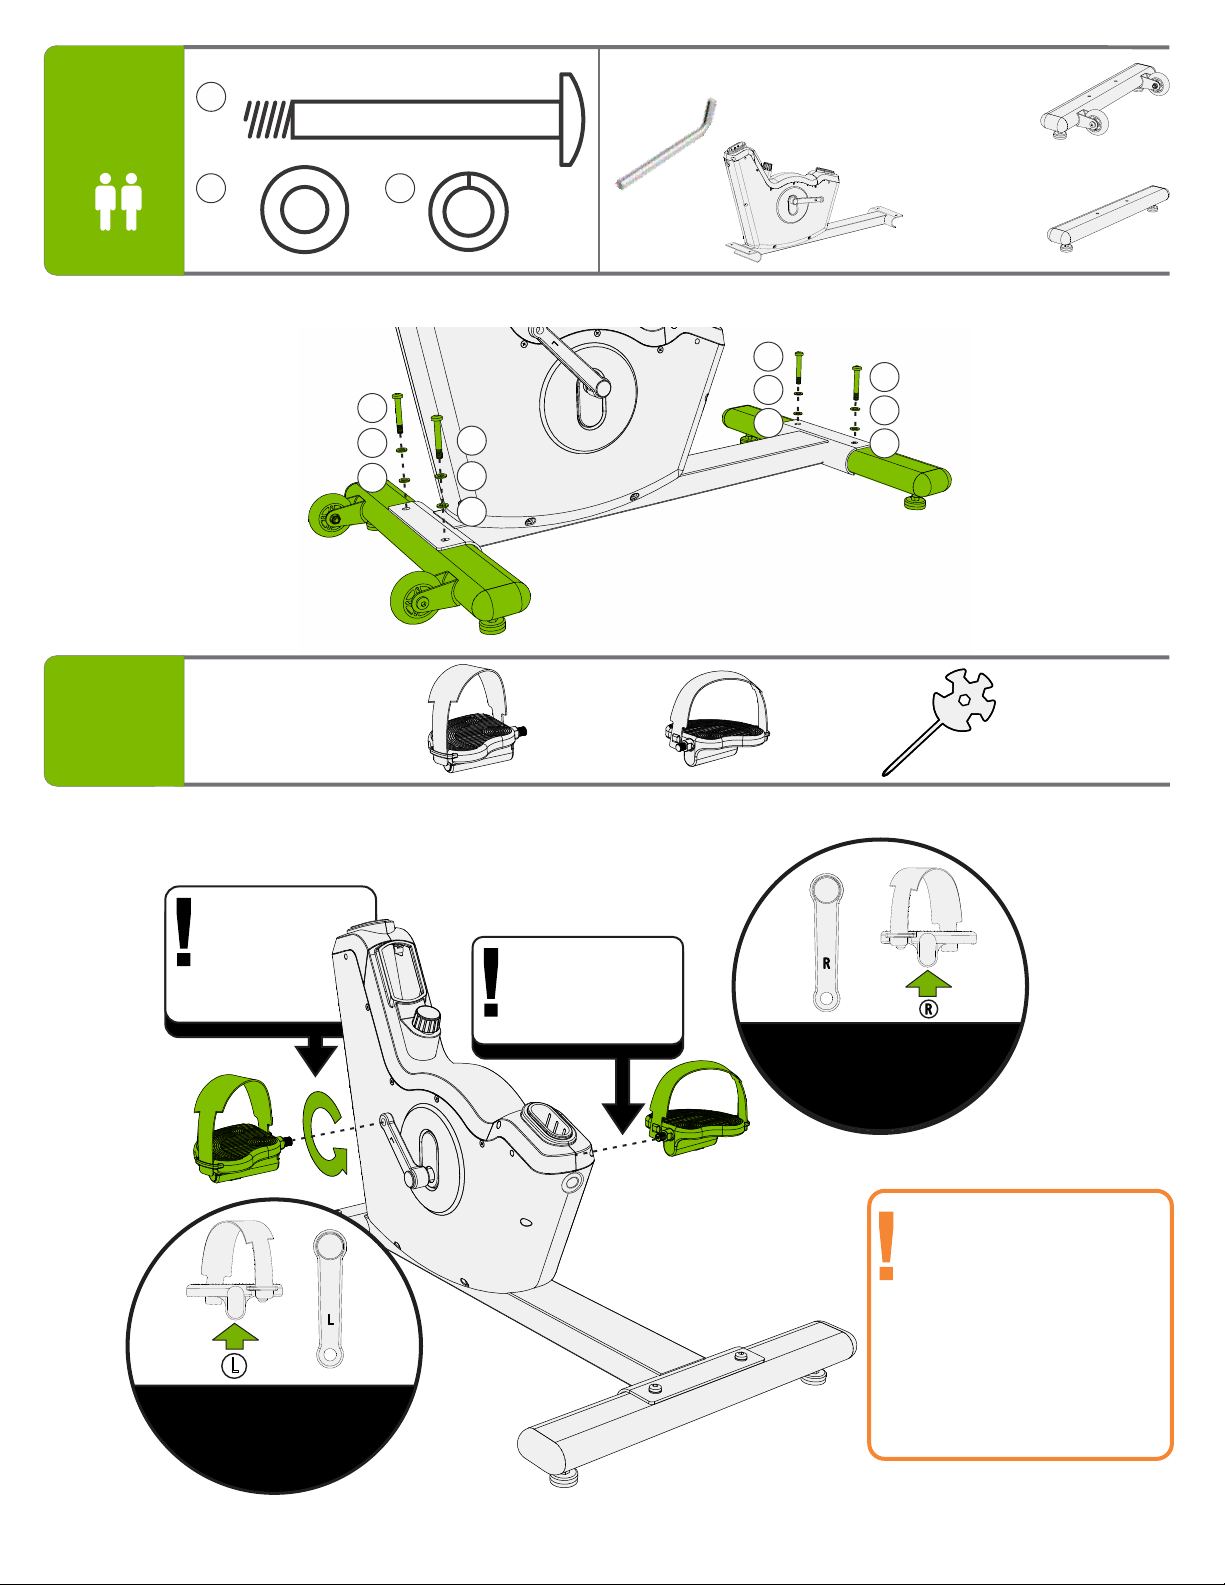
INSTALLATION
1.
2.
3.
4.
5.
6.
7.
8.
9.