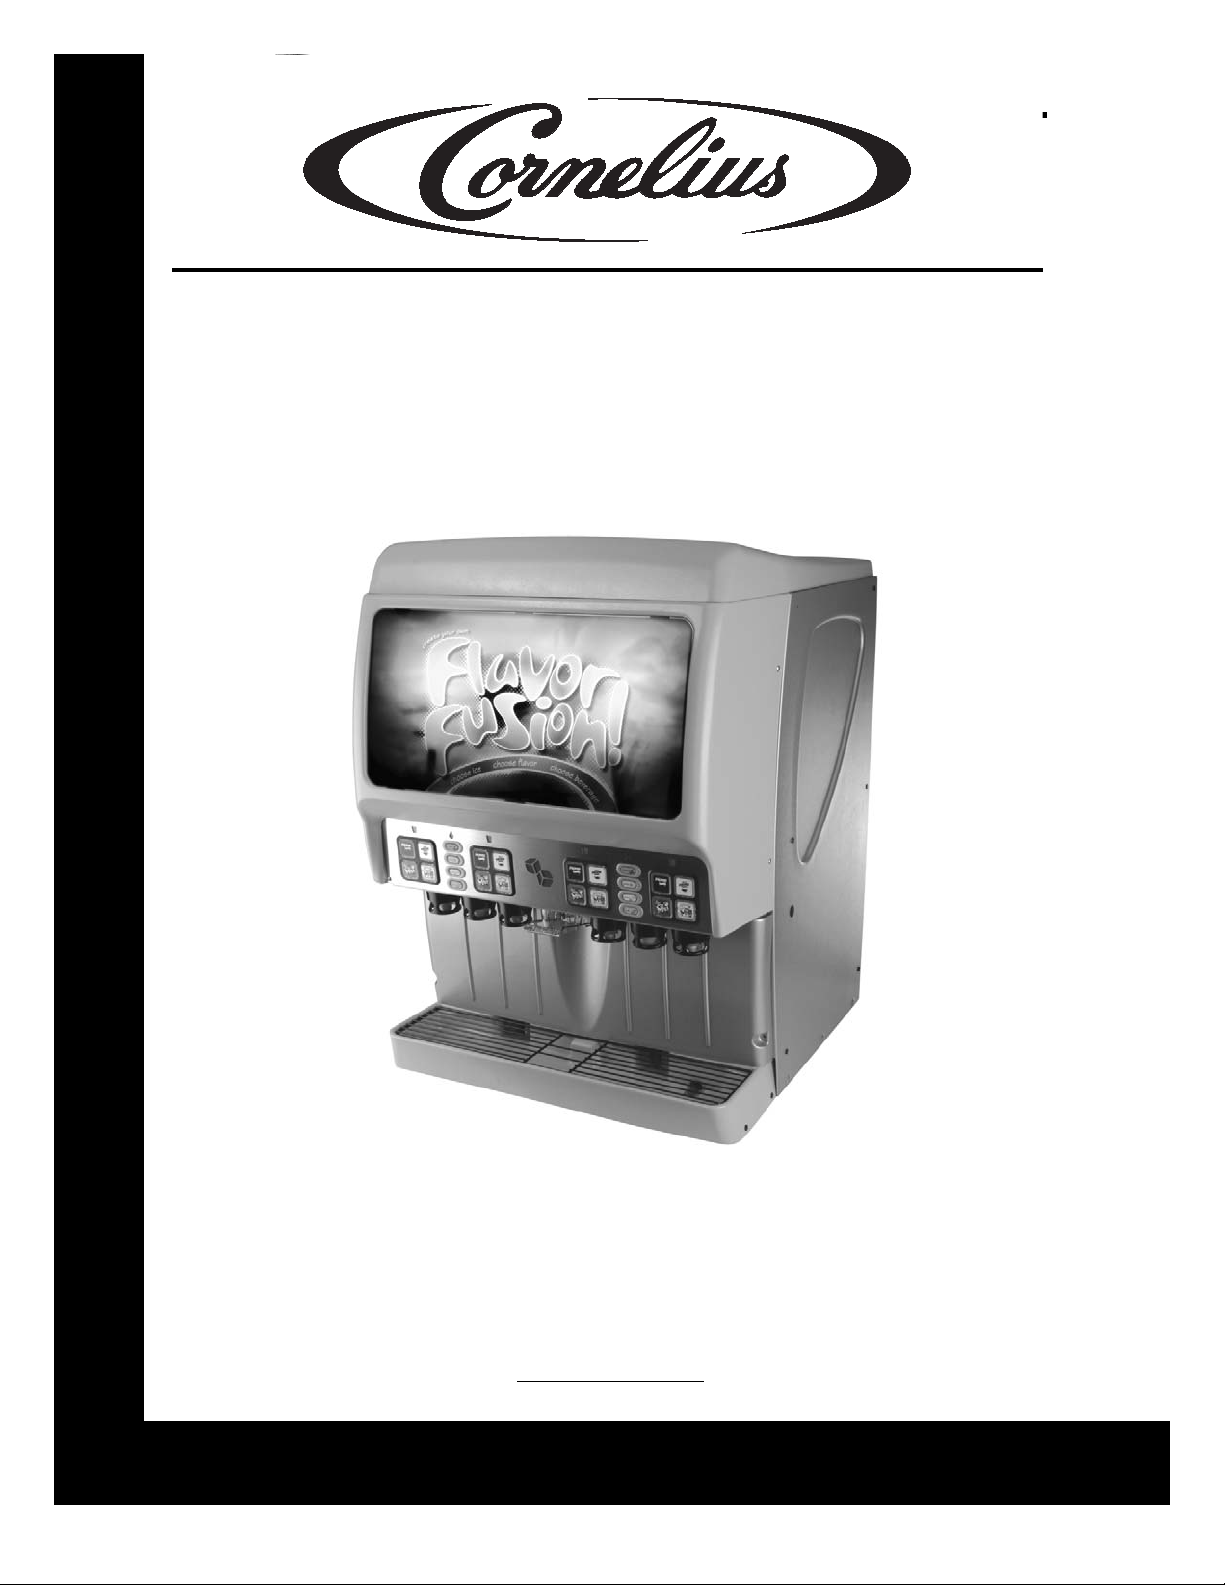
FlavorFusion™ Operator’s Manual
Publication Number: 621057601OPR - 4 - © 2005-2006, IMI Cornelius Inc.
Product Tubing
IMPORTANT: Only trained and qualified persons should perform these cleaning and sanitizing
procedures.
Sanitize Post–Mix tank system
1. Remove all the quick disconnects from all the tanks. Fill a suitable pail or bucket with soap solution.
2. Submerge all disconnects (gas and liquid) in the soap solution and then clean them using a nylon
bristle brush. (Do not use a wire brush). Rinse with clean water.
3. Prepare sanitizing solution and using a mechanical spray bottle, spray the disconnects.
Allow to air dry.
4. Using a clean, empty tank, prepare five (5) gallons of the sanitizing solution. Rinse the tank
disconnects with approximately 9 oz. of the sanitizing solution. Close the tank.
5. Prepare cleaning tank by filling clean five (5) gallon tank with a mixture of mild detergent and
potable water (120oF).
6. Connect a gas disconnect to the tank and then apply one of the product tubes to the cleaning tank.
Operate the appropriate valve until liquid dispensed is free of any syrup.
7. Disconnect cleaning tank and hook up sanitizing tank to syrup line and CO2 system.
8. Energize beverage faucet until chlorine sanitizing solution is dispensed through the faucet. Flush at
least two (2) cups of liquid to ensure that the sanitizing solution has filled the entire length of the
syrup tubing.
9. Allow sanitizer to remain in lines for fifteen (15) minutes.
10. Repeat the step above, applying a different product tube each time until all tubes are filled with the
sanitizing solution.
11. Remove the nozzle and syrup diffuser and clean them in a mild soap solution.
Rinse with clean water and reassemble the nozzle and syrup diffuser on the valve.
12. Rinse the parts in clean water, reassemble the valve and reconnect it to the dispenser.
13. Discard the tank of sanitizing solution and reconnect the product syrup tanks. Operate the valves
until all sanitizer has been flushed from the system and only product syrup is flowing.
Sanitize syrup lines, B–I–B Systems
1. Remove all the quick disconnects from all the B–I–B containers.
2. Fill a suitable pail or bucket with soap solution.
3. Submerge all disconnects (gas and liquid) in the soap solution and then clean them using a nylon
bristle brush. (Do not use a wire brush). Rinse with clean water.
4. Using a plastic pail, prepare approximately five (5) gallons of sanitizing solution.
5. Rinse the B–I–B disconnects in the sanitizing solution.
6. Sanitizing fittings must be attached to each B–I–B disconnect. If these fittings are not available, the
fittings from empty B–I–B bags can be cut from the bags and used. These fittings open the
disconnect so the sanitizing solution can be drawn through the disconnect.
7. Place all the B–I–B disconnects into the pail of sanitizing solution. Operate all the valves until the
sanitizing solution is flowing from the valve. Allow sanitizer to remain in lines for fifteen (15) minutes.
8. Remove the nozzle and syrup diffuser from each valve and clean them in a soap solution. Rinse
with clean water and reassemble the nozzle and syrup diffuser to the valve.
9. Remove the sanitizing fittings from the B–I–B disconnects and connect the disconnects to the
appropriate
B–I–B container. Operate the valves until all sanitizer has been flushed from the system and syrup
is flowing freely.