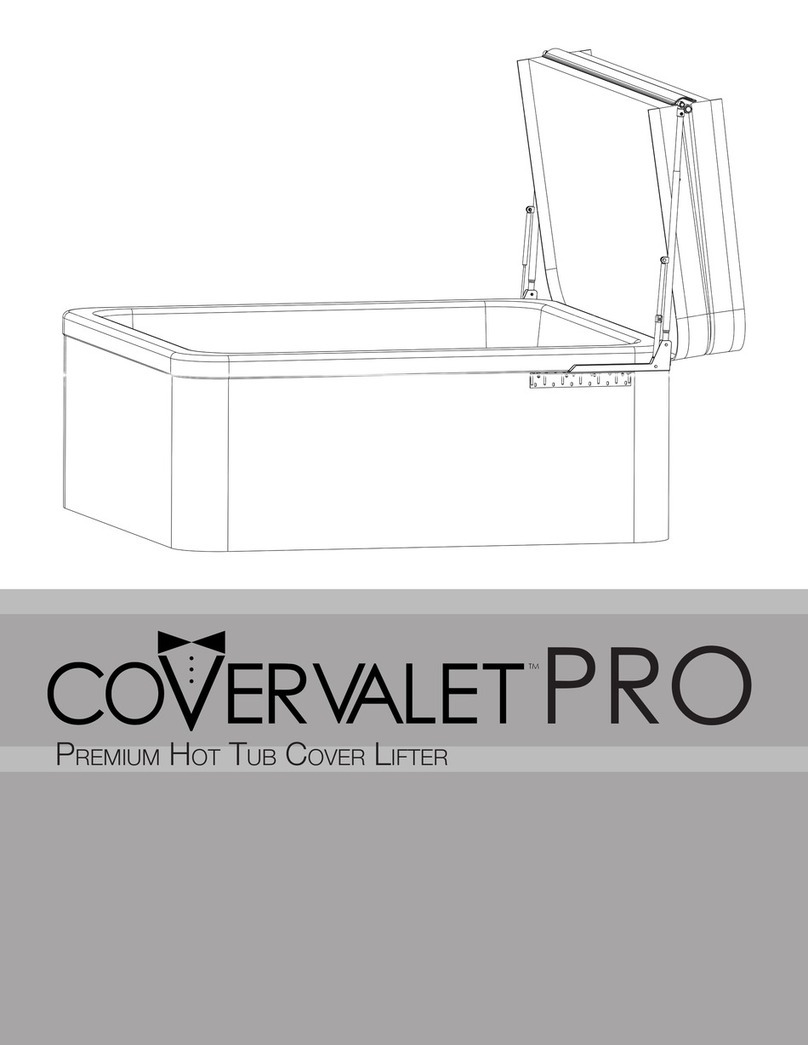
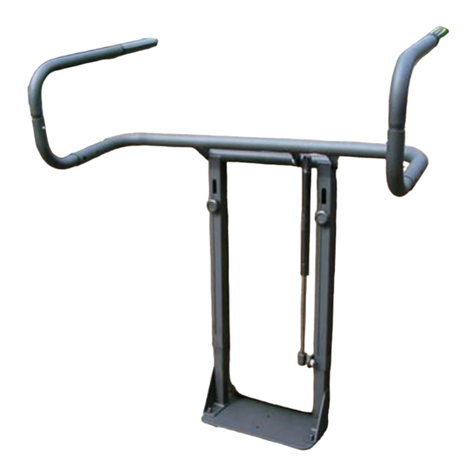
COVER VALET Cover Rock-It User manual

TM
ROCK-IT
Premium Hot tub
Cover Lifter
TM

Parts & Hardware
Support Arm
(crCC)
3/8” x 3-1/2” Hex Bolt and 3/8” Nylon Locknut (crC)
3/8” Flat Washer
(crB)
Protective Cap
(crHP)
Small Dome Cap
(crHP)
Large Dome Cap
(crF)
#10 x 5/8” Self
Tapping Screw (crA)
Plastic Pivot
(crGG)
Center Coupler Fluted (crAA)
Center Coupler Extension
Non-Fluted (crBB)
Base Bracket (crFF)
15x
2x
4x4x4x
15x
2x
1x
2x
1x
2x
Pivot Arm
(crDD)
2x

TM
steP 1 GettinG Started
• Position the spa cover in
the closed position on the
spa, making sure that all
four corners are properly
positioned and square on the
spa. See Figure 1.
Figure 1
Figure 2
steP 2
• Slide the Base Bracket
under the spa 8” from the
back edge. See Figure 2
PlacinG the BaSe Bracket
8"
2x

steP 2
Continued...
• Connect the Pivot Arm (crDD) by placing one
Plastic Pivot (crGG) on each side of the hole in the
Pivot arm (crDD) then attach it to the Base Plate
using a 3/8” x 3-1/2” Hex Bolt (crC), (2)Flat Washer
(crB), and 3/8” Nylon Locknut (crC) as shown in
Figure 3 & 3a.
Note: Ensure the short side of the Pivot Arm (crDD)
is facing the back of the spa where the cover will rest
while open.
inStallinG the Pivot arm
2x
2x
4x
2x
4x
4x
Figure 3
Figure 3a

TM
steP 3ainStallinG the SuPPort arminStallinG the Pivot arm
2x
1x
1x
Insert the long arms of the
Support Arms (crCC) into the
ends of the Center Coupler
(crAA) as shown in Figure 4A.
Note: For more narrow
covers, flip the Support Arms
(crCC) and insert the short
side of the Support Arm
(crCC) into the Center Coupler
(crAA).
Join the small end of the
Center Coupler Extension
(crBB) into one end of the
Center Coupler (crAA). Then
insert the long arms of the
Support Arms (crCC) into the
ends of the Center Coupler
Assembly. See Figure 4b.
Figure 4a
Under 6 ft
Over 6 ft
Figure 4b
Depending on the width of your spa this step will vary.
Start by measuring the width of the spa.

steP 3binStallinG the SuPPort arm
• Slide both sides of the assembled
Support Arm (crCC) into the longer
portion of the Pivot Arm (crDD).
• Lean the pivot arms forward so the
center coupler(s) rest ½” short of the
center seam. Do not allow the center
coupler(s) rest directly on top of, or
past the center seam.
• Put on the Protective Cap (crHP) on
the short end of your Pivot Arms
(crDD). See Figure 5a.
Figure 5
Figure 5a
2x
Continued...

TM
steP 3c
inStallinG the SuPPort arm inStallinG the SuPPort arm
• Once the arm is centered use the #10
Self Tapping Screws (crA) to fasten the
Support arm into place. See Figure 6.
Note: Be sure to rotate the center couplers
so that th inserted screws are horizontal,
with the heads facing the back of the spa,
where the cover will be stowed.
• Press the decorative Small Black Dome
Caps (crHP) over the heads of all exposed
#10 screws (crA and R-J).
PRO-TIP; Apply a small amount of glue/
epoxy to the screw caps to keep them
in place during normal weather-related
expansion/contraction.
15x
15x
Continued...
Figure 6a

OPeratiOn instructiOns
How to OPEN your spa cover using
the Cover ROCK-IT:
1. Fold spa cover onto itself.
2. Lift Cover ROCK-IT by holding on
to the Support Arm (crCC) and lift spa
cover to upright position by leaning
the Pivot Arm (crDD) back till the spa
cover behind the spa. The Pivot Arm
will stop when it contacts the ground.
COVER ROCK-IT MAINTENANCE INSTRUCTIONS
The Cover ROCK-IT was designed for a specific use. The Cover ROCK-IT is not designed to BEND,
WARP, or to be ABUSE PROOF. Do Not stand, sit, or lie on, or permit heavyweight to rest
on the Cover ROCK-IT. Do not clean with abrasives, solvents, or strong detergents. Most of the
hardware has been Zinc coated for durability, but will deteriorate quicker when exposed to high
levels of Chlorine, Bromine, Ozone, or other active chemicals. Check nuts and bolts often and
tighten if necessary. Any parts showing evidence of wear should be replaced immediately. Call
1-800-730-7727 or (001) (562) 283-0595 for any replacement or special order parts.
Caution must be used when operating the Cover ROCK-IT in order to maintain its function and
longevity. The maintenance and use instructions are provided to prevent damage to the Cover
ROCK-IT. Damage caused by the failure to follow the maintenance and operation instructions will
not be covered by the manufacturer’s warranty.
How to CLOSE your spa cover
using the Cover ROCK-IT:
1. With the spa cover in the upright
position, hold the on the Support Arm
(crCC), and slowly guide the cover
and Cover ROCK-IT onto the spa shell.
NEVER allow the spa cover to fall onto
the spa shell unassisted, as it can cause
damage to your Cover ROCK-IT, spa,
and/or spa cover!
2. Unfold the spa cover off itself and
engage the spa cover locks if available.
OPEN
CLOSE

TM
Any ROCK-IT shown to be unserviceable due to defects in materials or workmanship within 5 years
from the date of purchase will be repaired or replaced at the option of California Home Spas, INC,
without charge for labor or materials. (This excludes the cost of freight to and from the manufacturer).
EXCLUSIONS:
A. This warranty does not cover damage incurred by the use of the Cover ROCK-IT and/or the spa cover, other
than in accordance with the printed literature provided by California Home Spas, INC.
B. Defects in components of any part, which are not part of the Cover ROCK-IT
C. Misuse, abuse, negligence, accident, or alterations other than authorized by California Home Spas, INC.
D. Improper installation, normal fading and minor deterioration caused by exposure to the sun, rain, chemicals
or environmental factors.
E. Use of solvents, abrasive cleaners or brushes, and strong detergents.
Except as expressly provided, there shall be no additional Warranty obligation expressed or implied oral
or statutory
ADDITIONS:
A. California Home Spas, INC. shall not be liable for consequential damages or incidental expenses resulting from any
breach of the before mentioned warranties.
B. This warranty gives you specific legal rights and you may have other rights which can vary in different states and
countries.
C. Any dispute between the Buyer and California Home Spas, INC. pertaining to this warranty may, at the option of the
Buyer, be resolved in the State of California, USA, in according to the rules of the American Arbitration Association.
D. Should any one or more of the terms, provisions, covenants, or conditions of this warranty be determined void, invalid,
illegal, or unlawful in any respect, then it shall be so, however it will not affect any of the other terms or provisions of this
warranty and the remainder hereof shall still be in effect.
COVER VALET WARRANTY REGISTRATION FORM
Complete and return within (10) days. Please type or print clearly. Incomplete and/or unreadable forms may
not be registered.
You can also register your warranty online at www.covervalet.com
Owners Name:.
Address:
Phone Number: ( )
E-Mail Address:
Date of Purchase: . Dealer’s Name:
How did you hear about us?
1. Dealer . 4. Home Show . 7. Other .
2. Showroom Display . 5. Magazine . 8. Internet (website)
3. Friend . 6. T.V. . .
For more information, Please contact us at: Cover Valet Toll free: 1-800-730-7727
1621 East Spring Street. International: (001) (562) 283-0595
califOrnia HOme sPas, inc.
Cover roCK-IT 5-Year LImITed WarranTY
This manual suits for next models
1
Table of contents
Other COVER VALET Lifting System manuals