manuals.online logo
Brands
  1. Home
  2. •
  3. Brands
  4. •
  5. COVER VALET
  6. •
  7. Lifting System
  8. •
  9. COVER VALET Cover Rx User manual

COVER VALET Cover Rx User manual

Cover RxTM
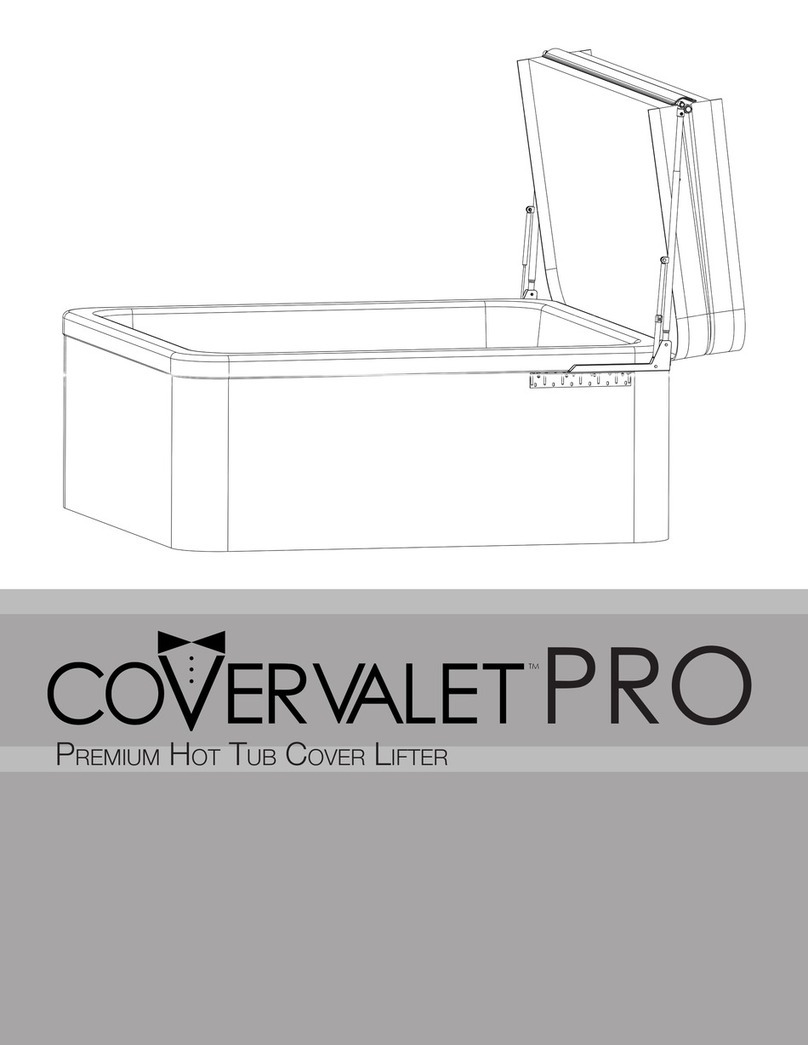
Premium Hot Tub Cover Lifter
TM
!Please read the following before
assembling or installing this product.
•The Cover Rx requires at least 18 inches of clearance on the side
of the spa where the cover will stow.
•The undermount feature of the Cover Rx is designed to work only
for spas that sit on hardscape such as concrete, asphalt or
decking. Installing it on spas sitting on dirt, gravel, grass, etc.
could void the warranty.
•The hardscape on the side of the spa where the Cover Rx will be
installed should extend at least 5” beyond the edge of the spa to
ensure the lifter will be fully supported.
•The spa must be drained to install the undermount base correctly.
Attempting to wedge or force the base under a full spa could
damage the product and void the warranty.
•This product should not be used with “waterlogged” spa covers.
Excessively old or saturated covers can be multiple times their
original weight, which can cause the product to fail and void the
warranty.
If you are in doubt or have any questions, please call
or email before installing this product.
(800) 730-7727
customercare@covervalet.com
Cover Rx Parts and Hardware
Please begin by inspecting the contents of this box and ensuring that all of the parts below are included
Components
rxAA rxBB
rxCC rxDD
rxFF
rxGG rxSPACER2
rxEE
(main body) (gas shock)
(long U-arm elbows)
(support legs) (short U-arm elbows)
(pivot arm) (2”U-arm spacers)
Hardware
rxA (2)
Hex Cap
Screw
rxE (2)
Ball Studs with Lock Nuts
rxF (2)
Keyring Pins
rxG (4)
Carriage Bolts
rxJ (2)
Hex Bolts
attach main body to pivot arms
connect gas shock to pivot arm and body
attach U-arms to pivot arm
attach support legs to base plate
secure main body to support legs
rxB (2)
Metal
Washer
rxC (2)
Metal
Spacer
rxD (2)
Plastic
Washer
rxH (4)
Metal Washers
rxI (4)
Acorn Nuts
rxK (2)
Metal Washers
(base plate)
Attach Base Plate rxDD to Support Legs rxEE using four Carriage Bolts, Washers
and Acorn Nuts.
Attach Pivot Arm rxGG to Main Body rxEE. On each side, insert Hex Cap
Screw rxA through the Metal Washer rxB and Metal Spacer rxC. Insert into
the Pivot Arm Tab (the spacer will fit into the hole in the tab), then through
the plastic washer and into the threaded hole in the main body.
Plastic
Washer
1
2
Make sure the square part of the
Carriage Bolt head seats into the
square hole in the base.
!
4
Slide Main Body over Support Legs. Thread Hex Bolts rxJ and Washers rxK into
the threaded holes near the top of the legs. Leave the bolts loose for now –
they will be tightened later when adjusting for the spa’s height.
Assemble the U-arms as shown with Long Elbows rxCC, Short Elbows rxFF
and (only if necessary) spacers rxSPACER2. Insert the parts so that the
spring buttons click into their respective holes.
Use Spacers rxSPACER2 only if necessary to
accommodate the thickness of your folded cover.
!
3
Insert the U-Arms into the Pivot Arm. Depress the spring button when
inserting and ensure that it clicks in the hole on the back of the Pivot Arm
(not the side).
NOTE: The U-Arms are differentiated by the direction of the diagonal cut-out in each
one. The typical installation will have the diagonal cut-out pointing upward and
outward. (This allows the arms to stow inward when not in use –if you prefer stowing
the arms outward, reverse the right and left U-Arms.)
!
5
Diagonal
Cut-Out
Direction
CLICK!
Diagonal
Cut-Out
Direction
CLICK!
Insert Keyring Pins rxF into holes on the side of the Pivot Arm. The pins
will go through the Diagonal Cut-Outs in the U-Arm, and out the other
side of the Pivot Arm.
Attach Ball Studs rxE to tabs on the Pivot Arm and Main Body. The balls
will face opposite directions.
6
7
8Attach each end of the Gas Shock rxBB to one of the ball studs. The balls
will click into the fitting at the end of the shock. (If you ever need to
release the ball, it can be done by gently prying the metal at the back of
the fitting with a small flat screwdriver.)
1. Move the assembled unit to the edge of your empty spa and slide the base plate
under the spa, leaving roughly ½ inch of space between the Main Body and the
side of the spa.
2. Adjust the height of the unit. With the U-Arms in the horizontal position, the lower
part of the U-Arm should be flush with the top of your spa. Tighten the two height
adjustment bolts.
CLICK!
CLICK!
9Install and Adjust
3. Ensure that all other screws and
bolts are firmly tightened.
4. Fill your spa and ensure that the
weight of the water is holding your
Cover Rx firmly in place .
Using your Cover Rx
Preparing the lifter for use
•Rotate the U-Arms outward until they are
perpendicular to the spa. The spring buttons will
“click” into position.
•Swing the U-arms up into their raised (horizontal)
position.
Using the lifter
•Starting on the side of the spa opposite the lifter, fold
the spa cover in half along its center seam.
•Slide the folded spa cover across the top of the spa
and into the U-Arms.
•Lift the seam side of the cover, which will swing both
the cover and the lifter until they reach the vertical
position.
•Reverse the instructions above to put the cover back
onto the spa.
Stowing the lifter when not in use
•With the U-Arms in their lowered (vertical) position,
depress the spring button which faces the spa and
gently rotate the arm until it is flush with the spa.
Repeat for the second U-Arm.
California Home Spas, Inc.
Cover Rx 5-Year Limited Warranty
Any Cover Rx shown to be unserviceable due to defects in materials or workmanship within 5 years from the date of
purchase will be repaired or replaced at the option of California Home Spas, Inc., without charge for labor or materials. (This
excludes the cost of freight to and from the manufacturer).
EXCLUSIONS:
A. This warranty does not cover damage incurred by use of the Cover Valet and/or the spa cover, other than in accordance
with the printed literature provided by California Home Spas, Inc.
B. Defects in components of any part that is not part of the Cover Valet.
C. Misuse, abuse, negligence, accident, or alterations other than authorized by California Home Spas, Inc.
D. Improper installation, normal fading and minor deterioration caused by exposure to the sun, rain, chemicals or
environmental factors.
E. Use of solvents, abrasive cleaners or brushes, and strong detergents.
F. The Gas Shock has 1-year warranty.
Except as expressly provided, there shall be no additional Warranty obligation expressed or implied oral or statutory
ADDITIONS:
A. California Home Spas, Inc. shall not be liable for consequential damages or incidental expenses resulting from any
breach of the before mentioned warranties.
B. This warranty gives you specific legal rights and you may have other rights which can vary in different states and
countries.
C. Any dispute between the Buyer and California Home Spas, Inc. pertaining to this warranty may, at the option of the
Buyer, be resolved in the State of California, USA, in accordance with the rules of the American Arbitration Association.
D. Should any one or more of the terms, provisions, covenants, or conditions of this warranty be determined void, invalid,
illegal, or unlawful in any respect, then it shall be so, however it will not affect any of the other terms or provisions of
this warranty and the remainder hereof shall still be in effect.
COVER VALET WARRANTY REGISTRATION FORM
Complete and return within (10) days of purchase. Please type or print clearly. Incomplete and/or
unreadable forms may not be registered. You can also register your warranty online at
www.covervalet.com
Name:_______________________________________________________________________________________________________
Address: ____________________________________________________________________________________________________
Phone Number: __________________________________________
E-Mail Address: _____________________________________________________________________________________________
Date of Purchase:______________________ Dealer’s Name:_____________________________________________________
How did you hear about us? ◻Dealer ◻Home Show ◻Magazine ◻Showroom Display
◻Website_____________________ ◻Word of Mouth ◻TV
For more information, please contact Cover Valet: Toll free: 1-800-730-7727
International: (001) (562) 283-0595
E-mail: Questions@covervalet.com
Cover Valet • 1621 East Spring Street • Long Beach, CA 90806 • USA

Other COVER VALET Lifting System manuals

COVER VALET PRO User manual

COVER VALET

COVER VALET PRO User manual

COVER VALET Cover Rock-It User manual

COVER VALET

COVER VALET Cover Rock-It User manual

Popular Lifting System manuals by other brands

Acdeos AXS-MOCR manual

Acdeos

Acdeos AXS-MOCR manual

NOVACARE ProLift Series Instructions for use

NOVACARE

NOVACARE ProLift Series Instructions for use

Rotary 100 Series installation instructions

Rotary

Rotary 100 Series installation instructions

Lifter HX10E Use and maintenance manual

Lifter

Lifter HX10E Use and maintenance manual

BHW WHP08 Operating & maintenance instructions

BHW

BHW WHP08 Operating & maintenance instructions

vimec S11 manual

vimec

vimec S11 manual

probst AKZ-UNI-850 operating instructions

probst

probst AKZ-UNI-850 operating instructions

Snorkel SL20 Operator's manual

Snorkel

Snorkel SL20 Operator's manual

Dino lift DINO 105TL operating instructions

Dino lift

Dino lift DINO 105TL operating instructions

Bike-Lift PSB-20 Use and maintenance manual

Bike-Lift

Bike-Lift PSB-20 Use and maintenance manual

Dhollandia DH-LSP.07 installation manual

Dhollandia

Dhollandia DH-LSP.07 installation manual

HORCHER UNILIFT PRO operating instructions

HORCHER

HORCHER UNILIFT PRO operating instructions

Genie GTH-636 Service and repair manual

Genie

Genie GTH-636 Service and repair manual

REID LIFTING porta-gantry 500 Assembly & operation manual

REID LIFTING

REID LIFTING porta-gantry 500 Assembly & operation manual

Bishamon X Series Operation and service manual

Bishamon

Bishamon X Series Operation and service manual

Haulotte COMPACT 8 Operator's manual

Haulotte

Haulotte COMPACT 8 Operator's manual

Stenhoj MASCOT 1.25 Operation and maintenance instructions

Stenhoj

Stenhoj MASCOT 1.25 Operation and maintenance instructions

Basta Boatlifts Over-Center 24k60 Assembly & installation

Basta Boatlifts

Basta Boatlifts Over-Center 24k60 Assembly & installation

manuals.online logo
manuals.online logoBrands
  • About & Mission
  • Contact us
  • Privacy Policy
  • Terms and Conditions

Copyright 2025 Manuals.Online. All Rights Reserved.