Switch
To
Motor
Figure 4 - Wiring Schematic
• Removing the rocker switch will lock the unit and
prevent unauthorized use.
A manual reset overload protector is installed in line
with the power supply to the motor. If the planer/molder
is overloaded, the protector will break the circuit.
If the breaker is tripped, turn the planer/molder "off" and
reset the circuit
by
pressing the button.
OPERATION
Refer to Figures 5 - 16.
DESCRIPTION
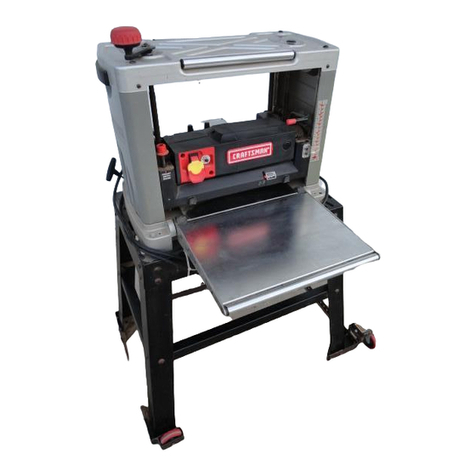
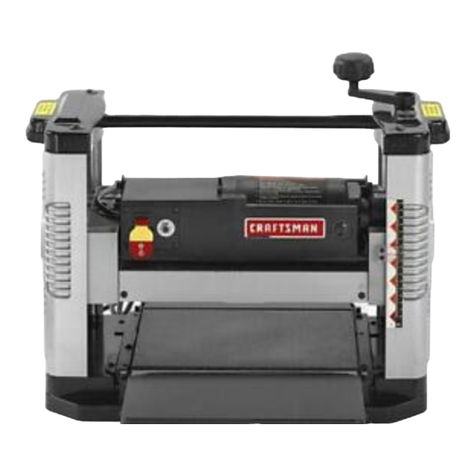
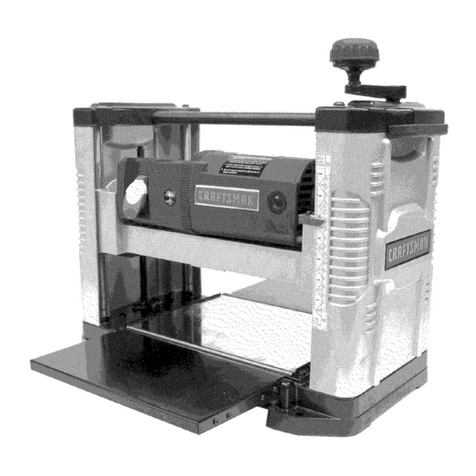
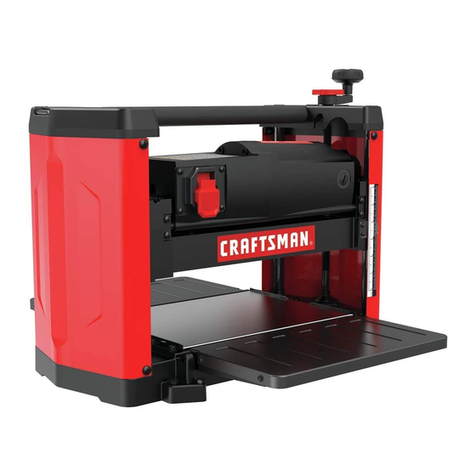
Sears 12W' planer/molder finishes rough-cut lumber to
size and planes soft and hardwoods up to 5" thick and
12W' wide. Produces decorative designs including fur-
niture moldings, baseboards, casings, picture frames,
tongue and groove, glue joints, rabetting and much
more.Wood feeds into three-blade cutterhead by
adjustable rubber in-feed/out-feed rollers. Large 12W' x
19" cast iron table has precision ground steel columns
for smooth feeding of the workpiece and reducing vibra-
tion. Motor has overload protection and is enclosed
in
the base of the machine, away from wood chips and
dust. The gearbox offers two speeds; 26 ftlmin. for fast
planing, and
13ft/min
for smooth finish molding. The
tool comes with anti-kickback mechanism for added
safety, and
bu
ilt-in carrying handles.
OPERATION SAFETY RULES
WARNING: Operation of any power tool can result
in
foreign objects being thrown into eyes which can result
in severe eye damage. Always wear safety goggles
complying with United States ANSI Z87.1 (shown on
package) before commencing power tool operation.
CAUTION: Always observe the following safety pre-
cautions:
• Know general power tool safety. Make sure all pre-
cautions are understood (see pages 2, 3 and 5).
• Whenever adjusting
or
replacing any parts on
planer/molder, turn switch off and remove plug from
power source.
• Make sure all guards are properly attached and
securely fastened.
• Make sure all moving parts are free from interference.
• Always wear eye protection or face shield.
• Make sure knives are aligned and properly attached
to cutterhead.
5
• Do not plug in planer/molder unless switch is in "off"
position. After turning switch on, allow planer/molder
to come to full speed before operating.
• Do not attempt to perform an abnormal
or
little used
operation without study and the use
of
adequate jigs,
fixtures and the like.
• Keep hands clear
of
all moving parts.
• Do not force cut. Slowing or stalling will overheat
motor. Allow automatic feed to function properly.
• Use quality lumber. Blades last longer and cuts are
smoother with good quality wood.
• Do not plane material shorter than
14Y2'',
narrower
than 3
.4"
, wider than 12W'
or
thinner than W'.
• Never make planing cut deeper than %".
• Maintain the proper relationships of infeed and out-
feed table surfaces and cutterhead knife path.
•
Do
not back the work toward the infeed table.
• Take precautions against kickback. Do not permit
anyone
to
stand or cross in line of cutterhead's rota-
tion. Kickback
or
thrown debris will travel in this
direction.
• Turn switch off and disconnect power whenever plan-
er/molder is not
in
use.
• Replace
or
sharpen knives as they become dam-
aged
or
dull.
• Keep planer/molder maintained. Follow maintenance
instructions (see page 12}.
DEPTH
OF
CUT
• Thickness planing refers to the sizing of lumber to a
desired thickness while creating a level surface par-
allel
to
the opposite side of the board.
• Quality
of
thickness planing depends on the opera-
tor's judgement about the depth of cut. Depth of cut
depends on the width, hardness, dampness, grain
direction and grain structure of the wood.
• Maximum thickness of wood which can be removed
in
one pass is
%2''
for planing operations. For opti-
mum planing performance, the depth of cut should
be
less than
~6,.
• Board should be planed with shallow cuts until the
work has a level side.Once level surface has been
created, flip the lumber and create parallel sides.
Plane alternate sides until the desired thickness is
obtained.
• When half of total depth of cut is taken from each
side, the board will have a uniform moisture content
and additional drying will not cause
it
to warp.
• Depth of cut should be shallower when work is wider.
• When planing hardwood, take light cuts or plane the
wood in thin widths.
• Make test cut when working with a new type
of
board or different kind
of
operation.
• Check accuracy of test cut prior to working
on
fin-
ished product.
