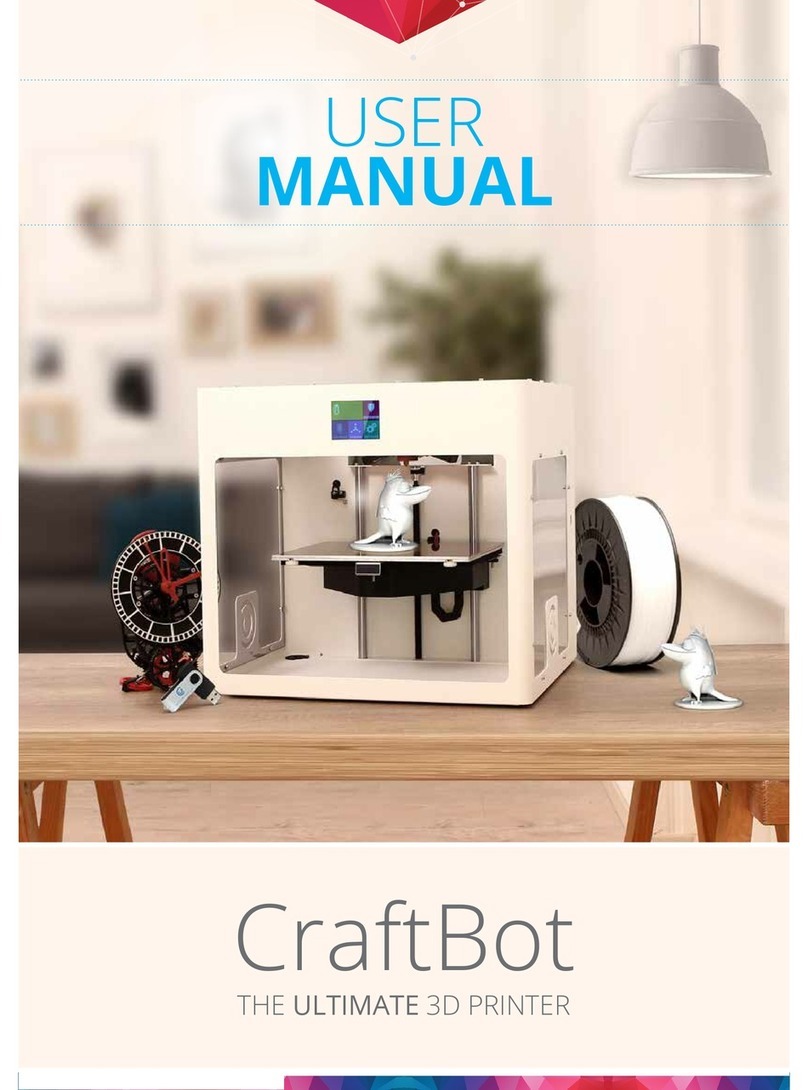
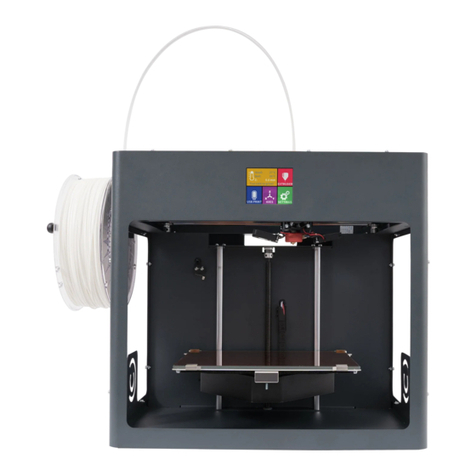
CraftUnique CraftBot User manual

CraftBot Desktop
3D Printer
User Manual
Dec 15, 2014

TABLE OF CONTENTS
2
Recommended use and warnings: READ FIRST BEFORE DOING ANYTHING ELSE!
01. WELCOME
01.01. Introduction
01.02. Specifications
02. SETTING UP YOUR CRAFTBOT DESKTOP 3D PRINTER
02.01. Contents of the box
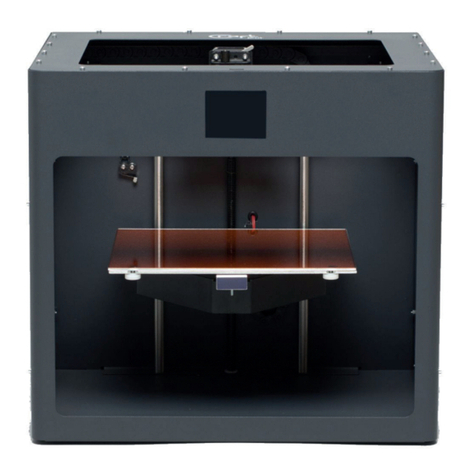
02.02. CraBot diagram
02.03. Unpacking your CraBot
02.04. Freeing the extruder
02.05. Installing the filament guide tube
02.06. Installing the filament spool holder
02.07. Mounting the filament spool
02.08. Attaching the USB cable
02.09. Attaching the power chord and powering up
03. THE FIRST STEPS
03.01. Navigating through the touchscreen LCD menu
03.02. Leveling the build plate
03.03. Loading the filament
04. CRAFTING AN OBJECT WITH CRAFTWARE
04.01. Downloading CraWare
04.02. Download an object from http://www.yeggi.com
04.03. Open CraWare
04.04. Bring an .stl file onto the scene
04.05. Generate .gcode
04.06. Cra it!
05. MAINTENANCE
05.01. Lubricating the CraBot 3D printer
06. GUARANTEE AND CRAFTBOT 3D PRINTER WARRANTEE
Table of Contents

*Always operate the CraBot 3D printer with the utmost care, for both the machine
and the user’s wellbeing. Respect the machine!
*Never force anything, whether it be during unpacking, setup, operation, service.
Never!
*Never reach inside the machine when turned on. Dierent parts of the machine
(mainly the
extruder and heated buildplate) operate at very high temperatures and can cause
severe burns. The moving parts can also cause pinching and crushing injuries.
There is also a risk of electric shock when reaching inside.
*Make sure that the power supply is o and that the power cord is disconnected
before servicing. Allow at least 5 minutes for the device to cool down aer unplug-
ging it before reaching inside to service.
*Service and oil the suggested parts as oen as recommended. Never use a sub-
stance to do so that is not recommended by us personally.
*Never leave the CraBot unattended while it is plugged in, and especially when it
is operating.
*Always turn o the printer and disconnect from the computer when it is not being
used.
*Never, ever operate the CraBot if something is not running “as usual”
*In the case of an emergency, immediately disconnect the printer from power and
the computer.
*If you are working with material other than PLA, operate the machine in an open
space with the necessary ventilation which allows the fumes to dissipate. Breath-
ing in unnecessary fumes can result in health hazards and sickness.
*an open area is also recommended for PLA use, even though PLA is a relatively
safe material.
RECOMMENDED USE AND WARNINGS
3 Recommended use and warnings

*The CraBot should be operated on a flat and even surface parallel with the
ground.
*CraBot should never be used in high traic footpaths, or any footpath or walk-
way for that matter. It should not be used in any area were any outside interfer-
ence to the unit could occur.
*Keep small children away from the CraBot printer, as moving parts could be at-
tractive to them. Although, children can receive great educational benefits from
CraWare and the CraBot 3D printer, the mechanism itself is not a toy, but rather
it is a tool. Serious injuries can result if CraBot is not regarded in this way. Always
keep close watch around any child in the area of the printer, and provide the cor-
rect supervision to avoid any possible injuries. Children are encouraged to work
with the soware end of 3D printing, but when it comes to using the CraBot itself,
an adult should always be there.
*Take care of all pets in the area of the CraBot 3D printer. Especially with cats, as
the moving parts can be very enticing. The components have the ability to cause
serious harm, and just as a human should not reach inside the printer while in op-
eration, neither should an animal.
*Do not place the CraBot 3D printer on top of any moving devices.
*Never place anything on top of the printer. There are many moving parts in the
printer and setting objects on top of it could lead to unnecessary dangers in the
environment, such as things falling o the top of the printer, or into the printer it-
self.
*Never place the printer near an open flame, water, heat sources, flammable ma-
terials, or anything else deemed “hazardous”.
*Always work with a smoke alarm in the same room as the CraBot 3D printer.
RECOMMENDED USE AND WARNINGS
4 Recommended use and warnings

*Optimally the best mode for printing is directly with a USB card, which is unaect-
ed by the operations from a computer. If you are using the CraBot directly, make
sure that all systems that could possibly cause lag, such as screensavers, sleep or
hibernation mode, or videos/programs that could cause delays, have been dis-
abled. An uninterrupted stream is best for making prints, as any lag can cause
flaws in the final printed object, even making it necessary to re-print.
*Always use a surge protector with a circuit breaker.
*Never, ever attempt to open or fix the power supply. If you come across any prob-
lem, turn the machine o.
*Only use the CraBot’s power supply.
*Plug the CraBot 3D printer and your computer into the same outlet to reduce the
possibility of interference.
*Do not plug the CraBot into the same outlet as high power devices such as A/C,
heaters, or climate control devices, or large appliances, even kitchen appliances or
anything else that sucks out a lot of power in a short time.
*Do not use non recommended materials and filaments with the CraBot.
*Keep the nozzle out of close contact with the build plate when not in use.
*Do not modify the CraBot.
RECOMMENDED USE AND WARNINGS
5 Recommended use and warnings

*CONCERNING RADIO AND TELEVISION INTERFERENCE
The CraBot 3D printer has undergone testing in order to recognize it's satisfactory
compatibility with the standards set by the Federal Communications Commission
(FCC) and the CE mark European standard. The CraBot 3D printer complies with
the limits of a Class B digital device which can be found in part 15 of the FCC rules.
All electronic units emit radio waves. If used correctly, and only within the bound-
aries of the manner intended and suggested by the manufacturer, the CraBot
passes all of these necessary interference tests with flying colors. The CraBot is
also specifically tested to function when bombarded with interfering radio waves
within the guidelines of the FCC standard. Modification is not recommended by
CraUnique, and if the operator defers from these instructions, they take all the
responsibility into their own hands. Any alteration to the CraBot by the consum-
er will void the user the authority to operate the CraBot 3D printer under the FCC
guidelines.
Going back to the fact that "all electronic devices emit radio interference", if you
happen to experience interference in correlation with the operation of your Cra-
Bot 3D printer, maybe try these popular quick remedies: relocate either the Cra-
Bot or the other unit involved in the interference, reorient any antenna or transmis-
sion/reception fundamental, try using a separate power outlet, contact an expert
technician.
RECOMMENDED USE AND WARNINGS
6 Recommended use and warnings

Chapter 1
Welcome

8
Thank you for purchasing the CraBot 3D printer! Now, “Just what is 3D printing?”,
you may ask. 3D printing encompasses a variety of dierent techniques to achieve
one similar end result: the construction of solid, three dimensional objects which
can be used in either practical, relative or artistic mediums. The CraBot itself does
this through a process known as “Fused Filament Fabrication” (FFF) in which you
can use a 3D design generated in a soware program to make a real life physical
print. These designs are translated into toolpath instructions for the CraBot
and are sent to the machine via USB cable or USB pendrive. The printer then
heats a filament material (such as PLA or ABS), and once the material reaches the
appropriate melting temperature, it is extruded through a nozzle to create these
3D prints layer by layer. The possibilities are almost limitless!
Welcome
INTRODUCTION

9 Welcome
SPECIFICATIONS
PRINTING
Printing technology: Fused Filament
Fabrication (FFF)
Build volume: 25x20x20 cm
Layer resolution: 100 micron (high)
200 micron
(medium)
300 micron (low)
Position precision: X,Y: 4 micron
Z: 2 micron
Filament diameter: 1.75 mm
Nozzle diameter: 0.4 mm
Print speed: 50mm/s
SOFTWARE
Soware package: CraWare
File types: STL/OBJ/CWPRJ
Supports: Windows (XP
32bit/7+)
Mac OSX
PHYSICAL DIMENSIONS
Frame dimensions: X: 40 cm
Y: 36 cm
Z: 37 cm
With all parts
attached even
filament guide tube:
X: 40 cm
Y: 46 cm
Z: 55 cm
Shipping box: X: 46 cm
Y: 42 cm
Z: 43 cm
Weight: 14 kg
Total shipping weight: 17 kg
TEMPERATURE
Ambient temperature: 15-32 °C
Storage temperature: 0-32 °C
Operating nozzle
temperature:
180-260 °C
Operating heated
build plate
temperature:
50-100 °C
WARNING: The CraBot generates high temperatures which can cause burns and also has moving
parts that can cause pinching and crushing injuries. Never reach inside of the CraBot while it
is in operation. Always control the CraBot from the touchscreen on the front of the printer or
with the power-switch on the back. Always allow the CraBot to cool down for 5 minutes before
reaching inside or providing maintenance.
CAUTION: When opening the CraBot for service, always make sure that the power switch is
turned into the o position and the cord is disconnected completely from the printer.

Chapter 2
Setting up your
CraftBot Desktop 3D printer

11 Setting up your CraBot
CONTENTS OF THE BOX
Filament guide tube
holder
Filament guide tube Filament spool
hoder
Filament spool Hex wrenches USB Flash storage
USB A-B cable AC power cable Spacer card

12 Setting up your CraBot
CRAFTBOT DIAGRAM
[1] - Touchscreen LCD display
[2] - Filament guide tube
[3] - Nozzle
[4] - Removable build plate
[5] - Leveling knobs
[6] - Z axis rod
3
12
4
6
5

13 Setting up your CraBot
CRAFTBOT DIAGRAM
[7] - Filament spool holder
[8] - Filament spool
[9] - Filament guide tube holder
[10] - Extruder
[11] - USB socket
[12] - AC power socket
7
8
9
12
11
10

9 Setting up your CraBot
UNPACKING YOUR CRAFTBOT
1. Place the CraBot box on the ground
on a level surface. Make sure that there
is a lot of open space around you. Open
the box, make sure not to damage the
contents if using a blade. You will find
the quickstarter guide, along with the
invoice, located within the top protective
foam insert. Remove these.
2.Youwillthenfindtheinsertcradlewhich
contains the accessories and filament
spool. The cradle also acts as a support
for the extruder during shipping. The
CraBot user manual can also be found
on the pendrive with the accessories.
We recommend that you use this users
manual to guide you through the setup
process. Keep it at hand as you unpack
the contentsof the box. If you feel that
anything is missing, feel free to contact
us by email at info@craunique.com.
Remove the accessory cradle from your
CraBot 3D printer.

15 Setting up your CraBot
UNPACKING YOUR CRAFTBOT (continued)
NOTE: You can download a PDF copy of this manual at http://www.craunique.com/docs/
crabot-user-manual
3) Now you will find the CraBot 3D
printer itself completely enclosed in
a protective plastic bag. Open the
plastic covering and firmly grasp the
frame of the CraBot. Li it from the
plastic and out of the box, resting it
on a stable and level surface. Do not
stack it on top of other components, a
desktop is the best resting surface for
your printer. The CraBot has moving
parts, so do not set it near to the edge
of the table. Be careful! Don’t hurt
yourself, the CraBot 3D printer is
made of good stu, so it’s heavy!

16 Setting up your CraBot
INSTALLING THE FILAMENT GUIDE TUBE
Locate the guide tube holder. Using a hex wrench, install the guide tube holder
onto the top of the CraBot at a desired position. Insert the other end of the
filament guide tube into the guide tube holder on CraBot. Any side will do for
installation because the extruder is made to cover the entire surface area of the
printer evenly. Keep in mind that the spool holder must be installed directly next
to the guide tube holder.
Install the filament guide tube holder.
1

17 Setting up your CraBot
INSTALLING THE FILAMENT GUIDE TUBE (continued)
Locate the filament guide tube. Push the filament guide tube into the filament
guide tube holder and push the other end into the hole on the top of the extruder.
Install the filament guide tube.
2

18 Setting up your CraBot
INSTALLING THE FILAMENT SPOOL HOLDER
Locate the filament spool holder. Using a hex wrench install the filament spool
holder next to the filament guide tube holder.
Note: The spool holder must be installed beside the guide tube holder.

19 Setting up your CraBot
MOUNTING THE FILAMENT SPOOL
1. Open the box containing the PLA filament and take the filament spool out of
the bag.
2. Fit the filament spool onto the filament spool holder so that the lead end keeps
it’s course when the filament is fed into the guide tube holder.

20 Setting up your CraBot
ATTACHING THE USB CABLE
1. Take the USB-A to USB-B cable from the accessories. Insert the USB cable into
the USB-B port on the right side of the CraBot. You can attach the other end of
the USB cable directly into your computer.
Other manuals for CraftBot
1
Table of contents
Other CraftUnique 3D Printer manuals
