Setting up the sun shelter
10
Setting up the sun shelter
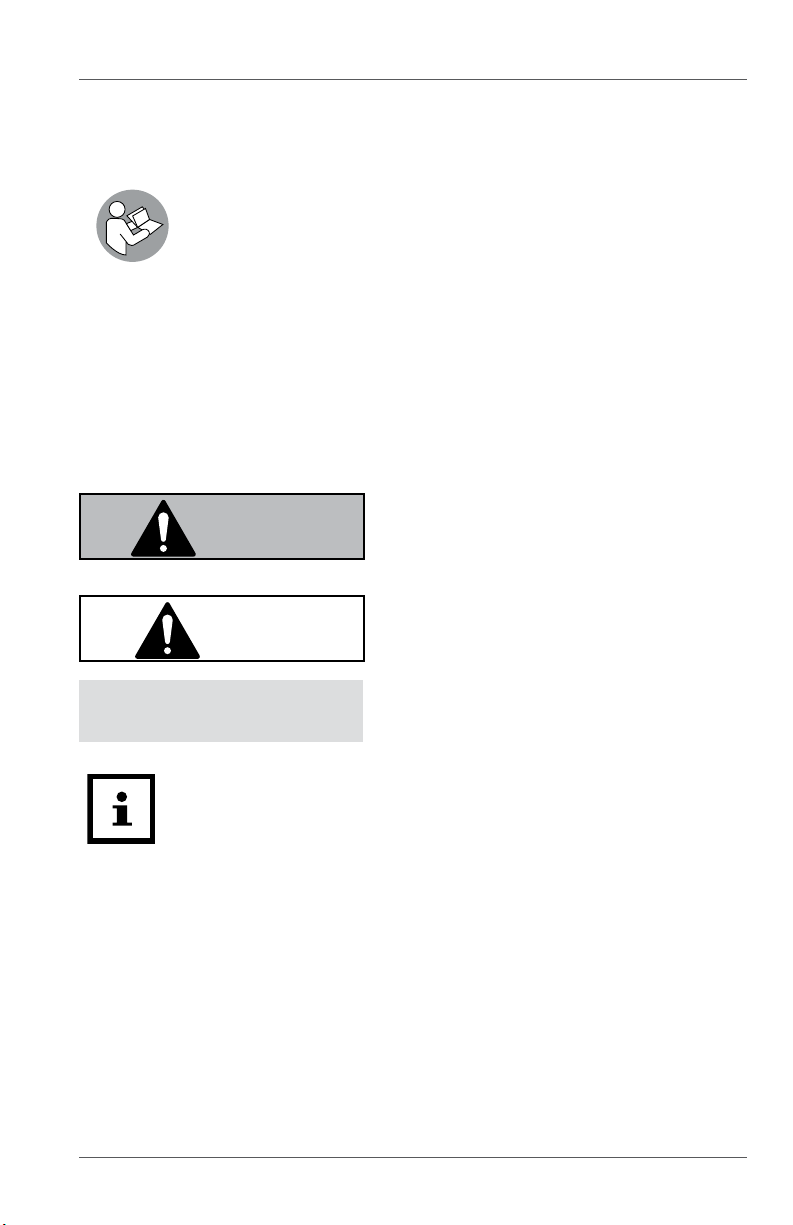
CAUTION!
Risk of injury!
A sun shelter that is not adequately secured can cause injuries.
− Secure the sun shelter on the ground.
− Tighten the tensioning ropes and secure the pegs so that
no one can trip over them.
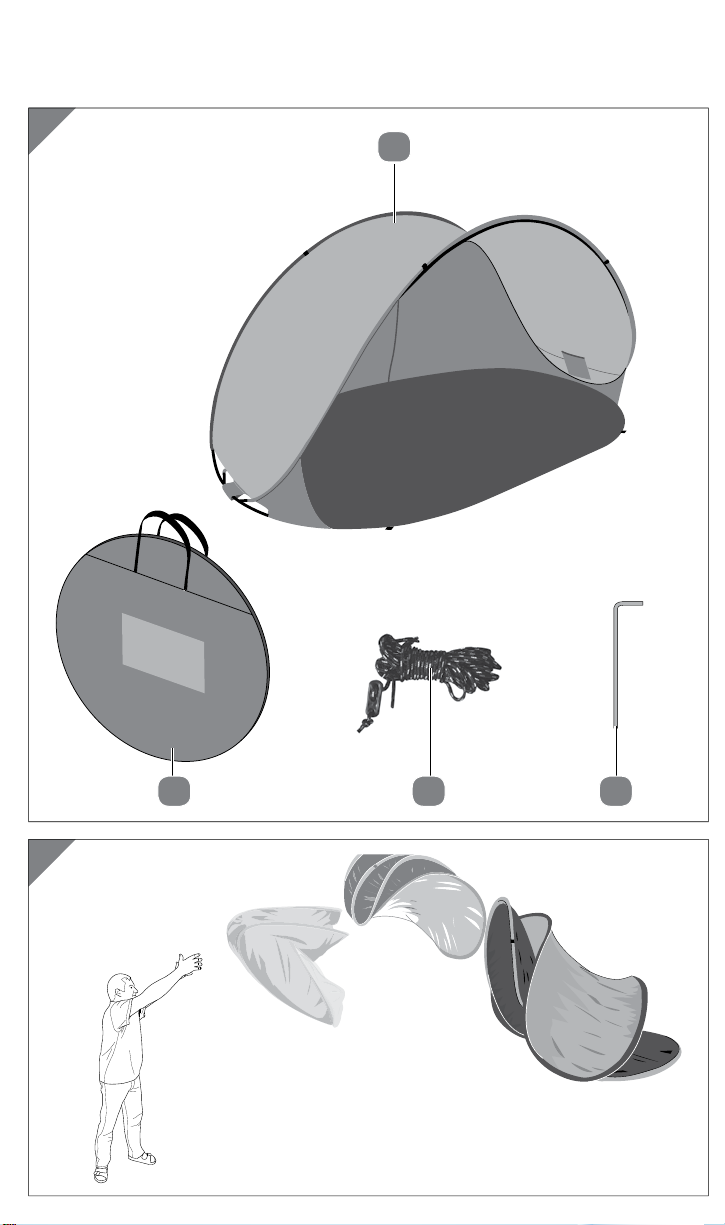
1. Take the sun shelter 1out of the storage bag 4.
2. Take the securing strap (rubber band) off of the sun shelter.
Caution! Once you have removed the securing strap, the sun shelter will
immediately pop open (see Fig.B).
3. Position the sun shelter in the desired location.
4. Secure the tensioning ropes 3on the sun shelter.
5. Insert the pegs 2in the loops on the end of the tensioning ropes.
6. Tighten the tensioning ropes and secure the pegs in the ground.
Make sure that no other persons are in the vicinity of the sun shelter while it
springs open during setup.
Taking down the sun shelter
1. Remove the pegs 2from the ground.
2. Remove the tensioning ropes 3from the sun shelter.
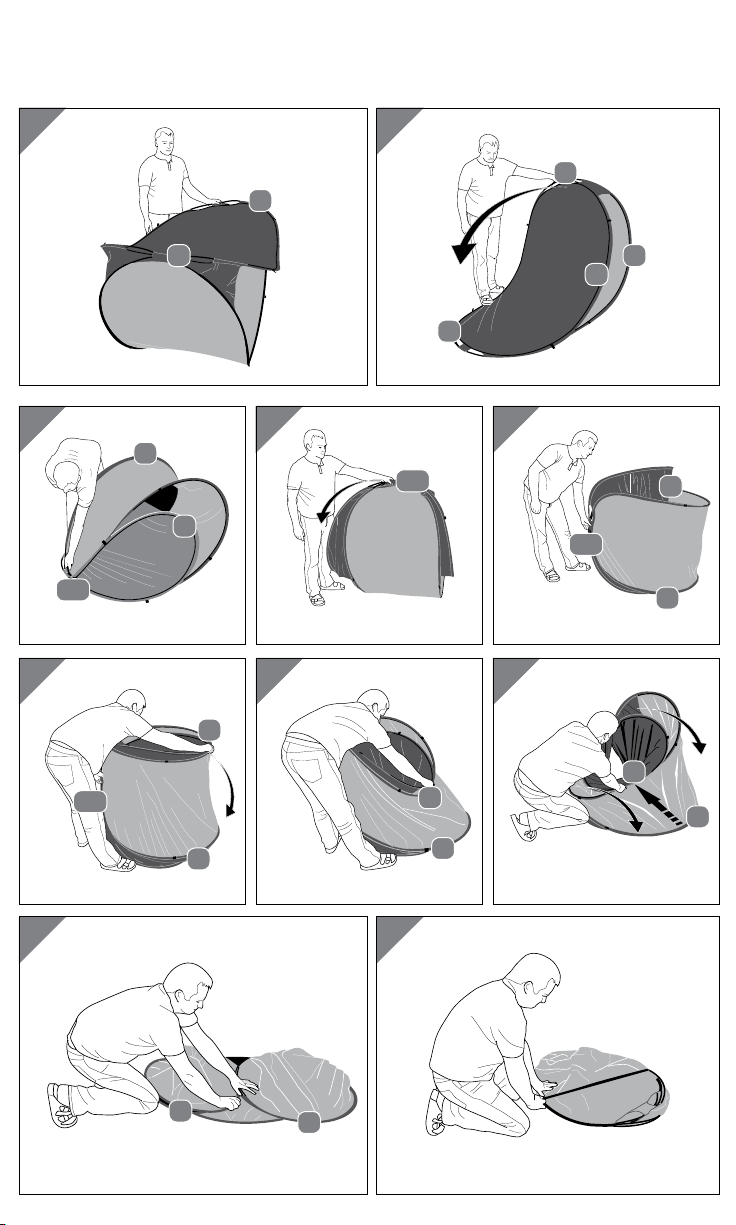
3. Set the sun shelter up on its head so that the opening is facing forward (see Fig.C).
4. Bring the two ends Aand Btogether and take hold of all 4 poles with
your left hand (see Fig.D and E).
5. Turn the sun shelter 90 degrees and set it upright in front of your body.
Make sure that the side Cwith the rubber band is down (see Fig.F and G).
6. Use your right hand to take hold of the two rings Dthat have been formed
and bend them down and to the left up to the stop point (viewed from
where you are standing) (see Fig.H, I and J).
When bending, apply gentle pressure to the pole Aand B
with your left hand in order to then let go of the right hand.
Three rings should now have been formed.