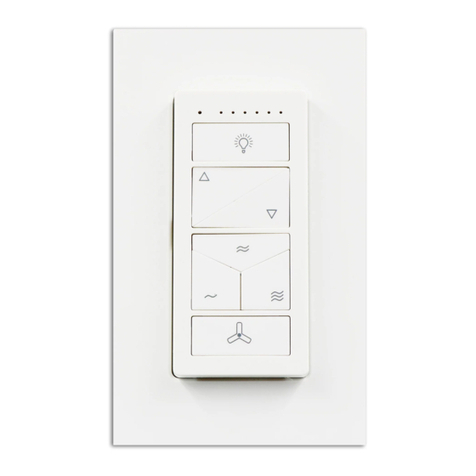
Crayola AL-CTLR-RGBW-4CP User manual

For general information purposes only. Specications, dimensions and construction not guaranteed
and are subject to change without notice. Copyright © 2020 ASP Holdings, Inc. All rights reserved.
Have questions? Call 888-503-1317
Multi-Zone Handheld
Remote Controllers
INSTALLATION GUIDE

For general information purposes only. Specications, dimensions and construction not guaranteed
and are subject to change without notice. Copyright © 2020 ASP Holdings, Inc. All rights reserved. Have questions? Call 888-503-1317
aspectLED's multi-zone line of color changing, color tuning, and
dimming controllers give you complete control over the color,
brightness, and tone of your 12VDC and 24VDC LED products. With
handheld and wall mounted controller options, you can pick the
style and form factor that ts your application perfectly.
Product Overview
• Install in accordance with the National Electric Code, and all local regulations.
• This product is intended to be installed and serviced by a qualied licensed electrician.
• Only use with compatible LED xtures, controls, and switches. Only use copper wiring.
• Ensure appropriate type and size wire is installed between driver, xture, and any controls in between.
When choosing wire, factor in voltage drop, amperage rating, and type (in-wall rated). Improper wire size
or type could cause a re or damage components.
• Do not install if product has any visible damage.
• Do not modify or disassemble this product beyond instructions or the warranty will be void.
• Use only non-dimming class 2 constant voltage LED power supply.
SAFETY AND WARNINGS
THIS GUIDE APPLIES TO:
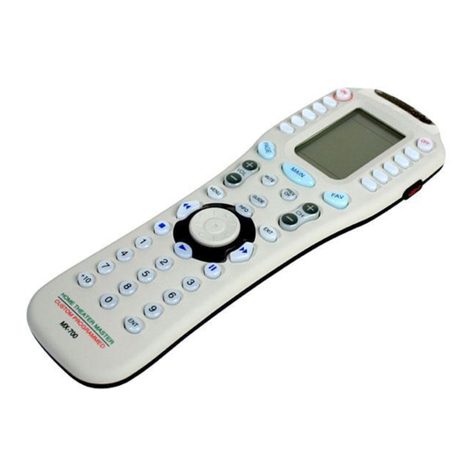
AL-CTLR-RGBW-4CP AL-CTLR-RGBW-4ZRF-WMT AL-CTLR-DIM-4ZRF-RMT AL-CTLR-CCT-4ZRF-RMT
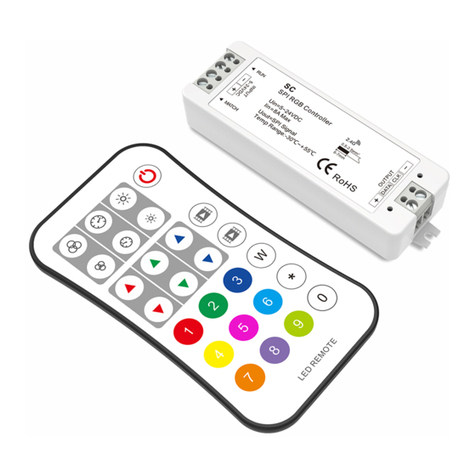
4 channel LED
controller base unit/
receiver
RGB+W 4-zone
handheld remote
controller
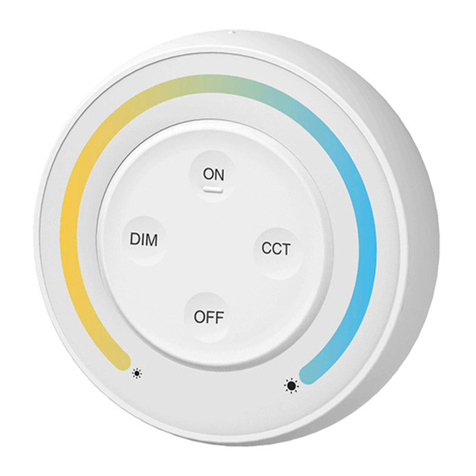
Single color dimming
4-zone handheld
remote controller
Color tuning 4-zone
handheld remote
controller
ALSO CHECK OUT:
AL-CTLR-RGBW-3ZRF-WMT
A separate Install guide for
the in-wall controller can
be found on aspectled.com.
2
MULTI-ZONE CONTROLLER INSTALLATION GUIDE

3
MULTI-ZONE CONTROLLER INSTALLATION GUIDE
For general information purposes only. Specications, dimensions and construction not guaranteed
and are subject to change without notice. Copyright © 2020 ASP Holdings, Inc. All rights reserved. Have questions? Call 888-503-1317
Before you begin
We know how boring it can be to read instructions, so we’ll
keep this installation guide as short and sweet as possible.
Before you begin with your installation, be sure to fully read
these instructions. They contain many useful tips and pointers
that will help to ensure a perfect installation, save you time,
and ensure your safety.
It is important that you install this product (and all other
electrical products) in accordance with the National Electric
Code (NEC) and all applicable local building and electrical
codes for your area. If you are unfamiliar with the NEC, your
local building/electrical codes, and/or the proper installation
methods for electrical devices, you should hire a qualied and
licensed electrician to do the work for you.
• This product is only suitable for dry locations. Avoid direct sun light.
• Use of accessories not recommended by aspectLED may cause an unsafe condition and void warranty.
• Always consult a wire gauge chart to determine the correct size wire for your application. Wire gauge is
dependent on voltage drop, amperage rating, and environment. Incorrect wire selection could overheat
systems and cause a re.
• These controllers are low voltage and require a step down transformer.
• Keep nger o the touch ring when installing batteries to improve sensitivity.
• Do not use the controller in a concrete or metal-heavy area or in a strong electromagnetic eld or
range of remote may be considerably reduced.
Important considerations
Before beginning any electrical work, always
disconnect power at the fuse or circuit breaker.

4
MULTI-ZONE CONTROLLER INSTALLATION GUIDE
For general information purposes only. Specications, dimensions and construction not guaranteed
and are subject to change without notice. Copyright © 2020 ASP Holdings, Inc. All rights reserved. Have questions? Call 888-503-1317
System diagrams
+V+
R-
G-
B-
W-
+
V+
R-
G-
B-
W-
+
+
+V+
R-
G-
B-
W-
+
V+
R-
G-
B-
W-
+
+
Non-Dimmable Power Supply
RGBW Controller/Receiver
RGBW LED Light Fixture
Handheld Remote
Controller
HANDHELD REMOTE DIAGRAM:

5
MULTI-ZONE CONTROLLER INSTALLATION GUIDE
For general information purposes only. Specications, dimensions and construction not guaranteed
and are subject to change without notice. Copyright © 2020 ASP Holdings, Inc. All rights reserved. Have questions? Call 888-503-1317
Installation
Install your light xture and run the wires to where you’re locating your power supply
and controller/receiver.
Remove the covers from the controller/receiver and make your output wiring connections.
a. For RGBW, white should go to W- (CH4), blue to B- (CH3), green to G- (CH2), red to R- (CH1), and black to V+.
b. For single color dimming, your positive wire should go to V+, and negative to any of the 4 negative terminals.
c. For color tuning, your positive wire should go to V+, yellow wire to WW- (CH1 or 3), and white to CW-(CH2 or 4).
Connect your positive and negative input wiring connections from the power supply to
the controller/receiver.
Identify the location to mount your light xture, your power supply, and
controller/receiver.
3
4
5
2
Turn o power at breaker.
1
12VDC or 24VDC
Non-Dimmable Power Supply
(don't worry you'll still be able to dim)
Handheld remote
(listed on page 2)
12VDC or 24VDC
light xture(s)
Controller/Receiver
AL-CTLR-RGBW-4CP
(one for each zone)
Turn on power and plug in the power supply
6

6
MULTI-ZONE CONTROLLER INSTALLATION GUIDE
For general information purposes only. Specications, dimensions and construction not guaranteed
and are subject to change without notice. Copyright © 2020 ASP Holdings, Inc. All rights reserved. Have questions? Call 888-503-1317
Pair the receiver to the remote or wall unit.
a. Turn on the controller . On the handheld remotes, the light will turn on.
b. Press the zone button on the remote for the zone you wish to associate. If only 1 zone, choose zone 1.
c. Press and release the learning key on the controller/receiver
d. Immediately touch the color wheel (dimming spectrum on dimming controllers).
e. The lights should ash, and your controller should be paired. If not, skip to troubleshooting.
f. Repeat this process for each subsequent zone if applicable.
If using multiple base units, repeat the pairing process above to pair a base unit to each
of the desired zones on the remote.
7
Congrats! Replace the controller/receiver’s terminal covers and you are all set!
8
7
learning keylearning key
zone buttons

7
MULTI-ZONE CONTROLLER INSTALLATION GUIDE
For general information purposes only. Specications, dimensions and construction not guaranteed
and are subject to change without notice. Copyright © 2020 ASP Holdings, Inc. All rights reserved. Have questions? Call 888-503-1317
Troubleshooting
My remote won't turn on
• Your remote needs batteries.
• Your wall mount controller has a poor connection or reversed polarity at the power supply or at the
wall controller. Try reinserting or swapping positive and negative wires.
• The 12VDC or 24VDC power supply feeding your wall controller is o or connected improperly.
My lights won't turn on or
some colors don't work
• You’ve got a poor connection or reversed polarity either between your power supply and receiver,
or receiver to light xture(s). Most likely, the V+ wire.
• Your power supply is o or wired improperly.
My controller won't pair
with the receiver
• Try clearing the memory of the receiver by pressing and holding the learning key for
5-10 seconds. Then restart the pairing process.
• Make sure you’re touching the color wheel within seconds of pressing and releasing
the learning key.
• Make sure the remote is on and in the right zone before pressing the learning key.
The handheld remotes turn o automatically after a short period of inactivity to save battery.
My controller is on and
paired, but not all of the
colors work
• You’ve got a poor, insecure, or incorrect connection between the light xtures and receiver, but only
on whichever color is not working or the V+ wire is incorrectly reversed.
My controller is on, paired,
and working, but the colors
don't correspond correctly.
• One or more colors may be in the incorrect location on your controller or at your light xture.
This manual suits for next models
3
Table of contents
