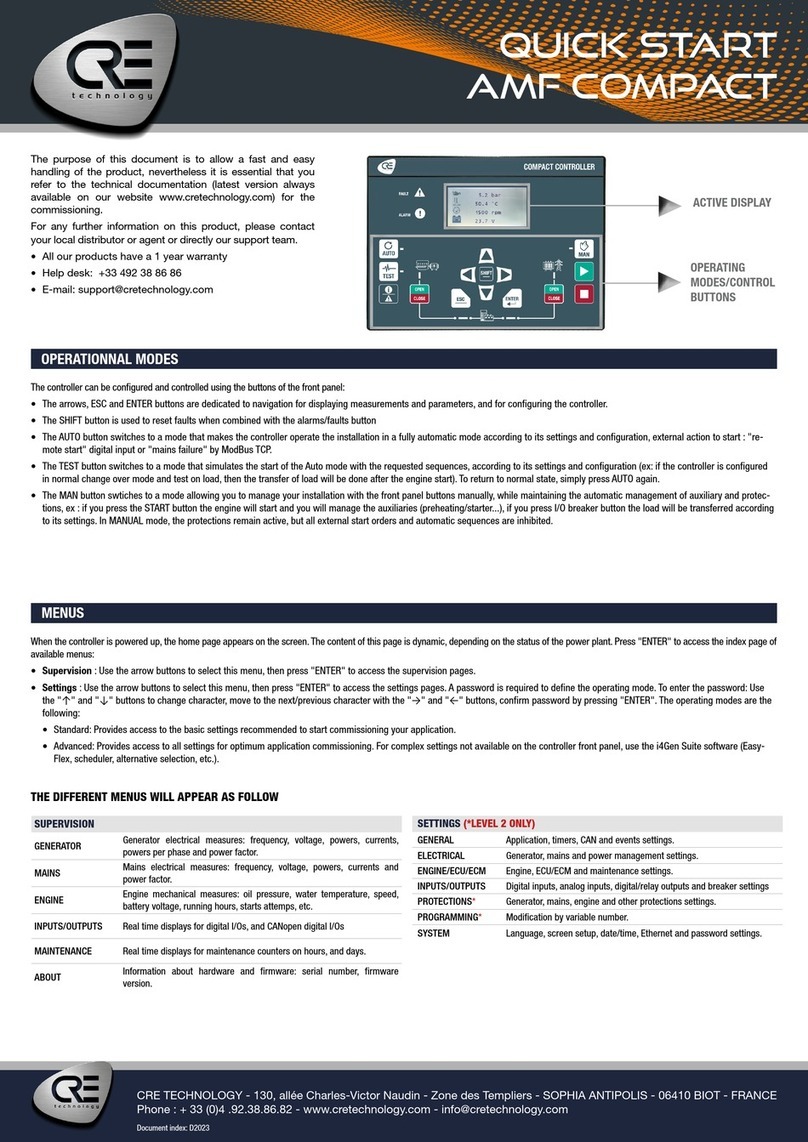
CRE Technology UNIGEN User manual

CRE Technology believes that all information provided herein is correct and reliable and reserves the right to
update at any time. CRE Technology does not assume any responsibility for its use. E & O E.
Connecting with Windows 7/8
UNIGEN family
Part number:
A51 Z0 9 0246

A51 Z0 9 0246 B EN - TCP-IP connection under Windows 7 and 8.docx
Chapter : Installing the standard modem
2
CRE Technology
130, Allée Victor Naudin
Zone des Templier
Sophia-Antipolis
06410 Biot
FRANCE
Phone: +33 (0)4 92 38 86 82
Fax: +33 (0)4 92 38 86 83
Website: www.cretechnology.com
Email: info@cretechnology.com
NOTE
Read this entire manual and all other publications pertaining to the work to be performed
before installing, operating, or servicing this equipment. Apply all plant and safety
instructions and precautions. Failure to follow instructions can cause personal injury and/or
property damage.
Motors, turbines and any other type of generator must be equipped with protections
(overspeed, high temperature, low pressure… depending on the power plant).
Any changes of the normal use of the equipment can cause human and material damage.
For further information, please contact your CRE technology distributor or the After-Sales Service Team.
All CRE Technology products are delivered with one year warranty, and if necessary we will be happy to come
on site for product commissioning or troubleshooting. The company also provide specific trainings on our
products and softwares.
Technical support: +33 (0)4 92 38 86 86 (office hours: 8.30AM-12AM / 2PM-6PM GMT+1).
Email: support@cretechnology.com
SKYPE: support-cretechnology.com
INFORMATION
You can download the most up-to-date version of this documentation and different other
documentations relating to CRE technology products on our Web site
http://www.cretechnology.com.

A51 Z0 9 0246 B EN - TCP-IP connection under Windows 7 and 8.docx
Chapter : Installing the standard modem
3
Document history
Documentations available on CRE technology Web site:
A51 Z0 9 0004: Technical documentation for UNIGEN / UNIGEN PLUS.
A51 Z3 9 0004: Technical documentation for UNIGEN ILS.
VERSION
DATE
MODIFICATION
A
January 2013
Initial document.
B
February 2013
Details for Windows 8 settings.

A51 Z0 9 0246 B EN - TCP-IP connection under Windows 7 and 8.docx
Chapter : Installing the standard modem
4
Table of contents
1Installing the standard modem..................................................................................................... 5
2Create a dial-up connection .......................................................................................................... 9
3Updating Windows “Hosts” file .................................................................................................. 16
4Setting up Internet Explorer........................................................................................................ 19
5CRE TECHNOLOGY ....................................................................................................................... 21
Note:
This document describes how to connect a computer running Microsoft Windows 7 or Windows 8 operating
system to a UNIGEN module using an RS232 serial communication port.
The same method also applies under previous versions of Windows such as Windows XP and Windows Vista but
the layout in the configuration panel and the dialog boxes may differ depending on the operating system.

A51 Z0 9 0246 B EN - TCP-IP connection under Windows 7 and 8.docx
Chapter : Installing the standard modem
5
1 Installing the standard modem
1) Click on “Start>Control Panel>Device Manager”.
2) Right click on your computer’s name (see below)
3) Click on “Add legacy hardware”.
4) The Add hardware wizard appears: click on “Next”.
5) Select “Install the hardware that I manually select from a list (Advanced)”.

A51 Z0 9 0246 B EN - TCP-IP connection under Windows 7 and 8.docx
Chapter : Installing the standard modem
6
6) Choose the hardware type “Modems”and click on “Next”.
7) Select “Don’t detect my modem; I will select it from a list”and click on “Next”.

A51 Z0 9 0246 B EN - TCP-IP connection under Windows 7 and 8.docx
Chapter : Installing the standard modem
7
8) Click on « Have Disk » button and browse to the CRE technology driver file “mdm_CRE.inf”.

A51 Z0 9 0246 B EN - TCP-IP connection under Windows 7 and 8.docx
Chapter : Installing the standard modem
8
9)Select “CRE technology –serial modem” and click on « Next ».
10) Choose the COM port on which you connect Gensys and click on « Next ».
11) Click on « Finish » button.

A51 Z0 9 0246 B EN - TCP-IP connection under Windows 7 and 8.docx
Chapter : Create a dial-up connection
9
2Create a dial-up connection
1) Click on “Start > Control panel > Network and Sharing center”.
2) Click on “Connect to a network”.
3) On Windows 7: select “Setup a dial-up connection”, on Windows 8 select “Connect to a workplace”
and then select “Dial directly”.

A51 Z0 9 0246 B EN - TCP-IP connection under Windows 7 and 8.docx
Chapter : Create a dial-up connection
10
4) Now select the modem you have just installed on previous chapter.
5) Type in “123”for both phone number and password. Fill in the form as shown below and then click
on “connect”.
Note: you may need to activate dialing rules, either by using “Dialing rules” in the window above or through
control panel section “Phone and Modem”. See example in the screenshot below.

A51 Z0 9 0246 B EN - TCP-IP connection under Windows 7 and 8.docx
Chapter : Create a dial-up connection
11
6) Connection will fail as shown on the next picture.
Click on “Setup the connection anyway” and then close the window.

A51 Z0 9 0246 B EN - TCP-IP connection under Windows 7 and 8.docx
Chapter : Create a dial-up connection
12
7) Click on “Start > Control panel > Network and Sharing center”.
8) Click on “Connect to a network” and select the dial-up connection you have just created. Right click
on it and select “Properties”.
9) Verify that the proper modem is checked and click on “Configure”.
10) Make sure the maximum speed is set to 19200bps and that only the hardware flow control box is
checked.

A51 Z0 9 0246 B EN - TCP-IP connection under Windows 7 and 8.docx
Chapter : Create a dial-up connection
13
11) Click on “Options” tab and setup as shown below (left or right picture depending on your operating
system).
12) Click on “PPP” and make sure that no option is checked then click “OK”.
Select “Security” tab and set it up as shown below.

A51 Z0 9 0246 B EN - TCP-IP connection under Windows 7 and 8.docx
Chapter : Create a dial-up connection
14
13) Select “Networking” tab and check only the box next to Internet Protocol Version 4. Select this line
and click on “Properties”.
“Use the following IP address:”“192.168.11.2” for your computer (CRE technology module address is set
to 192.168.11.1).

A51 Z0 9 0246 B EN - TCP-IP connection under Windows 7 and 8.docx
Chapter : Create a dial-up connection
15
14) Click on “Advanced…” button and set all tabs as shown on the three pictures below
15) Click on “OK” to save the new settings.

A51 Z0 9 0246 B EN - TCP-IP connection under Windows 7 and 8.docx
Chapter : Updating Windows “Hosts” file
16
3Updating Windows “Hosts” file
Note that administrative rights are required on your computer to follow this procedure.
You should first make sure Windows display file extensions properly in your file explorer. To do so follow
the next steps.
1. Open the Control Panel from the Start menu and select Folder Options in the Control Panel.
Note: If Folder Options is not available,
change View by to Large icons at the top
right of the Control Panel.
2. Select View tab in the Folder Options window and uncheck Hide extensions for known file
types.
3. Click OK to save the changes.

A51 Z0 9 0246 B EN - TCP-IP connection under Windows 7 and 8.docx
Chapter : Updating Windows “Hosts” file
17
You may now proceed with Windows hosts file as described below.
1) Go to C:\Windows\System32\drivers\etc\hosts and select “hosts” file.
2) Right click on this file and select “Open”.
3) Select Notepad application

A51 Z0 9 0246 B EN - TCP-IP connection under Windows 7 and 8.docx
Chapter : Updating Windows “Hosts” file
18
Insert a line containing “192.168.11.1 unigen” in the hosts file as shown below and save the file.
Notepad will probably tell you that the hosts file is set as read only. Notepad will then propose you to
save the file in another folder:
Save the file on your desktop.
Make sure Notepad has not saved it as “hosts.txt”. Otherwise, rename the file as
“hosts” without any extension.
Move this file to C:\Windows\System32\drivers\etc\hosts and confirm that you
want to overwrite original file.
The hosts file is now updated to communicate with your product.You may now use the dial-up connection to
establish a communication between your computer and your module. Then go to http://unigen using your
Web browser to on the module’s embedded Web site.

A51 Z0 9 0246 B EN - TCP-IP connection under Windows 7 and 8.docx
Chapter : Setting up Internet Explorer
19
4Setting up Internet Explorer
Depending on your Internet Explorer version and settings, you may need to perform additional steps below
in order to fully setup your computer for the module’s embedded Web site.
1) Start “Internet Explorer”and open “Tools/Internet Options”.
2) Select “Security” tab and click on “Trusted sites” icon then click on “Sites” button.
3) Make sure the checkbox at the bottom of the window is not checked, enter URL http://unigen then
click on “Add” button.

A51 Z0 9 0246 B EN - TCP-IP connection under Windows 7 and 8.docx
Chapter : Setting up Internet Explorer
20
4) Restart Internet Explorer, connect using the UNIGEN dial-up connection and enter http://unigen into
your Web browser.
5) Check that Java applets are now working correctly on the “Information” page of the module’s
embedded Web site.
Your computer is now fully setup to connect to your module.
This manual suits for next models
2
Table of contents
Other CRE Technology Controllers manuals
Popular Controllers manuals by other brands

GE
GE Logix 740C-ET Quick start manual
IAI
IAI ROBO Cylinder RCP6 instruction manual
Analog Devices
Analog Devices SDP-S user guide
ABB
ABB Relion RER615 Modbus Point List Manual
Panasonic
Panasonic WRKT4504E Series Reference manual

MAGUIRE
MAGUIRE Weigh Scale Blender 4088 TSC Installation operation & maintenance
