Critical Link MityDSP-L138 User manual
Other Critical Link Microcontroller manuals
Popular Microcontroller manuals by other brands

Epson
Epson S5U1C17001H2 user manual
NXP Semiconductors
NXP Semiconductors TWR-K21F120M quick start guide

Olimpia
Olimpia CM 721/6 Plus Technical manual
Infineon Technologies
Infineon Technologies XMC4000 Application Kit user manual
ST
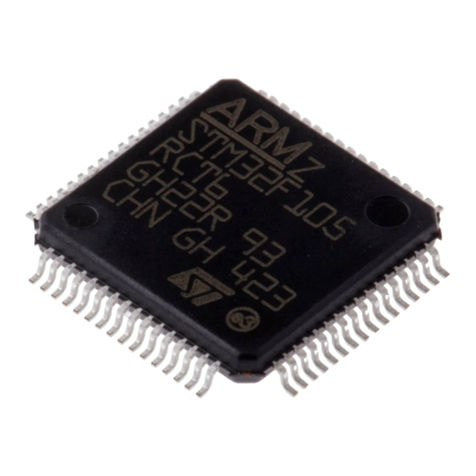
ST STM32F105 series Application note
Nuvoton
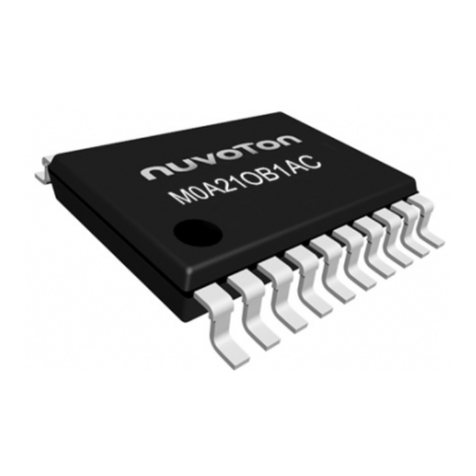
Nuvoton NuMicro M0A21 Series Technical reference manual
ST
ST STM32F207 series Reference manual

Teledyne SP Devices
Teledyne SP Devices ADQ3 Series user guide
Holtek
Holtek BS82B12A-3 manual

Samsung
Samsung S3C8248 user manual
NXP Semiconductors
NXP Semiconductors freescale semiconductor ColdFire MCF51CN128... Reference manual
Silicon Laboratories
Silicon Laboratories EFM8SB1-SLSTK2010A user guide


