manuals.online logo
Brands
  1. Home
  2. •
  3. Brands
  4. •
  5. Crosswater
  6. •
  7. Bathtub
  8. •
  9. Crosswater Palermo Grande US-N5CCS User manual

Crosswater Palermo Grande US-N5CCS User manual

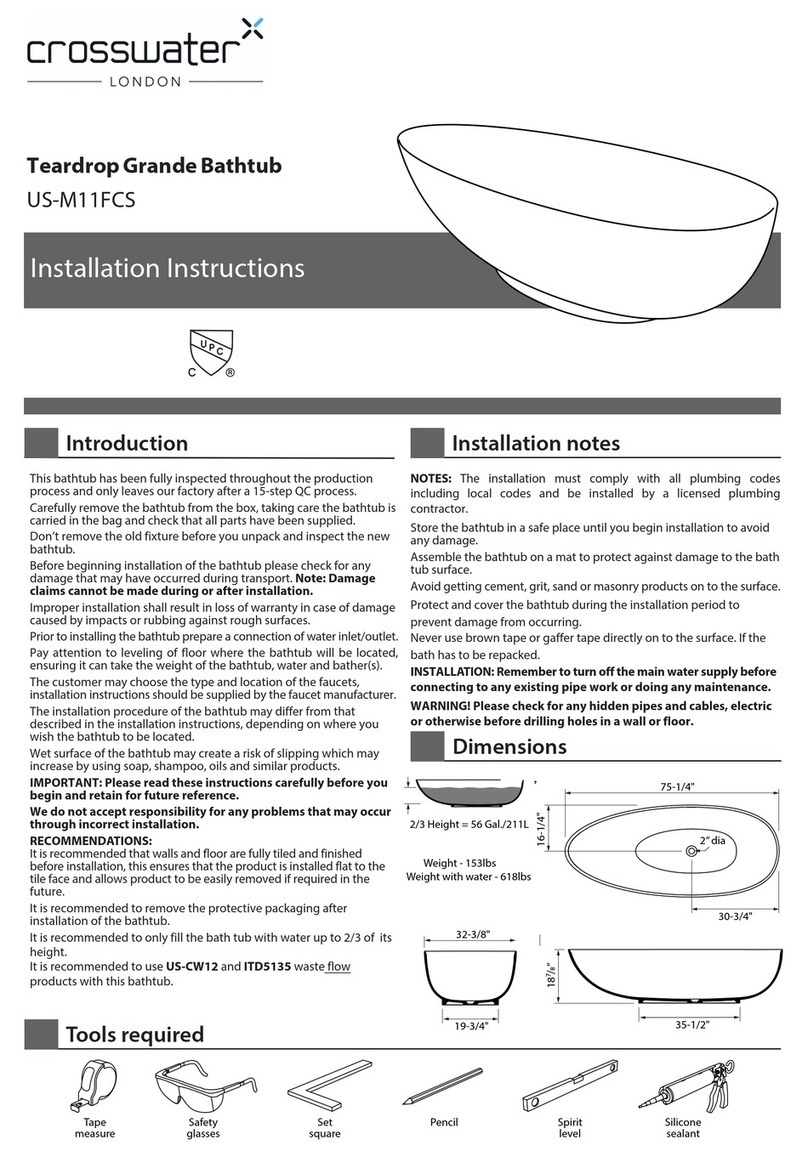
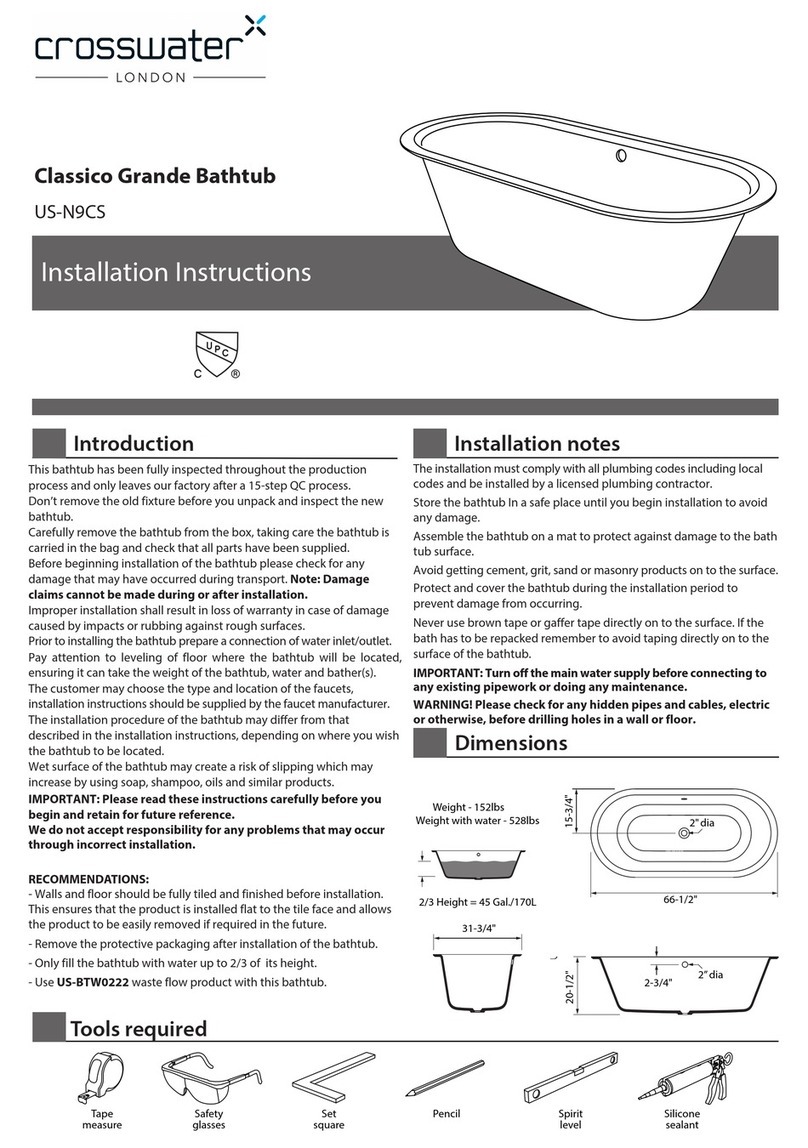
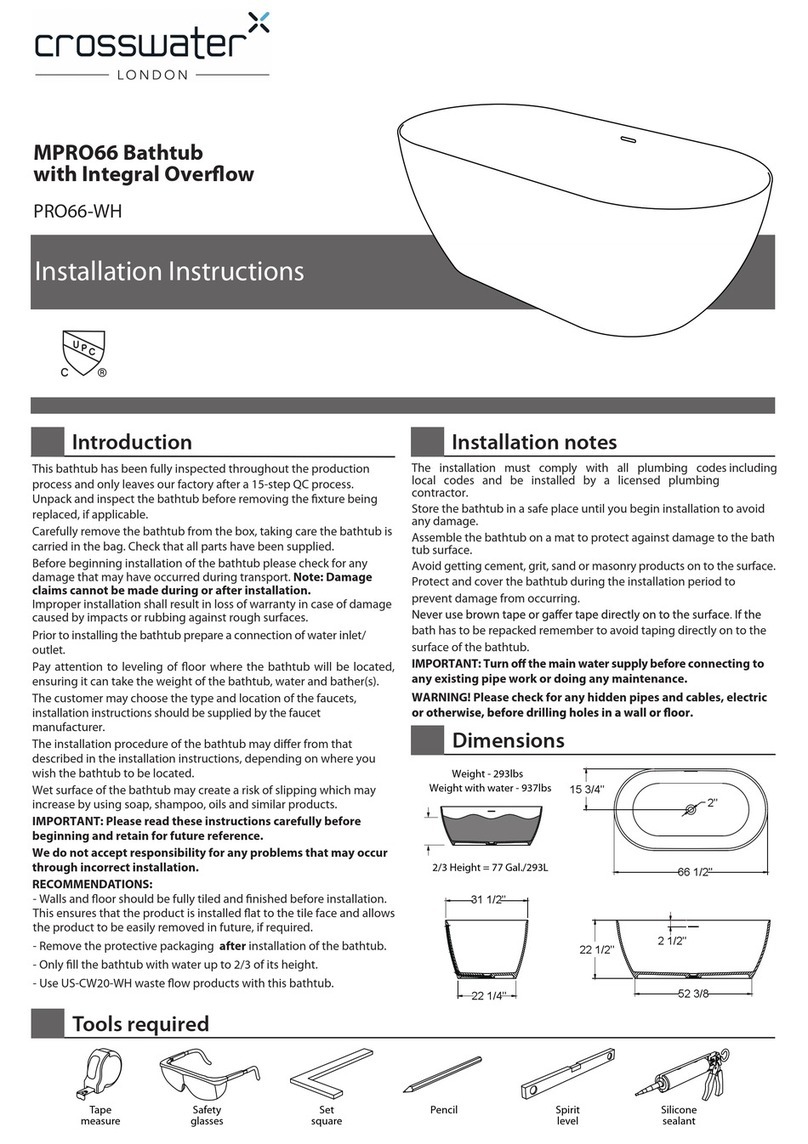
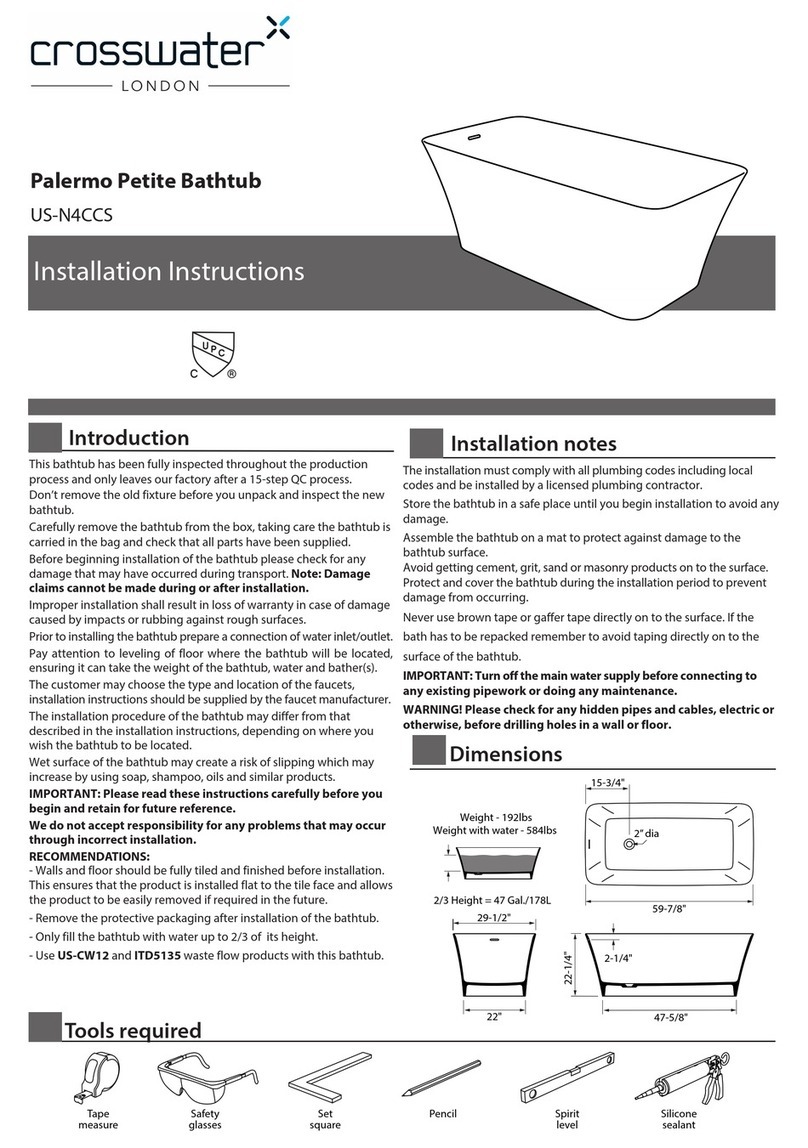
Installation Instructions
70-1/4"
14-3/4"
2"dia
Weight - 218lbs
Weight with water - 703lbs
22"
22-1/4"
57-7/8"
2-1/8"
Tape
measure
Safety
glasses
Set
square
Pencil Spirit
level
Silicone
sealant
Tools required
2/3 Height = 58 Gal./220L
Installation notes
The installation must comply with all plumbing codes including local
codes and be installed by a licensed plumbing contractor.
Store the bathtub in a safe place until you begin installation to avoid
any damage.
Assemble the bathtub on a mat to protect against damage to the
bathtub surface.
Avoid getting cement, grit, sand or masonry products on to the surface.
Protect and cover the bathtub during the installation period to
prevent damage from occurring.
Never use brown tape or gaffer tape directly on to the surface. If the
bath has to be repacked remember to avoid taping directly on to the
surface of the bathtub.
IMPORTANT: Turn off the main water supply before connecting to
any existing pipework or doing any maintenance.
WARNING! Please check for any hidden pipes and cables, electric
or otherwise,before drilling holes in a wall or floor.
Dimensions
Introduction
This bathtub has been fully inspected throughout the production
process and only leaves our factory after a 15-step QC process.
Don’t remove the old fixture before you unpack and inspect the new
bathtub.
Carefully remove the bathtub from the box, taking care the bathtub is
carried in the bag and check that all parts have been supplied.
Before beginning installation of the bathtub please check for any
damage that may have occurred during transport. Note: Damage
claims cannot be made during or after installation.
Improper installation shall result in loss of warranty in case of damage
caused by impacts or rubbing against rough surfaces.
Prior to installing the bathtub prepare aconnection of water inlet/outlet.
Pay attention to leveling of floor where the bathtub will be located,
ensuring it can take the weight of the bath tub, water and bather(s).
The customer may choose the type and location of the faucets,
installation instructions should be supplied by the faucet manufacturer.
The installation procedure of the bathtub may differ from that
described in the installation instructions, depending on where you
wish the bathtub to be located.
Wet surface of the bathtub may create a risk of slipping which may
increase by using soap, shampoo, oils and similar products.
IMPORTANT: Please read these instructions carefully before you
begin and retain for future reference.
We do not accept responsibility for any problems that may occur
through incorrect installation.
RECOMMENDATIONS:
- Walls and floor should be fully tiled and finished before installation.
This ensures that the product is installed flat to the tile face and allows
the product to be easily removed if required in the future.
- Remove the protective packaging after installation of the bathtub.
- Only fill the bathtub with water up to 2/3 of its height.
- Use US-CW12 and ITD5135 waste flow products with this bathtub.
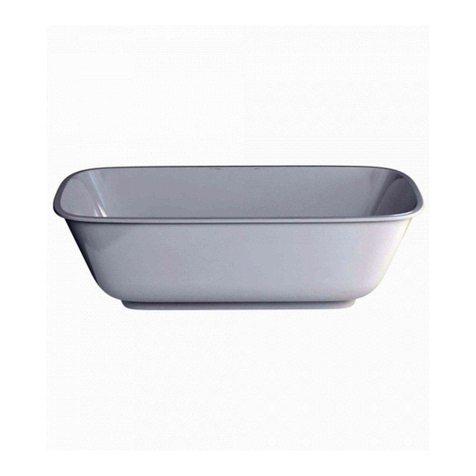
Palermo Grande Bathtub
US-N5CCS
29-1/2"
Issue date: 220616
Warranty - This Crosswater London product is covered by a limited lifetime warranty. For full details, terms and conditions please visit our website.
For further information contact:Crosswater London, 393 Fortune Blvd., Milford, MA 01757
Toll free number: 844-XWATER-1 (844-992-8371) tel: 508-381-6062 fax: 508-381-6068
www.crosswaterlondon.com
email: technical@crosswaterlondon.com
x4
Once installed and sealed, DO NOT
use or get wet for 24 hours.
Installation
 Cleaning Instructions
lThis installation guide does not include details of
waste connection; final decision about
installation of waste connection should be made
by a licensed plumber.
lInstall the waste according to the installation
instructions supplied with the waste.
WARNING: DO NOT OVERTIGHTEN the waste as
this may cause long-term damage to the bath.
We recommend to use a torque wrench to tighten
the waste by using a torque force between
25Nm or 18.5 ft/lb and 50Nm or 36.8 ft/lb.
IMPORTANT:
This bathtub is heavy and installation requires 2 people.
Crosswater London cannot accept responsibility for any injuries
caused to those attempting to install this bathtub without
adequate and appropriate tools or resources.
l Remove the bathtub from the packaging using the bag with
handles.
l Use the bag with handles to lift and move the bathtub.
l Do not drag the bathtub over rough surfaces or sharp
objects. Lift and place the bathtub into position.
lDo not drop the bathtub!
l Check that the wedges have been supplied.
Installation - carriage
lPlace the 4 wedges in position. lOnce sealed, the wedges can be
disposed of.
Clean the bath regularly with non-abrasive soap and warm water. Fully rinse after cleaning.
While Clearstone is highly stain resistant, it is recommended that bath water containing additives such as oils or salts is always drained and
rinsed immediately after use.
Please note that hair dyes and color cosmetics (eg. mascara, lipstick, face powder) may leave a slight discoloration if not removed
immediately. If any strong chemicals come into contact with the bathtub, remove and rinse immediately.
Water temperature should not exceed 49˚C/120˚F.
For a fine scratch or a slight mark, use a 1500 grade sandpaper. Gently sand the area with water. For best results, limit sanding to the smallest
possible area around the scratch. Re-polish the surface afterwards using a neutral polishing compound or toothpaste. It may be possible to
polish very fine scratches away without using abrasive papers: scrub gently with a soft brush or plastic pad (not metal scouring pad) and a
mildly abrasive cream cleaner. Afterwards scrub the whole area with plenty of clean water and re-polish as before.
If the scratch or mark is too deep and cannot be repaired using the above method, it is possible to purchase a repair kit US-CRK. In order to
remove the scratches, follow the instructions included with the kit.

Other Crosswater Bathtub manuals

Crosswater Duo US-N26CS User manual

Crosswater

Crosswater Duo US-N26CS User manual

Crosswater Formoso Grande US-N2ACS User manual

Crosswater

Crosswater Formoso Grande US-N2ACS User manual

Crosswater Puro US-N15CS User manual

Crosswater

Crosswater Puro US-N15CS User manual

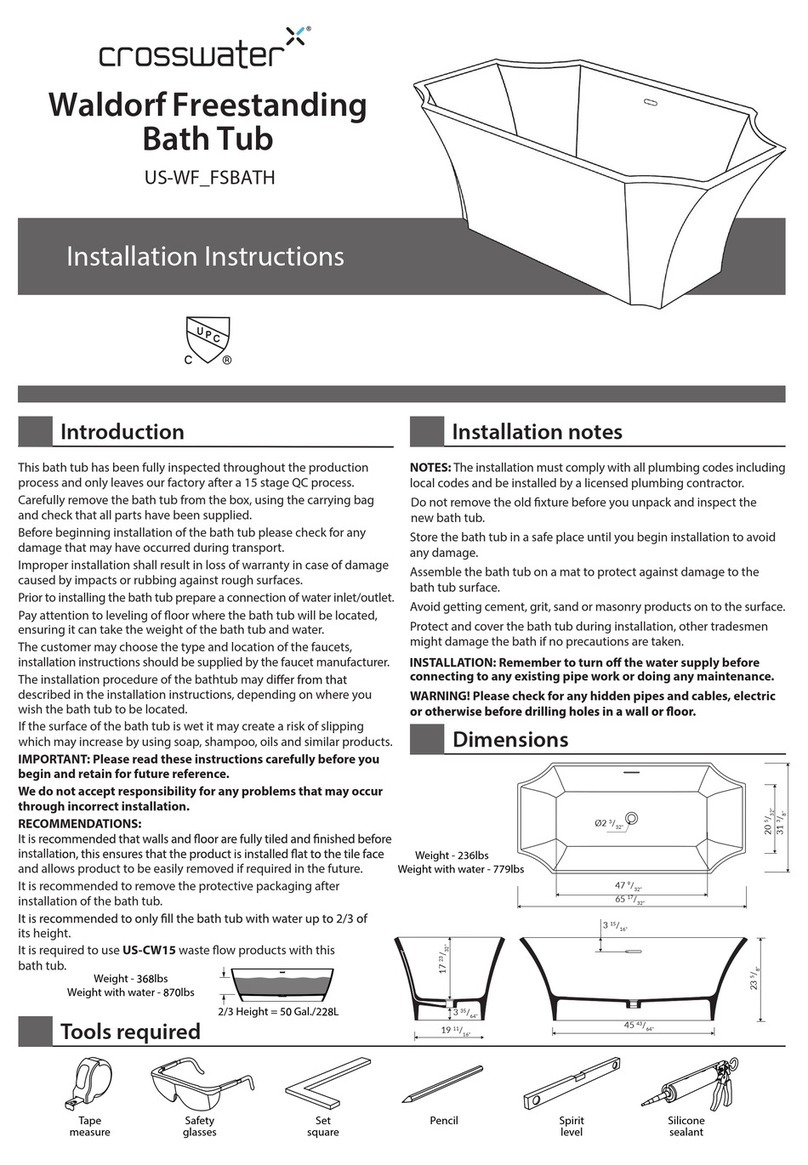
Crosswater US-WF FSBATH User manual

Crosswater

Crosswater US-WF FSBATH User manual

Crosswater MPRO User manual

Crosswater

Crosswater MPRO User manual

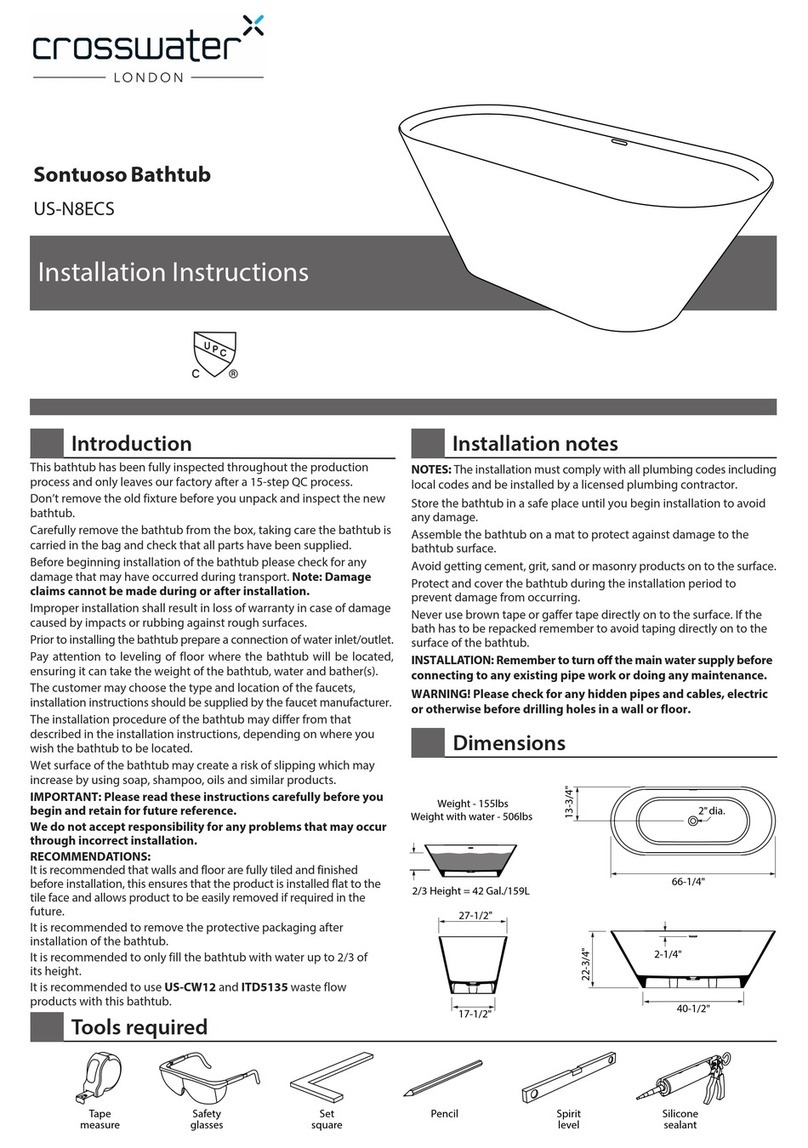
Crosswater Sontuoso US-N8ECS User manual

Crosswater

Crosswater Sontuoso US-N8ECS User manual

Crosswater US-N9CS User manual

Crosswater

Crosswater US-N9CS User manual

Crosswater Patinato 66 User manual

Crosswater

Crosswater Patinato 66 User manual

Crosswater Balthazar US-N25 User manual

Crosswater

Crosswater Balthazar US-N25 User manual

Crosswater Palermo Petite US-N4CCS User manual

Crosswater

Crosswater Palermo Petite US-N4CCS User manual

Crosswater US-M11FCS User manual

Crosswater

Crosswater US-M11FCS User manual

Crosswater Formoso Petite US-N1ACS User manual

Crosswater

Crosswater Formoso Petite US-N1ACS User manual

Crosswater Vicenza Grande US-N7DCS User manual

Crosswater

Crosswater Vicenza Grande US-N7DCS User manual

Crosswater US-N8ECS User manual

Crosswater

Crosswater US-N8ECS User manual

Crosswater Romano US-N11BCS User manual

Crosswater

Crosswater Romano US-N11BCS User manual

Crosswater Nuvola US-N22CS User manual

Crosswater

Crosswater Nuvola US-N22CS User manual

Crosswater Teardrop Grande US-M11FCS User manual

Crosswater

Crosswater Teardrop Grande US-M11FCS User manual

Crosswater MPRO66 User manual

Crosswater

Crosswater MPRO66 User manual

Crosswater Patinato Petite User manual

Crosswater

Crosswater Patinato Petite User manual

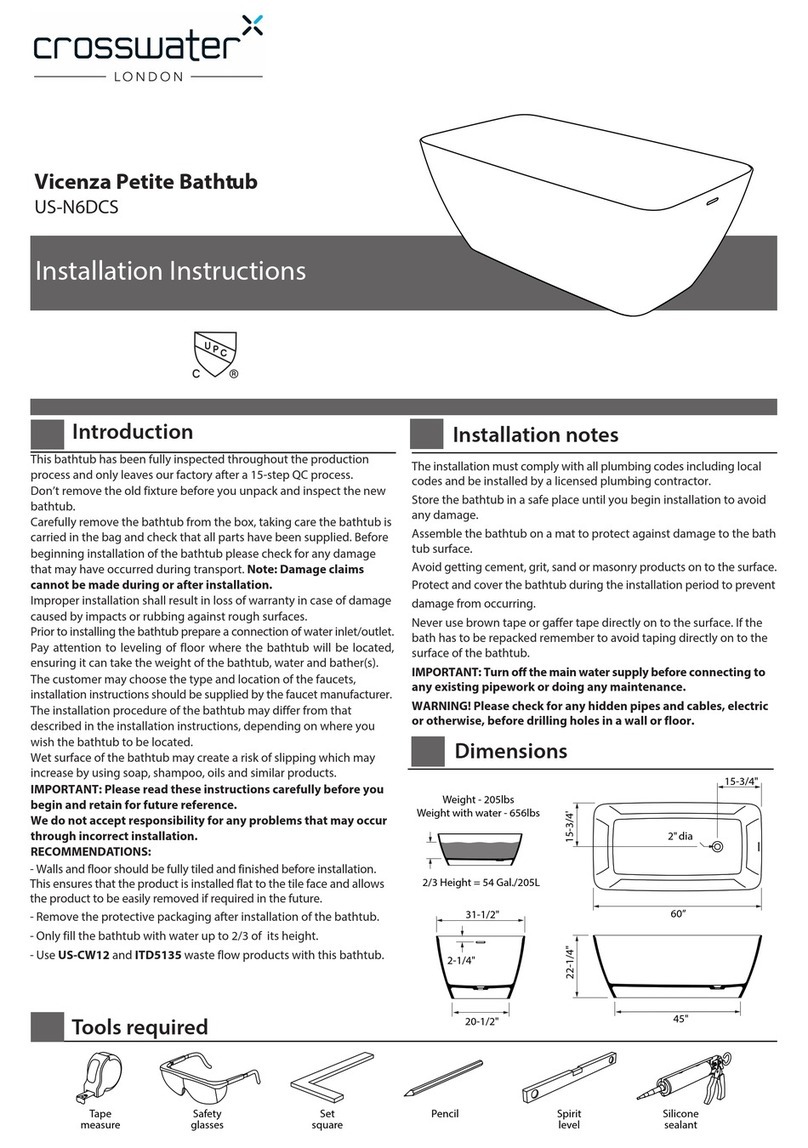
Crosswater Vicenza US-N6DCS User manual

Crosswater

Crosswater Vicenza US-N6DCS User manual

Crosswater Batello Grande US-N10CS User manual

Crosswater

Crosswater Batello Grande US-N10CS User manual

Crosswater Florenza US-N23CS User manual

Crosswater

Crosswater Florenza US-N23CS User manual

Crosswater Romano Petite US-N11ACS User manual

Crosswater

Crosswater Romano Petite US-N11ACS User manual

Popular Bathtub manuals by other brands

STROMBERG NINO Assembly & Operating Instruction

STROMBERG

STROMBERG NINO Assembly & Operating Instruction

Signature Hardware Arabella 930798 manual

Signature Hardware

Signature Hardware Arabella 930798 manual

SpaVida Whirlpool C642 user manual

SpaVida

SpaVida Whirlpool C642 user manual

Longevity 7236 installation instructions

Longevity

Longevity 7236 installation instructions

LisnaWaters LWST Installation and operating manual

LisnaWaters

LisnaWaters LWST Installation and operating manual

American Standard Stratford 2470.002 Specification sheet

American Standard

American Standard Stratford 2470.002 Specification sheet

Streamline R-5441-65CICFRD-FM owner's manual

Streamline

Streamline R-5441-65CICFRD-FM owner's manual

American Standard Enfield Bathtub 2742.020 installation instructions

American Standard

American Standard Enfield Bathtub 2742.020 installation instructions

OVE SARIN MO-6087 installation manual

OVE

OVE SARIN MO-6087 installation manual

Fleurco BAM7642 Installation and user guide

Fleurco

Fleurco BAM7642 Installation and user guide

Laufen VAL 2.3028.2.000.000.1 manual

Laufen

Laufen VAL 2.3028.2.000.000.1 manual

glass 1989 elle combi 160/70 manual

glass 1989

glass 1989 elle combi 160/70 manual

Kohler K-1169 Roughing-In Guide

Kohler

Kohler K-1169 Roughing-In Guide

Arjo Parker Instructions for use

Arjo

Arjo Parker Instructions for use

Ella WK-001L Installation and operation manual

Ella

Ella WK-001L Installation and operation manual

Anzzi Stone Installation and care guide

Anzzi

Anzzi Stone Installation and care guide

DURAVIT D-Code 26020758 Mounting instructions

DURAVIT

DURAVIT D-Code 26020758 Mounting instructions

Villeroy & Boch Quaryl Installation & maintenance

Villeroy & Boch

Villeroy & Boch Quaryl Installation & maintenance

manuals.online logo
manuals.online logoBrands
  • About & Mission
  • Contact us
  • Privacy Policy
  • Terms and Conditions

Copyright 2025 Manuals.Online. All Rights Reserved.