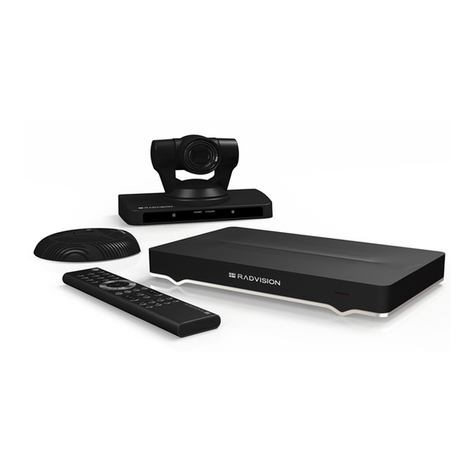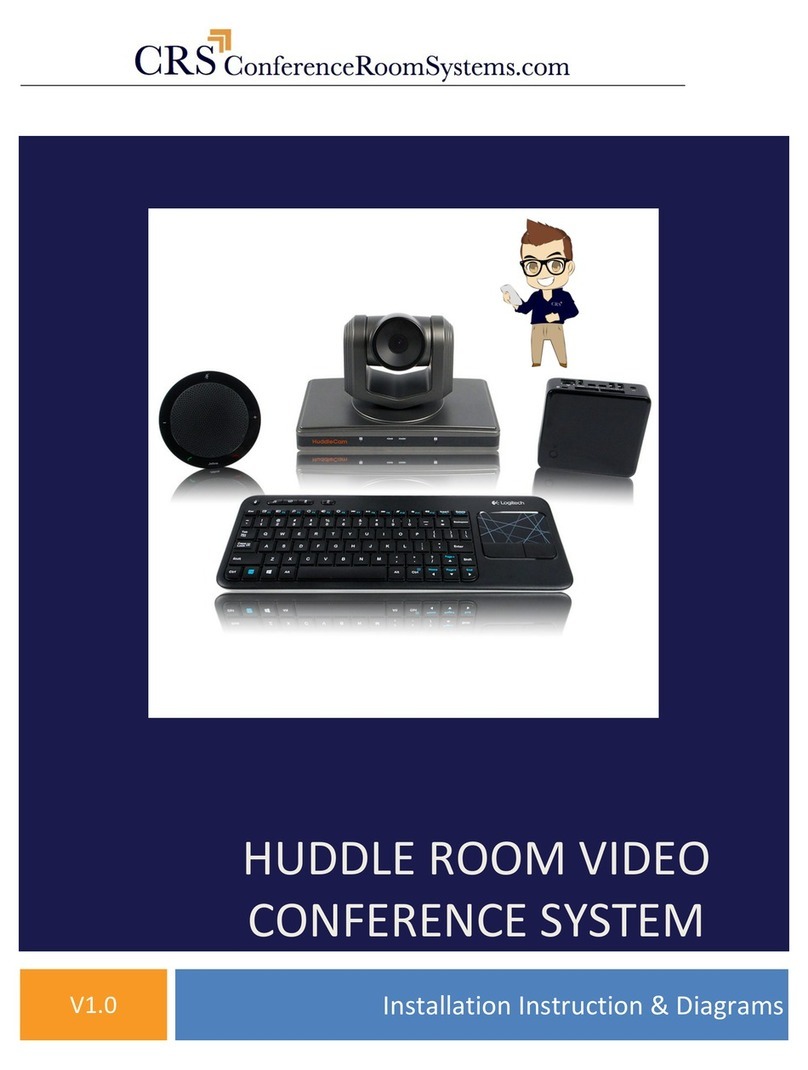
1. Connect HuddleC mHD USB c ble to the USB port on the HuddleC mHD
2. Connect the USB c ble from the HuddleC mHD to the USB port on the computer
3. Connect the power supply to the ne rest outlet
4. Plug the power c ble into the power port on the HuddleC mHD
5. W it for the c mer “boot-up” sequence where the he d of the c mer will P n, Tilt nd Zoom
6. Ple se loc te the remote for the HuddleC mHD nd ensure it h s b tteries
. Point the remote t the HuddleC mHD front, l beled “HuddleC m” nd click on the
“REV” button
b. If th t DID NOT work ple se proceed to the Step 7 below
7. Open the AMCAP softw re
. Click on the “Devices” menu
b. Select the HuddleC mHD, possibly l beled “USB C mer ” or “USB3 C mer ”
c. You should now be seeing you HuddleC mHD in the preview window
d. Click on the “Options” menu nd select “Video C pture Pin”
i. M ke sure the “Output Size” is set to “1280 x 720” or “1920 x 1080”
ii. Click “OK”
8. Ple se loc te the remote for the HuddleC mHD
. Point the remote t the HuddleC mHD front, l beled “HuddleC m” nd click on the
“REV” button
b. If th t DID NOT work ple se proceed to the Step 9 below
9. Connect the VISCA c ble to the HuddleC mHD
10. Connect the other end of the VISCA c ble to your seri l port
. Ensure you know the current port number of your seri l port
i. You c n check this by going to Windows Device M n ger
ii. Scroll down to “Ports (COM & LPT)” nd exp nd the tree
iii. Look for the seri l port you’re using nd note the COM# th t it displ ys
1. If the number is bove 4 you will need to re ssign the COM Port to
new number th t is 4 or below
2. You c n ccomplish this by right clicking on the Seri l Device in
Windows Device M n ger th t you just loc ted nd selecting
“Properties”
3. Go to “Port Settings”
4. Click “Adv nced”
