manuals.online logo
Brands
  1. Home
  2. •
  3. Brands
  4. •
  5. Cruz
  6. •
  7. Automobile Accessories
  8. •
  9. Cruz Road 940-47 Series User manual

Cruz Road 940-47 Series User manual

1940-47x Cruz Road
x x x1 1
Peso
Weight
Poids
Gewicht
Código
Code
Code
Kode
Lote
Lot
Lot
Lot
Modelo
Model
Modèle
Modell
940-
Lv 7 2019 - r
2º
1º
47x
2
1
Cruz Road
Código
Code Modelo
Model Medidas
Dimensions Volúmen
Capacity Color
Color
kg
Lote
Lot
940-470 Road 370GT 140x90x38cm 370 L gris texturizado
grey texturized 16,00 kg 01/16
940-471 Road 370NT 140x90x38cm 370 L negro texturizado
black texturized 16,00 kg 01/16
940-472 Road 460GT 185x80x41cm 460 L gris texturizado
grey texturized 18,00 kg 01/16
940-473 Road 460NT 185x80x41cm 460 L negro texturizado
black texturized 18,00 kg 01/16
CRUZBER S.A., ES-A14018311
P.I. Las Salinas II, E-14960 Rute
www.cruzber.com
Cofre de techo
Roof box
Co󰀨re de toit
Dachbox
Mala de tejadilho
Boksy dachowe
Střešny boxy
Tetöboxok
Cutii-portagj
Krovne kutje
Αξεσουάρ: Μπαγαζιέρες
Portbagajlar
Бокс на крышу
Baule da tetto
Dakko󰀨er
Strešni kovček
E
Instrucción de montaje
¡Leer primero!
GB
Assembly instructions
Read rst!
F
Instruction de montage
Lire en premier!
D
Montageanleitung
Zuerst lesen!
PT
Instruções de montagem
Ler primeiro!
PL
Instrukcja montażu
Najpierw przeczytaj!
CZ
Montážní návod
Čtěte pozorně!
HU
Szerelési Utasítás
Először olvasd el!
RO
Instructiuni de montaj
Intai cititi!
HR
Detaljne upute
Prvo procitati!
GR
Διαβάστε προσεκτικά τις
Οδηγίες Συναρμολόγησης!
TR
Öncelikle montaj:
Talimatlarını okuyunuz!
RU
Инструкции по монтажу
Сначала прочитайте!
IT
Istruzioni di montaggio
Leggere per primo!
NL
Montagehandleiding
Eerst lezen!
SLO
Navodila za sestavljanje
Preberite!
E
Contenido embalaje: ¡Vericar!
GB
Package content: Check!
F
Contenu d’emballage: Vérier!
D
Packungsinhalt: Überprüfen!
PT
Contéudo embalagem: Vericar!
PL
Zawartość opakowania: sprawdź!
CZ
Obsah balení: Zkontrolujte!
HU
Csomag tartalma: Ellenőrizd!
RO
Pachetul contine: Vericati!
HR
Sadrzaj paketa: Provjeri!
GR
Ελέγξτε το περιεχόμενο: του πακέτου!
TR
Paket içeriğini: Control ediniz!
RU
Содержание упаковки: Проверьте!
IT
Contenuto della confezione:
Controllare!
NL
Pakket inhoud: Controleer!
SLO
Vsebina paketa: Preverite!
2
940-47x Cruz Road
x8
x4
x1
x2
Código
Code
Code
Kode
Lv 7 2019 - r
940-47x
2
• Anote el número de serie de llave
• Note down the key serial number
• Anoter le numéro de série du clé
• Notieren Sie die Schlüssel-Seriennummer
• Anotar o número de série da chave
• Впишите сюда серийный номер ключа
máx.
75 Kg
[1]
[1]
[4]
[5]
[6]
[7]
[3]
40Max mm
85Max mm
85Max mm
40Max mm
40Max mm
85Max mm
70
Max mm
40Max mm
40Max mm
85Max mm
85Max mm
40Max mm
40Max mm
85Max mm
70
Max mm
40Max mm
40Max mm
85Max mm
85Max mm
40Max mm
40Max mm
85Max mm
70
Max mm
40Max mm
B
A
1
2
3
7
4
5
6
máx.
50 Kg
[1]
[1]
[4]
[5]
[6]
[7]
[3]
3940-47x Cruz Road
>100 cm
4
940-47x Cruz Road
E
FIJAR EL COFRE A LAS BARRAS
A. Instale y je correctamente el sistema de ba-
rras. Coloque el cofre centrado entre las ba-
rras. Fije el cofre a las barras mediante las
jaciones preinstaladas. En el cofre, abra la
palanca quitando el clip de seguridad (1), y
posicione la palanca hacia arriba (2). Gire la
palanca en dirección contraria a las agujas del
reloj, de modo que quede abierto el gancho, y
continúe con el siguiente paso (4). Busque la
posición adecuada del gancho sobre las barras
de techo, moviendo el sistema de jación a la
derecha o a la izquierda (3). Gire la palanca en
la dirección de las agujas del reloj hasta apretar
el gancho, baje el clip de seguridad para cerrar
el sistema (5) - En caso de que el sistema no se
cierre, suba el clip de seguridad, apriete o aoje
(si el gancho está demasiado tenso) y repita el
paso anterior. Cierre el clip de seguridad (6) -
Revise cuidadosamente que el sistema esté -
jado correctamente, y que el cofre no se mueva
sobre las barras.
B. La carga máxima permitida del cofre es de
75kg. No superar nunca la carga máxima del
techo del vehículo (ver el manual de fabricante
del vehículo). La carga del cofre debe repartir-
se uniformemente, distribuyendo el peso como
muestra el dibujo.
C.Inserte las correas de sujeción del equipaje en
los pasantes del sistema de jación (7). La car-
ga se debe colocar sin que haya que forzar la
tapa para encajar el cierre del cofre, y sujetarse
con las correas suministradas. Asegure que el
cofre esté cerrado con llave antes de salir de
viaje.
APERTURA Y CIERRE DEL COFRE
Para abrir el cofre, girar la llave para desblo-
quear la cerradura. Levantar la tapa hacia arri-
ba. Para cerrar el cofre, presionar la tapa hacia
abajo hasta encajar el cierre. Gire la llave para
bloquear la cerradura. Retirar siempre la llave
antes de salir de viaje.
GB
FIXING THE BOX TO THE BARS
A. Install and x correctly the bars system. Place
the box at the centre of the bars. Fix the box
to the bars using the pre-installed hook bolts.
In the box, unblock the handle from the safety
catch (1) and place it upright (2). Unscrew
the handle anticlockwise in order to release
the metal hook and move on to the next step
(4). Slide the xing system to the right or to
the left in order to nd the suitable position
of the metal hook on the roof bars (3). Screw
the handle clockwise in order to bolt the hook
and push the handle down to lock the system
(5) - In case the system does not lock, lift the
handle up, screw or unscrew (if the hook is too
tight) and repeat the procedure above. Lock
the safety catch (6) - Check carefully that the
system is appropriately xed and that the roof
box does not move onto the roof bars.
B. The maximum permissible load of the box is
75 Kg. The maximum permissible load of the
roof must not be exceeded (see operating
instructions of the vehicle). Make sure the load
is well distributed inside the box (as shown).
C.Insert the luggage straps through the loops
placed on the body of the xing system (7). The
load must be placed in such way that the up-
per lid does not have to be strained to lock the
box. The load must be hold with the belts given.
Make sure the box is locked before leaving.
OPENING AND CLOSING THE BOX
Turn the key to the right 4to unlock the box. Lift
the lid. To lock the box, press the lid down until
the lock is encased. Turn the key to block the
lock. Make sure you never leave the key in the
lock.
D
DIE BOX AUF DEN DACHTRÄGERN
BEFESTIGEN
A Montieren sie die Dachträger gemäß der Anlei-
tung. Zentrieren sie die Dachbox auf den Trä-
gern. Befestigen sie die Box mit den Klemmen.
Lösen Sie den Hebel (1) des Schnellspanners
und stellen Sie ihn aufrecht (2). Drehen Sie
den Schnellspannhebel gegen den Uhrzeiger-
sinn um den Metallbügel zu lockern (4) und mit
dem nächsten Schritt fortzufahren. Schieben
Sie den Spannhebel nach rechts oder links
um die geeignete Position für den Metallbügel
am Dachträger zu nden (3). Drehen Sie den
Hebel im Uhrzeigersinn um den Metallbügel
festzuziehen und drücken Sie den Spannhe-
bel nach unten um ihn zu sichern (5). Sollte der
Hebel nicht einrasten, heben Sie ihn wieder an,
schrauben Sie ihn fester oder lockern Sie ihn
(wenn der Metallbügel zu fest sitzt) und wieder-
holen Sie den vorherigen Schritt. Machen Sie
fest der Sicherungsclip (6). Stellen Sie sicher,
dass die Dachbox ordnungsgemäß mit dem
Dachträger verbunden ist und dass dieser nicht
verrutschen kann. B. Die erlaubte
Höchstlast der Box sind 75kg. Überschreiten
sie nie die zulässige Dachlast des Fahrzeugs
(überprüfen sie diese in der Betriebsanleitung).
Das Gepäck muss hinsichtlich des Gewichts,
gleichmäßig in der Box verteilt werden, siehe
Zeichnung.
C.Nachdem Sie alle 4 Teile an dem Dachträger
befestigt haben, führen Sie die Spanngurte
durch die Ö󰀨nungen der Schnellspanner (7).
Die Haube der Box darf nicht gewaltsam ge-
schlossen werden, verteilen sie die Ladung
dem entsprechend und sichern sie diese mit
den Gurten. Vergewissern sie sich, das die Box
gut verschlossen ist bevor sie losfahren.
ÖFFNEN UND SCHLIEßEN DER BOX
Drehen sie den Schlüssel um die Box zu ö󰀨-
nen. Heben sie die Boxhaube nach oben. Um
die Box zu schließen, drücken sie die Haube
nach unten bis sie im Schloss einrastet. Drehen
sie den Schlüssel um das Schloss zu sichern.
Ziehen sie immer den Schlüssel ab bevor sie
losfahren.
5940-47x Cruz Road
E
FIJAR EL COFRE A LAS BARRAS
A. Instale y je correctamente el sistema de ba-
rras. Coloque el cofre centrado entre las ba-
rras. Fije el cofre a las barras mediante las
jaciones preinstaladas. En el cofre, abra la
palanca quitando el clip de seguridad (1), y
posicione la palanca hacia arriba (2). Gire la
palanca en dirección contraria a las agujas del
reloj, de modo que quede abierto el gancho, y
continúe con el siguiente paso (4). Busque la
posición adecuada del gancho sobre las barras
de techo, moviendo el sistema de jación a la
derecha o a la izquierda (3). Gire la palanca en
la dirección de las agujas del reloj hasta apretar
el gancho, baje el clip de seguridad para cerrar
el sistema (5) - En caso de que el sistema no se
cierre, suba el clip de seguridad, apriete o aoje
(si el gancho está demasiado tenso) y repita el
paso anterior. Cierre el clip de seguridad (6) -
Revise cuidadosamente que el sistema esté -
jado correctamente, y que el cofre no se mueva
sobre las barras.
B. La carga máxima permitida del cofre es de
75kg. No superar nunca la carga máxima del
techo del vehículo (ver el manual de fabricante
del vehículo). La carga del cofre debe repartir-
se uniformemente, distribuyendo el peso como
muestra el dibujo.
C.Inserte las correas de sujeción del equipaje en
los pasantes del sistema de jación (7). La car-
ga se debe colocar sin que haya que forzar la
tapa para encajar el cierre del cofre, y sujetarse
con las correas suministradas. Asegure que el
cofre esté cerrado con llave antes de salir de
viaje.
APERTURA Y CIERRE DEL COFRE
Para abrir el cofre, girar la llave para desblo-
quear la cerradura. Levantar la tapa hacia arri-
ba. Para cerrar el cofre, presionar la tapa hacia
abajo hasta encajar el cierre. Gire la llave para
bloquear la cerradura. Retirar siempre la llave
antes de salir de viaje.
GB
FIXING THE BOX TO THE BARS
A. Install and x correctly the bars system. Place
the box at the centre of the bars. Fix the box
to the bars using the pre-installed hook bolts.
In the box, unblock the handle from the safety
catch (1) and place it upright (2). Unscrew
the handle anticlockwise in order to release
the metal hook and move on to the next step
(4). Slide the xing system to the right or to
the left in order to nd the suitable position
of the metal hook on the roof bars (3). Screw
the handle clockwise in order to bolt the hook
and push the handle down to lock the system
(5) - In case the system does not lock, lift the
handle up, screw or unscrew (if the hook is too
tight) and repeat the procedure above. Lock
the safety catch (6) - Check carefully that the
system is appropriately xed and that the roof
box does not move onto the roof bars.
B. The maximum permissible load of the box is
75 Kg. The maximum permissible load of the
roof must not be exceeded (see operating
instructions of the vehicle). Make sure the load
is well distributed inside the box (as shown).
C.Insert the luggage straps through the loops
placed on the body of the xing system (7). The
load must be placed in such way that the up-
per lid does not have to be strained to lock the
box. The load must be hold with the belts given.
Make sure the box is locked before leaving.
OPENING AND CLOSING THE BOX
Turn the key to the right 4to unlock the box. Lift
the lid. To lock the box, press the lid down until
the lock is encased. Turn the key to block the
lock. Make sure you never leave the key in the
lock.
D
DIE BOX AUF DEN DACHTRÄGERN
BEFESTIGEN
A Montieren sie die Dachträger gemäß der Anlei-
tung. Zentrieren sie die Dachbox auf den Trä-
gern. Befestigen sie die Box mit den Klemmen.
Lösen Sie den Hebel (1) des Schnellspanners
und stellen Sie ihn aufrecht (2). Drehen Sie
den Schnellspannhebel gegen den Uhrzeiger-
sinn um den Metallbügel zu lockern (4) und mit
dem nächsten Schritt fortzufahren. Schieben
Sie den Spannhebel nach rechts oder links
um die geeignete Position für den Metallbügel
am Dachträger zu nden (3). Drehen Sie den
Hebel im Uhrzeigersinn um den Metallbügel
festzuziehen und drücken Sie den Spannhe-
bel nach unten um ihn zu sichern (5). Sollte der
Hebel nicht einrasten, heben Sie ihn wieder an,
schrauben Sie ihn fester oder lockern Sie ihn
(wenn der Metallbügel zu fest sitzt) und wieder-
holen Sie den vorherigen Schritt. Machen Sie
fest der Sicherungsclip (6). Stellen Sie sicher,
dass die Dachbox ordnungsgemäß mit dem
Dachträger verbunden ist und dass dieser nicht
verrutschen kann. B. Die erlaubte
Höchstlast der Box sind 75kg. Überschreiten
sie nie die zulässige Dachlast des Fahrzeugs
(überprüfen sie diese in der Betriebsanleitung).
Das Gepäck muss hinsichtlich des Gewichts,
gleichmäßig in der Box verteilt werden, siehe
Zeichnung.
C.Nachdem Sie alle 4 Teile an dem Dachträger
befestigt haben, führen Sie die Spanngurte
durch die Ö󰀨nungen der Schnellspanner (7).
Die Haube der Box darf nicht gewaltsam ge-
schlossen werden, verteilen sie die Ladung
dem entsprechend und sichern sie diese mit
den Gurten. Vergewissern sie sich, das die Box
gut verschlossen ist bevor sie losfahren.
ÖFFNEN UND SCHLIEßEN DER BOX
Drehen sie den Schlüssel um die Box zu ö󰀨-
nen. Heben sie die Boxhaube nach oben. Um
die Box zu schließen, drücken sie die Haube
nach unten bis sie im Schloss einrastet. Drehen
sie den Schlüssel um das Schloss zu sichern.
Ziehen sie immer den Schlüssel ab bevor sie
losfahren.

Other Cruz Automobile Accessories manuals

Cruz N+ Series User manual

Cruz

Cruz N+ Series User manual

Cruz 922-411 User manual

Cruz

Cruz 922-411 User manual

Cruz E30-158 User manual

Cruz

Cruz E30-158 User manual

Cruz Cargo SPro User manual

Cruz

Cruz Cargo SPro User manual

Cruz Evo Rack E40-158 User manual

Cruz

Cruz Evo Rack E40-158 User manual

Cruz Evo Rack E21-140 User manual

Cruz

Cruz Evo Rack E21-140 User manual

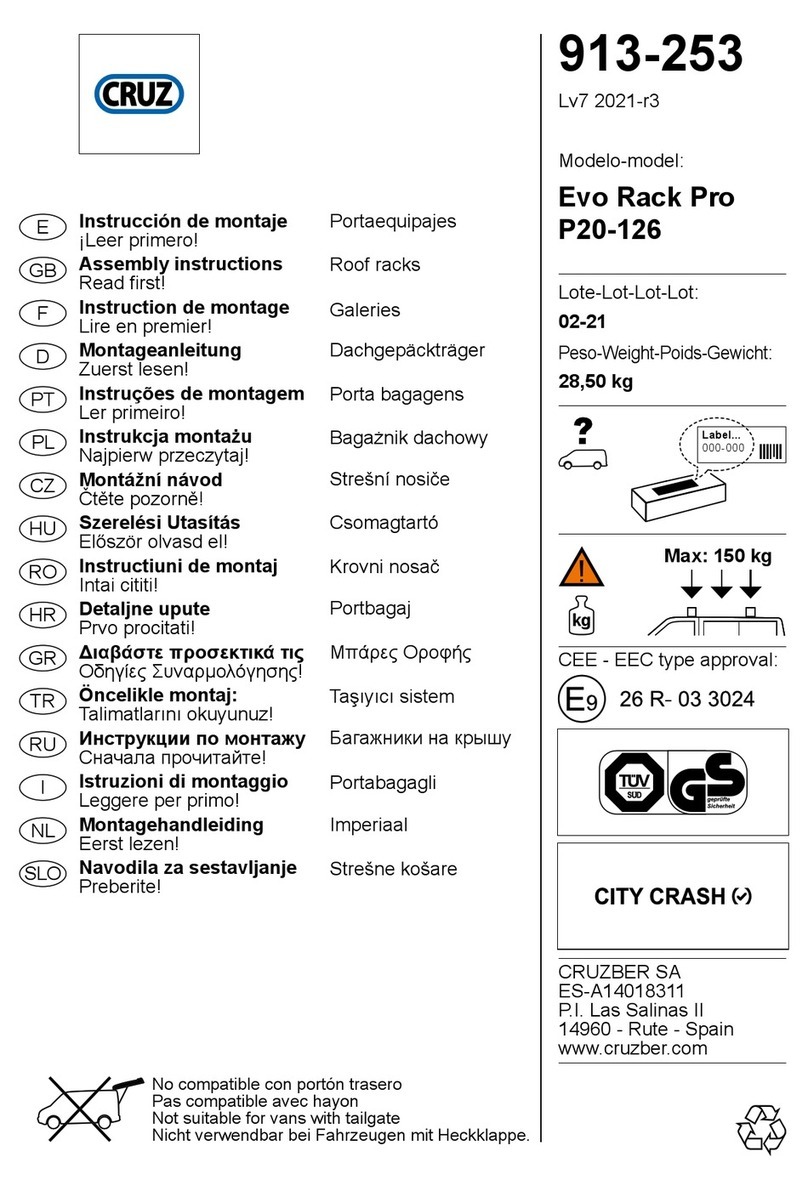
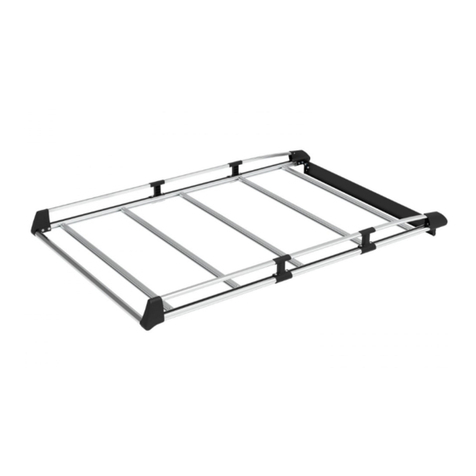
Cruz 913-253 User manual

Cruz

Cruz 913-253 User manual

Cruz 909-550 User manual

Cruz

Cruz 909-550 User manual

Cruz Evo Rack Alu A34-158 User manual

Cruz

Cruz Evo Rack Alu A34-158 User manual

Cruz 934-614 User manual

Cruz

Cruz 934-614 User manual

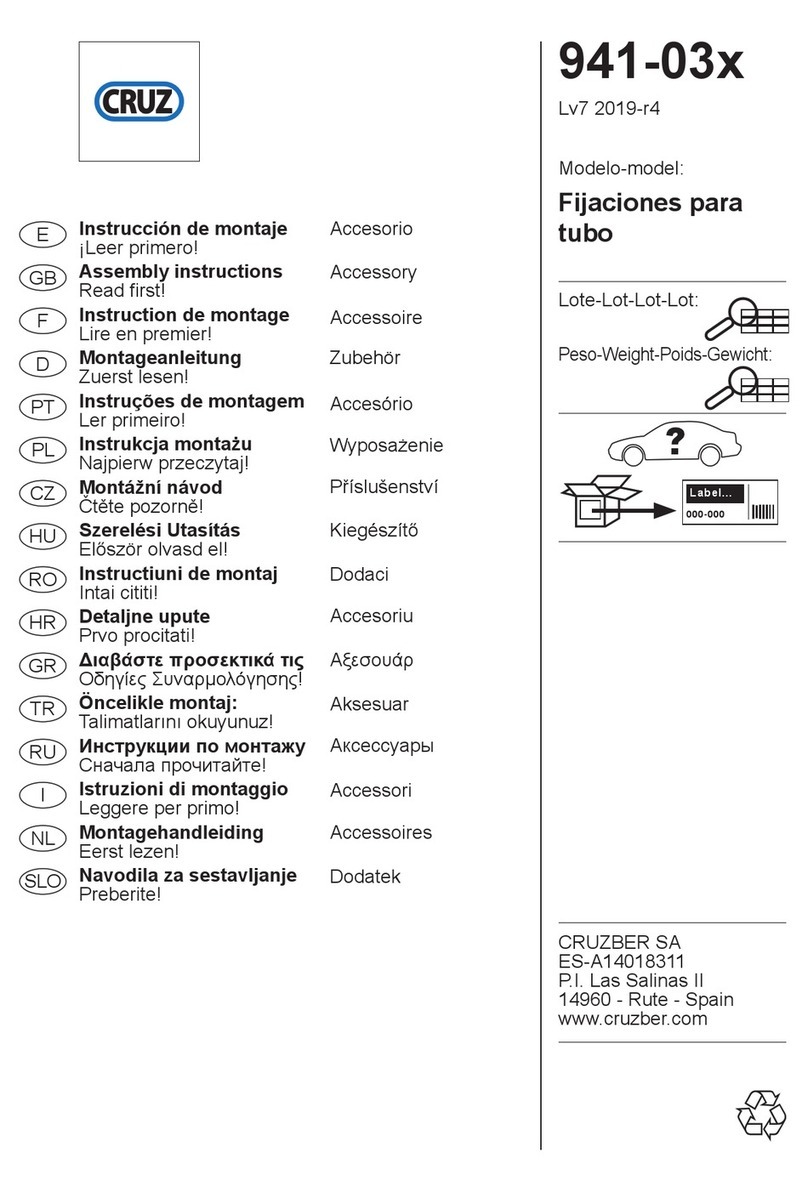
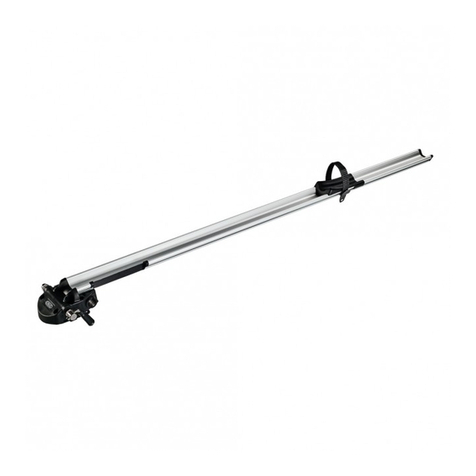
Cruz 941-03 Series User manual

Cruz

Cruz 941-03 Series User manual

Cruz Cruz User manual

Cruz

Cruz Cruz User manual

Cruz Evo Rack Alu A26-140 User manual

Cruz

Cruz Evo Rack Alu A26-140 User manual

Cruz CRUZAlu Cargo AF3 User manual

Cruz

Cruz CRUZAlu Cargo AF3 User manual

Cruz Optiplus User manual

Cruz

Cruz Optiplus User manual

Cruz 941-556 User manual

Cruz

Cruz 941-556 User manual

Cruz MB-100 User manual

Cruz

Cruz MB-100 User manual

Cruz 924-506 User manual

Cruz

Cruz 924-506 User manual

Cruz 925-81 Series User manual

Cruz

Cruz 925-81 Series User manual

Cruz Alu-T User manual

Cruz

Cruz Alu-T User manual

Cruz W 26-160 User manual

Cruz

Cruz W 26-160 User manual

Cruz N+ Series User manual

Cruz

Cruz N+ Series User manual

Cruz 925-80 Series User manual

Cruz

Cruz 925-80 Series User manual

Cruz Evo Rack E23-170 User manual

Cruz

Cruz Evo Rack E23-170 User manual

Popular Automobile Accessories manuals by other brands

Magneti Marelli AC161 Installation instruction

Magneti Marelli

Magneti Marelli AC161 Installation instruction

FDI uEZ GUI Start here

FDI

FDI uEZ GUI Start here

JCROffroad JT Install instructions

JCROffroad

JCROffroad JT Install instructions

Rostra VOXXElectronics 250-1930 owner's guide

Rostra

Rostra VOXXElectronics 250-1930 owner's guide

TOP VEHICLE TECH GR3FORD5 installation manual

TOP VEHICLE TECH

TOP VEHICLE TECH GR3FORD5 installation manual

Safe Fleet PRIME DESIGN AR-2000-BLK manual

Safe Fleet

Safe Fleet PRIME DESIGN AR-2000-BLK manual

Skoda Fabia Combi 5J Fitting instructions

Skoda

Skoda Fabia Combi 5J Fitting instructions

Camcar 40077 Al Mounting instructions

Camcar

Camcar 40077 Al Mounting instructions

Camcar 40089 AL Mounting instructions

Camcar

Camcar 40089 AL Mounting instructions

Impac Tradesman 2000 installation manual

Impac

Impac Tradesman 2000 installation manual

DVB OFFROAD BRSB-01 installation manual

DVB

DVB OFFROAD BRSB-01 installation manual

Safari Snorkel SS385HF installation guide

Safari Snorkel

Safari Snorkel SS385HF installation guide

ULTIMATE SPEED 279746 Assembly and Safety Advice

ULTIMATE SPEED

ULTIMATE SPEED 279746 Assembly and Safety Advice

SSV Works DF-F65 manual

SSV Works

SSV Works DF-F65 manual

ULTIMATE SPEED CARBON Assembly and Safety Advice

ULTIMATE SPEED

ULTIMATE SPEED CARBON Assembly and Safety Advice

Witter F174 Fitting instructions

Witter

Witter F174 Fitting instructions

WeatherTech No-Drill installation instructions

WeatherTech

WeatherTech No-Drill installation instructions

TAUBENREUTHER 1-336050 Installation instruction

TAUBENREUTHER

TAUBENREUTHER 1-336050 Installation instruction

manuals.online logo
manuals.online logoBrands
  • About & Mission
  • Contact us
  • Privacy Policy
  • Terms and Conditions

Copyright 2025 Manuals.Online. All Rights Reserved.