manuals.online logo
Brands
  1. Home
  2. •
  3. Brands
  4. •
  5. Cuisinart
  6. •
  7. Grill
  8. •
  9. Cuisinart GAS1456ASO User manual

Cuisinart GAS1456ASO User manual

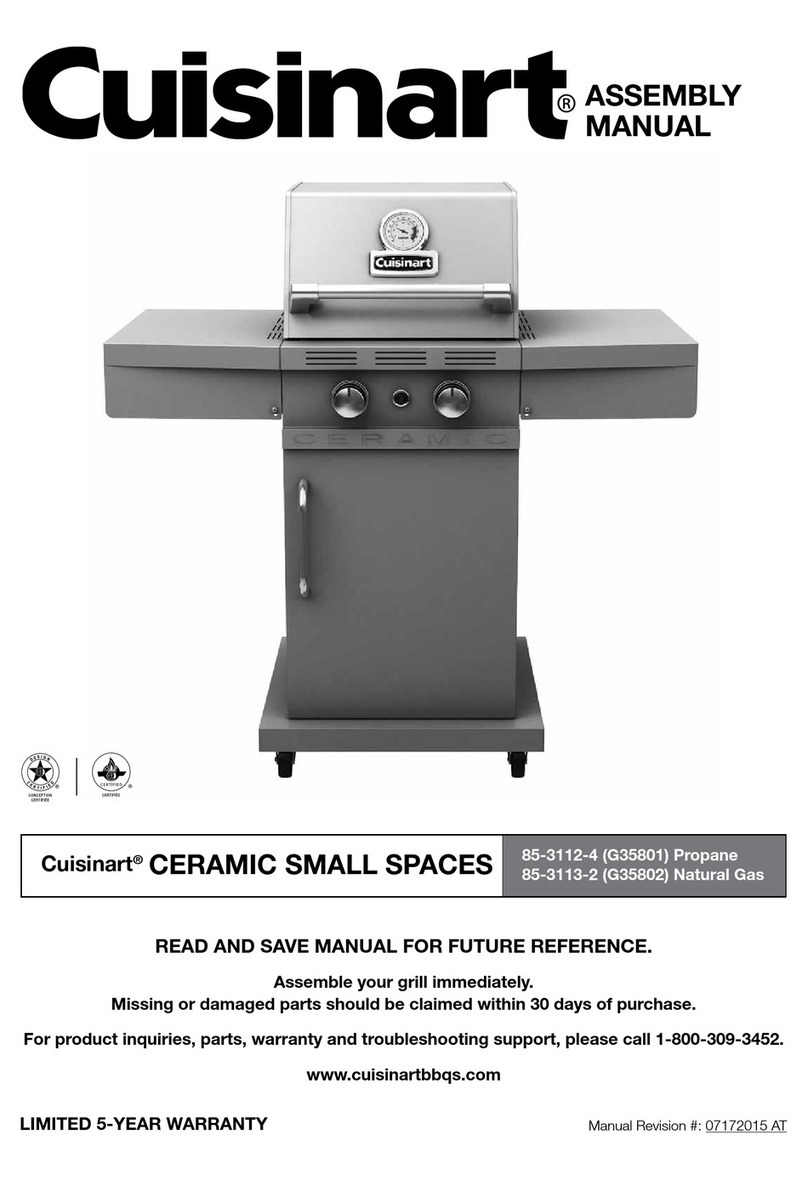
4 Burner Dual Fuel Gas Grill
Model GAS1456ASO
ASSEMBLY INSTRUCTIONS
1
ASSEMBLY INSTRUCTIONS:
READ ALL SAFETY WARNINGS & ASSEMBLY INSTRUCTIONS CAREFULLY
BEFORE ASSEMBLING OR OPERATING YOUR GRILL.
WE RECOMMEND TWO PEOPLE WORK TOGETHER WHEN ASSEMBLING THIS UNIT.
The following tools are required to assemble this Cuisinart 4 Burner Gas Grill:
• Phillips Screwdriver
Note: Most hardware is pre-attached to the grill. You may need to loosen some screws
partially while others may need to be removed in order to assemble parts. The screws that
you remove will be re-used so don’t misplace this hardware.
Extra screws are included in a small bag with the owners manual.
PARTS LIST:
1 Front Right Leg
1 Front Panel
1 Front Left Leg
1 Right Side Panel
1 Left Side Panel
1 Cart Brace
1 Cart Base
1 Left Rear Leg
1 Back Panel
1 Right Rear Leg
1 Side Burner Grate
4 Heat Tents
1 Side Burner Knob
1 Right Side Control Panel
1 Grease Cup
1 Warming Rack
1 Heat Shield
1 Right Side Table
1 Left Side Table
1 Grill Body
1 Left Side Control Panel
4 Casters
3 Cooking Grates
1 Grease Tray
1 Bar
1
2
3
4
5
6
7
8
11
9
10
12
13
14
15
16
17
18
19
20
21
22
23
24
25
2
20
19 18
21 14
16
23
12
11
15
13
8
5
9
6
17
3
2
1
7
4
24
10
22
25
3
Step 1b
• Loosen 6 screws
3-4 turns on
FRONT LEGS
and
• Do not remove
screws
• Attach FRONT
PANEL using
keyholes
• Tighten 6 screws
FRONT PANEL
123
2
NOTE: Before tightening keyhole
screws, make sure panels are aligned.
• Loosen screw on
each BRACKET
• Rotate all
BRACKETS
upward and lock
into slot
• Tighten screws
Step 1a
1
3
108
1 3
BRACKETS
4
• Loosen 2 screws
• Attach LEFT
SIDE PANEL
• Tighten 2 screws
on LEFT SIDE
PANEL
Step 3
LEFT
SIDE
PANEL
5
• Loosen 3 screws
• Attach RIGHT
SIDE PANEL
• Tighten 3 screws
on RIGHT SIDE
PANEL
Step 2
RIGHT SIDE
PANEL
4
4
4
5
5
5
• Attach CART
BASE
• Make sure TANK
• BRACKETS are
on this end (See
drawing below)
• Tighten 4 screws
(Removed from
Step 4)
Step 5
Tighten 4 screws
CART BASE
7
3
7
• Remove 6 screws
• Attach CART
BRACE
• Tighten two
screws on CART
BRACE
Step 4
Remove 2 screws Remove 2 screws
CART BRACE
6
6
6
TANK BRACKETS
6
• Loosen 6 screws
on REAR LEGS
and
• Attach BACK
PANEL
• Tighten 4 screws
• Remove 6 screws
• Attach CART
BASE to rear
legs
• Tighten 4 screws
(Removed from
Step 6)
Remove 2 screws Remove 2 screws
Remove 2 screws
CART BASE
Step 6
Step 7
BACK PANEL
910
8
9
7
7
810
7
• Lock CASTERS
• Attach CASTERS
to legs
Step 9
CASTERS
locked
unlocked
• Attach LEFT
SIDE PANEL
and CART
BRACE
• Tighten 4 screws
Step 8 LEFT
SIDE
PANEL
5
5
6
Screws removed
in Step 6
CART BRACE
6
22
22
22
8
• Set cart upright on
CASTERS
Step 10
• Loosen 2 bottom
screws
Step 11a
CART BASE
TOP VIEW
Loosen bottom screws
9
Step 12
Remove screws
Loosen screw
Remove screws Loosen screw
LEFT SIDE
RIGHT SIDE
• Install BAR
• Tighten 2 screws
Step 11b
Tighten screw Tighten screw
BAR
CART BASE
• Loosen screw
• Remove 2 screws
• Loosen screw
• Remove 2 screws
Step 12
Remove screws
Loosen screw
Remove screws Loosen screw
LEFT SIDE
RIGHT SIDE
• Install BAR
• Tighten 2 screws
Step 11b
Tighten screw Tighten screw
BAR
CART BASE
LEFT SIDE
RIGHT SIDE
28
28
10
• Set GRILL
BODY on cart
• Make sure screw
drops into rear
cart brackets
• Align GRILL
BODY to front
of cart
Step 13
Step 14
Tighten screw
GRILL BODY
GRILL BODY
Tighten screw
CART BRACKETS
Tighten screw
Tighten screw
RIGHT SIDE
Step 13
Step 14
Tighten screw
GRILL BODY
GRILL BODY
GRILL BODY
Tighten screw
CART BRACKETS
Tighten screw
Tighten screw
LEFT SIDE
RIGHT SIDE
LEFT SIDE
• Tighten 2 screws
RIGHT SIDE
• Tighten 2 screws
20
20
20
11
• Loosen 4 screws
• Attach parts and
tighten screws
Step 16
Align
edges
• Remove 3 screws
and washers
LEFT SIDE
TABLE RIGHT SIDE
TABLE
RIGHT SIDE
CONTROL
PANEL
Step 15
Remove
screw
and
washer
Remove
screw
and
washer
LEFT SIDE TABLE RIGHT SIDE TABLE
LEFT SIDE
CONTROL PANEL
RIGHT SIDE
CONTROL PANEL
Remove
screw
12
• Install screw and
tighten (screw
was removed in
Step 12)
Step 18
• Loosen 4 screws
• Attach LEFT SIDE
TABLE using
keyholes
• Do not tighten
screws at this
point in time
Step 17
LEFT
SIDE
TABLE
Loosen 4 screws
Tighten screw
19
19
13
• Loosen 4 screws
• Attach RIGHT
SIDE TABLE
using keyholes.
Do not tighten 4
screws at this time
Step 20
RIGHT
SIDE
TABLE
Loosen 4 screws
• Install screw and
washer (screw
and washer
were removed in
Step 15). Do not
tighten screw at
this time
• Make sure panels
are aligned
• Tighten 5 screws
from Steps 17
through 19
Step 19
Align Panels
18
18
14
• Install screw and
washer (screw
and washer
were removed in
Step 15). Do not
tighten screw at
this time
• Make sure panels
are aligned and
tighten 5 screws
from Steps 20
through 22
Step 22
• Install screw and
tighten (screw was
removed in
Step 12)
Step 21
Align Panels
Tighten screw
15
• Remove WING
NUT and remove
burner. Install SIDE
BURNER VALVE
in control panel
• Slide valve
downward and
tighten 2 screws to
lock into place (see
diagram Step 24b)
• Install burner and
make sure
BURNER
VENTURI ts over
VALVE NOZZLE
• Tighten WING
NUT
Step 24a
VALVE
NOZZLE
SIDE BURNER
VALVE
BURNER VENTURI WING
NUT
Step 23
• Install screw
(removed in
Step 15)
16
• Install SIDE
BURNER
KNOB
Step 24b
• Attach WIRE CLIP
to side burner
SIDE
BURNER
SIDE BURNER
VALVE
WIRE CLIP
Step 25a
13
SIDE BURNER
KNOB
BEZEL
KEY HOLES
SIDE BURNER
VALVE STEM
13
17
• Attach IGNITOR
WIRE to
ELECTRODE
Step 26
ELECTRODE
IGNITER WIRE
SIDE BURNER
VALVE
SIDE BURNER
WIRE CLIP
Step 25b
18
• Loosen 2 screws
• Attach HEAT
SHIELD and
tighten screws
Step 28
• Install SIDE
BURNER
GRATE
Step 27
SIDE BURNER
GRATE
HEAT SHIELD
11 11
17
17
19
Step 30
WARMING RACK
HEAT TENTS
COOKING GRATES
• Install HEAT
TENTS ,
COOKING
GRATES and
WARMING
RACK
GREASE CUP
GREASE TRAY
• Install GREASE
TRAY and
GREASE CUP
through back of
grill
Step 29
24
15
24
15
16
23
12
12
23
16

Other Cuisinart Grill manuals

Cuisinart SMK1021ASO User manual

Cuisinart

Cuisinart SMK1021ASO User manual

Cuisinart CGG-240 Assembly and User manual

Cuisinart

Cuisinart CGG-240 Assembly and User manual

Cuisinart SMK1021ASO User manual

Cuisinart

Cuisinart SMK1021ASO User manual

Cuisinart Q33 User manual

Cuisinart

Cuisinart Q33 User manual

Cuisinart GRILDDLER ELITE GR47E User manual

Cuisinart

Cuisinart GRILDDLER ELITE GR47E User manual

Cuisinart CLERMONT Instruction Manual

Cuisinart

Cuisinart CLERMONT Instruction Manual

Cuisinart SMK2036AS User manual

Cuisinart

Cuisinart SMK2036AS User manual

Cuisinart CCG-290 User manual

Cuisinart

Cuisinart CCG-290 User manual

Cuisinart C780SR User manual

Cuisinart

Cuisinart C780SR User manual

Cuisinart Griddler Elite GR-300WSP1 Service manual

Cuisinart

Cuisinart Griddler Elite GR-300WSP1 Service manual

Cuisinart Gourmet 700 User manual

Cuisinart

Cuisinart Gourmet 700 User manual

Cuisinart Venture CGG-750 User manual

Cuisinart

Cuisinart Venture CGG-750 User manual

Cuisinart CGG-522 User manual

Cuisinart

Cuisinart CGG-522 User manual

Cuisinart CR-8C Operational manual

Cuisinart

Cuisinart CR-8C Operational manual

Cuisinart C560S User manual

Cuisinart

Cuisinart C560S User manual

Cuisinart PL50E User manual

Cuisinart

Cuisinart PL50E User manual

Cuisinart SMK0036AS System manual

Cuisinart

Cuisinart SMK0036AS System manual

Cuisinart C782IRS-R User manual

Cuisinart

Cuisinart C782IRS-R User manual

Cuisinart GR-5 Series Service manual

Cuisinart

Cuisinart GR-5 Series Service manual

Cuisinart GR3E User manual

Cuisinart

Cuisinart GR3E User manual

Cuisinart Griddler Deluxe User manual

Cuisinart

Cuisinart Griddler Deluxe User manual

Cuisinart Ceramic 850 85-3126-2 User manual

Cuisinart

Cuisinart Ceramic 850 85-3126-2 User manual

Cuisinart GAS0356AS User manual

Cuisinart

Cuisinart GAS0356AS User manual

Cuisinart CGG200 - 12000 BTU Compact Portable Gas... User manual

Cuisinart

Cuisinart CGG200 - 12000 BTU Compact Portable Gas... User manual

Popular Grill manuals by other brands

Garland XPE12 Service manual

Garland

Garland XPE12 Service manual

Viking Emeril owner's manual

Viking

Viking Emeril owner's manual

MR. BAR-B-Q CBC1606A owner's manual

MR. BAR-B-Q

MR. BAR-B-Q CBC1606A owner's manual

Outback MS4464 Assembly and operating instructions

Outback

Outback MS4464 Assembly and operating instructions

Jenn-Air 720-0063-LP instructions

Jenn-Air

Jenn-Air 720-0063-LP instructions

RUSTA Kolgrill manual

RUSTA

RUSTA Kolgrill manual

Klarstein VENDETTA 4.1 ISL instructions

Klarstein

Klarstein VENDETTA 4.1 ISL instructions

Barbecook Billy user guide

Barbecook

Barbecook Billy user guide

Fiesta EZT34545 B307 Assembly manual

Fiesta

Fiesta EZT34545 B307 Assembly manual

Dyna-Glo DGB515SDP-D manual

Dyna-Glo

Dyna-Glo DGB515SDP-D manual

Fiesta EZH24025-B403 Assembly manual

Fiesta

Fiesta EZH24025-B403 Assembly manual

Eurotops 41476 manual

Eurotops

Eurotops 41476 manual

Weber Spirit Premium 320 Assembly guide

Weber

Weber Spirit Premium 320 Assembly guide

TEFAL HARMONY user manual

TEFAL

TEFAL HARMONY user manual

Klarstein Gatsby manual

Klarstein

Klarstein Gatsby manual

Uberhaus 780-0384 manual

Uberhaus

Uberhaus 780-0384 manual

Star 20C Installation and operation instructions

Star

Star 20C Installation and operation instructions

Rebel MAJOR 4i BLACK Assembly and operating instructions

Rebel

Rebel MAJOR 4i BLACK Assembly and operating instructions

manuals.online logo
manuals.online logoBrands
  • About & Mission
  • Contact us
  • Privacy Policy
  • Terms and Conditions

Copyright 2025 Manuals.Online. All Rights Reserved.