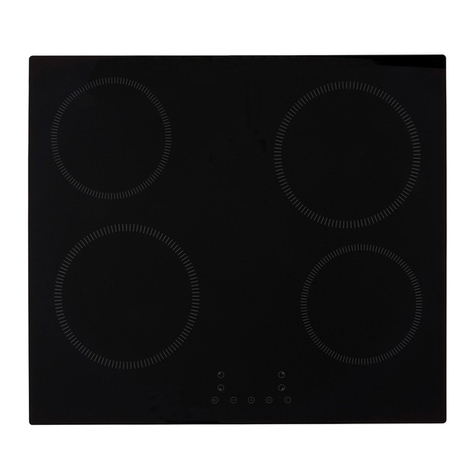
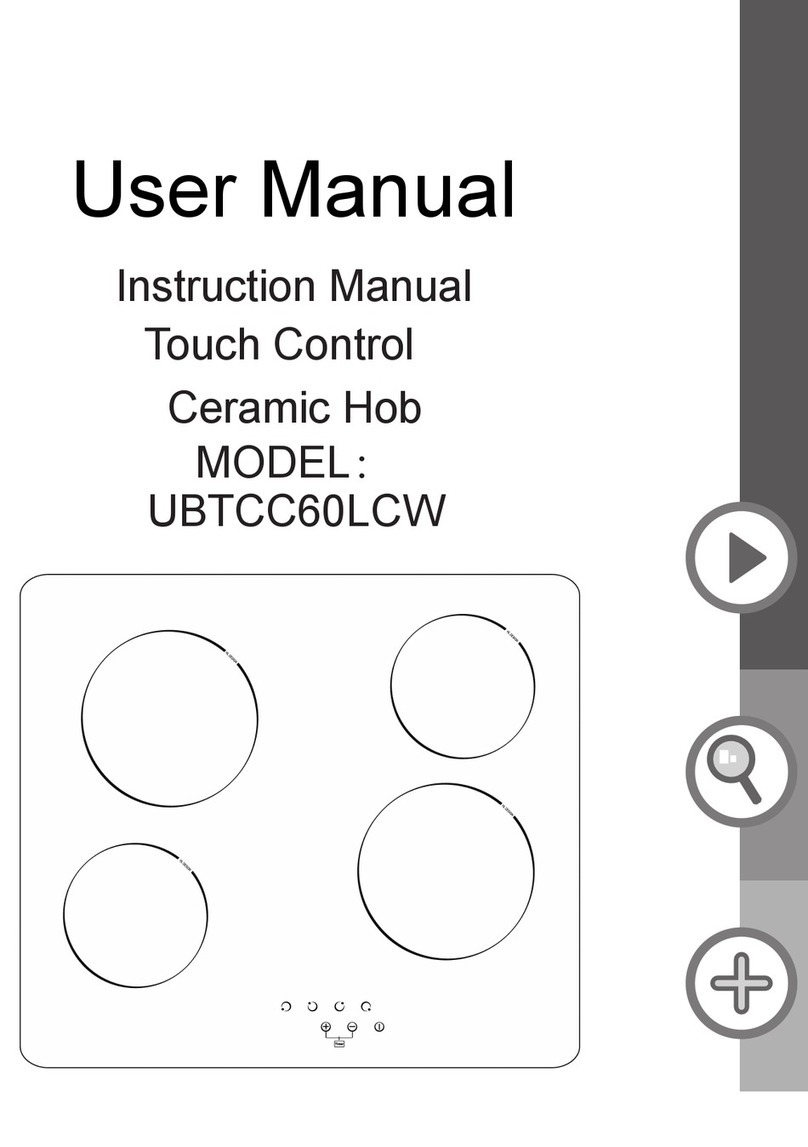
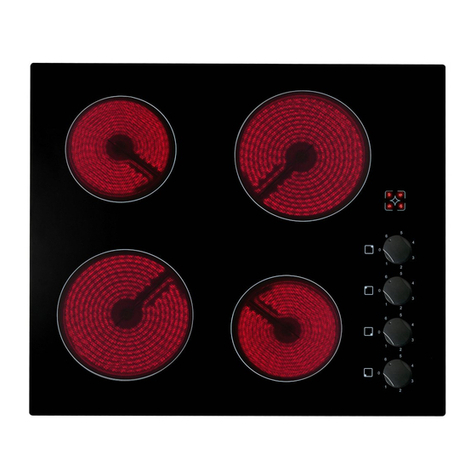
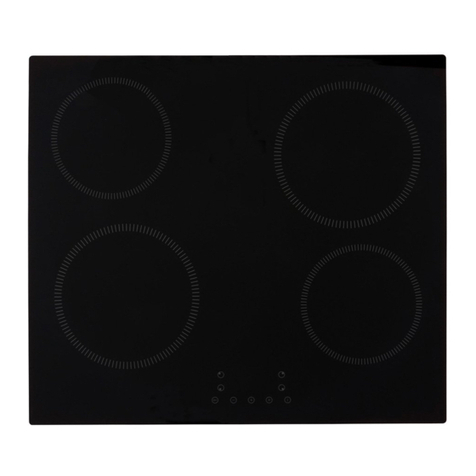
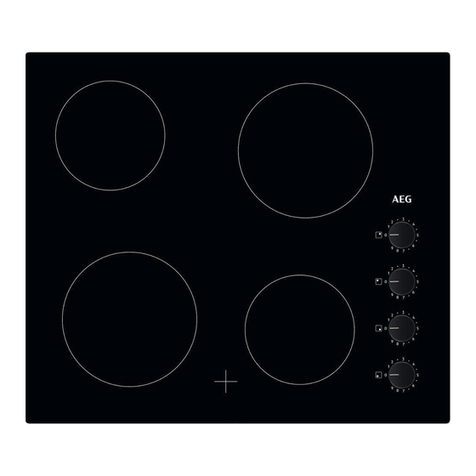
Culina ICONCER60RF User manual

Ceramic Hob
MODEL:ICONCER60RF
Touch Control
Instruction Manual

[03] x 6
x 1
[02] x 6
[04] x 1
[01]
Note: Items 2 and 3 are pre-fitted in the factory
there is no assembly of these components required.

3
Installation
Installation 21
ICONCER60RF
Touch Control
Ceramic Hob

4
Let's
get started...
Getting started... 05
Before you start 06
Safety 07
In more detail... 09
Product functions
Operation
Care and maintenance
Troubleshooting
Recycling and disposal
Technical and legal information
10
11
16
18
19
20
Appendix
23
Installation

5
Getting
Started...
Getting started...
Before you start 06
Safety 07

6
Getting started...
Before you start
To avoid the risks that are always present when you use
an electrical appliance it is important that this appliance is
installed correctly and that you read the safety instructions
carefully to avoid misuse and hazards. Please keep this
instruction booklet for future reference and pass it on to any
future owners. After unpacking the appliance please check
that it is not damaged. If in doubt, do not use the appliance
Check the package and make sure you have all of the
parts listed.
Decide on the appropriate location for your product.
If this product contains glass please take care when tting
or handling to prevent personal injury or damage to the
product.
The specications plate is available on this appliance. This
plate displays all the necessary identication information for
ordering replacement parts.
If you sell the appliance, give it away, or leave it behind
when you move house, make sure you also pass on this
manual so that the new owner can become familiar with the
appliance and its safety warnings.
Before you start
Tools required
SILICONE

7
Getting started...
Safety
These instructions are for your safety. Please read through
them thoroughly prior to installation and retain them for
future reference.
This appliance complies with all current European safety legislation,
however, the Manufacturer must emphasise that this compliance does
not prevent the surfaces of the appliance from heating up during use and
remaining hot during its operation.
Accessible parts may become hot during use. Young children should be kept
away. Care should be taken to avoid touching the appliance (e.g hob, cooker).
The Manufacturer highly recommends that this appliance be kept out of the
reach of babies and small children.
Children should be supervised to ensure that they do not play with the
appliance.
This appliance is not intended for use by persons (including children) with
reduced physical sensory, or mental capabilities, or by those who lack
experience and knowledge, unless they have been given supervision and
instruction concerning the use of the appliance by a person responsible for
their safety.
Means for isolating the appliance must be incorporated in the xed wiring
in accordance with the current wiring regulations. An all-pole disconnection
switch having a contact separation of at least 3 mm in all poles should be
connected in xed wiring.
Damaged power cables should be replaced by a competent person or
qualied electrician.
Make sure that the power cord is not caught under or in the appliance and
avoid damage to the power cable.
Do not allow the electric cables to touch the hot parts of the appliance.
Do not install the appliance outdoors in a damp place or in an area which
may be prone to water leaks such as under or near a sink unit. In the event
of a water leak allow the machine to dry naturally.
Please dispose of the packing material carefully.
Do not use ammable sprays in close vicinity to the appliance.
• All installation work must be carried out by a
competent person or qualied electrician.
• This appliance must be installed correctly by a
suitably qualied person, strictly following the
manufacturer’s instructions.

8
Getting started...
Safety
We also recommend that great care be taken during use and cleaning.
Read the cleaning and maintenance sections for this appliance carefully.
A steam cleaner is not to be used.
The appliance is not intended to be operated by means of external timer or
separated remote-control system.
The appliance is for domestic use only.
When a cooking zone has been on for a long time, the surface remains hot
for some time afterwards so do not touch the metal surface.
Do not store detergents or ammable materials beneath the hob.
Do not leave hot oils or fats unattended as they may catch light.
The Manufacturer declines all liability for personal or material damage as a
result of misuse or incorrect installation of this appliance.
This appliance is designed for domestic use only. The
manufacturer shall not in any way be held responsible
for whatever injuries or damages are caused by incorrect
installation or by unsuitable or incorrect use!

9
In more detail...
In more
detail...
Product functions 10
Operation 11
Care and maintenance 14
Troubleshooting 16
Recycling and disposal 17
Technical and legal information 18

10
In more detail...
Functions
Product functions
> The ceramic hob caters for all kind of cooking, with its radiant heat
cooking zones and its electronic touch controls and multi-functions,
making it the ideal choice for the modern family.
> The ceramic hob is extremely user-friendly, durable and safe.
Special functions
Protection from over-heating
> A sensor monitors the temperature in the cooking zones. When the
temperature exceeds a safe level, the cooking zone is automatically
switched off.
Residual heat indicator
> When the hob has been operating for some time, there will be some
residual heat. The letter “H” appears to warn you that it is too hot to
touch the surface.
Auto shutdown
> Another safety feature of the ceramic hob is auto shutdown. This occurs
whenever you forget to switch off a cooking zone.
The default shutdown times are shown in the table below:
Power level The heating zone shutdown
automatically after
1-2 6 hours
3-4 5 hours
5 4 hours
6-9 90 minutes
Protection against unintended operation.
If the electronic control detects a button being held down for approx
10 seconds it will switch off automatically. The control sends out an
audible error signal to warn the sensors have detected the presence
of an object. The display will indicate an error code ER03 if the hob
is still hot. The display "H" and ER03 ash alternatively.

11
In more detail...
Operation
Operation
Reference Description
Zone position
Power regulating key (reduce)
Power regulating key (increase)
A
B
ON / OFF
C
D
Touch sensitive keys.
All operations can be performed using touch sensitive keys
(capacitive sensors) located on the front of the ceramic
glass (control panel). Each key has a corresponding display. All actions
A
CBD

12
In more detail...
Operation
Preparation before use
ehtlladnaecnodnuoslliwrezzubeht,nodehctiwssirewopehtnehW>
indicators will switch on for one second and then switch off. The hob is now
in standby mode. Place the pan in the centre of the cooking zone.
Operating instructions
Heating zone operation
When the ON/OFF key is pressed, all the indicators show "0."
Caution
•When the ON/OFF key (D) is pressed, the
ceramic hob returns to standby mode if no other
operation is carried out within 20 seconds.
1. Select the cooking zone you wish to use by pressing the " " key (A).The 0.
symbol selected will be flashing.
2. Select the power level by pressing the "+" key(C) or "-" key (B)
3. The power level will start at 0. Pressing the "+" will count up the power levels
from 0 to 9 (max power) in numerical order. Pressing the "-" key will take the
power straight from 0 to 9. Pressing the "-" key again will decrease the power
level.
.
Safety mode (Child lock)
device.


Controlling the cooker hood remotely
IMPORTANT: This section is only applicable if you have
purchased the optional.Cooker Hood Model:ICONCG60RF
Before First Use
This cooker hood model ICONCG60RF and the ceramic hob model
ICONCER60RF must be paired by radio frequency before remote control
can occur. This only needs to be done once.
When connected the power output of the ceramic hob will control the
extraction rate of the cooker hood.
To Set Up Connectivity
1.Make sure that the hob and the hood are switched off.
2.Press the Timer icon and Light icon together on the control panel.
The LED display will alternately flash red and white.
3.Turn on the hob and make sure the connectivity indicator is lit red.
Note: Simultaneously press the "-" key and the "+" key on the hob if it is
not lit.
4.Press the keys and together on the hob and the connection
indicator will flash to confirm connection.
5.The control panel of the hood will show A for five seconds to indicate
connectivity has been made with the hob.
6.Press the keys and together on the hob one more time to store the
connectivity settings.
IMPORTANT:The connectivity operation above must be completed
within two minutes of turning on the power to the hood. If this is not
successful, switch off both the hood and the hob, wait for one minute
and attempt the connectivity again.
Using the connectivity function
1.Ensure the connectivity indicator is lit on the hob control panel.
2.The extraction rate of the hood will vary based upon the total power
output selected on the hob,as shown in the table. Each hob cooking
zone has a maximum rated output of 10 comprising 1-9.
14

15
Speed Level of
the Hood
Combined Power Output of the Hob
Speed 1 This speed will be selected when there are no more than two
cooking zones in use, and the combined output is 8 or less. For
example, zone 1 is on 2, and zone 2 is on 5
Speed 3 This speed will be selected when there are no more than three
cooking zones in use, and the combined output is between 9
and 24. For example, zone 1 is on 7, zone 2 is on 6 and zone 3
is on 9.
Speed 5 This speed will be selected when all four cooking zones are in use,
and the combined output is between 25 and 35. For example, zone
1 is on 7, zone 2 is on 7, zone 3 is on 9 and zone 4 is on 9.
Speed P This speed will be selected when all four cooking zones are in use,
and the combined output is greater than 35. For example, zone 1 is
on 9, zone 2 is on 9, zone 3 is on 9 and zone 4 is on 9.
Note: Speed 2 and Speed 4 on the hood are not available when using this function.
If the hood controls are manually overridden when the hob and hood are linked, the hood will
operate for fi ve minutes on this manual setting before returning to control by the hob.
To reconnect the hood and hob immediately, press the Timer and Light together
Stopping the connectivity function
1.Simultaneously press the "-" key and the "+" key on the hob, the
indicator light will go out and the link will be dropped. To reconnect again,
press the connectivity key on the hob again.
2.If the hob is switched off, the hood will continue to operate independen-
tly in timer mode and the current speed will flash.
The current speed level of the hood will continue for 5 minutes and step
down for 2 minutes at each level until finally switching off.

Reference Description
(C)
(D)
(E)
(F)
In more detail...
Care and maintenance
Warning
Always switch off the electricity supply before
performing maintenance work. In the event of a fault,
contact customer services.
OFF
Care and maintenance
Care
Damaged power cables should be replaced by a
For domestic use only.
Never place an empty pan on the hob as this will cause
an error message to appear on the control panel.
When a cooking zone has been on for a long time, the
surface remains hot for some time afterwards so do not
touch the ceramic surface.
For sealed foods, please do not heat them before
opening removing the lid so as to avoid any dangers of
explosion due to heating expansion.
If the surface of the hob is cracked, disconnect from
power supply to avoid any possibility of electric shocks.
Do not place rough or uneven pans on the hob, as they
could damage the ceramic surface.
16

In more detail...
Care and maintenance
Avoid banging pots and pans down on the hob.
The ceramic surface is tough but not unbreakable.
the hob.
Care and maintenance
Appliance cleanliness
> The appliance should be cleaned after use.
> The surface of the ceramic hob may be easily cleaned in the following
way:
Type of dirt Cleaning method Cleaning materials
Lime scale Apply white vinegar to the
surface, then wipe it dry
with soft cloth
Special ceramic cleaner
Burnt-on stains Clean with damp cloth and
dry it with a soft cloth
Special ceramic cleaner
Light stains Clean with damp cloth and
dry it with a soft cloth
Cleaning sponge
Melted plastics Use a scraper suitable for
ceramic glass to remove
residue
Special ceramic cleaner
Caution
•Avoid rubbing with any abrasive or with the base
of the pans, etc, as this will wear the markings on
the top of the ceramic hob over time.
•Clean the ceramic hob on a regular basis to
prevent the build up of food residue.
17

18
In more detail...
Care and maintenance
Troubleshooting
Before calling the customer services, please check that the appliance is
correctly connected, any of the following cases are not covered by the
guarantee
> Damage caused by improper use, storage or maintenance
> Damage caused by unauthorised disassembly and repair.
> Damage caused by misuse.
> Using the ceramic hob for commercial purposes.
By means of a scraper immediately remove any aluminum foil bits,food
spills ,grease splashes,suger marks and other high sugar content food from
the surface in order to avoid damaging the hob. Subsequently clean the
surface with some towel and appropriate product,rinse with water and dry by
means of a clean cloth.Under no circumstance should sponges or abrasive
cloths be used;also avoid using aggressive chemical detergents such as
oven sprays and spot removers.

19
In more detail...
Recycling and
Disposal
Recycling and Disposal
Environmental Protection
Waste electrical products should not be disposed of with household waste.
Please recycle where facilities exist. Check with your Local Authority or
retailer for recycling advice.
The symbol on the product or its packaging indicates that this
product cannot be treated as normal household waste. This product
must be handed over to an electric and electronic equipment
collection point for recycling.
On ensuring that this product is disposed of correctly, you will help to
avoid possible negative consequences for the environment and public
health, which could occur if this product is not handled correctly. To receive
more detailed information about recycling this product, contact your local
government, domestic waste disposal services or the outlet where the
product was bought.

20
In more detail...
All installation work must be carried out by a
competent person or qualied electrician.
Before connecting the mains supply ensure that
the mains voltage corresponds to the voltage on
the rating plate inside the cooker hood.
Warning: THIS APPLIANCE MUST
BE EARTHED.
Mains Supply could be connected to the Mains Voltage by Direct
Connection
Direct Connection
If the appliance is being connected directly to the mains an
omnipolar circuit-breaker must be installed with a minimum
opening of 3mm between contacts.
If the cable is damaged or to be replaced, the operation must be
carried out the by a qualied electrician with dedicated tools to
avoid any accidents.
The installer must ensure that the correct electrical connection has
been made and that it complies with wiring diagram.
The cable must not be bent or compressed.
The cable must be checked regularly and replaced by authorized
technicians only.
DOUBLE POLE SWITCHED
FUSED SPUR OUTLET
USE A 3AMP FUSE
FUSEON
USE A 32 AMP FUSE
Technical and legal
information
Table of contents
Other Culina Hob manuals

Culina
Culina UBTCC60BVT Specification sheet

Culina
Culina UBTCC90 User manual

Culina
Culina UBTCC60KC User manual

Culina
Culina GH60GGAR User manual

Culina
Culina UBGHJ608 User manual

Culina
Culina UBGOG60BKD User manual

Culina
Culina UBTCC75 User manual

Culina
Culina UBGHJ60 User manual

Culina
Culina CLASSGH6BK User manual

Culina
Culina UBKCIND60BV Specification sheet