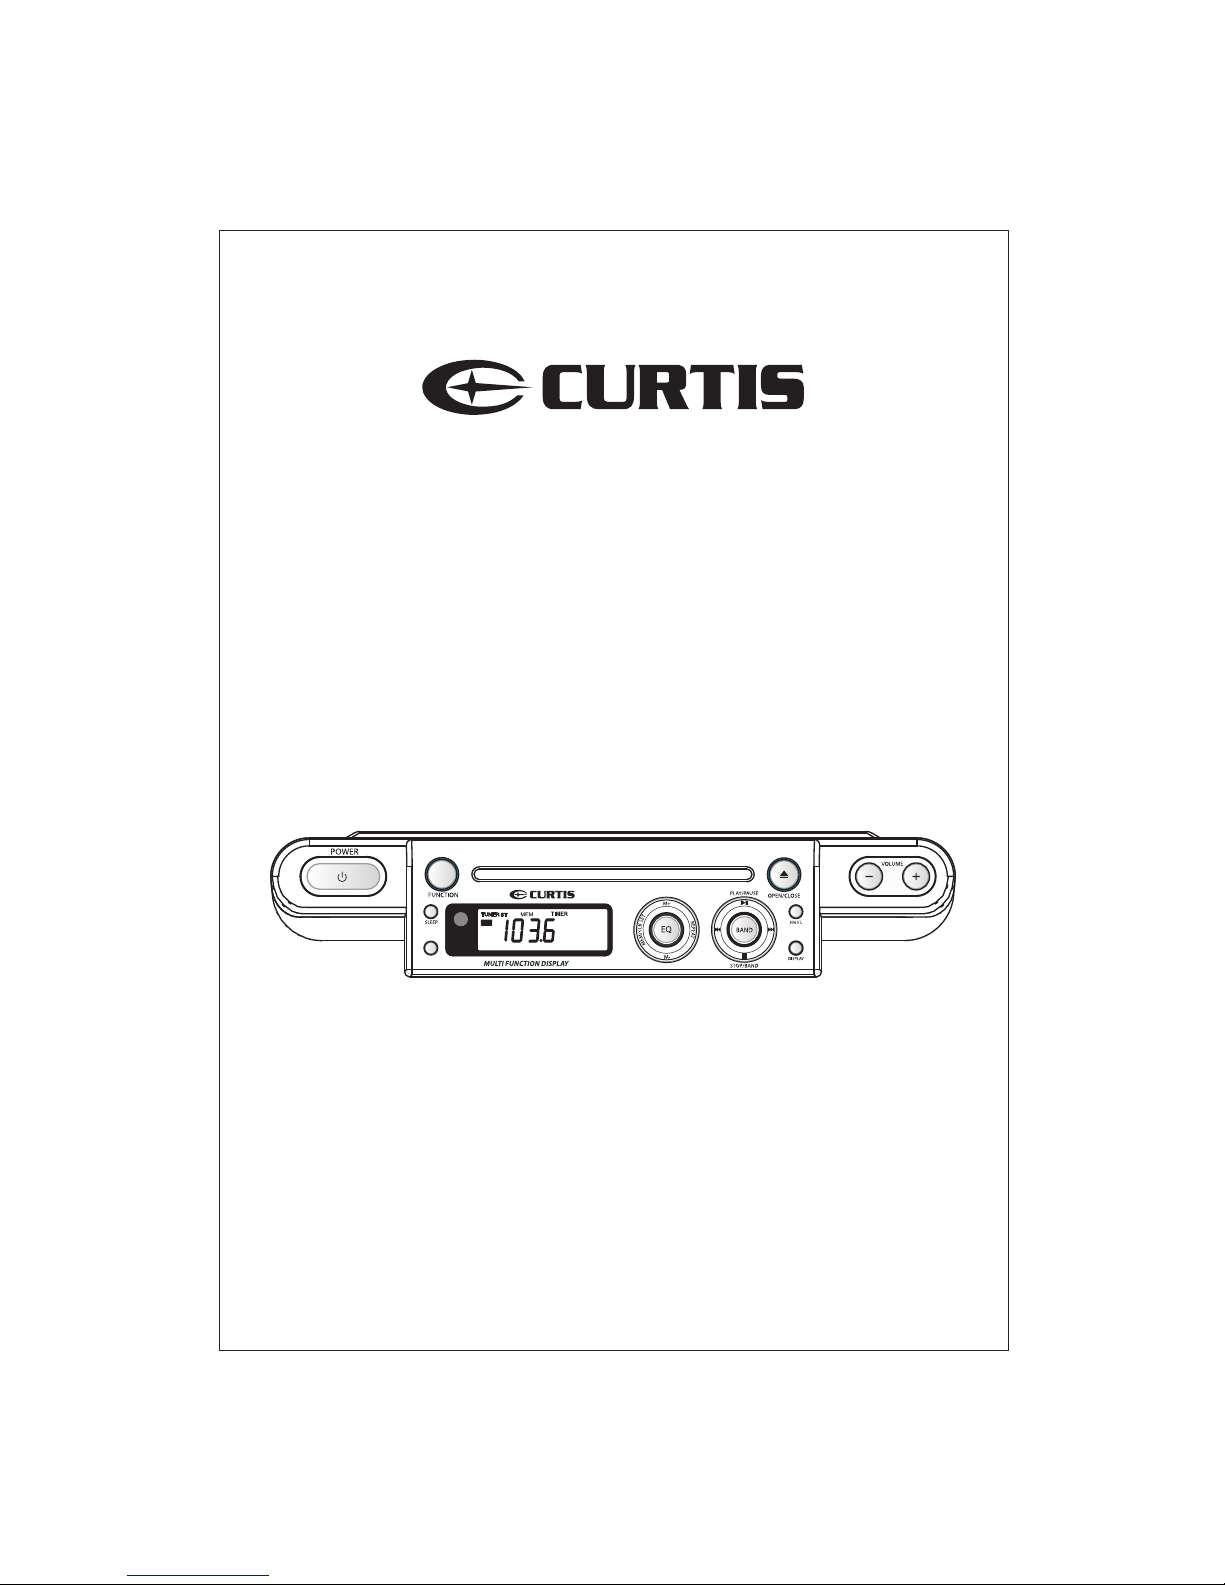
OPERATING INSTRUCTIONS
7
To turn on your radio:
1. Plug the AC Power cord into a power outlet.
2. Press the POWER button to turn on the radio.
Setting the time
To set the time on your radio:
1. With the power off.
2. Press and hold the MEM/CLK SET Button; "12Hr" will blink.
3. Press the SKIP/TUNING Button to set the unit to the 24 hour (24Hr) mode
or 12 hour (12Hr) mode.
4. Press the MEM/CLK SET Button and the hours will blink.
5. Press the SKIP/TUNING Button to set the current hour, then press the
MEM/CLK SET again; the minute digits will blink. Press the SKIP/TUNING
to set the current minutes.
6. Press the MEM/CLK SET Button to confirm the time.
To set the kitchen timer:
1. Press the TIMER button one or more times to select a length of time
in minutes. The initial time is 240 minutes. Each time you press the
TIMER Button, the length of time decreases by 10 minutes.
2. To increase or decrease the length of time from one to nine minutes,
press one of the SKIP/TUNING Button one or more times. Each time
you press a SKIP/TUNING Button the length of time increase or decrease
by one minute.
3. When the alarm sound go on for approximatly 8 seconds, press the
TIMER to turn off alarm.
4. To cancel the timer, press the TIMER Button for five seconds.
To activate sleep function:
1.
Press the SLEEP button and "90" will appear and set the unit to turn off after
90 minutes.
Each time you press the SLEEP button, the length of time decreases
by 10 minutes.
2. After five seconds, the Sleep function will activate and the SLEEP indicator will light
solid. Pressing the SLEEP button again until "OFF" appears and turns off the Sleep
feature.
Using your radio