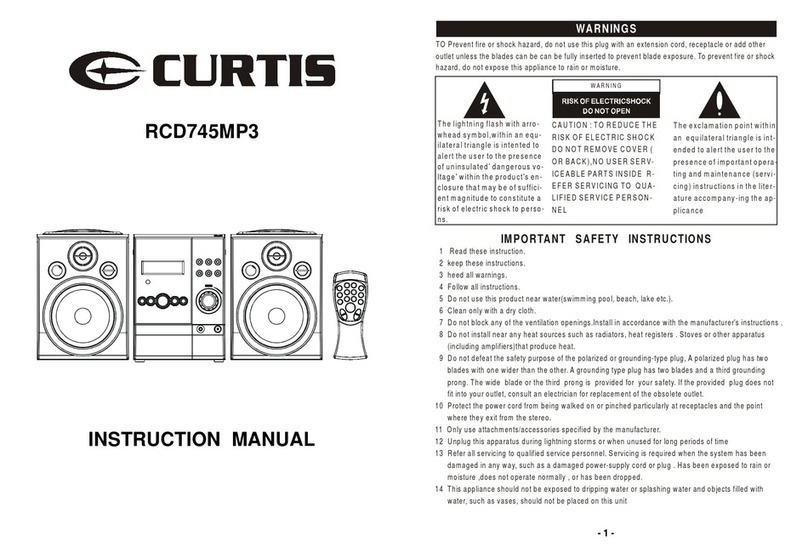
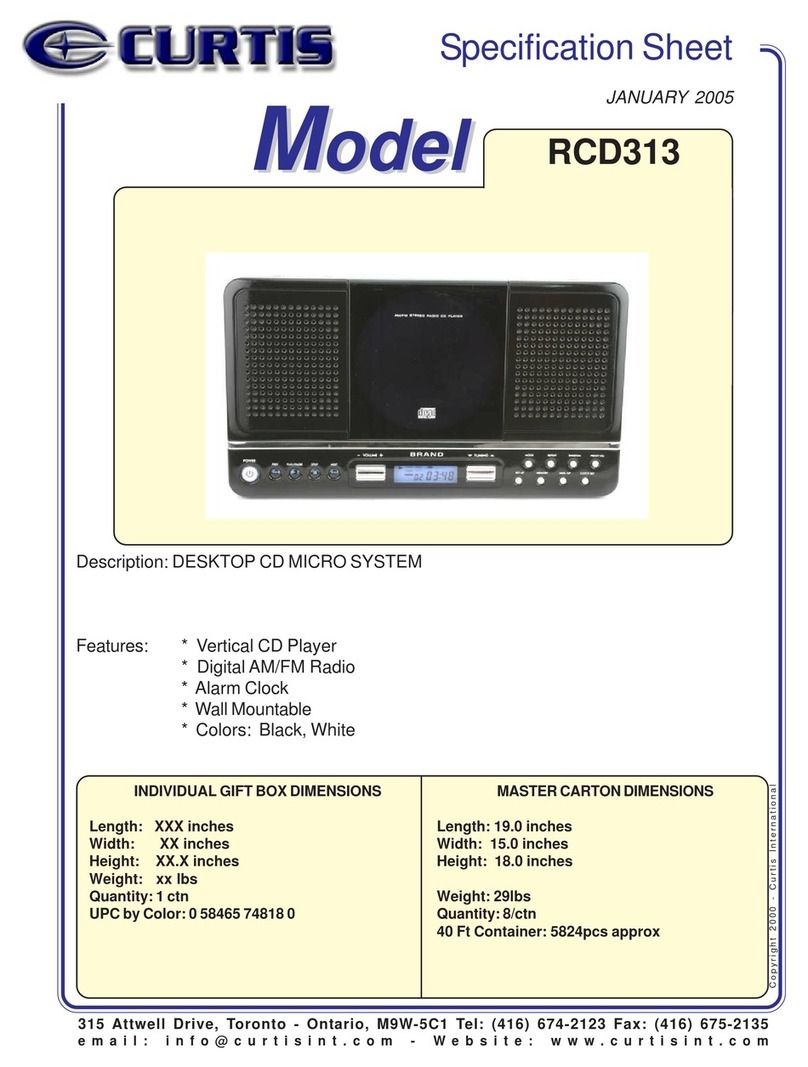
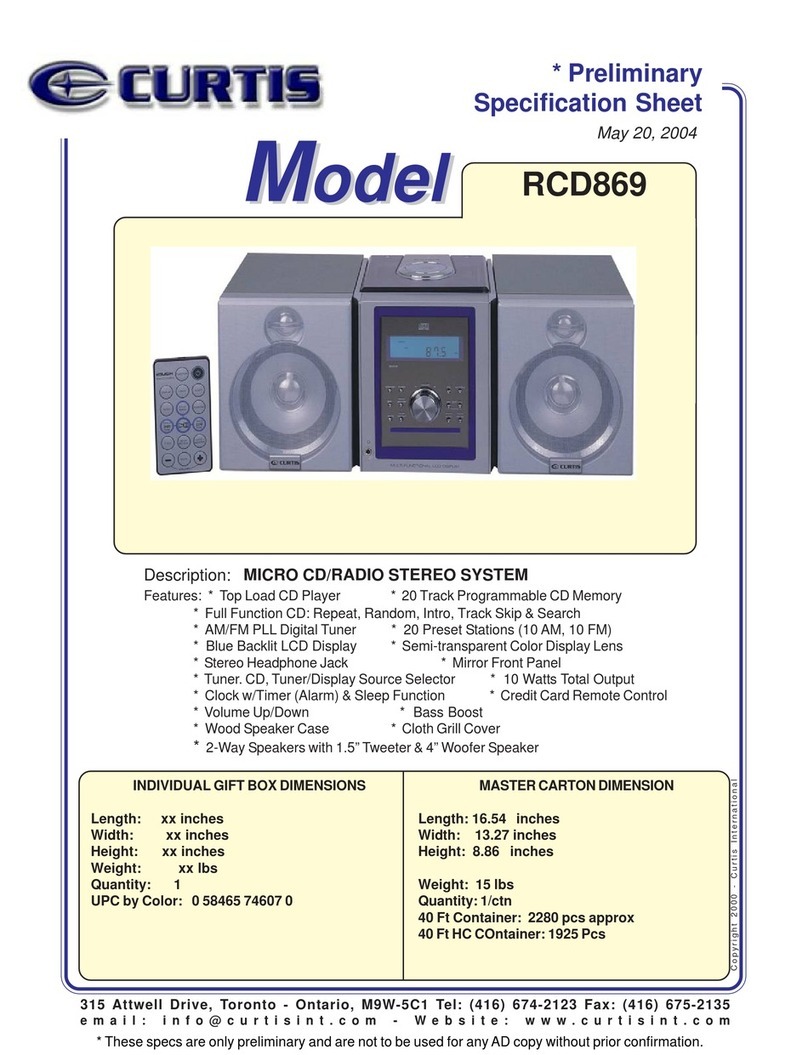
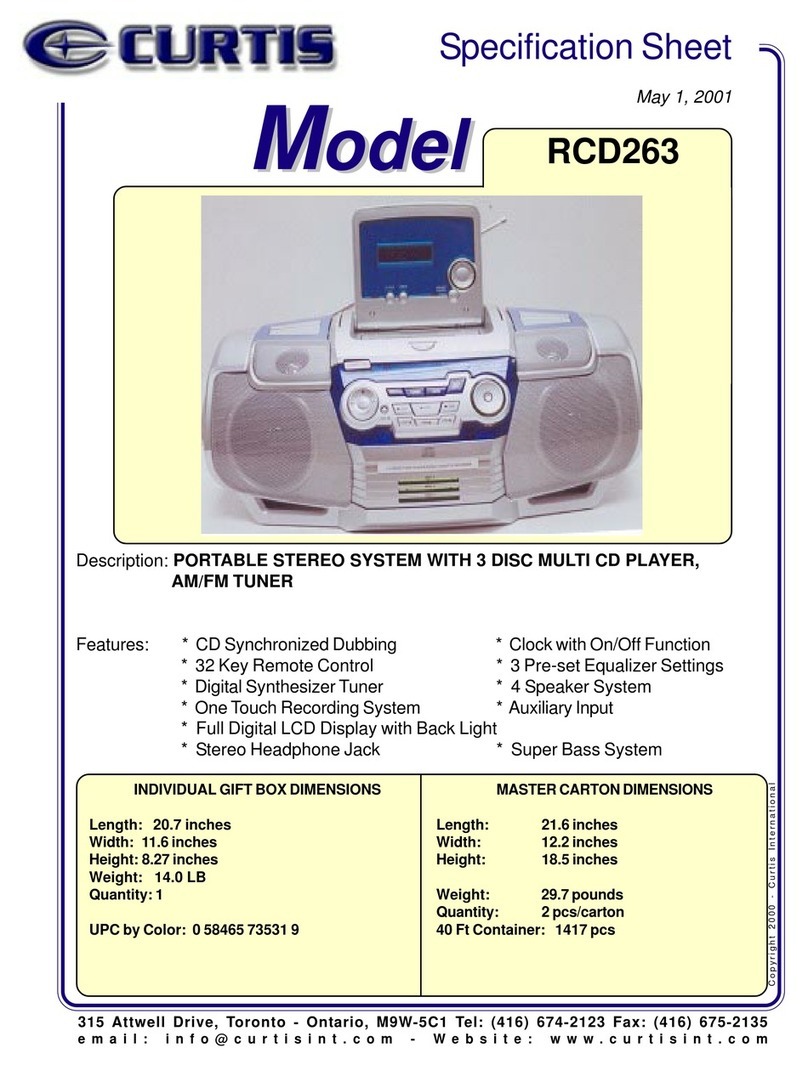
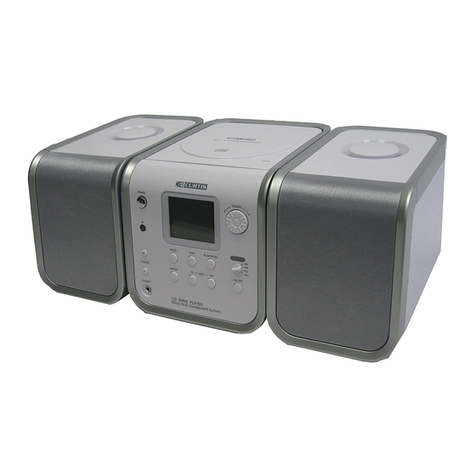
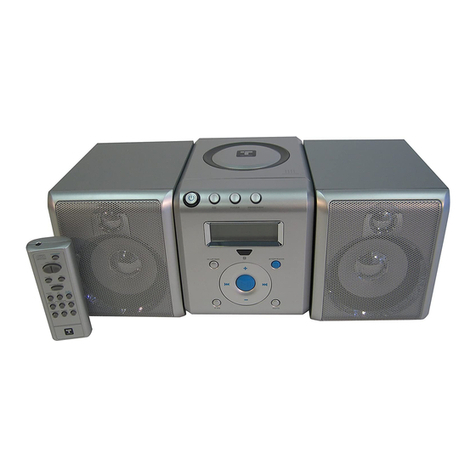
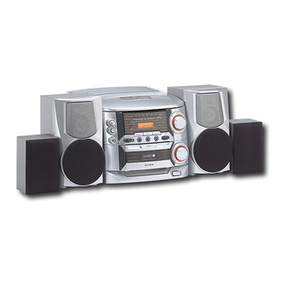
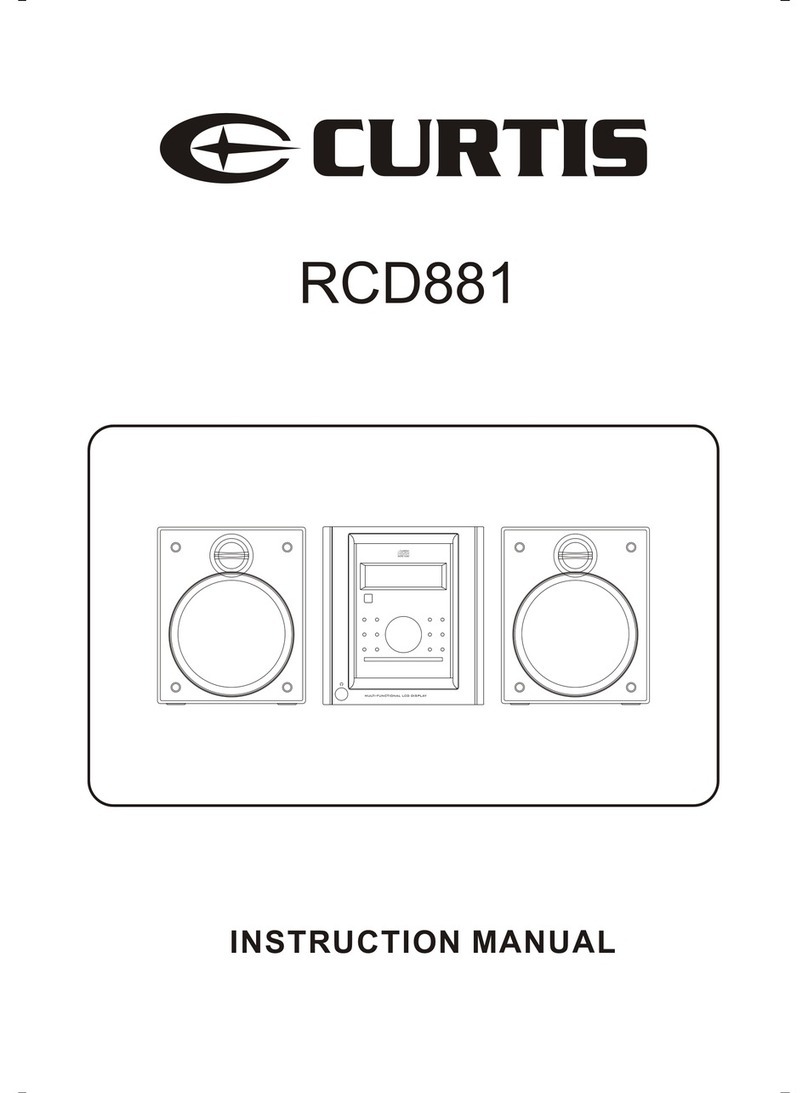
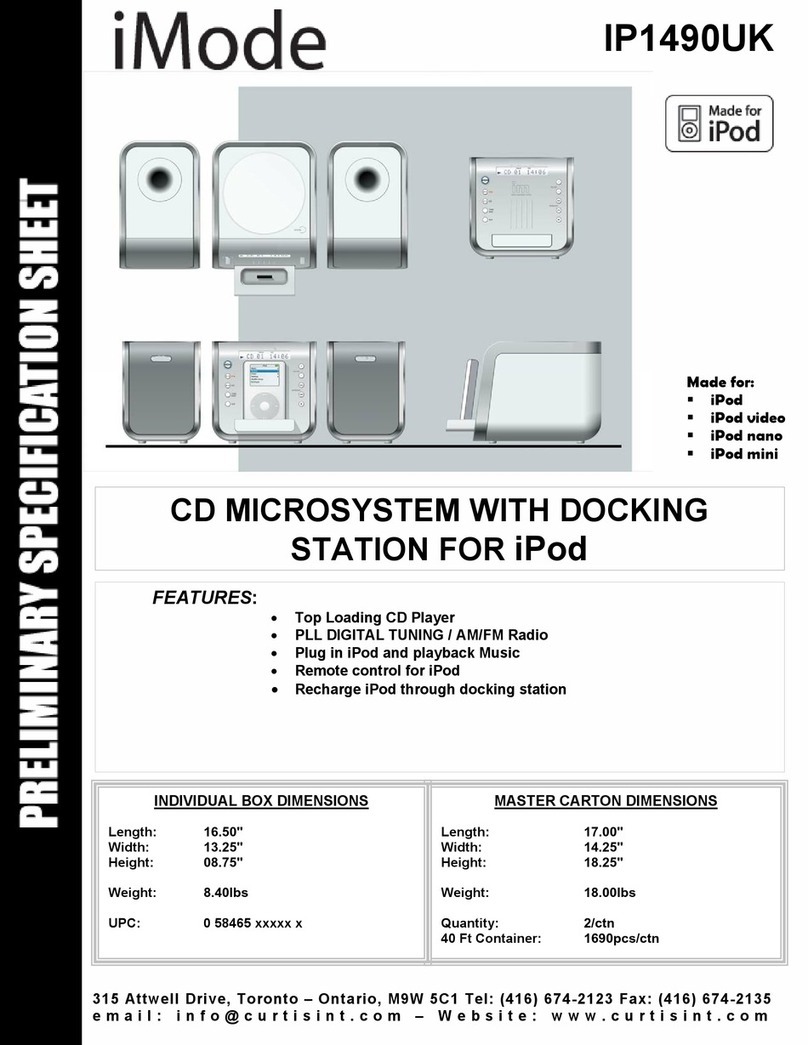
Curtis RCD822 User manual


When using electricalproducts , basicprecautions should alwaysbe followed including:
1.Read these Instructions-All the safetyand operating instructions shouldbe read before
the product isoperated.
2.Keep these Instructions-The safety andoperating instructions shouldbe retained
for future reference.
3.Heed All Warnings-All warnings onthe product andin the operatinginstructions
should be adhered to.
4.Follow all Instructions-All operating anduse instructions shouldbe followed.
5.Do not usethis appartus nearwater.
6.Clean only witha dry cloth.
7.Do not block anyventilation openings , installin accordance with themanufacturer`s
Instructions.
8.Do not installnear any heatsources such asradiators , heatregisters , stoves, or
other apparatus (includingamplifiers) that produceheat .
9.Do not defeatthe safety purposeof the polarizedor grounding-type plug. Apolarized
plug has twoblades with onewider than theother .A groundingtype plug hastwo blades
and a third groundingprong . Thewide blade or thethird prong is providedfor your safety .
If the providedplug does notfit into youroutlet consult anelectrician for replacementof
the obsolete outlet.
10.Protect the powercord from beingwalked on orpinched particulary atplugs ,
convenience receptacles ,andthe point wherethey exit fromthe apparatus .
11.Only useattachments / accessoriesspecified by themanufacturer .
12.Use only witha cart ,stand ,tripod ,bracket , ortable specified
by the manufacturer, or soldwith the apparatus. When a
cart is used, use cautionwhen moving thecart / apparatus
combinationto avoid injuryform tip-over .
13.Unplug this apparatusduring lightning stormsof when unused
for long periods oftime .
14.Refer all servicingto qualifled servicepersonnel , servicingis required whenthe
apparatus has beendamaged in anyway , suchas when thepower-supply cord orplug is
damaged , liquidhas been spilledor objects havefallen into theapparatus , theapparatus
has been exposedto rain ormoisture , doesnot operate normally, or hasbeen dropped .
IMPORTANT SAFETY INSTRUCTIONS FOR
AUDIO PRODUCTS-READ CAREFULLYALL
THE FOLLOWING IMPORTANT SAFEGUARDS
1

15.Warning-To reducethe risk of fireor electric shock ,do not expose thisapparatus to
rain or moisture .
16.Power Source-This product shouldbe operated onlyfrom the typeof power sourceindicated
on the markinglabel . Ifyou are notsure of thetype of powersupply to yourhome , consult
your product dealer orlocal power company .For products intended tooperate from battery
power , orother sources ,refer to theoperating instructions .
17.Power Lines-An outside antennasystem should notbe located inthe vicinity of
overhead power lines orother electric light orpower circuits , orwhere it can fallinto such
power lines orcircuits . Wheninstalling an outsideantenna system ,extremecare should be
taken to keepfrom touching suchpower lines orcircuits as contactwith them mightbe fatal.
18.Overloading-Do not overload walloutlets , extension cords, or integral convenience
receptacles as this canresult in a riskof fire or electricshock .
19.The apparatus shallnot be exposedto dripping orsplashing and noobjects filled
with liquids ,such as vases, shall beplaced on theapparatus .
20.Caution-Do not attemptto service thisproduct yourself asopening or removing
covers may exposeyou to dangerousvoltage or otherhazards . Referall servicing
to qualified servicepersonnel .
21.Replacement Parts-When replacement parts arerequired , be surethe service
technician has usedreplacement parts specifiedby the manufactureror have the
same characteristics asthe original part. Unauthorized substitutionsmay result in
fire , electricshock , orother hazards .
22.Safety Check-Upon completion of anyservice or repairs tothis product , ask
the service technicianto perform safetychecks to determinethat the productis in
proper operating condition.
23.Wall or CeilingMounting-The product should be mounted to a wall or ceiling
only as recommendedby the manufacturer.
2

Precautions
Safety Information
Safety Precautions
CAUTION
This product hasbeen designed andmanufactured according toFDA regulations, title 21, CFR ,Chapter 1 ,sub-
based on theRadiation Control forHealth and SafetyAct of1968 , andis classified asa class 1laser product .There is
hazardous invisible laserradiation during operationbecause invisible laserradiation emitted insideof this productis not
completely confined tothe protective housing.
The label requiredby these regulationsis shown asfollowing .
DO NOT REMOVETHE PROTECTIVE HOUSING.
USE OF CONTROLSAND ASJUSTMENTSOR PERFORMANCE OFPROCEDURES OTHER THANTHOSE
SPECIFIED HEREIN MAY RESULTIN HAZARDOUS RADIATION EXPOSURE .
IF THIS PRODUCTDEVELOPS TROUBLE ,CONTACTA QUALIFIED SERVICE CENTER ,AND DO NOTUSE
THE PRODUCT INA DEFECTIVESTATE.
chapter
J ,
CERTIFICATION
THIS PRODUCT COMPLIESWITH DHHS
RULES 21 CFR SUBCHAPTERJ APPLI-
CABLE AT DATEOF MANUFACTURE .
Optical Pickup
Type :SOH-AA
Manufacturer :DONGGUAN SAMSUNG ELECTRO-
MECHANICS LTD.
Laser Output :Lessthan 0.4mW on the object lens
Wavelength :760~800nm
WARNING:
TO reduce therisk of fireor electric shock ,do not expose thisappliance to rain ormoisture .
CAUTION:
Use of controlsor adjustments or performance of procedures other than those specifide may result in
hazardous radiation exposures .
The lightning flashwith arrowhead symbol , within an equilateral triangle , is intended to alert user to the
presence of uninsulated dangerous voltage within the product`senclosure that may be of sufficient
magnitude to constituterisk of electric shock to persons .
The exclamation pointwithin an equilateral triangle is intended to alert user to the presence of
important operating andmaintenance (servicing) instructions in the literature accompanying the
appliance .
CAUTION
For Compact Disc UnitsOnly:
INVISBLE LASER RADIATION WHEN OPEN AND INTERLOCK FAILED OR DEFEATED ,AVOIDDIRECT
EXPORSURE TO LASERBEAM .
CAUTION
To reducethe risk of electricshock : do notremove cover (or back).
No user serviceableparts inside .Refer servicing to qualified service personnel .
RISK OF ELECTRICSHOCK DO NOTOPEN
(See markings onthe bottom ofthe unit .)
CAUTION:
To preventelectric shock ,match wide blade ofplug to wide slot, fully insert .
3

Before Use
For U.S.A.
Choose unit installationlocation carefully .Avoidplacing it indirect sunlight orclose to asource of heat.
Also avoid locationssubject to vibrations andexcessive dust , coldor moisture . Keepaway from sources thathum , such
as transformers ormotors .
Do not open thecabinet as this mightresult in damage tothe circuitry or electricalshock . If aforeign object should getinto
the set ,contact your dealer.
Be sure not tohandle discs with dirtyfingers . Never inserta disc that hasa crack on thesurface .
When removing the powerplug from the walloutlet , always pulldirectly on the plug, never yank the cord .
Tokeep the laserpickup clean ,do not touchit , anddo not forgetto close thedisc tray .
Do not attempt toclean the unit withchemical solvents as thismight damage the finish. Use a clean, dry cloth .
Keep this manual ina safe place forfuture reference .
Beware of Condensation
When the player(or a compactdisc) is movedfrom a coldto a warmplace or isused after asudden temperature change,
there is the dangerof condensation . Water vapor in theair could condense onthe mechanism or thelaser pickup . Ifdroplets
of water formon these parts, correct playbackwill be impossiblebecause the lasercannot read theinformation from the
disc correctly .Toprevent this ,if you aregoing to usethe player ina condition wherecondensation could occur, you should
leave the playerfor 1 or2 hours afterplugging it intoan ACoutlet depending onthe amount ofcondensation . Ifthis is done,
the player willstabilize at thetemperature of itssurroundings .
TO THE USER
This equipment hasbeen tested andfound to complywith the limitsfor a ClassB digital device, pursuant toPart 15 ofthe
FCC Rules. Theselimits are designed toprovide reasonable protection againstinterference in a residentialarea. This device
generates and uses radiofrequency energy and ifnot installed and usedin accordance with theinstructions , it maycause
interference to radioor TV reception. If thisunit does causeinterference with TVor radio reception you can try to correct the
interference by oneor more ofthe following measures:
A)Reorient or relocatethe receiving antenna.
B)Increase the separationbetween the equipmentand receiver .
C)Plug the equipmentinto a differentoutlet so thatit is noton the samecircuit as thereceiver .
If necessary ,consult the dealeror an experiencedradio / TVtechnician for additionalsuggestions .
CAUTION:
Changes or modifications tothis equipment not expresslyapproved by the manufacturerfor compliance could voidthe users
authority to operatethis equipment .
4

Listening to a Tape or Compact Disc
Cassette Tape
Compact Disc
Tape Handling:
Do not storetapes in thefollowing places :
On top ofheaters , exposedto direct sunlight or in
other places withhigh temperatures .
Near speakers , onTV sets oramplifiers or where
would be exposedto strong magneticfields .
Where humidity ishigh and in dirty , dusty places .
Avoid dropping orsubjecting cassettes to excessive
shocks .
As C-120 tapesare physically weak and could bec
entangled in thetransport mechanism ,do not usethem .
Loading a Cassette Tape :
1.Use your fingeror a pencilto turn the cassette hub
take up anyslack tape .
Note : Avoid touching the tape. Fingerprints attract
and dirt .
2.Insert the cassettetape with correctdirection .
Handing the Discs:
This unit hasbeen designed specifically for sound
reproduction f om compact discs bearingthe mark .
No other discscan be used.
Always place the compactdisc in the disctray with
label facing upward. (Compact discscan be
on one side).
Toremove a discfrom its storage case , press down
center of thecase and liftthe disc out, hold
by the edge.
any
they
ome
and
dust
r
the
player only
on the
ing it carefully
HANDLE DISC ONLY ASSHOWN
Fingermarks and dustshould be carefully wiped
the disc recordedsurface with asoft cloth (notincluded) .
CLEAN FROM CENTERTO EDGE
Never use chemicals suchas : record sprays,
sprays or fluid ,benzine or thinner to
Such chemicals willdo
plastic surface .
Discs should be returnedto their cases afteruse
serious scratches thatcould cause thelaser pickup to skip .
Do not exposediscs to direct sunlight or high
temperature for extendedperiods .
Long exposure to hightemperature can warp thedisc .
Do not stickpaper or writeanything with a ball
the surface ofthe label side.
Do not useirregular shaped CD`s (octagonal ,
etc .) ,allof which candamage the unit.
off
anti- static
clean compact discs .
irreparable damage to thedisc`s
to avoid
humidity and
point pen on
heart-shape,
5

Preparation of Use
Basic Operation
Connect the ACpower cord . Loosen the screwused for transportationby turning it
clockwise with acoin .
(A)Listening through Earphones/ Headphones .
The sound fromall speakers iscut off .
Power on .
Connect the powerplug into thewall
outlet .
PHONO CD TUNER
Select the source .
Power / Volume
Adjust the volume.
VOLUME
PHONES
6
(A)

Listening to a Record
Put a recordonto the turntable.
(Use 45 rpmadaptor when playingsingle
Record . )
The tone arm willreturn to the tonearm-rest
automatically after reachingthe end ofthe
record .
Remove the tonearm-rest holder .
Lower the Que-leverslowly .
Lift the Que-lever andmove the tone arm
gently to the desiredposition over the record.
Rotate the PHONO CDTUNER knob to
select PHONO .
PHONO CD TUNER
Select player speed.
33
45
78
7

Listening to CD
Rotate the PHONOCD TUNER knob
to select CD.
PHONO CD TUNER
Open the tray, and placethe CD onthe tray .
OPEN / CLOSE
(D)Fast Reverse (FR) andFast Forward (FF)
You canreverse or forward to any point in a selected
track by pushingand holding theFR or FFbutton .
NOTE : Donot push bothbuttons together asthis
may damaged theunit .
As the unit istracking quickly , forwardor backward
you will hearyour selection playingat a distorted
speed . Simply releasethe depressed button to
continue playing atnormal speed atthe desired
position in the selectedtrack .
CD`s should beplaced in theirtrays with thelabel side up.
Close the trayand start playingthe CD .
The CD will startplaying from the firsttrack .
Lights
OPEN / CLOSE
PLAY /PAUSE
10
Do not switchoff the unitduring CD-function ,because
it will damage theunit .
(B)Pausing the CDplay .
Pressing the PLAY / PAUSE button will restart
playing the CD.
PLAY /PAUSE
Flash
10
(A) Stopping theCD play .
STOP
(C)Press the F.F button onceto og thestart of the
next track .
Press the F.R button onceto go backto the startof
the current track. Press theF.Rbutton twice togo
back to the startof the previous track.
F.R
F.R
F.F
F.F
8
(A) (B)
(C) (D)

Listening to Radio
Rotate the PHONO CDTUNER knob to
select TUNER .
PHONO CD TUNER
Rotate theAM / FMknob to select desired
band .
AM FM
Tune to thedesired frequency .
TUNING
DOWN UP
(A) FM reception
Any strong FMstation will causethe FM stereoindicator
light to illuminate .
Weaker stations cannotbe received instereo so thelight
will not illuminate andreception will automatically switch
to mono .
(B) Antenna
For optimal FMreception be sureto stretch thebuilt-in
FM antenna wirelocated at thelower back ofthe unit
and move itaround until thestation you havetuned in
is being receivedclearly .
Light
9

Listening to a Tape
Insert the cassettewhen power on, the unitwill
convert to TAPE automatically from PHONO or CD
OR TUNER ,and start playing.
At the endof the cassettetape , thecassette will stop
automatically .
Fast forward .
Press the EJ/ F.F button approximately a half .
EJ
/
F.F
Stopping or get outthe cassette .
Press the EJ/ F.F button into the end throughly .
EJ
/
F.F
10

Specifications
AMPLIFIER section
Output Power ...........................................2.5W + 2.5W(U.S.A. / Canada)
Frequency Response ................................60 to 20,000Hz
TUNER section
FM Section
Frequency Range .....................................87.5 to 108.5MHz
AM Section
Frequency Range .....................................525 to 1710KHz(U.S.A. / Canada)
CD PLAYERsection
Frequency Response ................................60 to 20,000Hz+/- 4dB
Signal - to -Noise ratio ..............................55dB (1EC -A)
CASSETTE DECK section
Track System........................................... 4 track, 2 channelstereo
TapeSpeed ............................................. 4.8cm/sec
Wow and Flutter....................................... 0.4% (WRMS)
Frequency Response ...............................125 to 6,300Hz+/- 6dB
PHONO section
Motor ....................................................... DCservo motor
Drive System ............................................Belt Drive
Speeds .................................................... 33- 1/3rpm ,45rpm and 78rpm
Wow & Flutter.......................................... 0.4% (WRMS)
Stylus ...................................................... 402- M208 -165
Output Level .............................................160 ~ 380mV (5cm/secat 1kHz)
SPEAKER SYSTEM section
Type .......................................................1- way
Impedance ............................................... 8ohms
Input Power ..............................................Max. 5W
GENERAL
Power Requirements .................................120V AC, 60Hz (U.S.A. / Canada)
Power Consumption ..................................19W
Dimension (W x Hx D) ............................... 22 x 11.8 x 13.97 (approx.)
Weight .................................................... 35.27lbs. (Approx.)
Standard Accessories............................... Operating Instruction Booklet
. Warranty Card
. 45 rmp Adaptor
11

Troubleshooting guide
Problem Cause Solution
In case oftrouble with theunit , pleaselook through thischart and seeif you cansolve the problemby yourself beforecalling
your dealer .
No sound fromtape
The sound isdistorted or faint
No sound
The tape heads aredirty
The CD playeris paused
No sound comes outof the speakers The volume isturned down (toMIN)
The input selectordoes not matchthe
playback source
Adjust the volume
Re-select the input source
The sound is noisy The unit istoo close toa TV setor
another similar appliance
Turn offthe TV orother appliance ,and
relocate the unit
The cassette cannot be inserted The cassette tapeis not inserted
properly or beinserted reversely .
Insert the cassettetape correctly
Clean the tapeheads
Clean the tapeheads
Can not listento any station, or signal
appears weak
The station isnot tuned inproperly
A TVset is beingused nearby
Tune in thestation correctly
Turn offthe TV set
The sound isdistorted The antenna isnot oriented properly Re-orient the antennauntil reception
improves
Play stop immediately afterstarting to
pl y the CD, or playpauses or stops
during play
a
The CD isinserted upside down
The CD isdusty or dirty, or thereis
condensation on theCD
Insert the CDwith the printedside
upper most
Clean and drythe CD
Press the PLAY / PAUSE button
Specific CD isnoisy , orplayback stops
or skips
The CD isscratched , damagedor
warped
The disc is verydirty
The CD shouldbe changed
Clean the CD
Power does notcome on whenthe
power switch ispressed
Unit is unplugged Connect the unit to the AC power
supply
CD Player Tuner unit Tape deck The whole unit
12
Table of contents
Other Curtis Stereo System manuals

Curtis
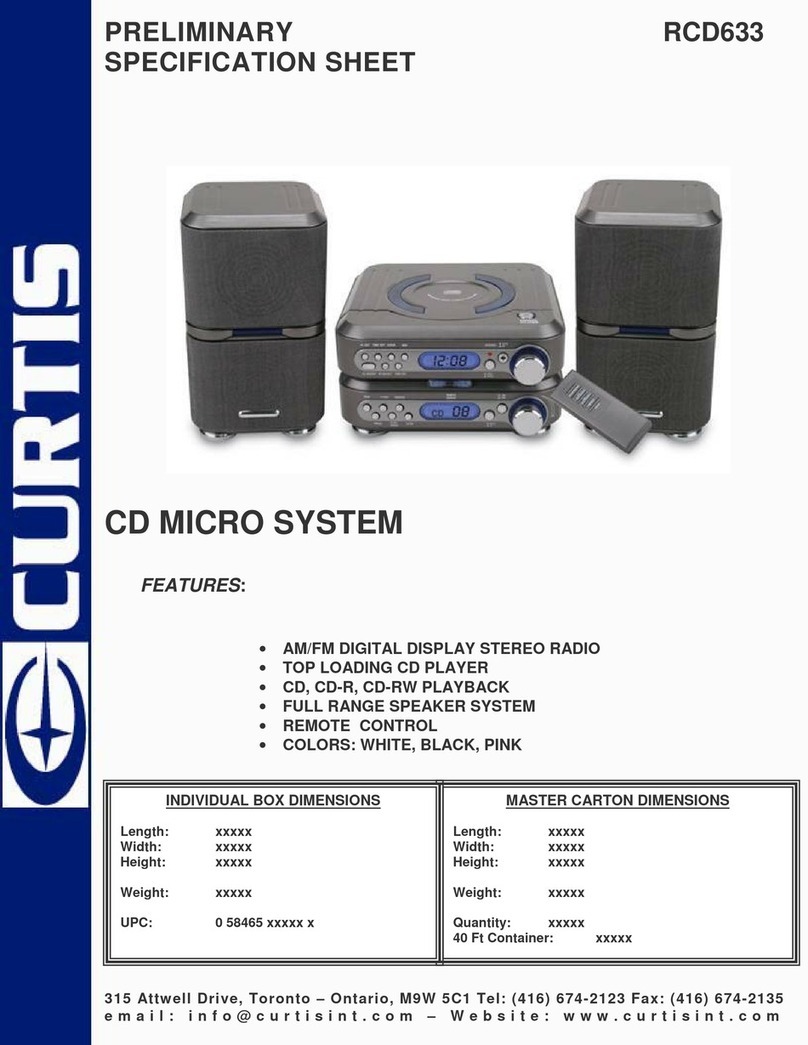
Curtis RCD633 User manual

Curtis
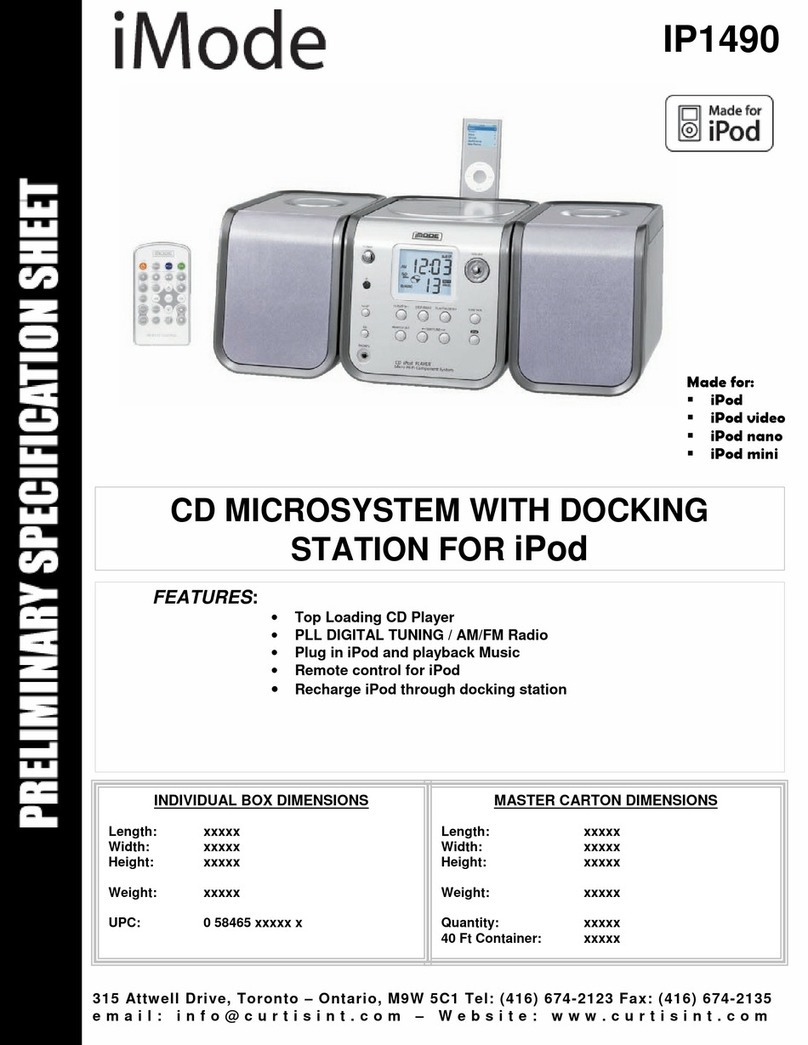
Curtis iP1490 User manual

Curtis
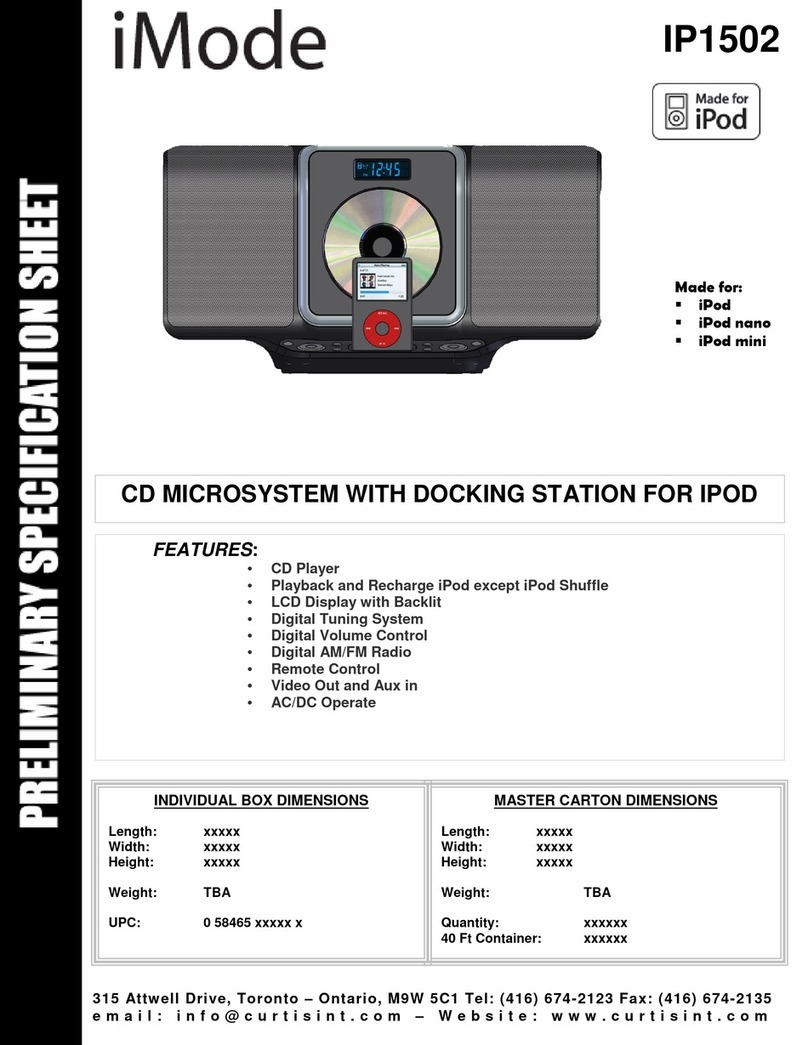
Curtis iMode IP1502 User manual

Curtis
Curtis RCD926 User manual

Curtis
Curtis RCD869 User manual

Curtis
Curtis RCD-719 User manual

Curtis
Curtis RCD633 User manual

Curtis
Curtis RCD313 User manual

Curtis
Curtis SRCD-719 User manual

Curtis
Curtis RCD856 User manual

Curtis
Curtis RCD621 User manual

Curtis
Curtis RCD633 User manual

Curtis
Curtis iP1490 User manual

Curtis
Curtis RCD629 User manual

Curtis
Curtis RCD877 User manual

Curtis
Curtis RCD619 User manual

Curtis
Curtis RCD836 User manual

Curtis
Curtis RCD882 User manual

Curtis
Curtis iP1500UK User manual

Curtis
Curtis RCD635UK User manual