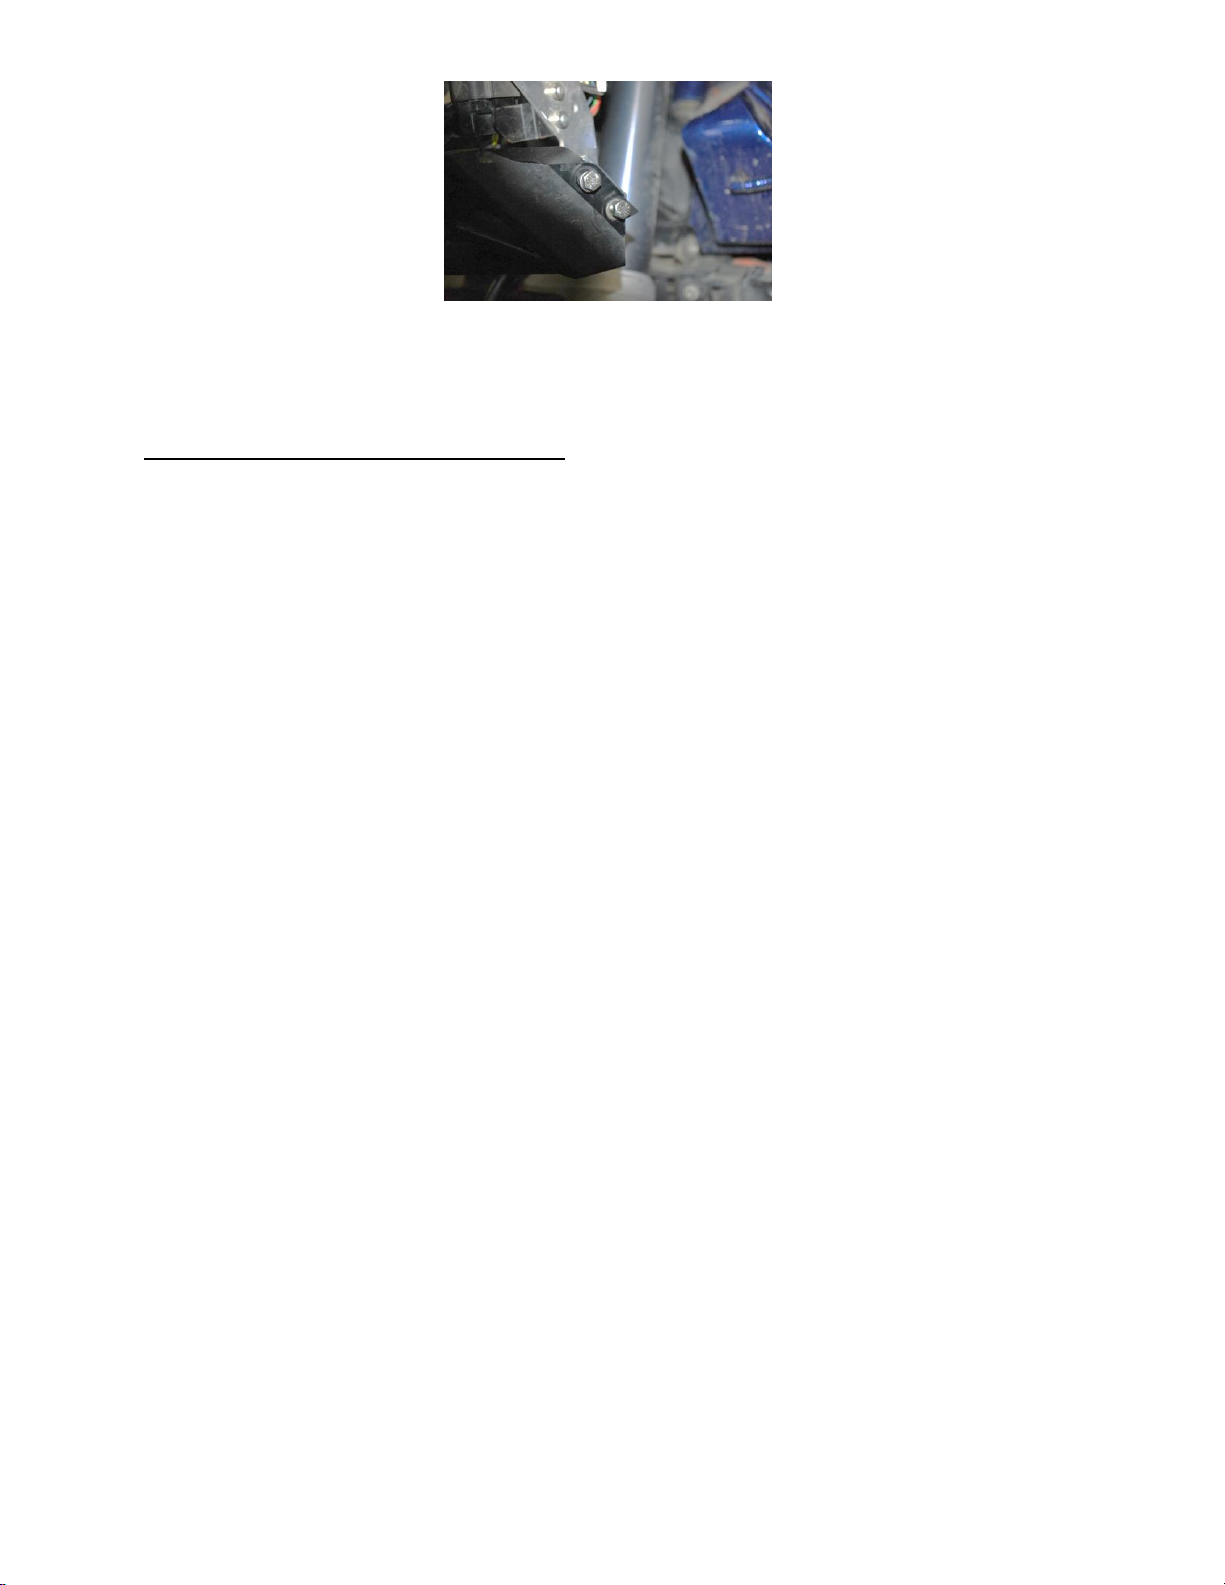
Once satisfied with the fit tighten up the 4 side bolts being careful not to smash the plastic grill
attachment points.
Wiring up the light bar, different options
1. Have light bar operate only when the headlight is on high beam via the factory high beam
switch
2. Have your light bar operate in low and high beam via the dimmer setup ( follow the separate
diming instructions)
3. Use a separate switch to operate the light bar. For this setup simply install a switch between
the wire that says headlight high beam and a switched power source
To use your factory high beam switch run the red wire with the fuse to the battery. Mount the
relay inside of the headlight support structure out of the way of the headlight structure. At
Cyclops we prefer to zip tie the relay to the round headlight aluminum frame members.
Use one of the headlight frame mounting bolts to attach the black wire with the ring terminal.
Make sure this connection is clean and free of any oil grease ect.
Next, use the provided positap to attach the black wire labeled “to high beam power” to the high
beam power wire. The wire should be green.
At this point when you turn on the key and hit high beam the LED light bar should come on.
Aim the light to your desired position.
Tighten down the two main mount bolts and the larger side bolts on each end of the light bar.
Reinstall your side panels and headlight.
Enjoy your new Cyclops light bar!
Thank you!
206-575-7900


