To charge your device, turn o the controller and plug
the charging cable into the left side of your controller.
Insert into a wall adapter and electrical outlet.
Select the option directed by your healthcare
provider.
1
STEP
2
STEP
3
STEP
4
STEP
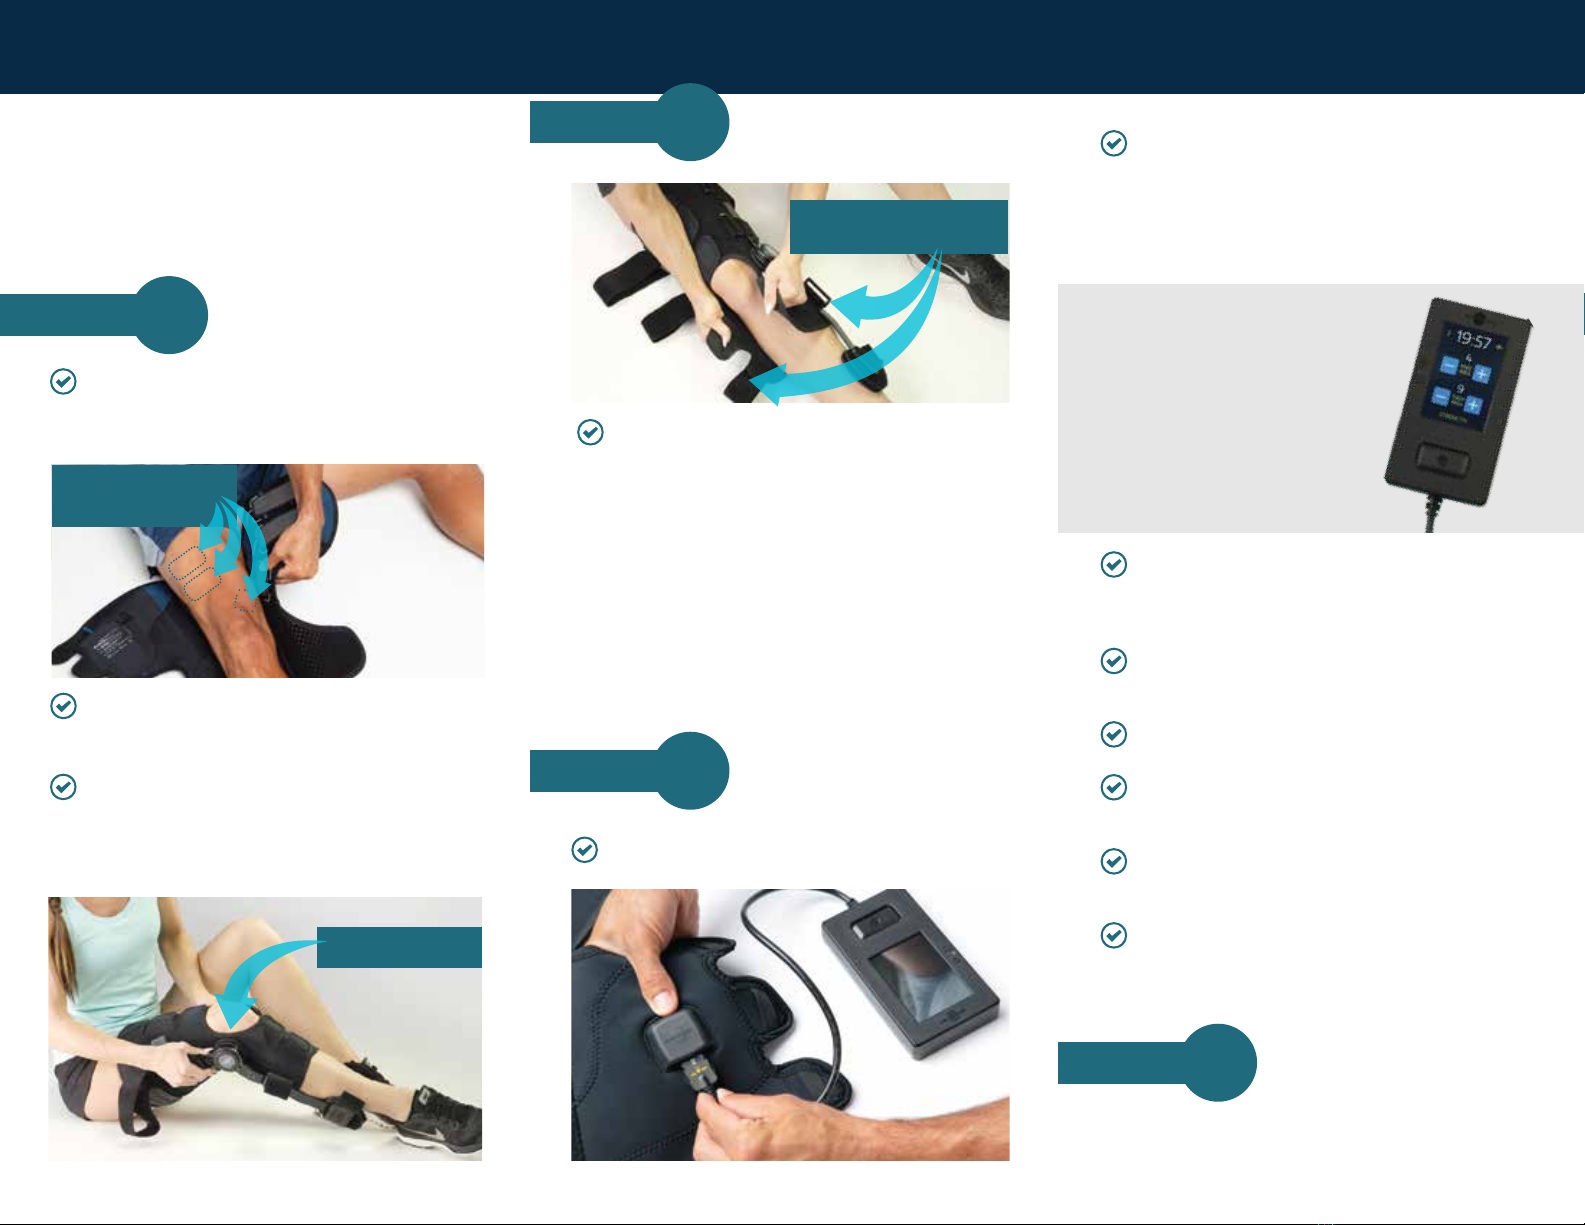
Connect and
Start NMES
Adjust Stimulation Intensity
“POSTOP” AND “STRENGTH”
INSTRUCTIONS FOR USE:
The CyMedica QB1™ system is designed to provide
advanced muscle stimulation therapy at home. The
QB1 strengthens the quadriceps muscles following
surgical procedures and may also be used to treat
non-surgical knee conditions such as osteoarthritis.
Fully extend your leg and engage slide locks on
either side of the brace to immobilize in full
extension. Set range-of-motion limits using
hinge dial on either side of the brace.
Sit on the floor with the open conductive garment
under your aected leg. Align the pre-positioned
electrodes with your targeted quadriceps muscles.
Remove the electrode covers.
At-Home Muscle Strengthening Therapy
Fit the Conductive
Garment and Brace
Select the “+” sign to deliver electrical stimulation
to your quadriceps muscles. You may feel light
tingling until you reach a comfortable muscle
contraction.
Set intensity levels for both the knee and thigh
areas. Note: It is common to require dierent
levels of stimulation for each area.
Select the “START” button to begin your
20-minute treatment session.
Press the rectangular button under the display screen
to PAUSE treatment if needed. Press the “RESUME”
button on the start screen to continue treatment.
The controller may be placed inside the provided
pouch and adhered to the side of the garment for
convenience during treatment sessions.
When your treatment session has ended, turn o
the controller and unplug it from the conductive
garment by pressing inward on both sides of the
connector.
Attach the end of the controller cord to the
conductive garment socket.
Power on the controller using the ON/OFF switch
located on the top left side of the device. The
screen will display 2 options:
Wrap the garment (with attached brace) around the
top of your thigh and loosely secure it. Follow the
same procedure with the calf panels below the knee.
Attach and wrap all strap connections on the outside
of the brace. Make sure all straps are tightly secured
to prevent slippage.
Bend your knee and ensure that the brace hinges
are properly aligned. Adjust accordingly and
tighten the conductive garment straps into their
final position. Verify that the brace’s bars are
located on the sides of your leg.
Secure the Brace
If indicated by your healthcare provider:
For more detailed instructions about securing the brace,
visit: www.cymedicaortho.com/products/support/qb1/
Use the controls to increase the
intensity of stimulation until a
strong but comfortable muscle
contraction is achieved.
Stimulation levels may be
adjusted at any time during
your treatment session.
Align hinges
ELECTRODE
PLACEMENT
Charge the Controller
Attach strap connectors
and wrap around brace
- OR -


