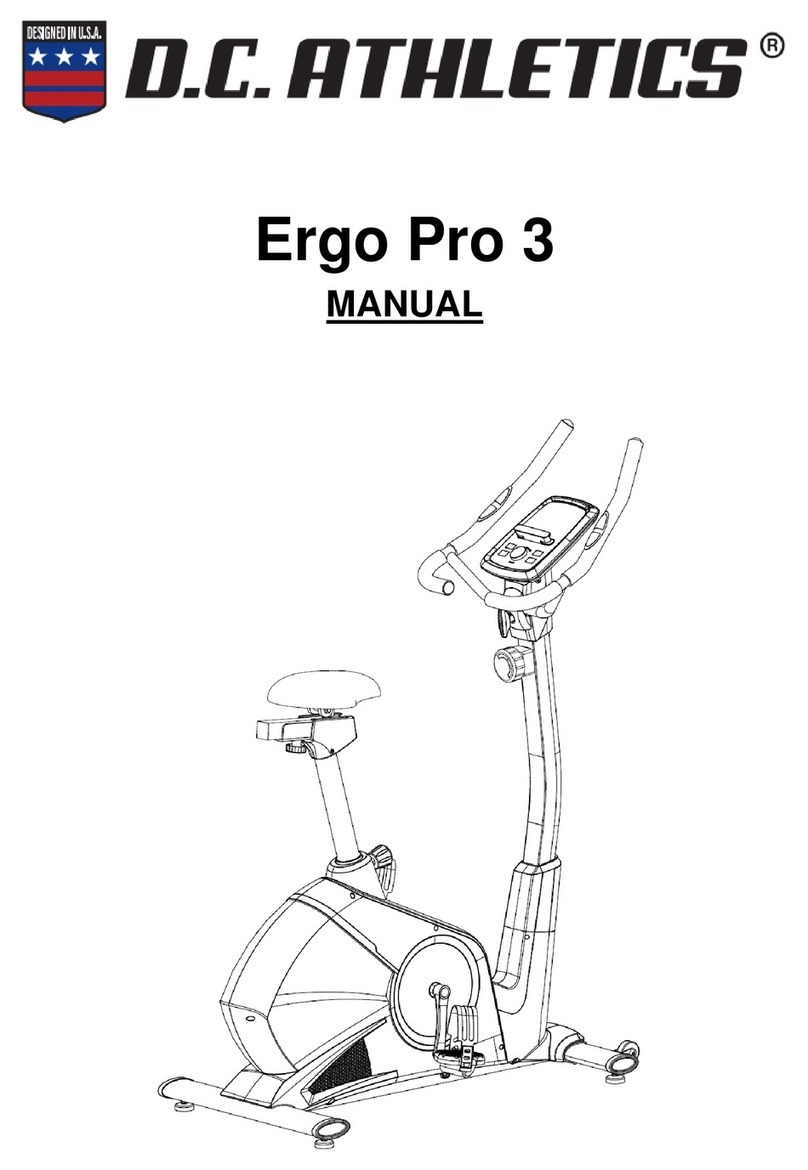
D.C. Athletics Stelvio User manual

Stelvio
MANUAL

- 1 -
IMPORTANT !
Please READ all instructions carefully before using this product.
RETAIN this manual for future reference.
The specifications of this product may vary slightly from the illustrations and are subject to change without
notice.
Before You Start
Thank you for purchasing this Product! For your safety and benefit, read this manual carefully
before using the machine.
Prior to assembly, remove components from the box and verify that all the listed parts were
supplied. Assembly instructions are described in the following steps and illustrations.
SAFETY & MAINTENANCE INSTRUCTION
BE SURE TO READ THE ENTIRE MANUAL BEFORE YOU ASSEMBLE OR OPERATE YOUR
MACHINE. IN PARTICULAR, NOTE THE FOLLOWING SAFETY PRECAUTIONS:
01- Once fully assembled, please check that all hardware parts such as bolts, nuts and washers are
positioned and secured firmly.
02- Please check regularly that the safety chain guard that protects the moving parts of the
machine is secured and in good order.
03- Please always check the seat post, seat slider; pedals and handlebar are secured firmly before
getting on the bike.
04- To lubricate all moving parts annually is recommended.
05- Do not wear loose clothing to avoid entangling in any moving parts.
06- Do not remove feet from the pedals while they are in motion.
07- Always wear shoes when using the machine.
08- Dry the bike after each use to remove sweat and moisture. Wipe the machine with a damp cloth,
water and mild soap. Do not use a petroleum-based solvent to clean the machine in order not to
damage the finish.
09- Please keep children away from the bike while it is in use. Do not allow children to use the bike.
This bike is designed for adults, not children.
10- Do not dismount the bike until the pedals have stopped completely.
11- Stop exercise immediately in case of nausea, shortness of breath, faint, headache, pain,
tightness in your chest or any discomfort.
12- Do not place fingers or any other objects into the moving parts of the bike.
13- Prior to any exercise, consult with your physician first to establish the exercise frequency, time
and intensity appropriate for your particular age and condition.
14- After exercising, please pull down the tension controller to increase resistance so that the
pedals will not rotate freely and possibly hurt someone.

- 2 -
15- The maximum user’s weight is 120kg.
WARNING: BEFORE BEGINNING ANY EXERCISE PROGRAM, CONSULT YOUR PHYSICIAN.
THIS IS ESPECIALLY IMPORTANT FOR INDIVIDUALS OVER THE AGE OF 35 OR PERSONS
WITH PRE-EXISTING HEALTH PROBLEMS. READ ALL INSTRUCTIONS BEFORE USING ANY
FITNESS EQUIPMENT.
EXPLODED VIEW

- 3 -
PARTS LIST
Part No.
Description
Qty
Part No.
Description
Qty
1
Main frame
1
19
Saddle slide tube
1
2
Front stabilizer
1
20
Saddle
1
3
Hex nut M10
4
21
Nylon Nut M10
1
4
Adjustable foot pad
4
22
Adjustable bracket
1
5
Allen bolt M10x25
4
23
Brake Bar
1
6
Nylon Nut M8
3
24
Allen bolt M8x38
1
7
Flat washer D8*D16*1.5
3
25
Round rubber washer
1
8
Transport wheel
2
26
Flat washer D10*D25*2
1
9
Allen bolt M8x45
2
27
Fixed knob
1
10
Flat washer D10*D20*2
4
28
Handlebar
1
11
Square end cap
4
29
Cable
2
12
Rear stabilizer
1
30
Meter
1
13L/R
Pedal
Per 1
31
Sensor wire
1
14L/R
Crank
Per 1
32
Handlebar post
1
15
Pop-pin Knob
3
33
Allen bolt M10*25
2
16
Square Bushing
3
34
Flat washer D10*D20*1.5
2
17
Saddle post tube
1
35
Meter pallet
1
18
Saddle slide tube end cap
2
36
Cross head screw
1
Note:
Some of the above accessories are pre-fitted to the master component. They may not be supplied
separately.
ASSEMBLY
Prepare the Work Area
It is important that you assemble your product in a clean, clear, uncluttered area. This will enable you to
move around the product while you are fitting components and will reduce the possibility of injury during
assembly.
Work with a Friend
You may find it quicker, safer and easier to assemble this product with the help of a friend as some of the
components may be large, heavy or awkward to handle alone.
Open the Carton
Carefully open the carton that contains your product. Be sure to open the carton the right way up, as this
will be the easiest and safest way to remove all the components.

- 4 -
Unpack the Components
Carefully unpack each component, checking against the parts list that you have all the necessary parts to
complete the assembly of your product.
ASSEMBLY INSTRUCTION
Step 1:
Attach the Front stabilizer (2) and Rear stabilizer (12) onto the Main frame (1), with the
Allen bolts (5) and Flat washers (10).
Step 2:
Attach the Pedals (13R/L) to the Cranks (14R/L) respectively. Always check and keep Pedals
(13R/L) locked tightly when exercise, otherwise will wear out the pedals & cranks.
Note: Both pedals are labeled L FOR LEFT and R FOR RIGHT. To tighten turn the Left pedal
COUNTERCLOCKWISE and the Right pedal CLOCKWISE.

- 5 -
Step 3:
1. Fix the Saddle (20) onto the Saddle slide tube (19) by using the spanner.
Note:The Saddle (20) & Handlebar (28) position could be adjusted according to individuals,
to adjust by loosening & pulling the Pop-pin knobs (15) on the Main frame (1) respectively.
2. Fix the Handlebar post (32) onto the Main frame (1) tightly by using the Pop-pin knob
(15) as shown.
3. Lock the meter pallet (35) on the handlebar (28) tightenly with cross head screw (36),
then put the meter (30) onto the pallet, insert the sensor wire (31) into the round hole on
the back of the meter.
Note: Always CHECK & MAKE SURE the Saddle (20) has been tightly fixed onto the Saddle
slide tube (19) before getting on the Bike.

- 6 -
WARM-UP and COOL-DOWN
A successful exercise program consists of a warm-up, aerobic exercise, and a cool-down. Do
the entire program at least two and preferably three times a week, resting for a day between
workouts. After several months, you can increase your workouts to four or five times per week.
WARM-UP
The purpose of warming up is to prepare your body for exercise and to minimize injuries. Warm
up for two to five minutes before strength-training or aerobic exercising. Perform activities that
raise your heart rate and warm the working muscles. Activities may include brisk walking,
jogging, jumping jacks, jump rope, and running in place.
STRETCHING
Stretching while your muscles are warm after a proper warm-up and again after your strength
or aerobic training session is very important. Muscles stretch more easily at these times
because of their elevated temperature, which greatly reduces the risk of injury. Stretches
should be held for 15 to 30 seconds. DO NOT BOUNCE.
Remember always to check with your physician before starting any exercise program.
COOL-DOWN
The purpose of cooling down is to return the body to its normal or near normal, resting state at the
end of each exercise session. A proper cool-down slowly lowers your heart rate and allows blood to
return to the heart.
Calf-Achilles Stretch
Inner Thigh Stretch
Toe Touch
Side Stretch
Hamstring Stretch
Table of contents
Other D.C. Athletics Exercise Bike manuals
Popular Exercise Bike manuals by other brands

Christopeit Sport
Christopeit Sport AL 1 Assembly and exercise instructions
Keys Fitness
Keys Fitness Recumbent CM580R owner's manual
Domyos
Domyos VM 600 Instructions of use

TOORX
TOORX BRX95 instruction manual
Precor
Precor C842i Service manual
Sunny Health & Fitness
Sunny Health & Fitness SF-B2715 user manual
