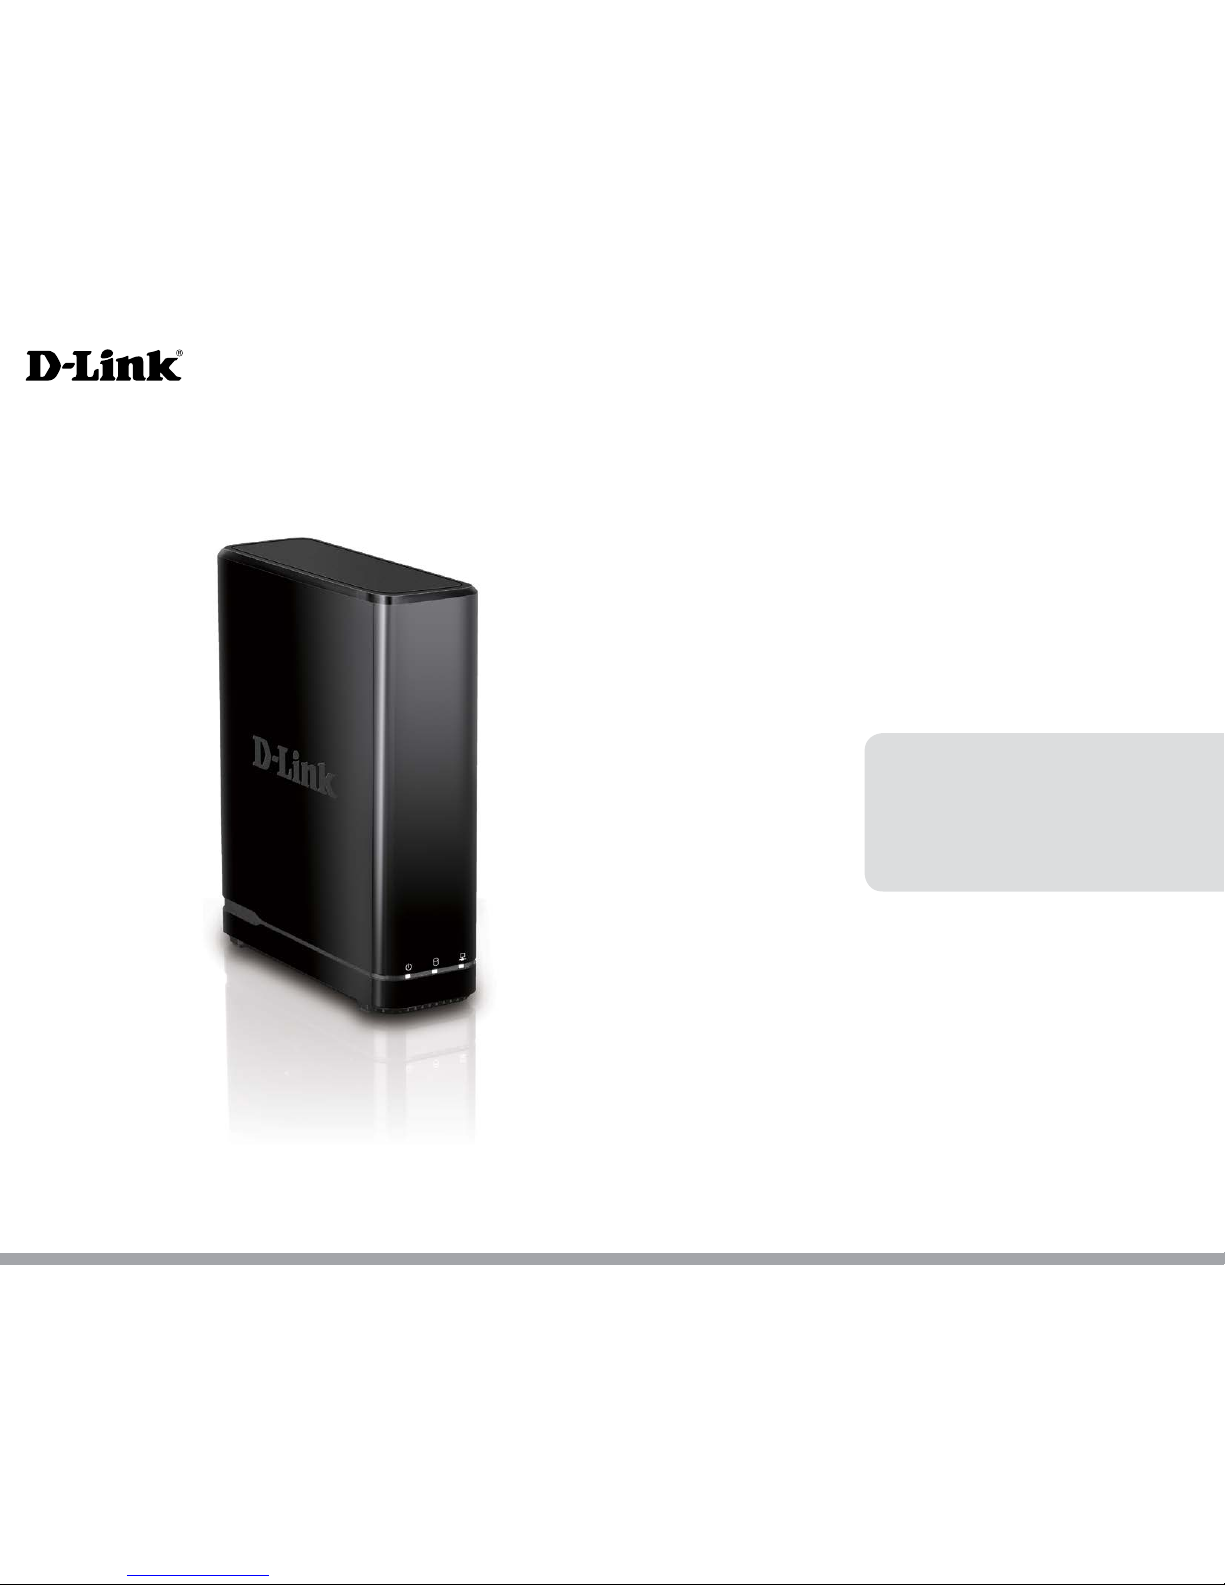
iiD-Link DNR-312L User Manual
Table of Contents
Product Overview......................................................................1
Package Contents......................................................................... 1
System Requirements................................................................. 2
Introduction ................................................................................... 3
Features............................................................................................ 4
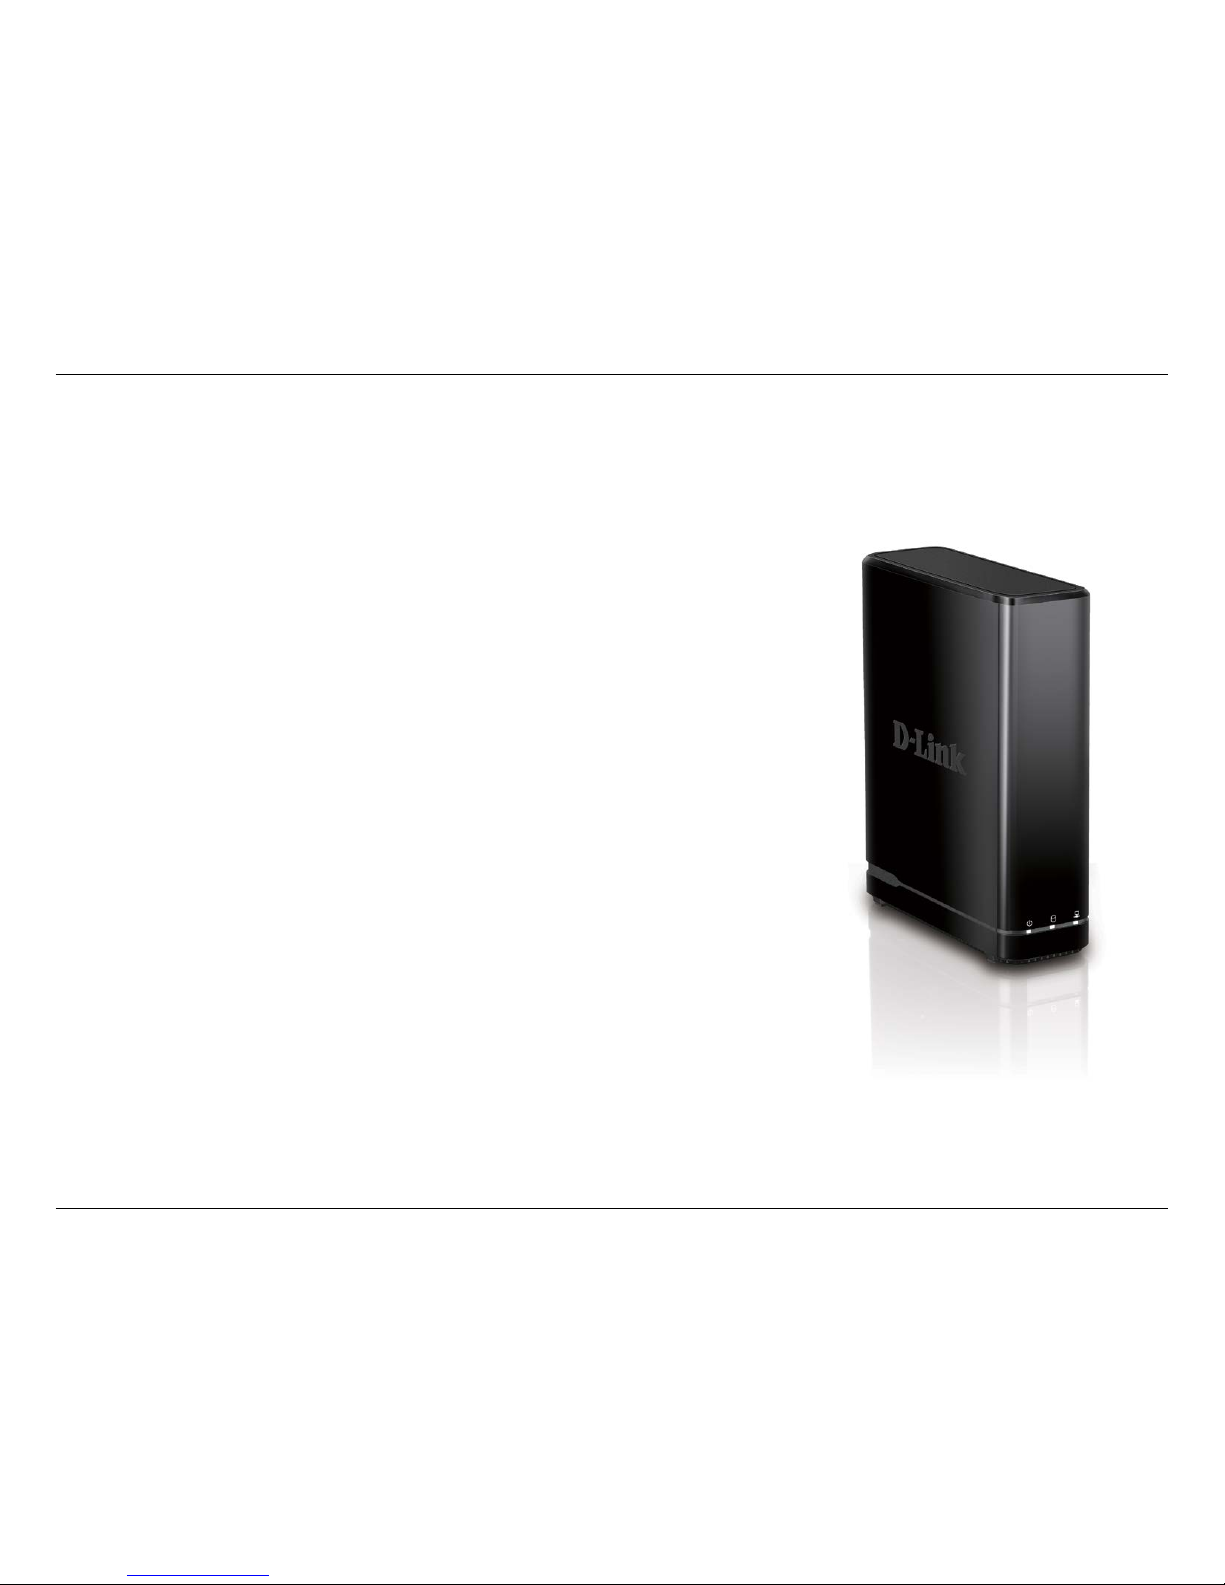
Hardware Overview..................................................................... 7
Front View................................................................................ 7
Rear Panel (Connections)................................................... 8
Installation..................................................................................9
NVR Software CD.......................................................................... 9
Setup Wizard - Windows ..........................................................10
Installing the Hard Drives ................................................11
Power and Device Selection ...........................................14
Admin Password .................................................................15
Set Up Your HDD.................................................................16
Set Up Your Internet Connection..................................17
Congure SNMP..................................................................18
Adding Your NVR to a mydlink Account.....................19
Search for Cameras ............................................................20
Setup Wizard - Mac ....................................................................22
mydlink..................................................................................... 23
mydlink Website..........................................................................23
NVR Status.............................................................................24
Live Video ..............................................................................25
Playback .................................................................................26
Open Recording..................................................................27
Status ......................................................................................28
NVR Info..................................................................................29
mydlink View - NVR App...........................................................30
First Use - Select Your Device..........................................31
Live View ................................................................................32
Video Playback.....................................................................35
Video Playback Control.....................................................36
Configuration.......................................................................... 37
Live Video ......................................................................................38
Playback.........................................................................................42
Menu Bar .......................................................................................43
Setup Wizard ................................................................................44
Setup...............................................................................................45
Network..................................................................................45
Camera ...................................................................................48
Schedule ................................................................................50
Event........................................................................................52
Maintenance.........................................................................56
Camera Search.............................................................................62
Album .............................................................................................63
Backup............................................................................................64
Help .................................................................................................66
Applications............................................................................. 67
D-Link NVR Search Utility - Windows ..................................67
Table of Contents