Your Rad-DX is designed to be monitored and controlled with a PC, smartphone or
tablet through the use of a web server supported by D-tect Systems. Once you have
your device congured using DX-View, you are ready to connect your Rad-DX to the
soware used to access your devices from anywhere, DX-Dashboard.
To congure your Rad-DX to work with the DX-Dashboard soware, you need to con-
nect your Rad-DX to your network. You can do so in one of two ways:
1. Connect to the network.
(Opon 1) Use your Ethernet cable to connect your Rad-DX to your network
through an acve Ethernet port.
(Opon 2) Connect via Wi-Fi by going to DX-View and clicking on the Device
Sengs: Communicaons tab. Click Enable Wi-Fi and ll in the appropriate in-
formaon for your network. Click Submit. The Rad-DX will join your Wi-Fi net-
work and display the Wi-Fi icon in the upper le corner of the Rad-DX screen.
2. Once you have your Rad-DX connected to your network, go to our website at
hps://dx.dtectsystems.com.
3. This takes you to the web portal to log in to DX-Dashboard. Input the same
username and password you used for your DX-View account.
Your device, through DX-Dashboard, can now be viewed and updated from any PC,
smartphone or tablet with access to the internet.
Packaging Contents
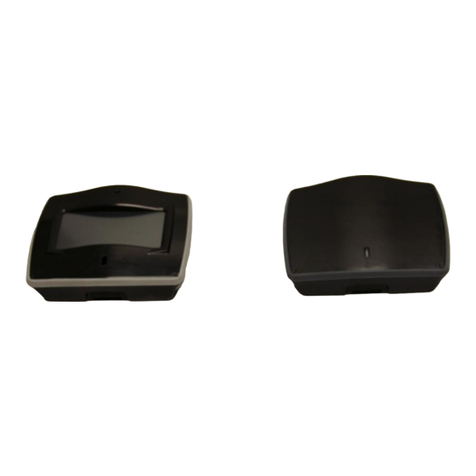
Rad-DX Area Radiaon Detector
Soware License Agreement
This Geng Started Guide
Standard Mounng Bracket (A modied mounng bracket is available if the Rad-DX is to
be mounted on a wall and not directly to a juncon box)
2 Mounng Bracket Screws (used to aach to an electrical juncon box)
Direct Wire Power Cable (used to wire directly to an electrical juncon box)
2 Wire Nuts (use to connect Direct Wire Power Cable to electrical wires)
Standard Power Cable (used to connect to a standard electrical outlet)*
USB cable (used during conguraon process)
* The Standard Power Cable will be convenient during the conguraon process.


