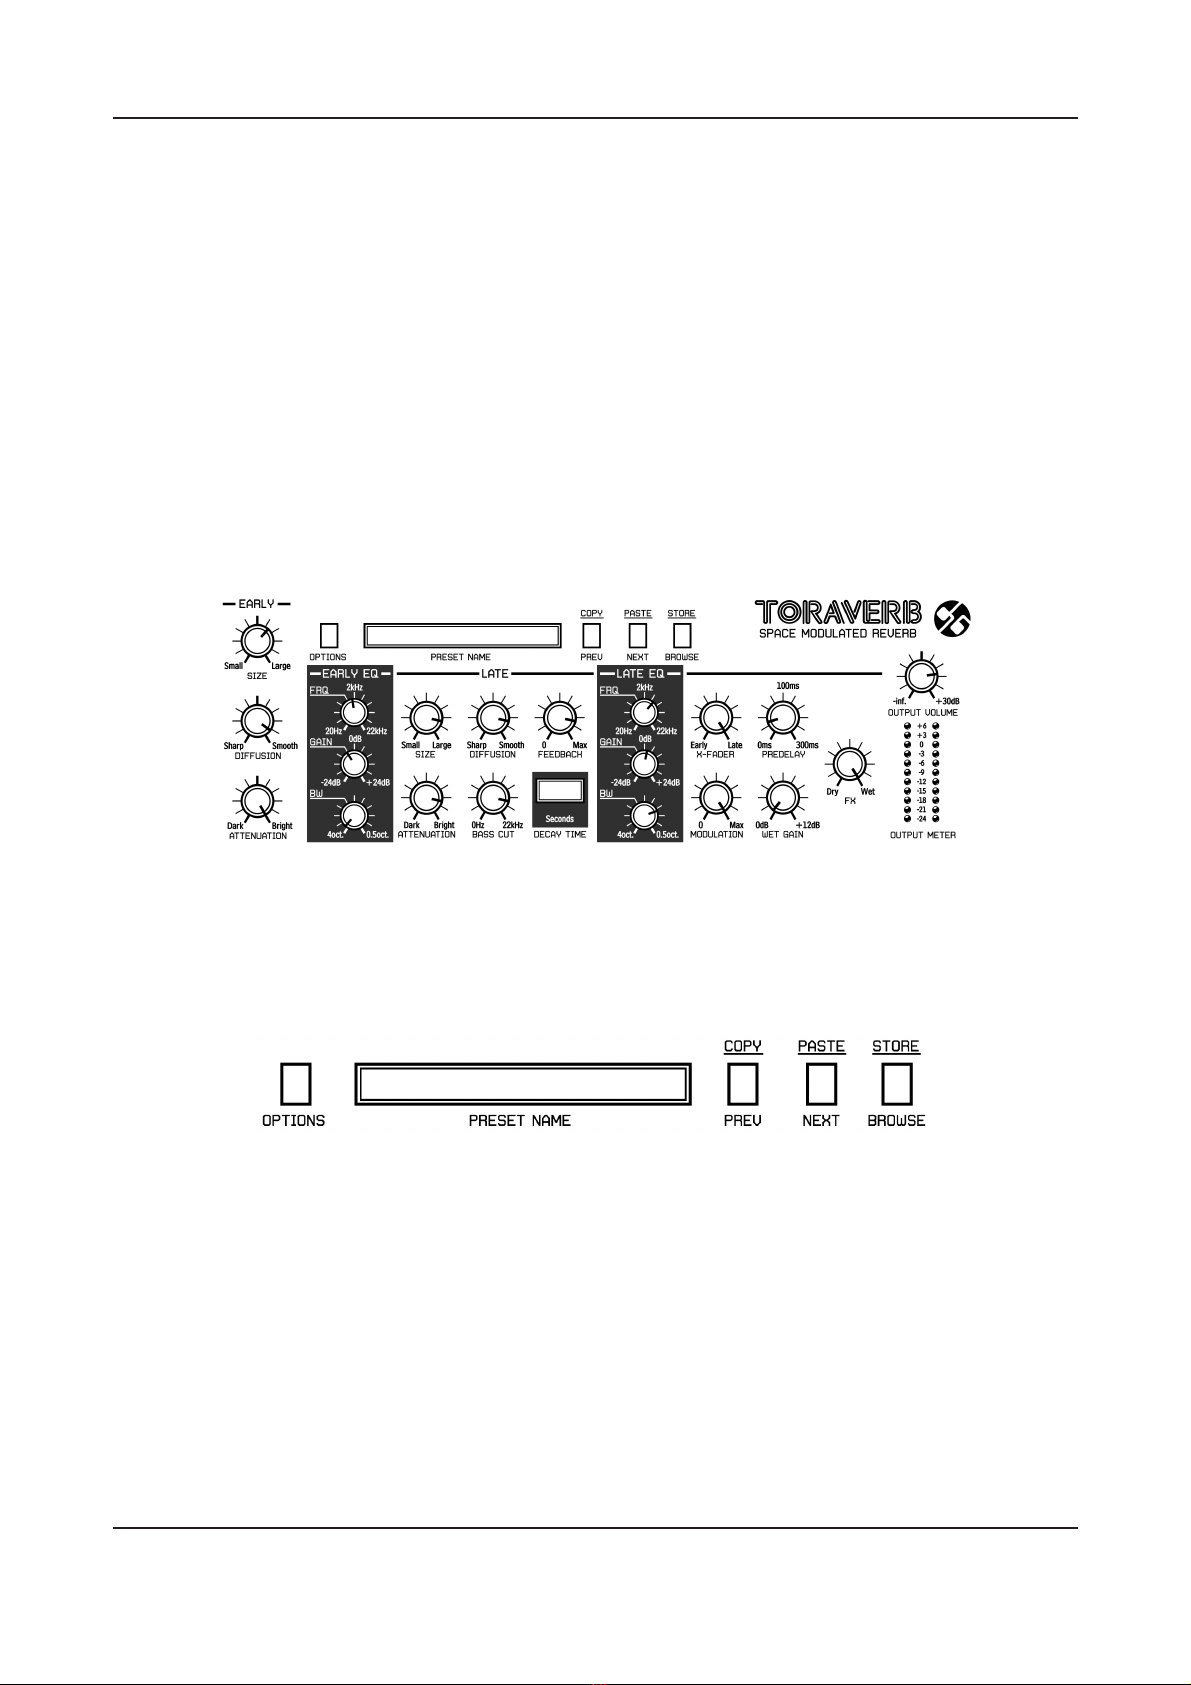
Chapter 2. Signal flow 2.1. Basic modules
Attenuation - This parameter changes the characteristic of the wall’s surface, its dump-
ing properties.
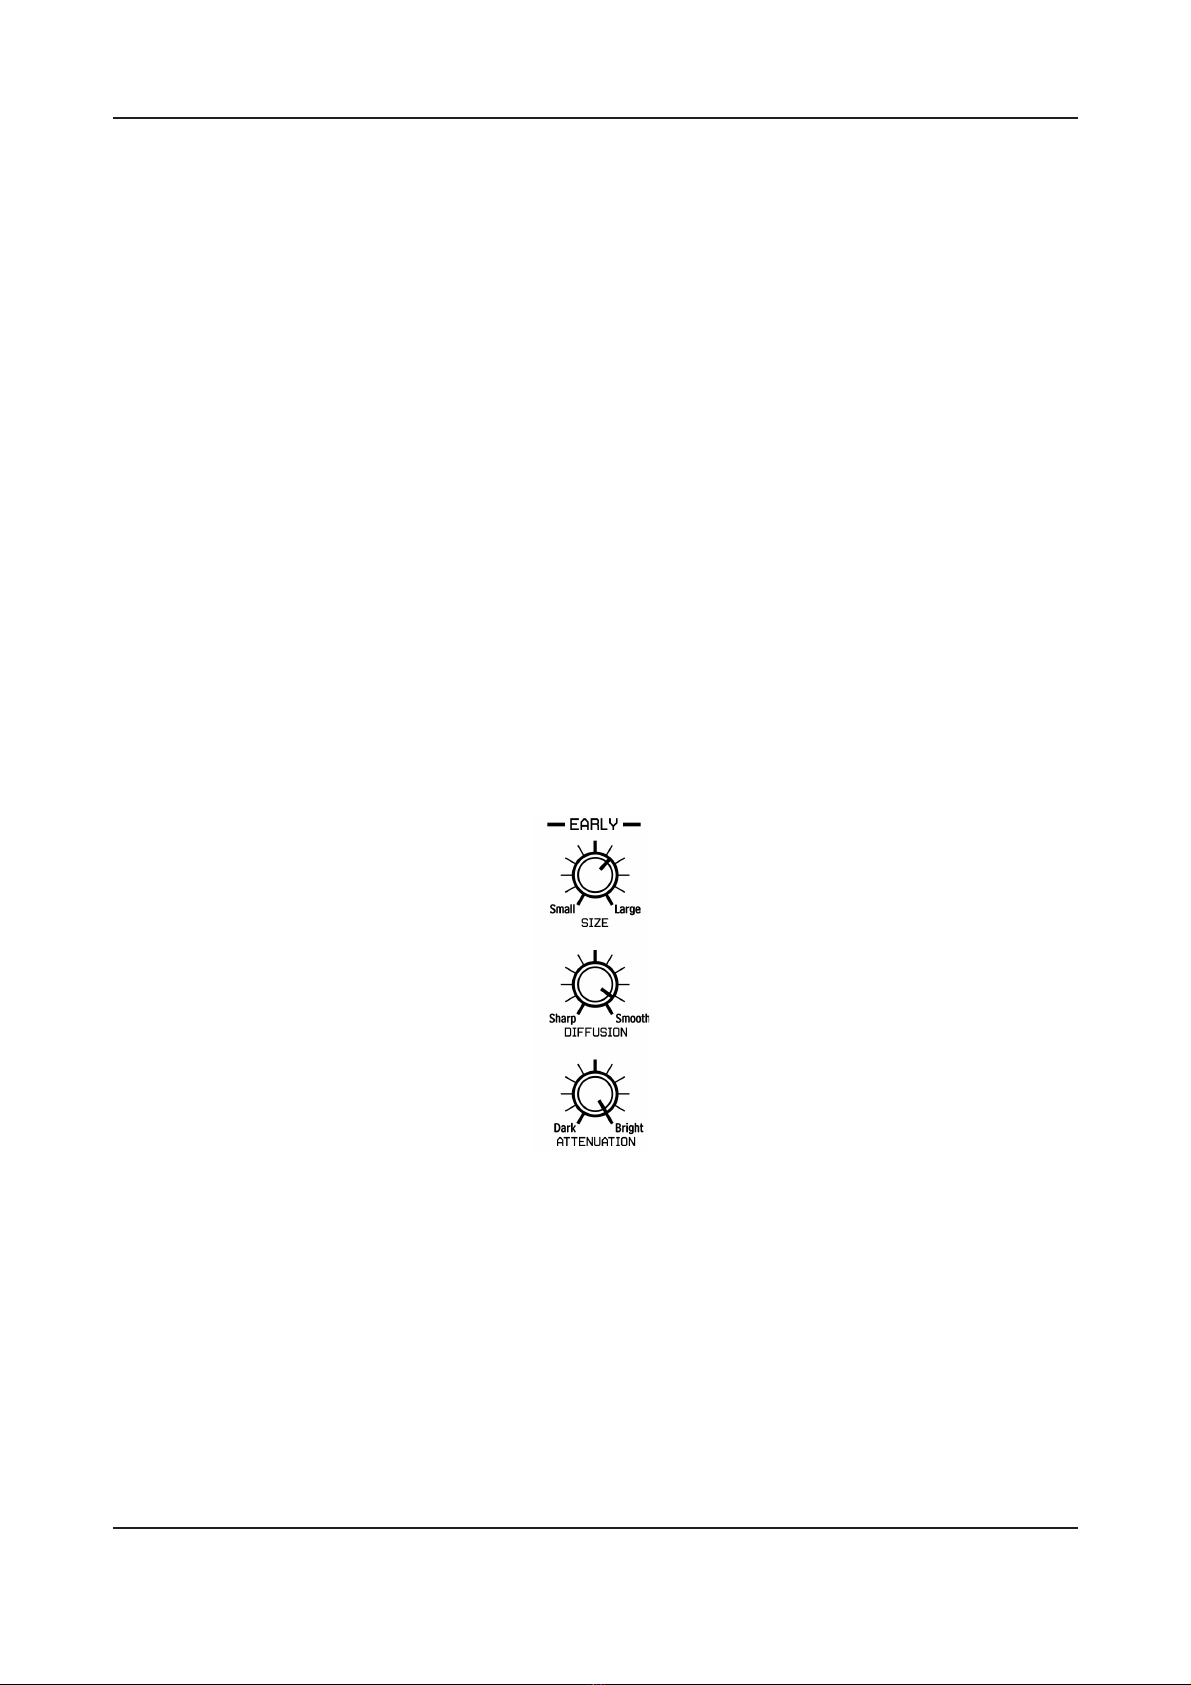
Bass cut - It’s another parameter, that controls other property of reflecting surface;
what frequencies below the set one are absorbed by the surface. We can choose
frequency from the range: [0 Hz . . . 22 kHz]
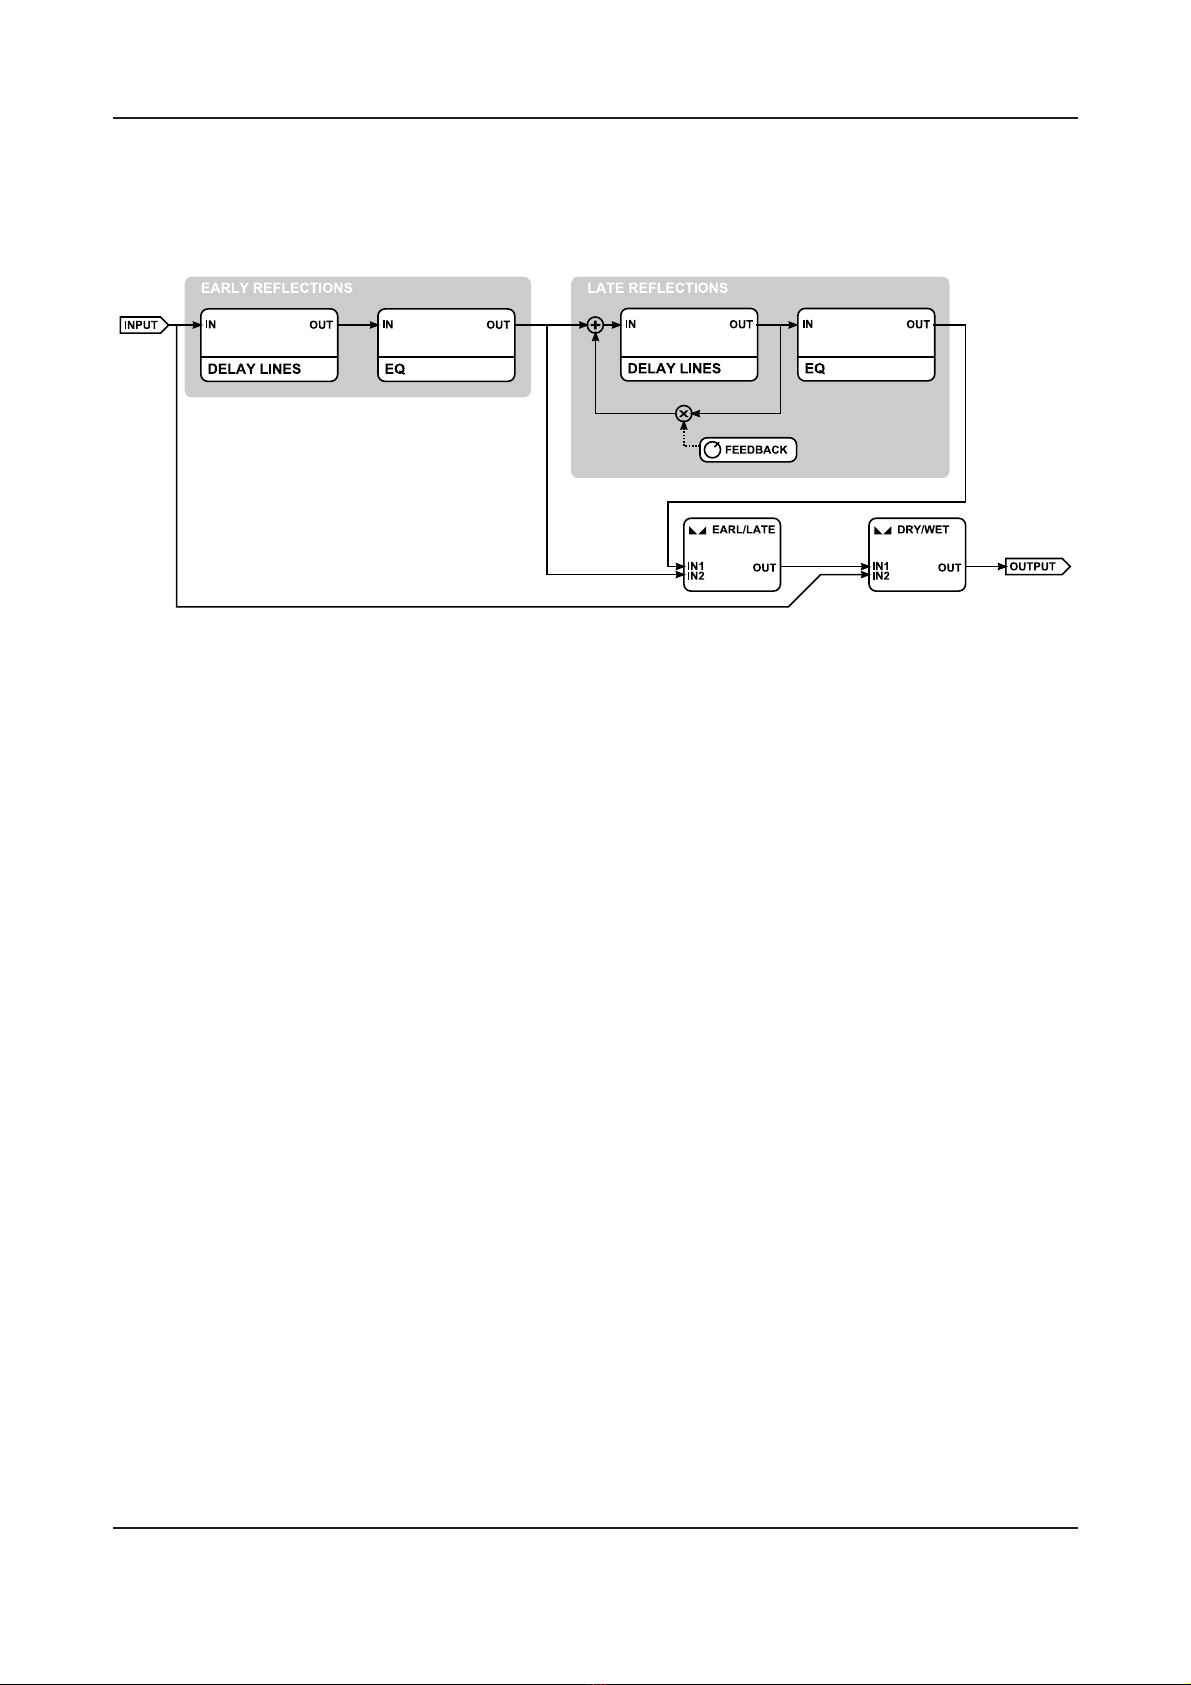
Decay time - It shows the current decay time of the whole reverberation path. Following
parameters have influence on decay time:
•Early reflections: Size,
•Early reflections: Diffusion,
•Late reflections: Size,
•Late reflections: Diffusion,
•Late reflections: Feedback
Attenuation parameters for early and late reflections have also effect on Decay
time, but it’s not taken into account for calculations.
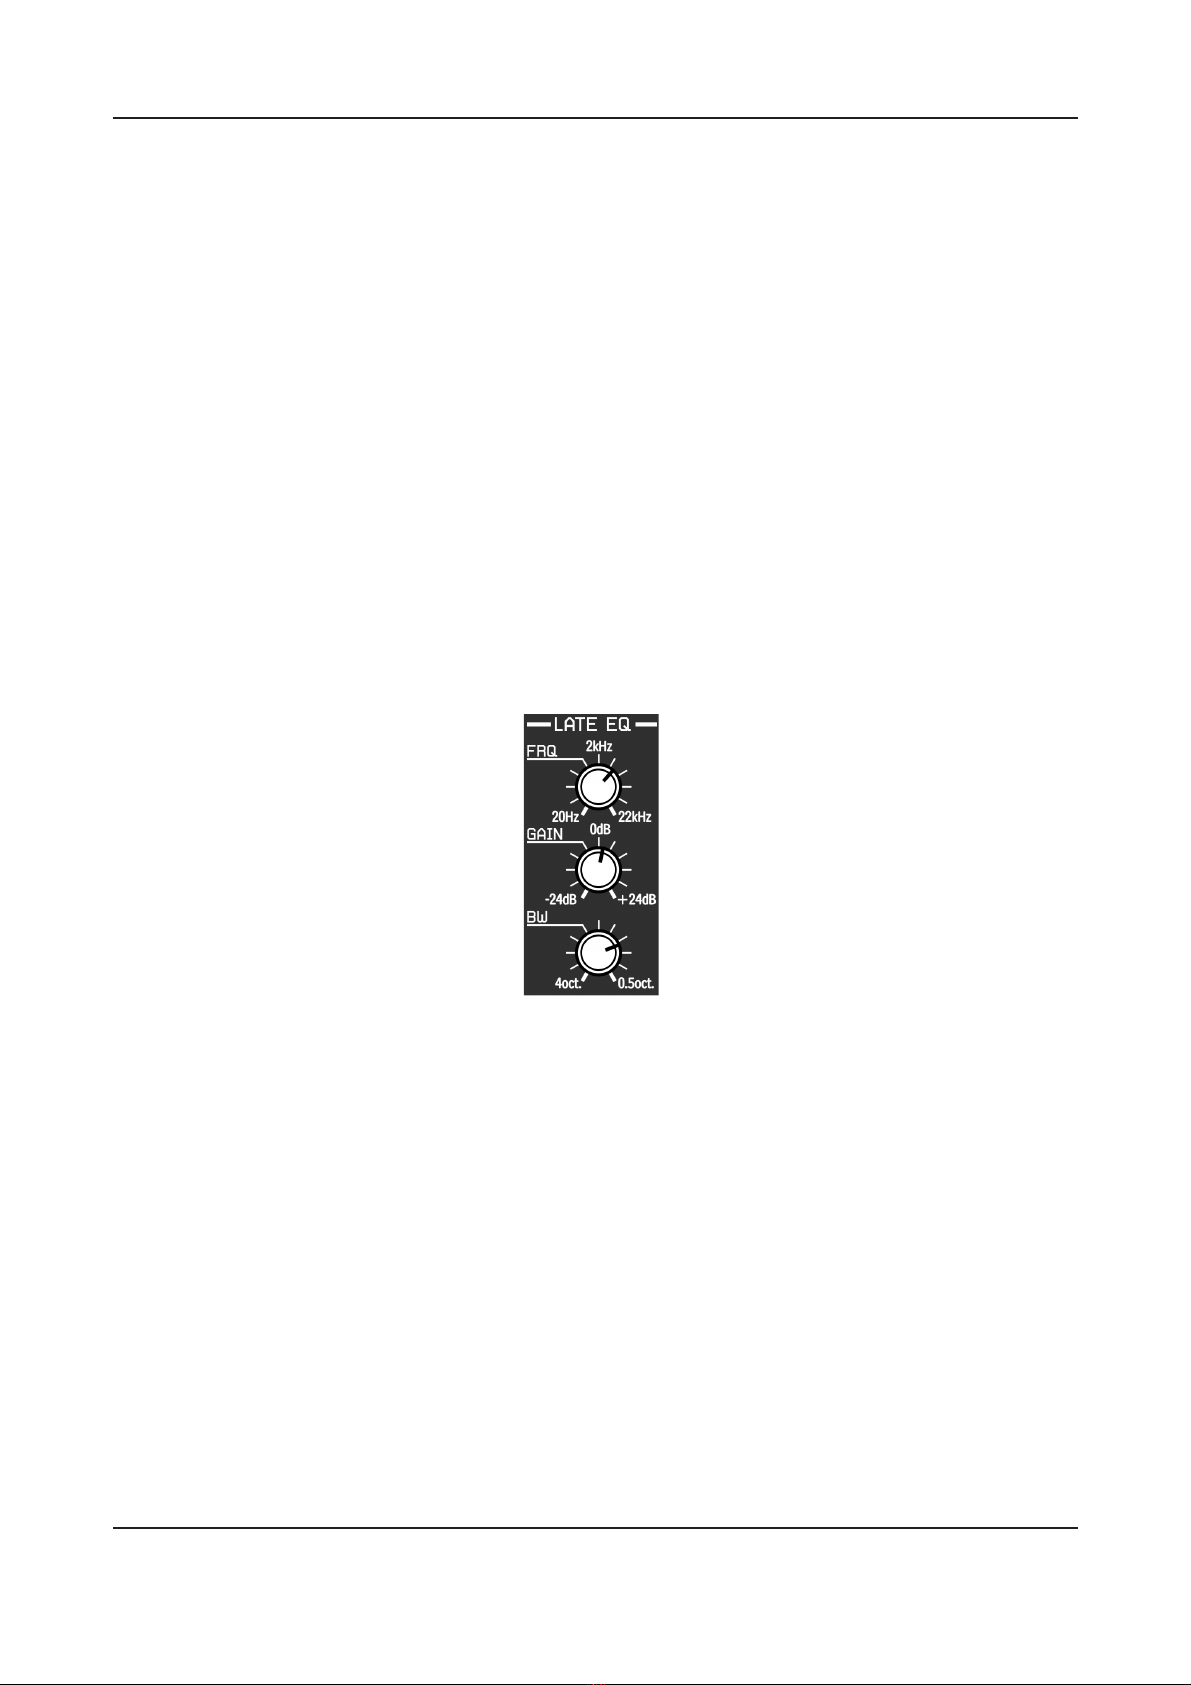
Late EQ - Single peak parametric EQ for late reflections’ output:
Figure 2.4: Late reflections - Parametric EQ
It’s controlled within following parameters:
Frq - Centre frequency of a peak.
Gain - Gain value for a band [−24 dB . . . 24 dB].
Bw - Width of the band [4 octaves . . . 0.5octave].
Master section - There’re global reverberation parameters
4