Test After Installation
lPlug the adaptor into the power socket, and other end into the
power outlet. If the LCD is on, the turntable will rotate and
automatically position itself. This action shows the power is
connected properly.
lPlug the USB cable into the socket. The machine will perform the
rotation for positioning once. This action shows the USB cable is
connected properly.
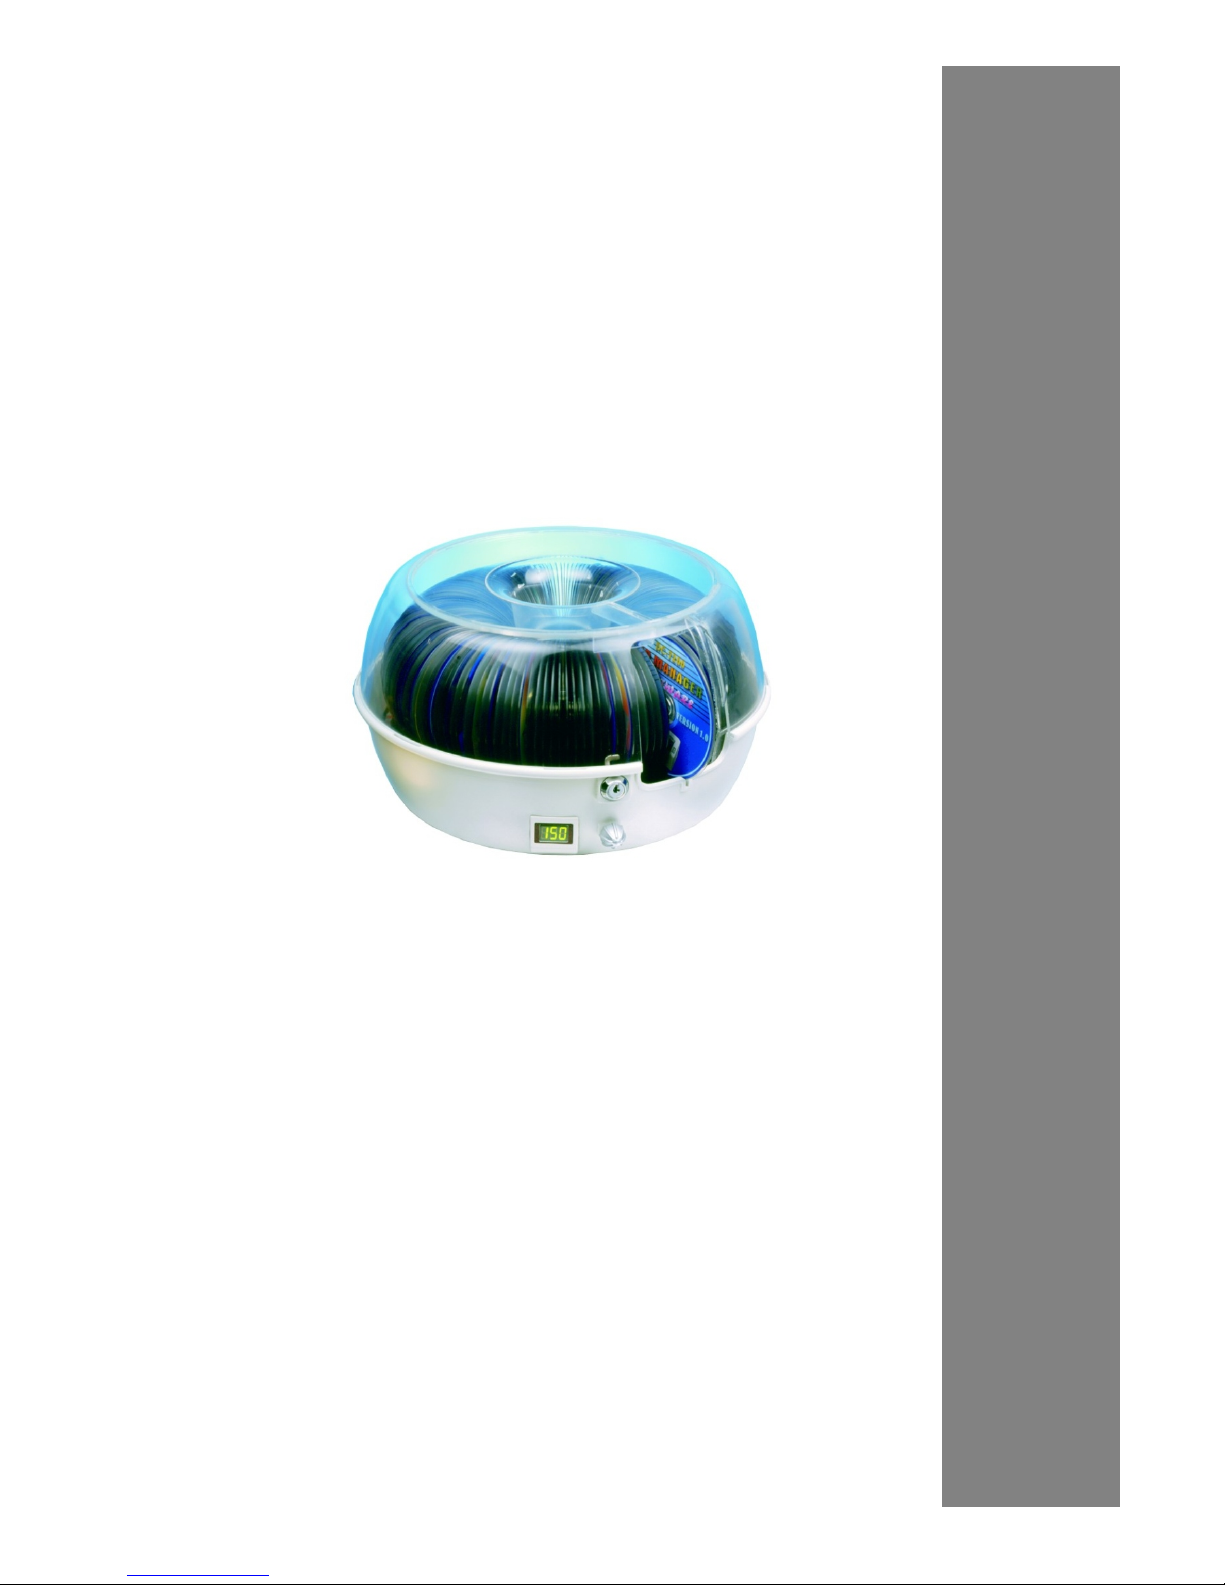
Stand-Alone Machine Operation
lSaving Discs-Open the slide door, and fill the name of the disc in the
Management Form. Turn the knob to the number according to the
one shown in the form. Press the knob and the machine will
automatically bring the disc into such position. Insert the disc
through the middle of the door, and pres the knob to collect the disc.
lRetrieving discs-Search the disc name which you wish to have in
the Management Form. Turn the knob to that number. The CD
Library will automatically bring the CD to such position. The disc
will be lifted automatically for you to take it out. If you need to
choose another disc, just press the knob to get the retrieving rack
down before turning the knob again.
Display Screen
The number shown on the digital display screen will change when you
turning the knob. When you need to select a specific slot number, turning
the knob to the specific number and press the knob. The CD Library will
spin to the specific slot and pull out the CD for you. When you another
CD, press the knob and turn the knob to the number you need. Press
the knob again. The CD Library will spin to another slot and pop up the
CD for you. To save power purpose, the display will shut down after a