2
1. OPERATING INSTRUCTIONS
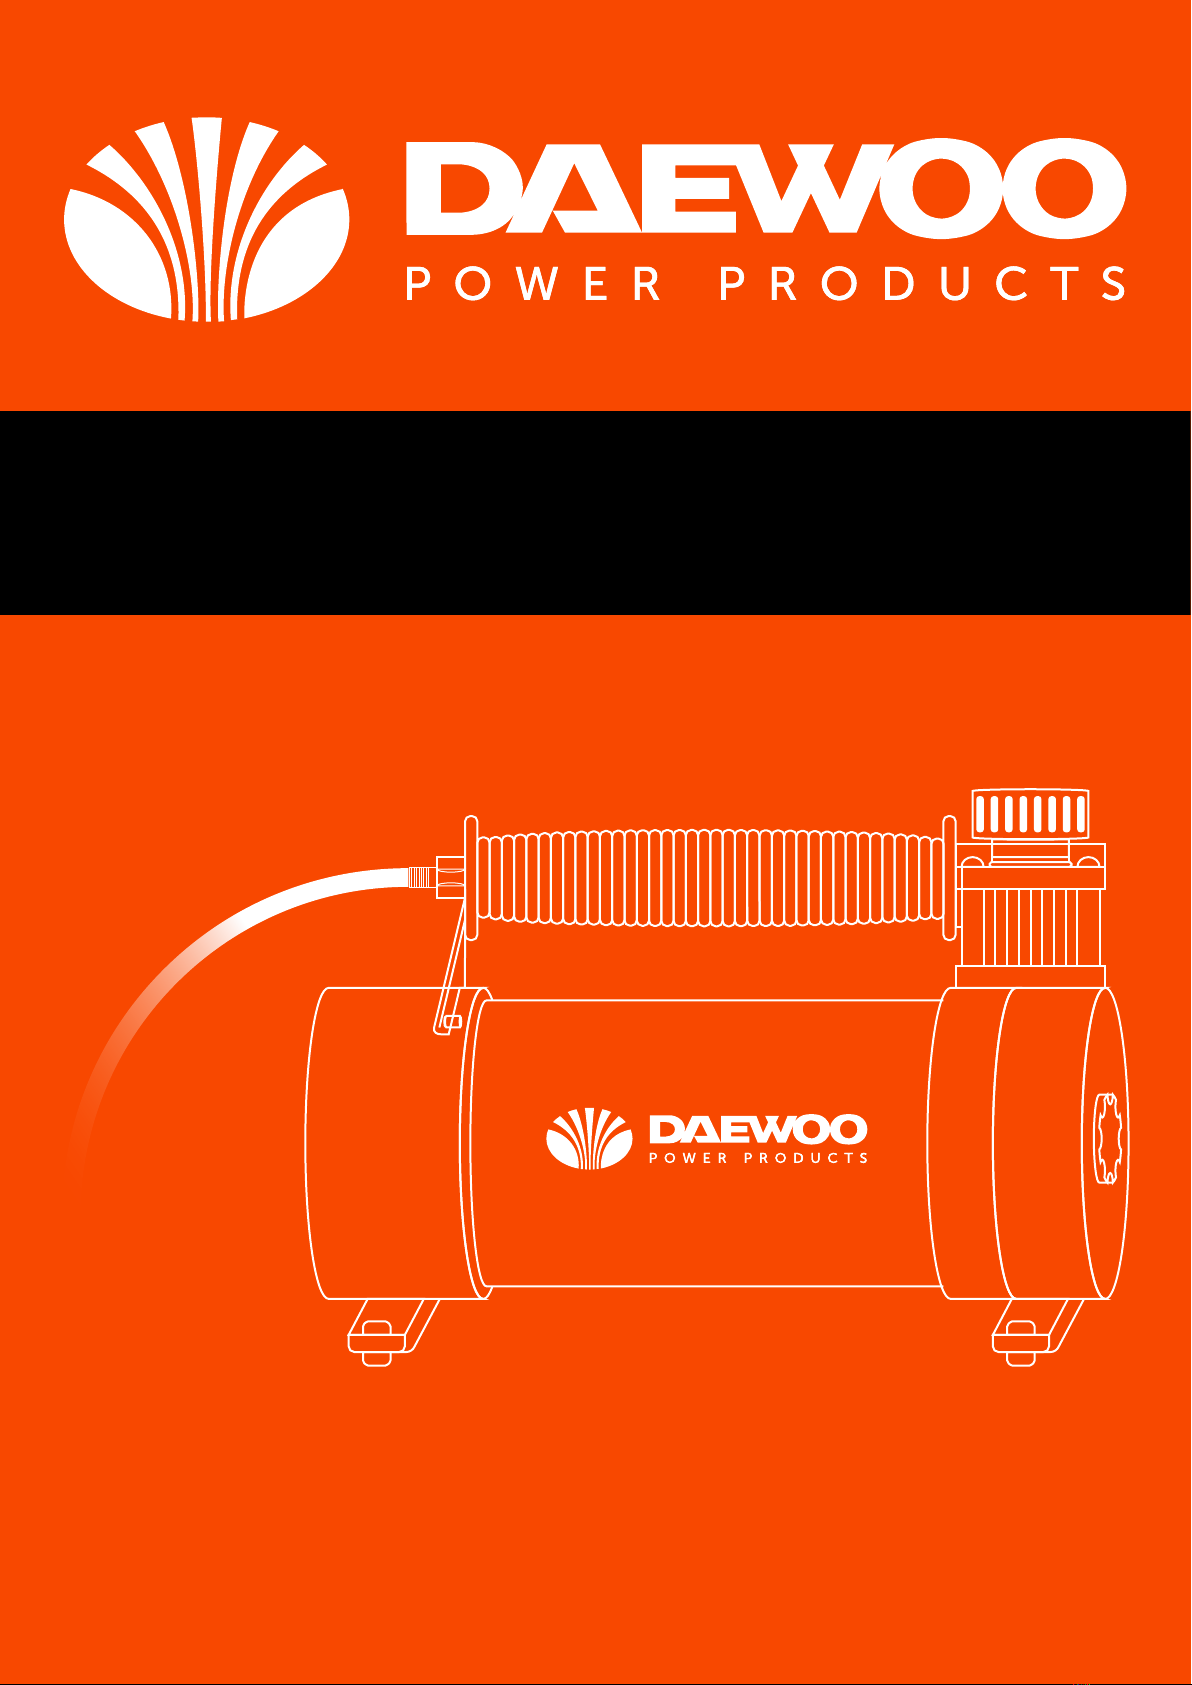
The 12v Air Compressor has been engineered to service most standard sized tyres used on trucks,
vans, 4X4’s etc., but will work equally as well on passenger cars.
Please read the entire instruction manual before use and save it for future reference.
IMPORTANT
Your battery may not be at full strength. It is essential therefore that you keep your engine running when
operating the compressor. This will also shorten inflation time. Do not do this in a closed garage due to the
fumes circulating in a confined space.
Safety - Warning!
Never leave the compressor unattended whilst it is in operation.
The compressor is not to be used for long period otherwise it may overheat.
Using the compressor for several minutes at a time should assist in tyre inflation.
If a prolonged period is required then switch off the compressor and allow to cool
for several minutes then resume
TO INFLATE TYRE
1. Attach quick connector at end of hose to tyre valve. Place connector on end of the tyre valve and
turn to screw onto tyre valve stem.
2. Plug the 12v power plug into the 12v power socket of the vehicle and turn the switch on to start
the compressor.
3. Inflate to required pressure, turn switch off, remove hose from the tyre valve and unplug.
NOTE: The tyre will not expand at the same rate during the final phase of inflation as it does at the
beginning of this process. This is due to the fact that air flow into the tyre from compressor decrea-
ses as the required tyre pressure is reached. Check with tyre pressure gauge for proper inflation.
INFLATION TIME
Inflation time will vary depending on the article inflated and the pressure required.
TO INFLATE OTHER ITEMS
1. For inflatable articles such as air mattress, beach toys, etc., use adaptor supplied. Inflation time
for inflatables is affected by the size of item.
2. For footballs or similar articles use inflator pin supplied.
3. Slip adaptor or pin into quick connector and turn connector to screw on.
4. Follow the same procedure to inflate as described in preceding section for tyres.
TO CHECK AIR PRESSURE
You may obtain a pressure reading from the gauge mounted on the compressor. As the gauge
needle will tend to vibrate during operation, you may want to switch the compressor off momentarily
to steady the needle.
CAUTION:
1. Do not inflate items beyond their needs. To avoid over-inflation carefully follow instructions on
articles to be inflated. Do not exceed recommended pressures. Use the pressure gauge to check for
the correct pressure.
2. Bicycle tyres and other small articles will inflate relatively quickly. Be particularly careful not to
over inflate.
3. Recreational items such as beach toys and air mattresses require low pressure. Inflate until firm.
2. INSTRUCTIONS IF COMPRESSOR FAILS TO START
NOTE
If the 12v power socket doesn’t work from its socket, your compressor won’t work from it either. If your
compressor does not start, check the following
1. Foreign matter may be lodged in 12v power socket well. Scrape it off carefully with a piece of
wood. Insert plug once more and turn several times to make good contact.
2. 12v power socket fuse may be worn or weak. If so replace with a new 15 amp fuse.
3. Some 12v power sockets have a circuit breaker located directly behind 12v power sockets. It may
have blown and should be replaced.
3. TECHNICAL SPECIFICATIONS
Current: no-load 7~14 A
Diameter of cylinder:30 mm
Max pressure: 110 psi
Inflating time: 4 min
Time of continuous work: 30 min
Length of wire: 300 cm
Length of hose: 200 cm
Includes: 3 pieces of different nozzle adaptors, 1 piece of 15 A fuse, a 6” plier, 2 pcs of 8“ screw
drivers, a pair of gloves, a 6” blade knife and a tyre repairing kit.