Daewoo DPX-32X1BMB User manual

Selecting Picture Mode
44
Selecting Picture Mode
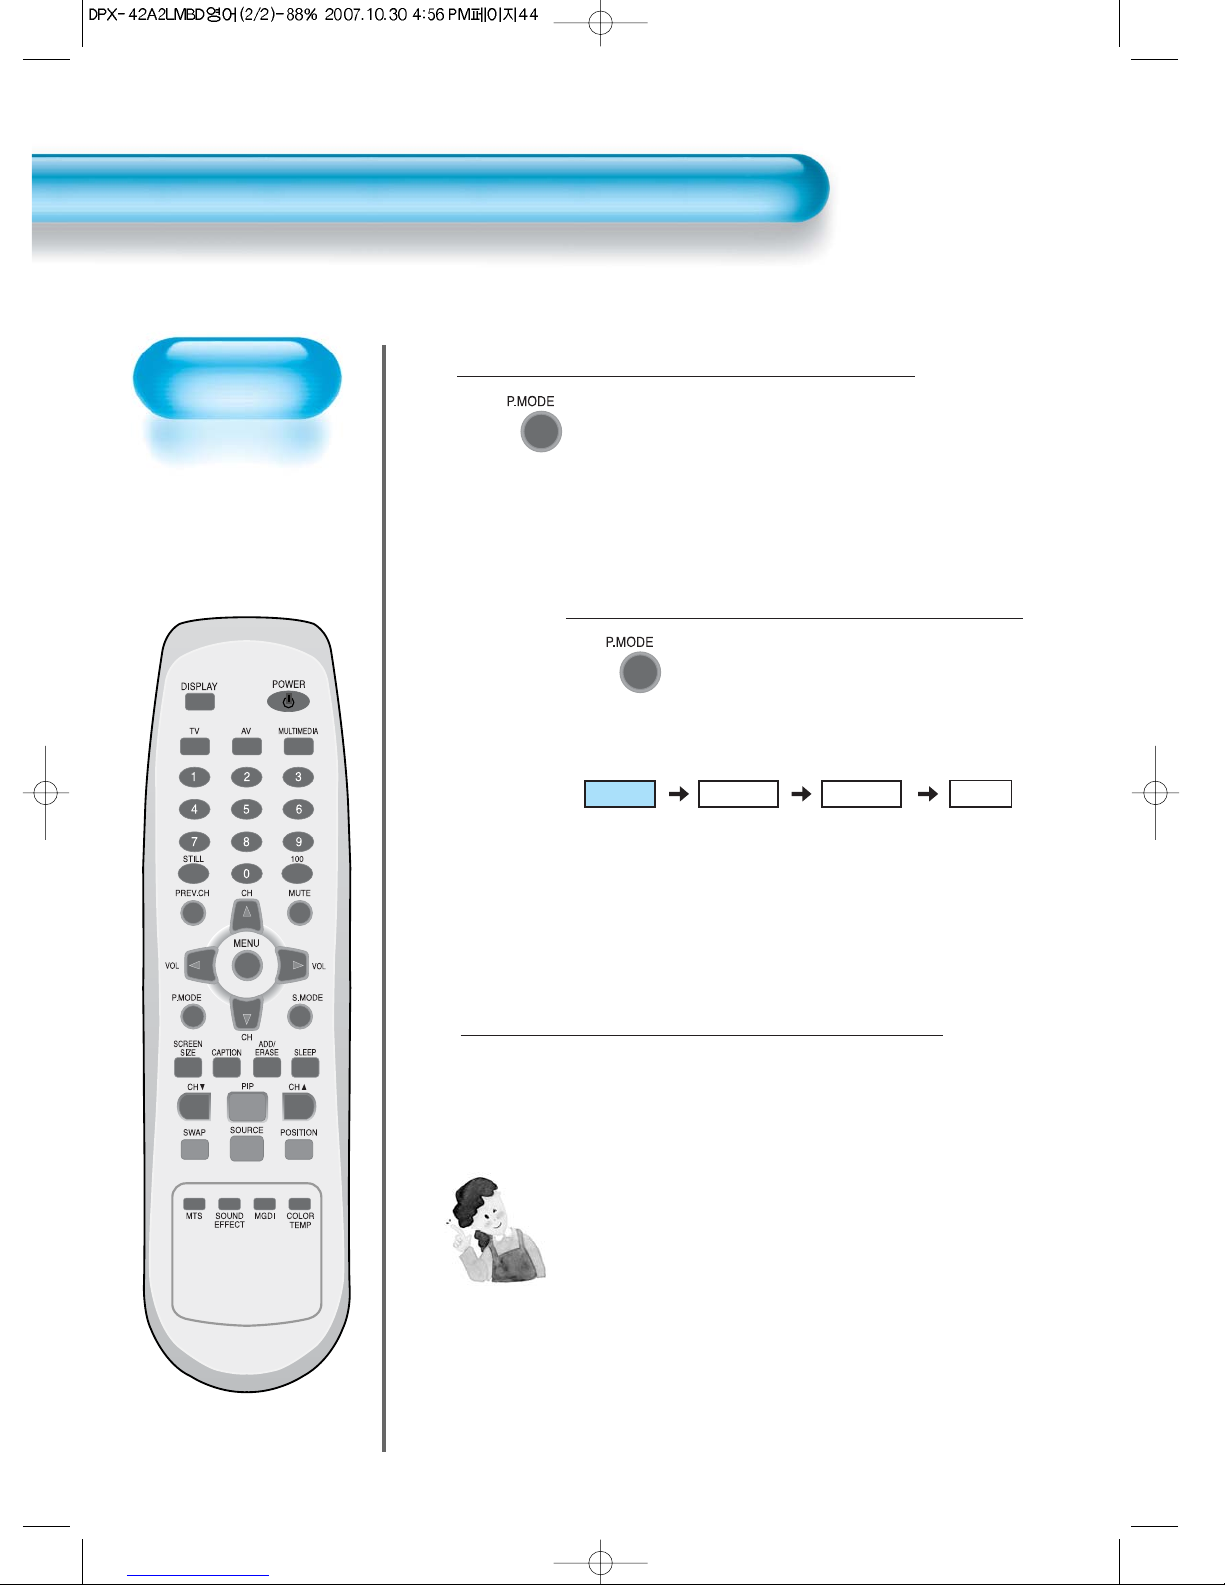
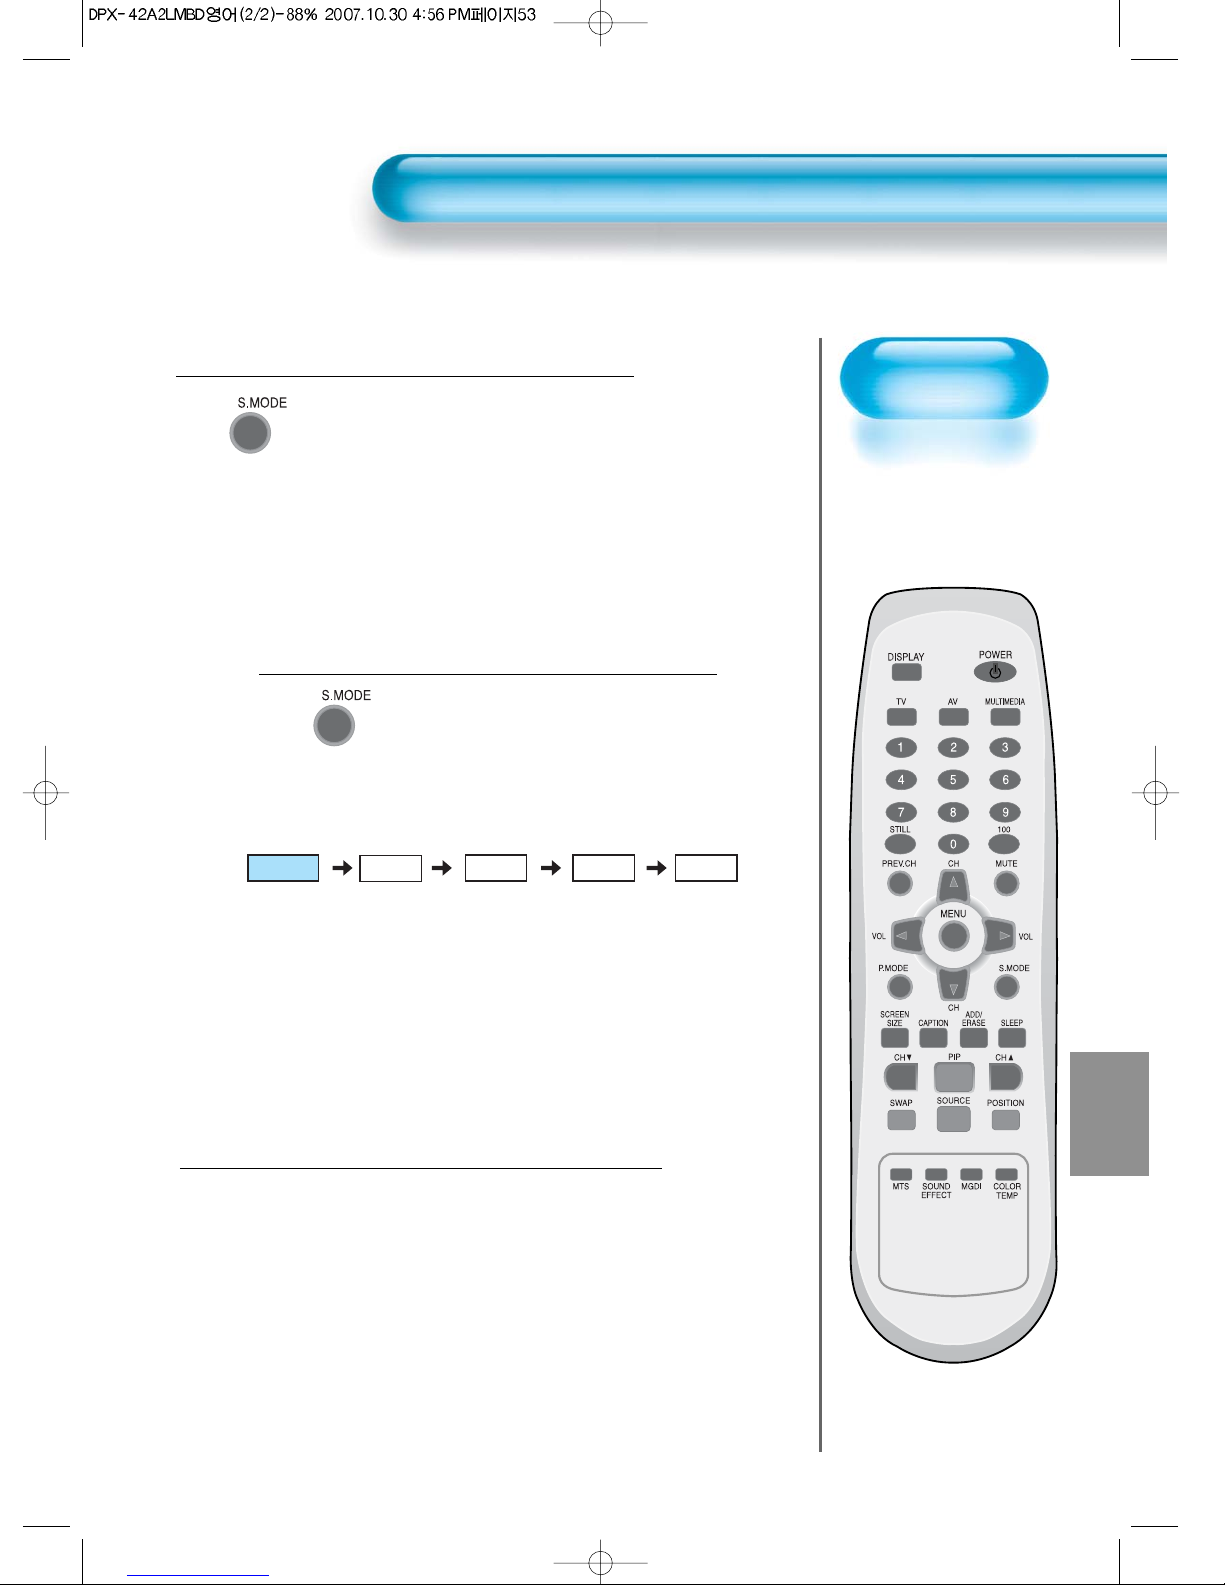
• Press the [PICTURE MODE] on the
remote control.
• While pressing the [PICTURE MODE] for
the first time, the current picture mode will
be displayed.
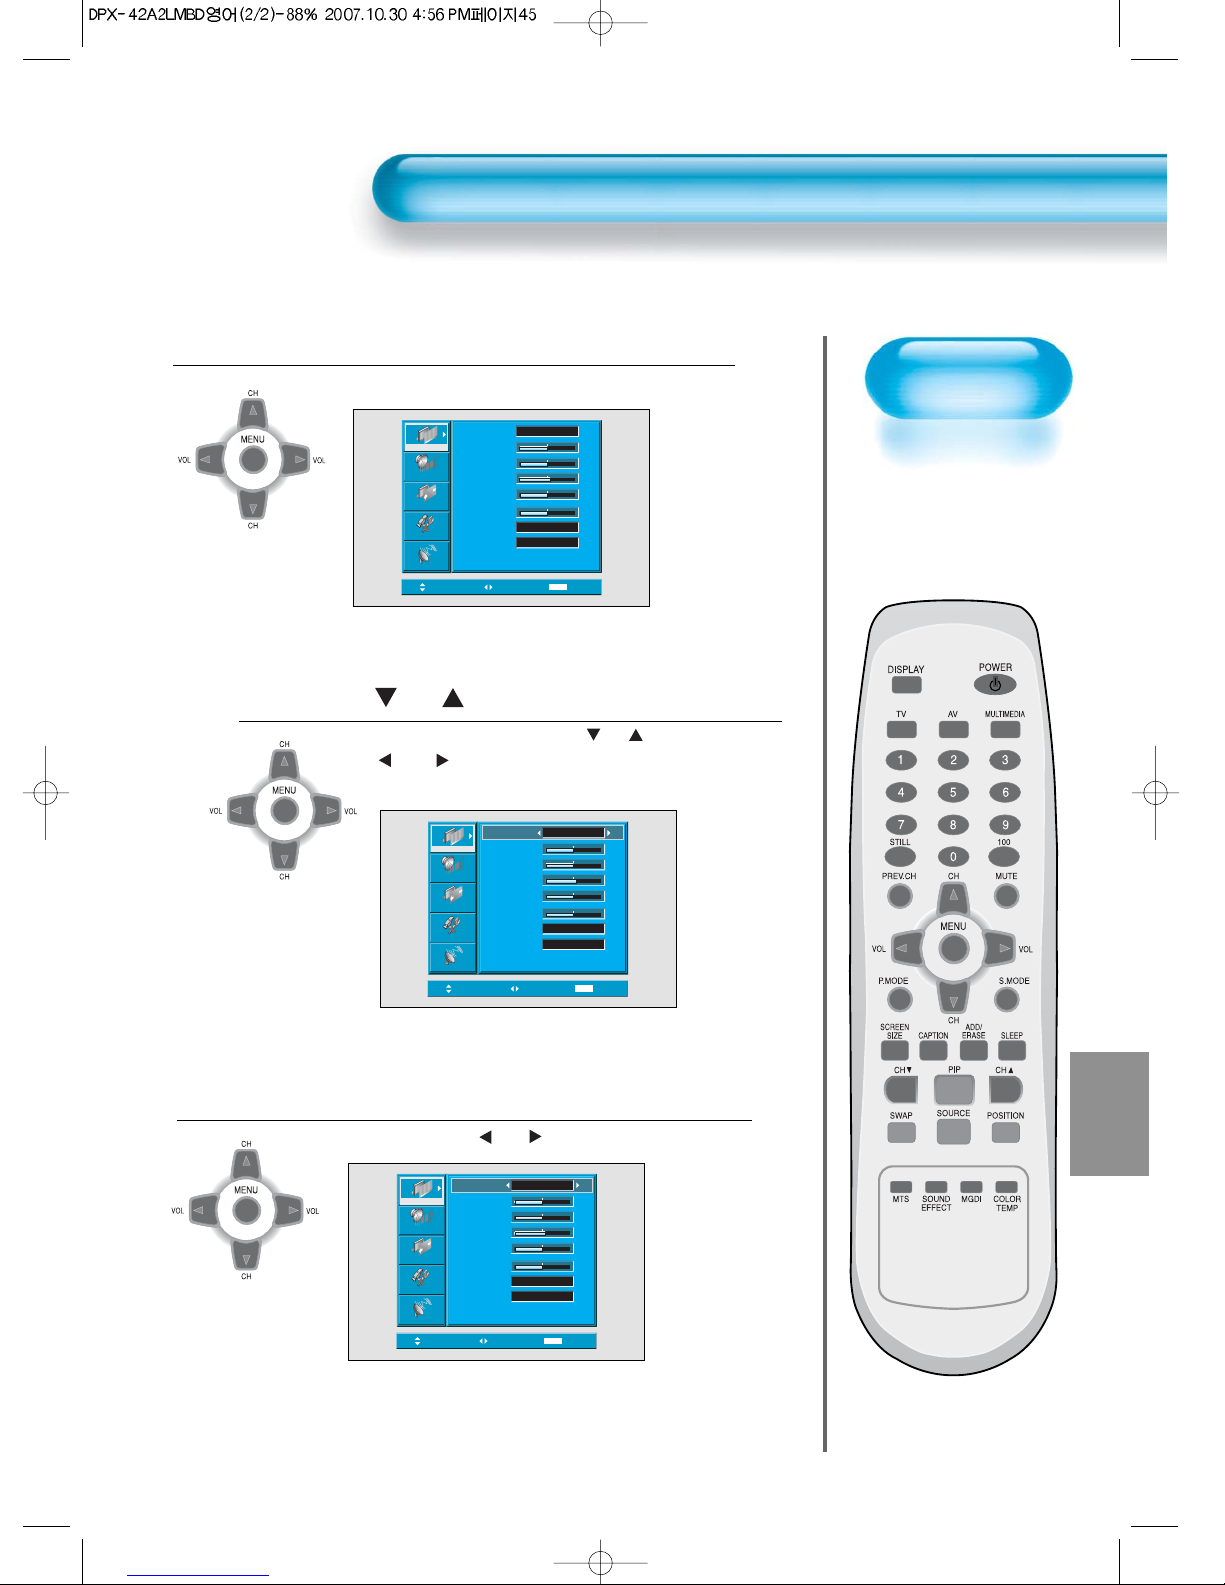
Each Press of the Button Will Select
One of Four Picture Modes.
• Each time you press the button, a
different picture mode appears. The
sequence used is as follows:
* Normal : For a highly defined image in a normally bright
room
* Dynamic: For a clear-cut image emphasizing high contrast
for sports viewing
* Cinema: For a movie
* User: Allows the user to customise settings as desired.
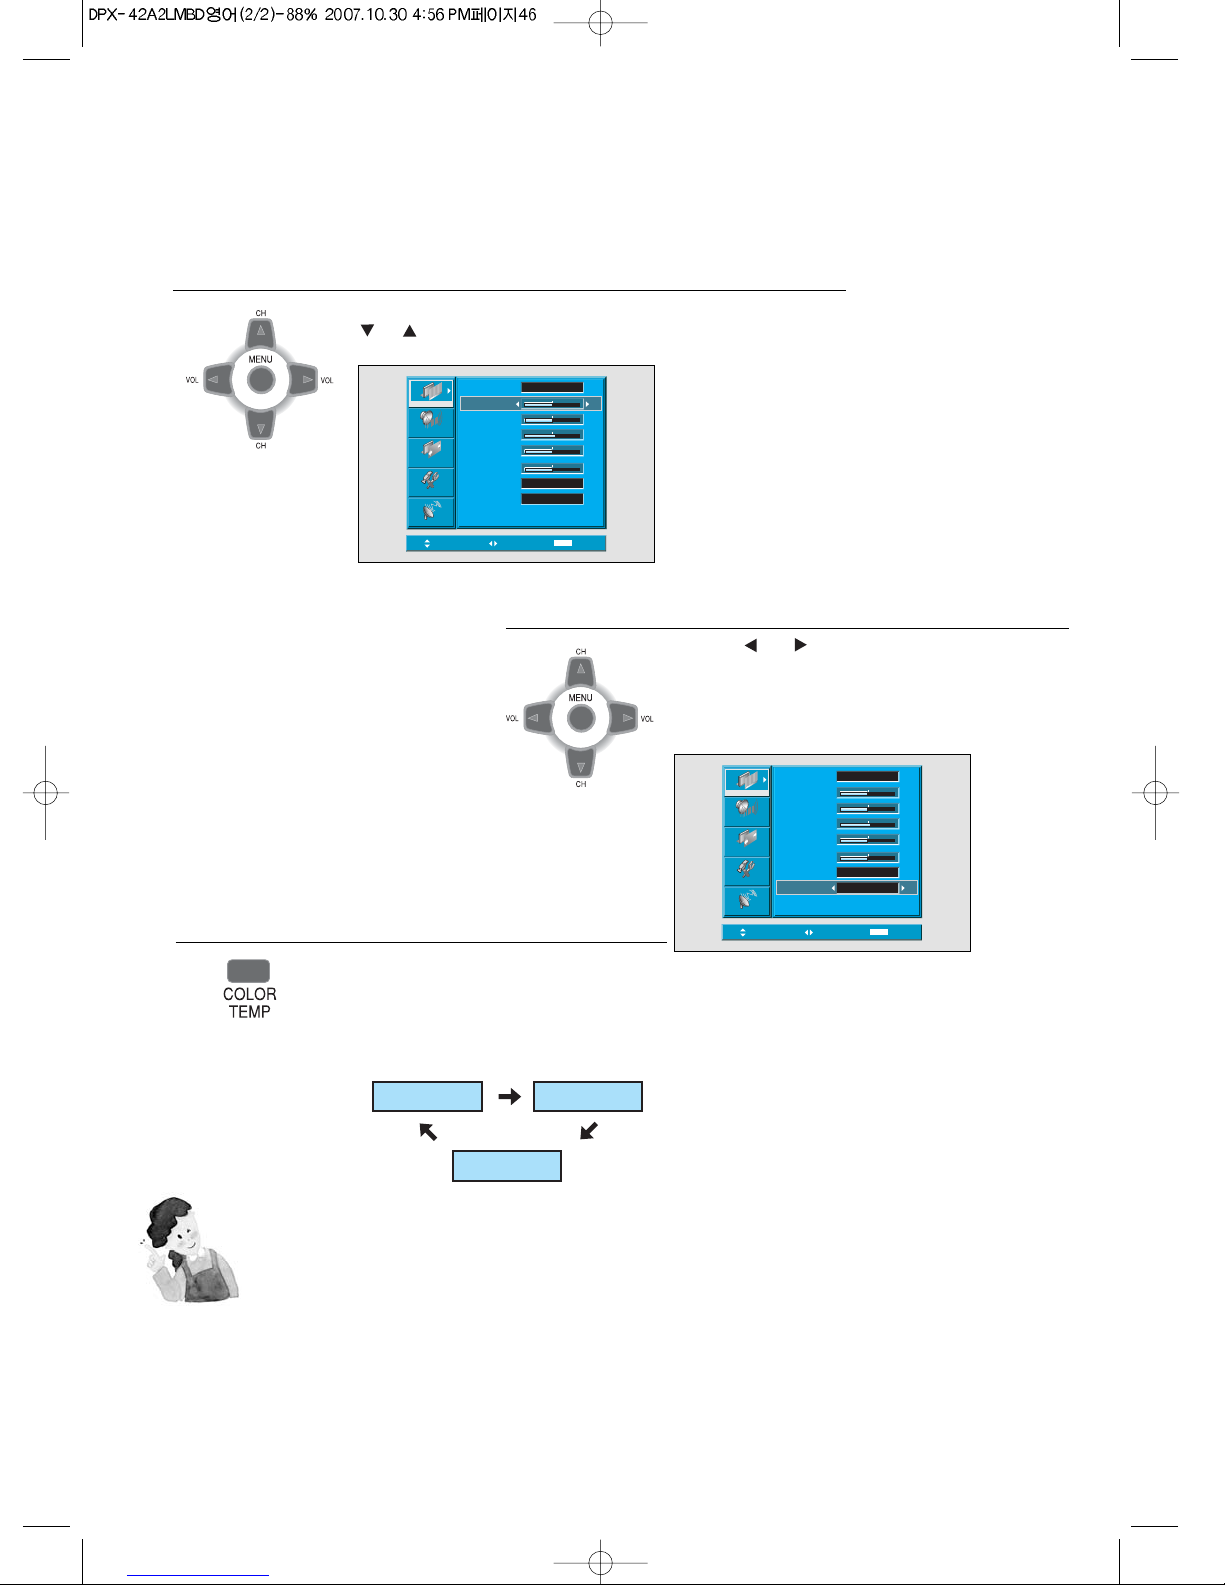
Menu on the Screen will disappear.
• After selecting a desired picture mode, the
menu on the screen will be disappeared.
• If you want to customise the picture mode,
refer to the following page.
3
1
2
NOTES:
1) Normal, Dynamic, and Cinema modes are factory preset values.
2) When adjusting sub-menus while you are in Normal, Dynamic,
and Cinema modes, the Picture Mode will be automatically
converted to User Mode, and the adjustments will be made.
3) Selecting [Initialize] in the [Features], menu will allow the
Brightness, Contrast, etc. to return to the factory preset values.
Normal Dynamic
Cinema User
Selecting Picture
Mode
• Select the Picture mode
that is appropriate
depending on the kinds
of pictures, you enjoy.

45
Customising
Picture
• You can adjust the
color tone and
brightness to your
preference.
Press the CH Button.
• After selecting [Picture] by the
“CH”
buttons, press the
“ VOL ”button. Then the sub menu of [Picture] will be
displayed.
Select the User Mode.
• Select [User] by the “ VOL ”buttons in the [Mode].
3
Press the MENU Button.
• The MENU shown below will display on the screen.
1
2
Customising Picture
Move Select MENU Exit
Mode
Brightness
Contrast
Sharpness
Color
Tint
Color Temp.
N.R.
Normal
Normal
On
50
50
50
50
8
Picture
Screen
Sound
Feature
Install
Move Adjust MENU Exit
Picture
Screen
Sound
Feature
Install
Mode
Brightness
Contrast
Sharpness
Color
Tint
Color Temp.
N.R.
Normal
Normal
On
50
50
50
50
8
Move Adjust MENU Exit
Picture
Screen
Sound
Feature
Install
Mode
Brightness
Contrast
Sharpness
Color
Tint
Color Temp.
N.R.
User
Normal
On
50
50
50
50
8

46
Select User Mode Adjustments
Picture Condition Adjustments
• Press the “ VOL ”buttons to adjust the picture of your
preference.
• N.R. functions the noise reduction.
4
5
• While you are in [Picture Mode – User], press the
“CH”
buttons to select a specific adjustment item.
NOTES:
1) While you are in the PC or HDMI input mode, you can only adjust brightness, contrast and color
temperature.
2) When you adjust Brightness, Contrast, and Color in Component mode or adjust Brightness and Contrast
in PC and HDMI mode, the picture is adjusted finely.
3) The Tint control is used when the input signal is NTSC or Component. If input signal is NTSC, Tint
control is displayed in picture menu.
4) Selecting the color temperature makes the mood : normal, warm or cool.
Move Adjust MENU Exit
Picture
Screen
Sound
Feature
Install
Mode
Brightness
Contrast
Sharpness
Color
Tint
Color Temp.
N.R.
User
Normal
On
50
50
50
50
8
Move Adjust MENU Exit
Picture
Screen
Sound
Feature
Install
Mode
Brightness
Contrast
Sharpness
Color
Tint
Color Temp.
N.R.
User
Normal
On
50
50
50
50
8
Press the “Color TEMP”button on
the remote control.
• Pressing the “color TEMP” button first time will
display the curent setting for color Temp.
• Each time you press the button a different color
Temp appears the sequence used is as follows.
6
Normal Warm
Cool

47
Adjusting with
Screen Size button
• You can adjust
screen size or
aspect ratio as
desired.
Press the SCREEN SIZE Button.
• The current screen size will be displayed on the screen.
• Each time you press the SCREEN SIZE button on the
remote control, a different screen size appears. The
sequence used is as follows in case of AV and TV modes :
1
14:9
LB(14:9)
LBS(14:9) LB(16:9)
16:9
4:3
NOTES:
1) Displaying a picture in a 4:3 mode for a long time may cause
phosphor of the PDP to be burned. So avoid displaying a
picture in 4:3 screen size for a long time.
2) Under Component,PC and HDMI inputs,only 16:9 and 4:3 are
available.
3) 16:9 : 16:9 picture formats
14:9 : 14:9 picture formats
4:3 : 4:3 picture formats like an analog TV
LB : Enlarges the screen as to fill the black part
above and below the picture.
LBS : Enlarges the screen, and shifts up as to see
the subtitles in case you are watching video
with subtitles.
4) If the picture shows unclear image in the 480P component
input source, try to toggle the resolution from the DTV/DVD of
the Screen Mode.
• N.B. : You cannot select screen size if the picture in
picture mode is on.
LBS(16:9)
Adjusting Screen

48
Adjusting Screen
• You can adjust the
screen in the menu.
Press the MENU Button.
• The MENU screen as shown below will appear.
Press the “ CH ” Button.
• Press the
“CH”
buttons to select ‘Screen’.
< In case of PC input >
1
2
Adjusting Screen in the MENU
Move Select MENU Exit
Mode
Brightness
Contrast
Sharpness
Color
Tint
Color Temp.
N.R.
Normal
Normal
On
50
50
50
50
8
Picture
Screen
Sound
Feature
Install
MENU
Mode
H. Position
V. Position
Auto
48
49
Move Select Exit
Picture
Screen
Sound
Feature
Install
16 : 9

49
Press the Volume “ VOL ”Buttons.
• Press the Volume “ VOL ”buttons to enter the
sub menu “Screen”.
•While you are in ‘Screen’ menu, press the
“
CH
” or “
CH
”button to select a desired
item, and then, adjust the value by pressing the
“VOL” or “VOL ”.
3
NOTES:
1) Screen Mode is different according to the input modes.
input Available Screen Mode
AV/TV 16:9, 4:3, LB(16:9), LBS(16:9)
14:9, LB(14:9), LBS(14:9)
Component, 16:9, 4:3
PC,HDMI
2) Other Screen adjustments
< Under PC mode >
[H. Position] : As the value increases, the screen moves
to the right.
[V. Position] :
As the value increases, the screen moves up.
[Auto] :
Adjusting automatically the screen to optimum
states.
< Under PIP mode >
[Alpha Blend] : Adjusting the translucent rate of the sub-
picture.
Screen Mode
Function
This function is same
to the [Screen Size] of
remote controller.
Adjusting Screen in the MENU
< In case of PC input >
MENU
49
Move Adjust Exit
Picture
Screen
Sound
Feature
Install
16 : 9
Mode
H. Position
V. Position
Auto
48

Press the “STILL” Button.
• If you wish to freeze a picture, press the “STILL” button.
You can still hear the sound.
• Press “STILL” button again to cancel the “STILL” function.
1
50
Watching a
Still Image
• You can view still
images with this
function. However,
displaying the same
images such as still
images for a long
time may cause
image burn.
Watching a STILL Image
NOTES:
1) Displaying the same images such as still images for a long
time may cause image burn (after-image lagging).
2) In this case, such “image burn” may become less noticeable
if moving images are later displayed for a long time.
3) However, an image burn may become a permanent one,
damaging the Plasma Display; therefore, avoid displaying
the same images for a long time.
4) Use the function [ISM], while displaying still images for a long
period of time to minimize this effect.
ISM (on or off) is in the Feature menu.
Still

51
Engaging PIP mode
• Press the ‘PIP’ button once on the remote control to engage
the Picture-in-Picture mode.
• By pressing the button repeatedly, it will show the following
cycle.
• If switched to P-by-P (Picture-by-Picture) mode, the screen
will be split in half. The screen on the left side is the main
picture, and the sub-picture will be on the right of the screen.
Position of the Sub-picture
• When PIP mode is engaged, the sub-picture can be
displayed in one of the four corners by using
'POSITION' button.
• Also, using “ VOL ” and
“CH”
button, the sub-
picture can be moved to any position you want.
Swap the pictures
• In order to swap between the main picture and sub-picture,
press the ‘SWAP’ button.
3
1
2
Screen Adjustment
of the Sub-picture
• Alpha Blend of the
sub picture can be
adjusted on Screen
Menu of OSD
• Alpha Blend is
availible only in PIP
Mode.
Alpha Blend
The adjustment of alpha
blend allows the sub-
picture to be translucent.
The translucent rate is
controlled with
“VOL ” buttons.
Watching Two Pictures Simultaneously
<Using ‘Position’ button>
P-by-P
PIP
Main
Sub
Main Main Sub
Main
Sub
Sub
Sub
Sub
Sub
Main
Main
Main
•
PIP (Picture-in-Picture) and P-by-P(Picture-by-Picture) modes allow users to watch two pictures simultaneously.
<Using “ VOL ” and
“CH”
button>

Select the Channel
• Using channel Up/Down buttons (
CH
/CH )
, you may select the desired
channels for sub-pictures.
• The CH Up/Down buttons select the
TV channels.
Available PIP Input Combinations
6
4
Select the Input Source
• Various signal sources can be displayed within
the sub-picture under PIP mode.
• Once the PIP mode is on, you may change the
input source of the sub-picture by pressing the
'SOURCE' button.
• Pressing the 'SOURCE' button repeatedly will
cycle through following order.
T V -> AV(S)1 -> AV(S)2
5
52
Watching Two Pictures Simultaneously
• Main-pictue and sub-pictue input combinations
are listed below for reference.

Selecting
Sound Mode
• Enjoy various sound
modes by selecting
your favourite Sound
Mode depending on
the kinds of moving
pictures.
Selecting Sound Mode
53
Select “SOUND MODE”.
• Press the “SOUND MODE” on the
remote control.
• While pressing the “SOUND MODE”
for the first time, the current sound
mode will be displayed.
Every Press of the Button Changes Modes.
• Each time you press the button, a
different sound mode appears.
The sequence used is as follows:
* Normal : Suitable for watching any motion picture
* Movie : Select this mode to simulate being at a movie theater
* Music : Ideal for listening to music
* News : Allows human voice to be heard more clearly
* User : Allows the user to adjust as desired.
MENU will Disappear.
• After selecting a desired Sound Mode, the
on-screen menu will disappear in about
2~3 seconds.
• Normal, Movie, Music and News modes
are factory preset values.
If you want to customise the sound modes
for your preference, refer to the following
page.
3
1
2
Normal
Music User
News
Movie

Customising
Sound Mode
• This feature allows
the user to adjust for
their preference.
Customising Sound Mode
54
Press the “ CH ” Button.
• Select [Sound] by the
“CH”
buttons, then press the
“ VOL ” button to display the following.
Select SOUND BALANCE.
• Select “Sound-Balance” by the “ VOL ” buttons,
then adjust it.
3
Press the MENU Button.
• The MENU screen as below will be displayed.
1
2
Move Select MENU Exit
Mode
Brightness
Contrast
Sharpness
Color
Tint
Color Temp.
N.R.
Normal
Normal
On
50
50
50
50
8
Picture
Screen
Sound
Feature
Install
Move Select MENU Exit
Balance
Effect
AVC
Mode
Equlizer
Off
Off
Normal
0
Picture
Screen
Sound
Feature
Install
Move Adjust MENU Exit
Picture
Screen
Sound
Feature
Install
Balance
Effect
AVC
Mode
Equlizer
Off
Off
Normal
0

Select the Effect Mode.
• Select [Effect] by pressing the “CH”
buttons,
then select the desire sound effect by pressing
the “ VOL ”button.
• [Effect]: Used to emphasize stereo effect.
• BBE is the sound enhancement clarifying the
sound and outputs finest quality.
And M.Voice is the function that you can hear
clearer voice.
4
55
MTS Function
If a channel is
received in two
languages(dual
language) and stereo,
you can switch to
MONO, STEREO or
SAP by the MTS
menu or pressing the
MTS button of the
remote control
repeatedly.
MONO
MONO sends the
mono sound to the
loudspeakers.
STEREO
STEREO sends the
stereo sound to the
loudspeakers.
SAP
SAP sends the
secondary broadcaste
language to the
loudspeakers.
Move Adjust MENU Exit
Picture
Screen
Sound
Feature
Install
Balance
Effect
AVC
Mode
Equlizer
Off
Off
Normal
0
Press the "sound effect" button on remote control.
• Pressing the "sound effect" button first time will
display the current setting for sound effect.
• Each time you press the button, a different sound
effect appears. The sequence used is as follows.
5
Effect off Effect BBE
Effect M.Voice

56
Select the Sound Mode.
6
• Select the Sound Mode by pressing the
“CH”
buttons,
then adjust it by pressing the “ VOL ”buttons.
* Normal : Suitable for watching any motion picture
* Movie : Select this mode to simulate being at a movie theater
* Music : Suitable for listening to music
* News : Allows human voice to be heard more clearly
* User : Allows the user to adjust as desired.
NOTES:
1) User Mode : Used as an equalizer with which the user can
adjust the sound frequency as desired.
2) If you modify the sound frequency in auto Sound Mode
(News, Movie, Music, etc.), it is automatically switched to the
User Mode.
3) For a realistic sound effect, lower than 120Hz frequency
sound and greater than 12kHz frequency adjust the
equalizer accordingly.
4) AVC function : This function adjusts volume to the set level
automatically. However, dependent on the
sources, it may have different volume levels
because the sound sources have their own
initially set up levels.
Normal
Music User
News
Movie
Customising Sound Mode
Move Adjust MENU Exit
Picture
Screen
Sound
Feature
Install
Balance
Effect
AVC
Mode
Equalizer
Off
Off
Normal
0

57
INPUT SIGNAL
• Used to select
INPUT signal of
external device
connected to the
PDP.
NOTES:
1) If an external device is not connected or INPUT signal is not
applied a Warning Message (“No Signal”) will be displayed.
2) In this case, check if external device is connected and/or
terminal connection is properly fitted.
3) Also, you can select input using [INPUT] button in the keypad
of the PDP unit. The sequence of selection is as follows:
TV -> AV1 -> AV2 -> Component1 -> Component2 ->
PC -> HDMI -> TV
Component 1
Selecting INPUT SIGNAL
Press the Input Signal Selecting Button.
• Press the [TV], [AV] and [MULTIMEDIA] button on
the remote control, or select the desire input signal
using Keypad of the PDP unit.
• Each time you press input mode buttons, a different input
mode appears. The sequence used is as follows:
1
Component1 Component2
HDMI PC
AV(S)1 AV(S)2
TV
•[MULTIMEDIA]
button
•[AV]
button
• [TV]
button

Checking the
Current Input Signal
• Used to check the
INPUT signal mode,
current time,
resolution, channel,
etc.
Checking the Current Input Signal
58
Press the DISPLAY Button.
• Press the [DISPLAY] button on the Remote Control.
1
1. If you watch Component, PC, or HDMI:
Displays which input terminal is used, and indicates the input signal mode.
Indicates the mode and current time.
Component 1
PM 12:00
Component 1
PM 12:00
2. If you watch TV:
Display the channel number.
Indicates the current sound state and time.
CH 22
Mono PM 12:00
3. If you watch VCR image:
Displays the program number and input terminal, which is used.
Indicates the mode and current time.
AV1
PM 12:00
NOTES:
1) “1920 x 1080” displayed in the INPUT signal is not the
resolution of the set, but the signal that is sent by the Digital
Broadcasting Receiver.
- Press the [DISPLAY] button on the remote control, then displays basic informations of the current input signal,
Under this state, pressing the [DISPLAY] button once more, additional informations about the current input signal
will be displayed on the OSD.
Displays te video system of TV signal.
Video NTSC M
H : 1920
V : 1080
Indicates the horizontal and vertical resolution of the current input signal
H : 1920
V : 1080
Displays the video system of input signal
Video NTSC M

Selecting
Languages
• Used to select the
tanslucent level of
MENU background
and language used
in MENU.
Press the MENU Button.
• The MENU screen will be displayed as below.
Press the “ CH ” Button.
• Select [Feature] by the
“CH”
button.
Select the menu Background.
• Select the MENU [Background] by pressing the “ VOL ”button.
• Adjust the tanslucent level of OSD background using “ VOL ”
buttons.
3
1
2
MENU Background, Language and Child Lock Setting
5959
Move Select MENU Exit
Mode
Brightness
Contrast
Sharpness
Color
Tint
Color Temp.
N.R.
Normal
Normal
On
50
50
50
50
8
Picture
Screen
Sound
Feature
Install
Move Select MENU Exit
Background
Language
Child Lock
MGDI plus
Auto Power
Closed Caption
Time Setting
ISM
Initialize
English
Off
On
Off
Picture
Screen
Sound
Feature
Install
10
Move Adjust MENU Exit
Picture
Screen
Sound
Feature
Install
Background
Language
Child Lock
MGDI plus
Auto Power
Closed Caption
Time Setting
ISM
Initialize
English
Off
On
Off
10

MENU Background, Language and Child Lock Setting
Select LANGUAGE by using the
“CH”
Button.
• Select [Language] by using the
“CH”
button.
• Every press of the “ VOL ”button while you
are in the [Language] mode would cycle through
the different languages.
Child Lock Setting
• Select [Child Lock] by the
“CH”
buttons.
• Whenever “ VOL ” button is pressed, the
lock mode would cycle On and Off.
• While the Child Lock is ON, if you have not
turned off the PDP, all of it’s keys will work
normaly. However, after turning the PDP off,
the PDP will not be turned on with the keypad
on the PDP. Only by the remote controller, the
PDP is turned on.
4
5
60
NOTES:
*When power is turned on the first time, ‘SELECT
LANGUAGE’ mode will be displayed, then, select
the desired language by using “ VOL ” button.
(Displayed only once)
NOTES:
*At Stand By while ' Child Lock ' mode is ON, the
color of LED is red and flickering.
Move Adjust MENU Exit
Picture
Screen
Sound
Feature
Install
Background
Language
Child Lock
MGDI plus
Auto Power
Closed Caption
Time Setting
ISM
Initialize
English
Off
On
Off
10
Move Adjust MENU Exit
Picture
Screen
Sound
Feature
Install
Background
Language
Child Lock
MGDI plus
Auto Power
Closed Caption
Time Setting
ISM
Initialize
English
Off
On
Off
10

61
MGDI plus
MGD plusI function can
not be used In PC and
HDMI modes.
Press the MENU Button.
• The MENU screen will be displayed as below.
Select Feature
• Select [Feature] by the
“CH”
button.
MGDI Setting
• Enter the sub Menu by using the “ VOL
”button.
• Select the [MGDI] by pressing the
“CH”
button.
• You can select [MGDI] On or Off mode by using the
“ VOL
” button.
3
1
2
MGDITM plus (Meta Genuine Digital Image plus)
MGDI plus is the image enhancement technology of Daewoo Electronics, which provides more clear,
realistic, and delicate images.
Move Select MENU Exit
Mode
Brightness
Contrast
Sharpness
Color
Tint
Color Temp.
N.R.
Normal
Normal
On
50
50
50
50
8
Picture
Screen
Sound
Feature
Install
Move Select MENU Exit
Background
Language
Child Lock
MGDI plus
Auto Power
Closed Caption
Time Setting
ISM
Initialize
English
Off
On
Off
Picture
Screen
Sound
Feature
Install
10
Press the “MGDI” button on the remote control.
• Pressing the “MGDI” button first time will display
the current setting for MGDI plus.
• To cancel the MGDI, Press the “MGDI” button to
select “Off”.
4
Move Adjust MENU Exit
Picture
Screen
Sound
Feature
Install
Background
Language
Child Lock
MGDI plus
Auto Power
Closed Caption
Time Setting
ISM
Initialize
English
Off
On
Off
10
MGDI plus On MGDI plus Off

POWER/STANDBY
Indicator
Front panel LED lights
• When the AC power
is on : blue.
• When the AC power
is in the standby
mode : Red.
62
Auto Power Setting
Auto Power Setting
• Select the [Auto Power] by pressing the
“CH”
button
from [Feature].
• You can select [Auto Power] ON and OFF mode by using
the “ VOL
” button.
1
Auto Power
1) ON : When the AC power is ON, the TV will be turned on
automatically without pressing the power button on the remote
control, or the keypad of the front panel.
2) OFF : When the AC power is ON, the TV will be turned on by
pressing the power button on the remote control or the keypad
of the front panel.
3) If Child Lock function is ON, this function is not operated.
AC POWER ON PDP SET ON
Automatically
AC POWER ON PDP SET ON
With the remote control or
the keypad of front panel.
STANDBY MODE
Move Adjust MENU Exit
Picture
Screen
Sound
Feature
Install
Background
Language
Child Lock
MGDI plus
Auto Power
Closed Caption
Time Setting
ISM
Initialize
English
Off
On
Off
10

63
Closed Caption Setting
• Press the “CAPTION” button on the Remote Control.
• Whenever pressing the “CAPTION” button, caption
mode is changed as follow.
Closed Caption Setting in the Menu.
• Press the Menu Button.
• The MENU screen will be displayed as
below.
1
2
Closed Caption Setting
Off
Move Select MENU Exit
Mode
Brightness
Contrast
Sharpness
Color
Tint
Color Temp.
N.R.
Normal
Normal
On
50
50
50
50
8
Picture
Screen
Sound
Feature
Install
Table of contents
Other Daewoo Remote Control manuals
Popular Remote Control manuals by other brands

Tripp Lite
Tripp Lite SRCOOLNET2 Installation and quick start guide

Texcellent
Texcellent System Remote Control Box user manual

FUTABA
FUTABA T12Z Software update

nologo
nologo BOSS-QCD4 quick start guide

AUTEC
AUTEC Dynamic+ Series instruction manual

Giant Alarm System
Giant Alarm System JJ-RC-SM24 instructions