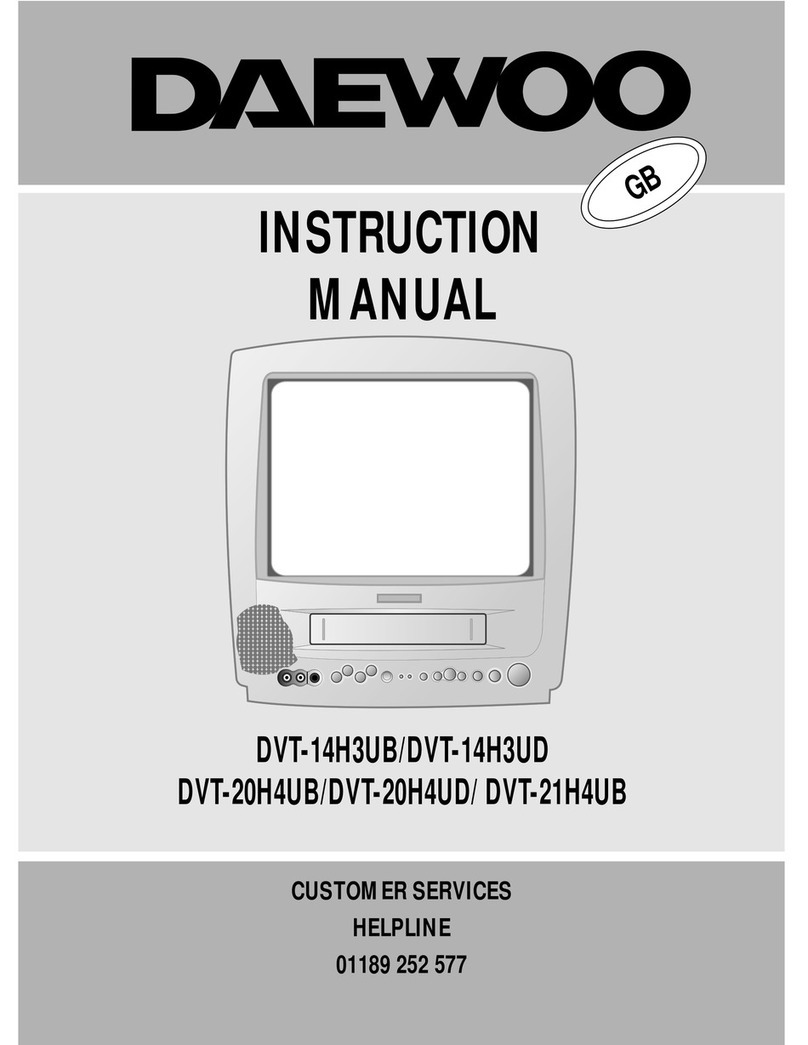
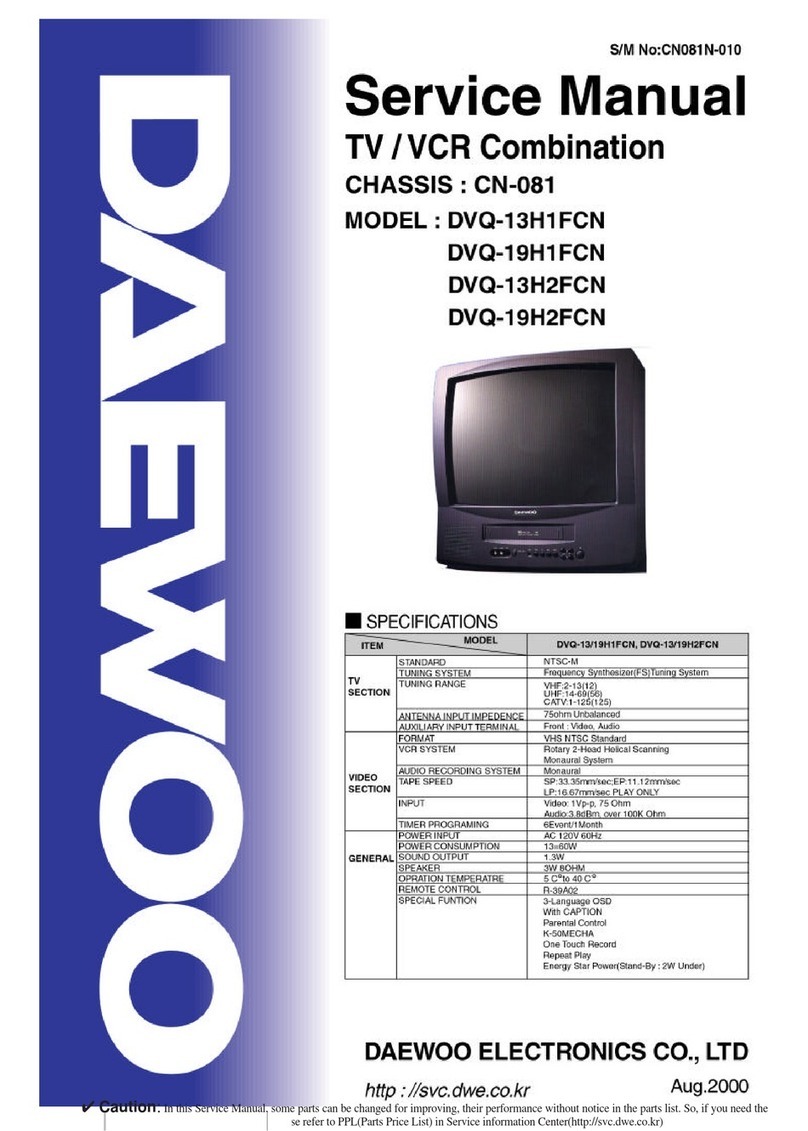
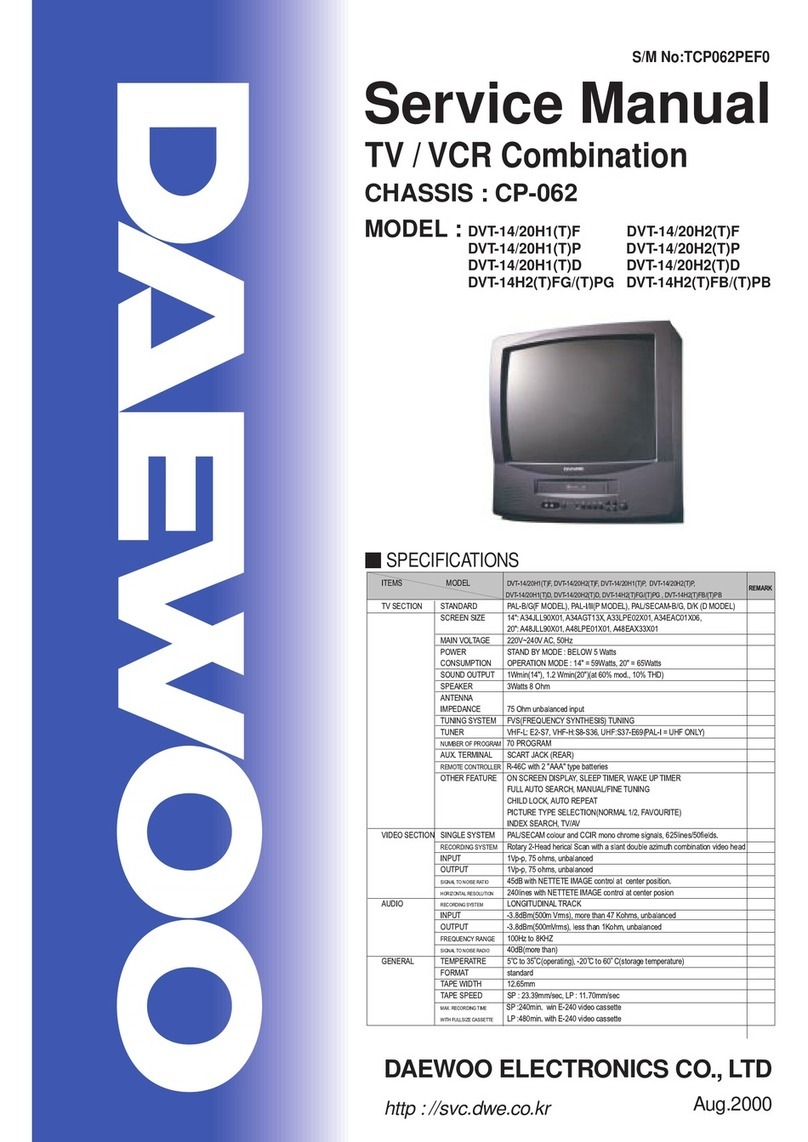
Daewoo 14H1N, 20H1N 14H1T, 20H1T 14H2 User manual

E
INSTRUCTION
MANUAL
14H1N, 20H1N
14H1T, 20H1T
14H2N, 20H2N
14H2T, 20H2T


Pleasekeepthevideomachine’sguaranteecardreceiptsafe
forwarrantypurposes.
WORTH
knowing
Precautions
◆
Readcarefully through thismanual to familiariseyourself with thishigh quality
televideo.
◆
Makesure the ratingof your householdelectricity supply matchesthat shown
onthe back ofthe televideo.
◆
Referto this chapterand the “Initialinstallation” chapter tohelp you install
andadjust your televideo.
Do not…
◆
exposethe televideo tohigh levels ofhumidity and heat,to avoid therisk of
fireand electric shock.
◆
openthe televideo. Havea qualified techniciancarry out repairs.
◆
connectthe televideo tothe power supplyif you havejust moved itfrom a cold
towarm environment. Thiscan result incondensation inside therecorder and
causeserious damage tothe machine andcassettes. Wait aroundtwo hours
toallow it toreach room temperature.
Make sure…
◆
thetelevideo is placedon a steady,flat surface.
◆
youplace the televideowhere there isgood ventilation allaround.
◆
youclean the televideoonly with asoft,lint-free cloth :do not useaggressive
oralcohol-based cleaning agents.(Unplugthe set fromthe mains)
◆
youdisconnect the powersupply if thetelevideo appears tobe working
incorrectly,is making anunusual sound, hasa strange smell,has smoke
emittingfrom it orliquids have gotinside it.
Havea qualified techniciancheck the televideo.
◆
youdisconnect the powersupply and aerialif you willnot be usingthe
televideofor a longperiod or duringa thunderstorm.
For your own safety!
◆
Thereare no componentsin this televideoyou can serviceor repair
yourself.
◆
Donot open thecase of thetelevideo. Only allowqualified
personnelto repair orservice your set.
◆
Thistelevideo is designedfor continuous operation.Switching it off
doesnot disconnect itfrom the mains(stand-by)
Todisconnect it fromthe mains, youhave to unplugit.
◆
Recordingany copyright protectedmaterial may infringea
copyright.
Note:Ifthe televideo is moved or placed in a different direction, the main power
switchmustbeswitchedoffforatleast15minutesinordertotakeoutcolour
purityerrorsonthescreen.
E
1
WORTH
Knowing
Contentss
Controls
Theremote control unit ⋯⋯⋯⋯⋯⋯⋯⋯⋯⋯⋯⋯⋯⋯⋯⋯⋯⋯⋯⋯⋯⋯2
Thefrontpanel’s button, On screen display ⋯⋯⋯⋯⋯⋯⋯⋯⋯⋯⋯⋯⋯⋯⋯3
Initial installation
Connectingup the televideo,Fitting the remotecontrol’s batteries ⋯⋯⋯⋯⋯⋯ 4
Settingtimeand date, Language selection ⋯⋯⋯⋯⋯⋯⋯⋯⋯⋯⋯⋯⋯⋯⋯5
Automatictuningsystem Edit, Manual tuning, Finetuning ⋯⋯⋯⋯⋯⋯⋯⋯⋯6~7
Playing cassettes
Playingback ⋯⋯⋯⋯⋯⋯⋯⋯⋯⋯⋯⋯⋯⋯⋯⋯⋯⋯⋯⋯⋯⋯⋯⋯⋯⋯8
Still,Variablepicture search, Auto repeat ⋯⋯⋯⋯⋯⋯⋯⋯⋯⋯⋯⋯⋯⋯⋯⋯9
Recording Cassettes
Simplerecording - REC,One touch recording- OTR
Whenrecording time overlaps ⋯⋯⋯⋯⋯⋯⋯⋯⋯⋯⋯⋯⋯⋯⋯⋯⋯⋯⋯10
Timerrecording,Timer review - erasing orchanging,Auto tracking⋯⋯⋯⋯⋯⋯⋯11
More functions
Index+/_, Resetting thecounter to zero,V-Lock, Mute, Childlock⋯⋯⋯⋯⋯⋯⋯12
Cassettes,Pictureadjustment, Recall⋯⋯⋯⋯⋯⋯⋯⋯⋯⋯⋯⋯⋯⋯⋯⋯⋯13
WakeupTimer in Miscellaneous Menu, Sleepfeature ⋯⋯⋯⋯⋯⋯⋯⋯⋯⋯⋯14
Connections and assembling
Assembling,Copying ⋯⋯⋯⋯⋯⋯⋯⋯⋯⋯⋯⋯⋯⋯⋯⋯⋯⋯⋯⋯⋯⋯15
Scartsocket ⋯⋯⋯⋯⋯⋯⋯⋯⋯⋯⋯⋯⋯⋯⋯⋯⋯⋯⋯⋯⋯⋯⋯⋯⋯16
Beforerequestingservice⋯⋯⋯⋯⋯⋯⋯⋯⋯⋯⋯⋯⋯⋯⋯⋯⋯⋯⋯⋯⋯17
◆
Onthefollowingpages,thepicturesshowthebuttonsyoupressontheremotecontrolto
performthefunction,andwhatyoushouldseeintheonscreendisplayormachine
display(ifpresent).
Beforedoinganythingwiththetelevideo,please
readthechapter“initialinstallation”.
E

◆
Theremotecontrolistheprinciplemeansofcontrol,butthemainplaybackand
recordfunctionsarealsoavailableonthefrontoftelevideo.
2
CONTROLS
The remote control unit
Máx.7m
30˚|30˚
Toswitch televideo onand off (standby)
Soundon/off
Digitkey
0/ATK: Auto tracking.
Todelete input dataor programme.
Buttonfor the sleeptimer.(press repeatedly)
Toselect internal orexternal input source.
Anda button forselection input sourcefor recording.
NORMAL1/NORMAL2/FAVOURITE picturecontrol.
VHSIndex Search System+/-
Volumeup/down. Vertical-lock up/downwhile still mode.
(4-Headsonly)
PRup/down. Tracking up/downwhile PB mode.
Toselect on screendisplays
Pausewhile recording, Stillwhile playback.
Playbackstop.
Rewinding/fastforwarding a cassettefrom stop, orpicture
searchbackwards/fowards from playback.
Toreset thee counterdata.
Towind the cassetteto counter position0:00:00
Therecord or OTRbutton (One touchrecording means :each
timeyou press thebutton recording isextended by 30minutes)

3
Controls
The front panel’s button
On screen display
Thetelevideo’s menu systemgives you
easy-to-understandaccess to theless
usedfunctions such astuning to stations,
clocksetting and more
Themenus show youwhich button to
pressfor the nextstep.
NOTE:Thetelevideoclosemenusautomaticallyafterapprox.1minuteifnoentryismade.
Main menu
Picture
Clock
Timerprogramming
Language
Install
Micellaneous
VW
:Select
CB
:Access
MENU :Return
E
Remote
senser
Power
on/off Indicator
ST-BY:Standbyled(Red)
REC/T.REC:Record/T.Rec(Red)
PLAY
REW/REV
STOP/EJECT
FF/CUE
VOL/PR.
UP/DOWN
CURSOR:
CB VW
ACON/OFF

Pleaseyourtelevideo
◆
Horizontallyonaflat,steadybasesothataircancirculatearounditforventilation.
◆
Awayfromhumidityandheat,magneticfields,suchasthosefromloudspeakers
etc.andwithnoheavyobjectsplacedontop.
4
INITIAL
installation
Connecting up the televideo
Fitting the remote control’s batteries
Switchoff all componentswhen connecting ordisconnecting cables.
◆
Plugthe aerial cableinto “ANT” socketof the televideo.
◆
Makesure the ratingof the householdmains supply matchesthe rating
shownon the backof the televideo.
Nowplug in themains lead.
◆
Fitthe batteries, size1.5V AAA asshown above
◆
Protectyour environment byreturning used batteriesto your dealer.Since
batteriescontain toxic substancesthey require specialdisposal methods.
◆
Makesure the batteriesare always ofthe same typeand age, andremove
themfrom the remotecontrol if younot using itfor a longperiod.
1
Removethe battery
coveron thereverse
sideof theremote con-
trol.
2
Installtwo batter-
ies(“AAA”size)into the
remotecontrol.
3
Replacethe battery
cover

5
Initial
INSTALLATION
Setting time and date
Language selection
Callthe televideo mainmenu.
Andmove the cursordown to the“Clock” line.
Accessby pressing theCB button.
Setthe numbers forthe exact timeand the correct
date.
Date: dd/mm/yy
Time: hour/min.
Youcan choose todisplay the onscreen menus in
English,Deutsch, Italiano, Español,Nederlands,
Français,Polski.
Tochange the onscreen language.
Selectthe language menuat the Mainmenu.
Placethe cursor to“WANT TO Language”with the PR.
VW buttons.
◆
Mistakeor change?
Movecursor to theposition you wishto correct byusing CB VW.
◆
Ifyou do notset “Date” and “Time”menu,you can notset Wake uptimer and Timer
programme.
◆
Pressthemainpowerswitchonthefrontpanel
toturnonthesetthenthe button.
Languag,Countryselectionmenuswillbe
displayed.
Ifyouselectmenuyouwant,Combowillbe
tuningthechannel.
E
Clock
Date:Sat 01/01/2000
Time:00:00
VW
: Change CLEAR : Delete
C B
: Select MENU : Return
Language
English
Deutsch
Français
Italiano
Español
Nederlands
Polski
VW
:Select
MENU:Return

◆
If you want to use AV(Audio Video input) from a DVD or VCR instead of
RF(Aerial input). Press the
button .
6
INITIAL
installation
Automatic tuning system
Selectthe Install menuat the Mainmenu.
Placethe cursor to“Auto setup” withthe VW buttons.
Pressthe CB button.
Countryselection menu willbe displayed. Pleaseselect country. thenaccess The
cursorwill move fromleft to righton the VHF,UHFBand.
Pleasewait until theEdit menu appears.
Install
Autoseup
Manualtuning
Finetuning
Edit
VW
:Select
CB
:Access
MENU :Return
Please wait!
Autosetup C07 > Pr01

7
Initial
INSTALLATION
Edit
Moving the channels
Position the cursor to Pr. No. to move and press the SLEEP
button.Select Pr. No.colour will bechanged.
Position the cursor to Pr. No. to change and press the SLEEP
button.
Skipping the channels
Youcan select skip“Yes” or “No”with theCBbuttons.
Aprogrammemarked with withSkip “Yes” isskipped.
A skipped Pr. No. selected by Digit 0~9 will be displayed in
red.
Delete programme position data
Position the cursor to Pr. No. to delete and press the CLEAR
button. While this is being carried out the “Please wait !”
appears and the deleted Pr.No. will transfer to programme
No.70 and changedskip “Yes”.
Enter a station Name
Pressthe CB button.
Stationname tables appearabove the screen.
Using the VW button, select the desired letter or number or
blank.
Ifyou want tostore press button.
Manual tuning
Locate the cursor to Manual tuning with VW buttons at the
Installmenu and thenpress CB buttons.
During manual tuning “Please wait !” On Screen Display will
bedisplayed.
Keep tuning until the channel received machines the
programmenumber.
Fine tuning
If you are unable to get a good picture or sound because of
poorreception, it ispossible to adjustthe fine tuning,
Select the Fine tuning at the Install menu press CB buttons
toget a goodpicture and sound.
TheEdit menu showsyou the programmeposition assignment.
Youcan change thisprogramme position assignmentaccording to yourpersonal preferences.
Edit
Pr. Name Ch. Skip
01 ARTE C42 No
02 ---- C06 No
03 ---- C10 No
04 ---- C25 No
05 ---- C35 No
VW
:Select SLEEP: Move
CB
:Access CLEAR: Delete
:Store MENU: Return
E
Please wait!
Manualtuning C01 >P01
Finetuning 06
ABCDEFGHIJKLMNOPQRST
UVWXYZ+-. 0123456789

◆
Yourtelevideoisswitchedonbythemainpowerswitchonfrontpanelandbythe
button.
8
PLAYING
cassettes
Playing back
Loadthe cassette bypushing it
smoothlyand squarely intothe
cassettebay, with itswindows
pointingup.
Startplayback
(Remotecontroller or panelbutton)
Stopplayback
(Remotecontroller or panelbutton)
Ejectthe cassette (Panelbutton)
Fastforward or rewindthe cassette
fromstop
(Remotecontroller or panelbutton)
◆
Asmaller picture maybe seen whileswitching from theSearch mode tothe
PBmode. This isnot a signof malfunction.
◆
Whenyou load aprotected cassette (e.g.pre-recordedfilm) playback starts
automatically.
◆
Duringstill, or search,you don’t hearthe sound.
◆
Ifthe still pictureis jittering, youcan steady itby using theVOL/V-LOCK
button.But this 2Headscombo can notguarantee still picturequality.
◆
Youcan reduce horizontalinterference stripes resultingfrom in accurate
tracking(when playing tapesof poor qualityor recorded onther machines) by
usingthe PR/TRK buttonsduring playback ortry auto trackinusing 0/ATK button.
◆
Afterapprox. 5 minutesin still, thecassette plays backautomatically.
B
PLAY SP
0:12:34
L
STOP
0:12:34
EJECT
0:12:34 Pr 01 ARTE
Clock 12:34
F
FF
0:12:34 Pr 01 ARTE
Clock 12:34
G
REW
0:12:34 Pr 01 ARTE
Clock 12:34
Pr 01 ARTE
Clock 12:34

9
Playing
CASSETTES
Still
Variable picture search
Auto repeat
◆
Yourtelevideoisswitchedonbythemainpower
switchonthefrontpanelandbythe button.
Stillpicture from playback.
Eachpress of thebutton advances thepicture one frame.
Play(B)button switches backto normal playback.
Althoughyou can seethe picture, wecan not guarantee
stillpicture quality. Becauseof Still picturequality is very
pooron 2-Heads mechines.
STILL
0:12:34
Startfrom playback youcan control searchspeed in 2
stepseither forwards (F) or backwards(G).Press
repeatedly.
Play( B) button switchesback to normalplayback.
Movethe cursor downto the “Autorepeat” line.
Changeto “Yes” bycursorCB.
Auto repeat works with or without safety tab.
Playback >End oif cassette >Rewind >
Playback
F
CUE SP
0:12:34
G
REV SP
0:12:34
B
PLAY SP
0:12:34
E
Miscellaneous
Wakeup
Childlock
Autorepeat No
Tapespeed SP
Decoder No
VW
:Select
CB
:Change
MENU :Return
Note :Thistelevideo has thefunction of NTSCplayback (SP tapeonly) Don’t useNTSC SLP tape.Although you
cansee the pictureand sound, wecan not guaranteepicture and soundquality.

●
OTR preparation
Beforesetting OTR, Makesure that.....
Thecassette tape hasthe safety tab.
Thetape is longenough to recordthe programme.
◆
Duringrecording you canswitch the screenoff pressing button.
Meanwhilethe recording continues.
◆
Yorcan release theOTR mode bypressing “stop” duringREC mode.
◆
Ifthe display shows“AV” instead of“PR” press button.
◆
Ifyou program eventswithout setting thetime, it willbe automatically return
to“Clock” mode. Ifyou program eventsthat overlap, atleast one ofyour
eventswill not recordcorrectly.
Whensetting the programmabletimer, be carefulnot to overlapthe
presettimes. If youhappen to overlapthe preset programs,the End
timehas priority andathe overlapped programmescannot be
recorded.
◆
Yourtelevideoisswitchedonbythemainpowerswitchonthefrontpanelandby
the button.
10
RECORDING
cassettes
Simple recording - REC
One touch recording - OTR
When recording time overlaps
Choosethe station whose
programmeyou want torecord.
Startyour recording.
Ifyou wish tointerrupt recording
briefly-then continue.
Stopyour recording.
Choosethe station youwant and
press“REC/OTR” repeatedly until
desiredperiod is displayed.
LSTOP
0:12:34 Pr 01 ARTE
Clock 12:34
PAUSE
0:12:34 Pr 01 ARTE
Clock 12:34
LSTOP
0:12:34 Pr 01 ARTE
Clock 12:34
MREC SP
0:12:34 Pr 01 ARTE
Clock 12:34
MOTR SP
0:12:34
0:30
Pr 01 ARTE
Clock 12:34

11
Recording
CASSETTES
Timer recording
Timer review - erasing or changing
Auto tracking
◆
Fortimerrecording,clock,date,andstations
mustbesetcorrectly.
◆
Loadacassettewithitssafetytabinplaceand
withsufficientfreespacefortherecording.
◆
To enter stationnumbers using the cursors VW.
◆
Youcan switch yourtelevideo off duringrecording.(Don’t use themain power button
(ON/OFF)on the frontpanel of theset.)
Thetelevideo will switchon and offautomatically to recordthe timer event.
◆
Ifyou have madea mistake, moveto the positionyou want tochange using theVW
CB buttonand change thesetting.
◆
Therecorder will ejectcassettes which havethe safety tabremoved.
◆
Ifyou wish torecord from asatellite receiver selectunder “Pr” thesatellite programme
locationor AV (dependingon the connectionwith the antennacable or aSCART cable.)
NB: Leave thesatellite tuner switchedon and tothe programme youwant to record.
E
Timer programming
No. Pr. Date Start End SP/LP
1 01 02 09:25 03:12 SP
2 --- --- --:-- --:-- SP
3 --- --- --:-- --:-- SP
4 --- --- --:-- --:-- SP
5 --- --- --:-- --:-- SP
6 --- --- --:-- --:-- SP
VW
:Change CLEAR: Delete
CB
:Select MENU: Return
:Store
Callthe televideo’s “Mainmenu”, choose”Timer
programming”.
Selecta free timermemory.
Set......
-the date (date,daily = osdis displayed ”day”,sun~ sat)
-start and endtime.
-the recording speed.
Callthe televideo’s “Mainmenu”, choose “Timerprogramming”.
Selectthe programming toerase or changeIf you wantto erase thisprogramming press buttonCLEAR.
If you wish to make changes :
Moveto the positionyou want tochange using theVW CB buttons.
Changethe setting usingthe VW buttons.
Ifyou press the0/ATK key inPlayback mode, thetelevideo will operatethe auto trackingfunction again.

◆
Yourtelevideoautomaticallysetselectronicmaker(index)atthebeginningofeach
recordingandtimerrecordings.
Itisthesemarkerswhichtheindexfunctiondetects.
12
MORE
functions
INDEX +/-
Resetting the counter to zero
Child lock
V-Lock
Mute
Pressthe button dependingon the numberof recordings (index
marks)that you wishto wind forward.
e.g.3x for 3recordings ahead.
Pressthe button dependingon the numberof recordings (index
marks)that you wishto wind backwards.
e.g.3x for 3recordings back.
PressC-RESET button toreset the counterto 0 :00 : 00
pressingthe C-0STOP buttonwill cause thetelevideo to windto the
position0 : 00: 00 andstop.
Whenyou have finishedrecording or playing,you can easilyreturn to
thepoint marked inthis way.
Whenchanging to stillmode while thetape is playback,the vertical synchorizationmay
sometimesbe shaked accordingto the tapecondition.
Aththis time, usethis key forthe better picturescreen.
Althoughyou can usethe feature, wecan not guaranteepicture quality.
Becauseof picture qualityis very pooron 2-Heads mechines.
Pressingthe mute buttononce turns thesound of.
Thesound returns ifbutton is pressedonce more
Themute maintains whenyou press PrVWor buttons.
Chose“Miscellaneous” of “Mainmenu”.
Youcan prevent useof the Televideowithout the remotecontroller.
Theset is childlocked after youinput any secretnumber
subsequentlythe TV picturewill be overlaidwith the childlock OSD
andthe sound willbe muted. AndVCR playback willbe stopped.
F
FF
0:12:34
INDEX 02
Pr 01 ARTE
Clock 12:34
G
REW
0:12:34
INDEX -02
Pr 01 ARTE
Clock 12:34
M
REC
0:00:00 Pr 01 ARTE
Clock 12:34
G
REW
0:12:34
Go to zero
Pr 01 ARTE
Clock 12:34
Child lock
Enternumberto lock
----
:Store
CLEAR :Delete
MENU :Return

13
More
FUNCTIONS
Cassettes
Useonly good qualitytape cassettes withthe VHS logo.
◆
Keepcassettes away fromexcessive moisture ofdust, magnetic and
electricalfields (loudspeakers andcomputer, for example).
◆
Alwayswind the tapeto the beginningwhen you havefinished. Store
withthe full spoolat the bottonand with thecassette in itscover.
Youcan protect yourprecious recordings frombeing wiped bybreaking
outthe safety tabon the sideof the cassette(some cassettes havea
slide).
Shouldyou wish tore-use the tapeafter removing thetab, cover the
holewith adhesive tape.
RECALL
Whenthis button ispressed, the followingcontents are displayed.
PrNo., Present time(Clock), VCR status,VCR counter.
Theseitems remain onscreen for about5 seconds.
DuringVCR mode (e.g.FF/REW, CUE/REV, VISS+/-,etc)On Screen Displaydoes not disappear.
Type Timer Recording/Playbacktime
SP Mode(Standard Play) LP Mode(Long Play)
E-30 30min. 1hours
E-60 1hour 2hours
E-90 1hour 30 min. 3hours
E-120 2hours 4hours
E-180 3hours 6hours
E-240 4hours 8hours
E-300 5hours 10hours
Recording/Playback time of Video tape.
Picture adjustment
Choose“Picture” menu.
PressCB button to adjustto desired level.
◆
Whenyou press theNORMAL button repeatedlyyou can
callup three picturesetting for NORMAL1(hardpicture),
NORMAL2(softpicture),FAVOURITE(adjustable picture).
◆
Thelast set valueis automatically storedin FAVOURITE.
◆
Notethat if youset the brightnessand contrast valuestoo
low,the On ScreenDisplay becomes sodark.
Youcan not seeit.
Picture
Contrast
Brightness
Colour
Sharpness
E
Contrast 48

◆
Youcanprogramyourtelevideosothatitswitchesonand/oroff(withtheselected
station)atatimeyouwant.
14
MORE
functions
Wake up Timer in Miscellaneous Menu.
Sleep feature
PressCBVW buttons to adjustto desired wakeup time
andPr. No.
◆
Adjustingthe “Wake up”once will causethe televideo
toswitch on everyday at thesame time (tillyou clear or
changethe setting)
Youcan set yourtelevideo to automaticallyswitch off
aftera period of20 to 120minutes.
Bypressing the sleepbutton repeatedly.
Tocancel select ”0”
◆
Ineject mode ifthe Playback, FF/REW,STOP/EJECT, VISS+/- keyis pressed sysmbol OnScreen Display
isdisplayed.
VW
: Select CLEAR : Delete
CB
: Access MENU : Return
Sleep 60
Wake up
Time : --:--
Pr. : --

15
Connections and
ASSEMBLING
Assembling
Copying
◆
Movethe tape tothe position atwhich the new
sceneis to beadded using theplay functions
◆
Windback slightly beforethe edit pointand put the
machineinto pause usingthe PAUSE button(Don’t
pressSTOP)
◆
Nowgo directly intorecord.
Tocopy to yourtelevideo from anothervideo machine, connectthe two machinesswith a cablebetween their
AVsocket and selectas programme “AV”.The AV socketon this machinesis the scartsocket at therear.
Usingthe button.
Setthe other videomachine to playbackand your Televideomachine to record.
Pictureand sound ofthe selected stationis always availableon the EUROAV socket, e.g.to record with
anotherVCR.
Onthe other video,select its AVinput and setthe machine torecord.
Switchyour televideo toplayback at theposition you wantcopying to start.
◆
Switchoffallcomponentswhenconnectingor
disconnectingcables.
E
Shouldyou wish toassemble your ownfilm, from camcorderfootage for example,use the assemblytechnique
forsmooth edit points:
Forthe best results,the source cassettefrom which youare recording shouldalready be playingback when you
startrecording
B
PLAY SP
0:12:34
PAUSE
0:12:34
M
REC SP
0:12:34

16
Connections and
ASSEMBLING
Scart socket
Thisis used toconnect : aVCR a CAMCODERand a videogame console orsatellite TV receiveror DVD.
Inmost cases, theset changes automaticallyto AV mode,when the VCRconnected is inplayback mode.
Ifnot, press theAV button onthe remote controller.
TheAV will bedisplayed on thescreen with thecurrent programme number.
InAV mode, youcan change theTV programme numberwith the VW buttonsor the Numberbuttons 0~9.
Youmust turn theexternal equipment offto return tothe TV modeor press the button.
◆
InSCART Slow SW mode,when you insertthe tape withouttab, it willplayback.
But,in SCART FastSW mode, whenyou insert thetape without tab,it will notplayback and onlyloading.
◆
Ifyou insert theSCART plug inplayback status itwill change toscart mode andVCR will bemodified to stop
mode.
PIN SignalDesignation MatchingValues
1 AudioOut (linked with3) 0.5Vrms,lmp < 1kΩ(RF60% MOD)
2 AudioIn (linked with6) 0.5Vrms,lmp > 10kΩ
3 AudioOut (linked with1) 0.5Vrms,lmp < 1kΩ(RF60% MOD)
4 Audioearth
5 BIueearth
6 AudioIn (linked with2) 0.5Vrms,lmp > 10kΩ
7 BlueIn 0.7Vpp+3dB, lmp 75Ω
8 Slow(Function) Switching TV : 0-2V,PERI : 9.5-12V,lmp > 10kΩ
9 Greenearth
10 NC
11 GreenIn 0.7Vpp+3dB, lmp 75Ω
12 NC
13 Redearch
14 NC
15 RedIn 0.7Vpp+3dB, lmp 75Ω
16 RapidBlanking Switching Logic0:0-0.4V, Logic 1:1-3V,lmp 75Ω
17 Videoearth
18 RapidBlanking Earth
19 VideoOut 1Vpp+3dB, lmp 75Ω
20 VideoIn 1Vpp+3dB, lmp 75Ω
21 Commonearth
This manual suits for next models
8
Table of contents
Other Daewoo TV VCR Combo manuals

Daewoo
Daewoo DVN-14F6N User manual

Daewoo
Daewoo DVQ-13H1FC User manual

Daewoo
Daewoo DVQ-9H1FC User manual

Daewoo
Daewoo GB14H3T1 User manual

Daewoo
Daewoo DVQ-13H1FCN User manual

Daewoo
Daewoo DVQ 14H1FC User manual

Daewoo
Daewoo GB14H1T User manual

Daewoo
Daewoo DVT-14/20H1(T)D User manual

Daewoo
Daewoo DVQ-10H1FCN User manual

Daewoo
Daewoo DVT-14H3UB User manual