IMPORTANTINFORMATION
TO AVOIDSERIOUSPERSONALINJURY,ALL USERSAND
EMPLOYERS/OWNERSMUSTREADAND UNDERSTAND
ALLINSTRUCTIONSINTHISMANUAL BEFOREOPERATING
ORMAINTAININGTHISTOOL.
1
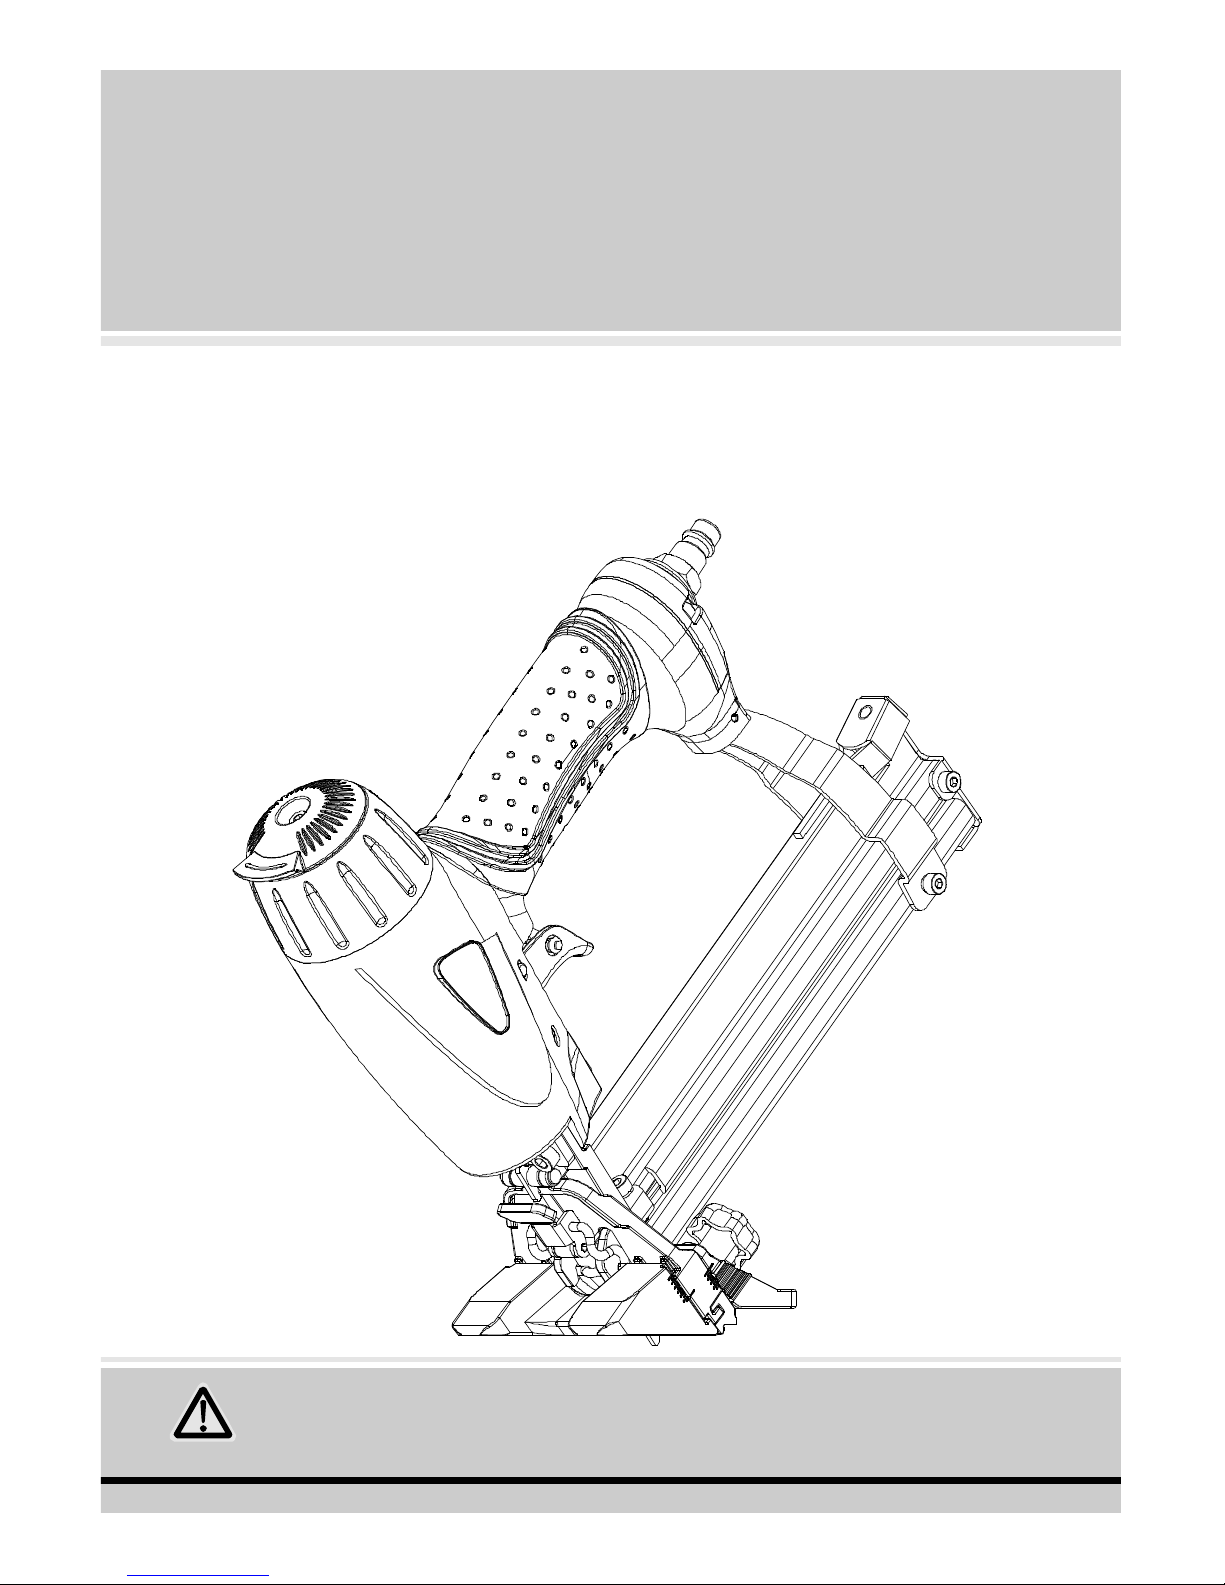
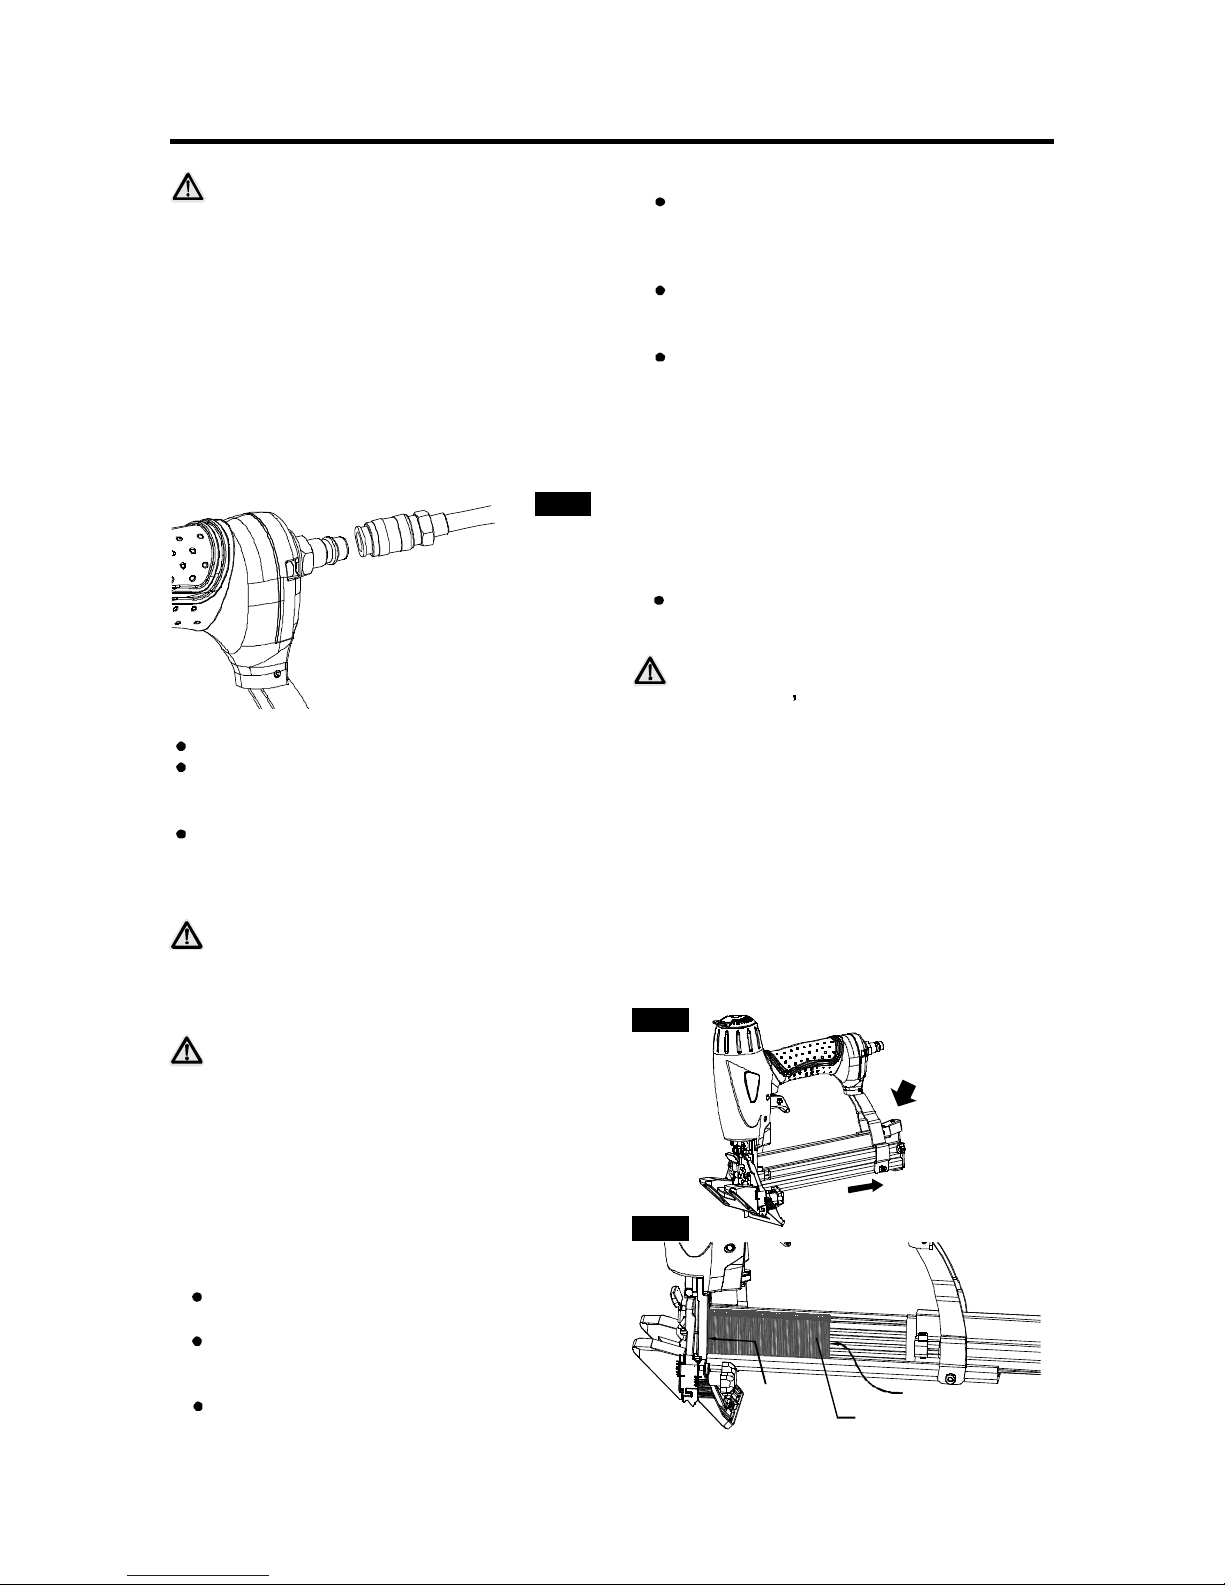
EXPLANATION OF
THENAILING ACTION
SINGLEACTUATION MECHANISM:
CONTACTACTUATIONMECHANISM:
FULLSEQUENTIALACTUATIONMECHANISM:
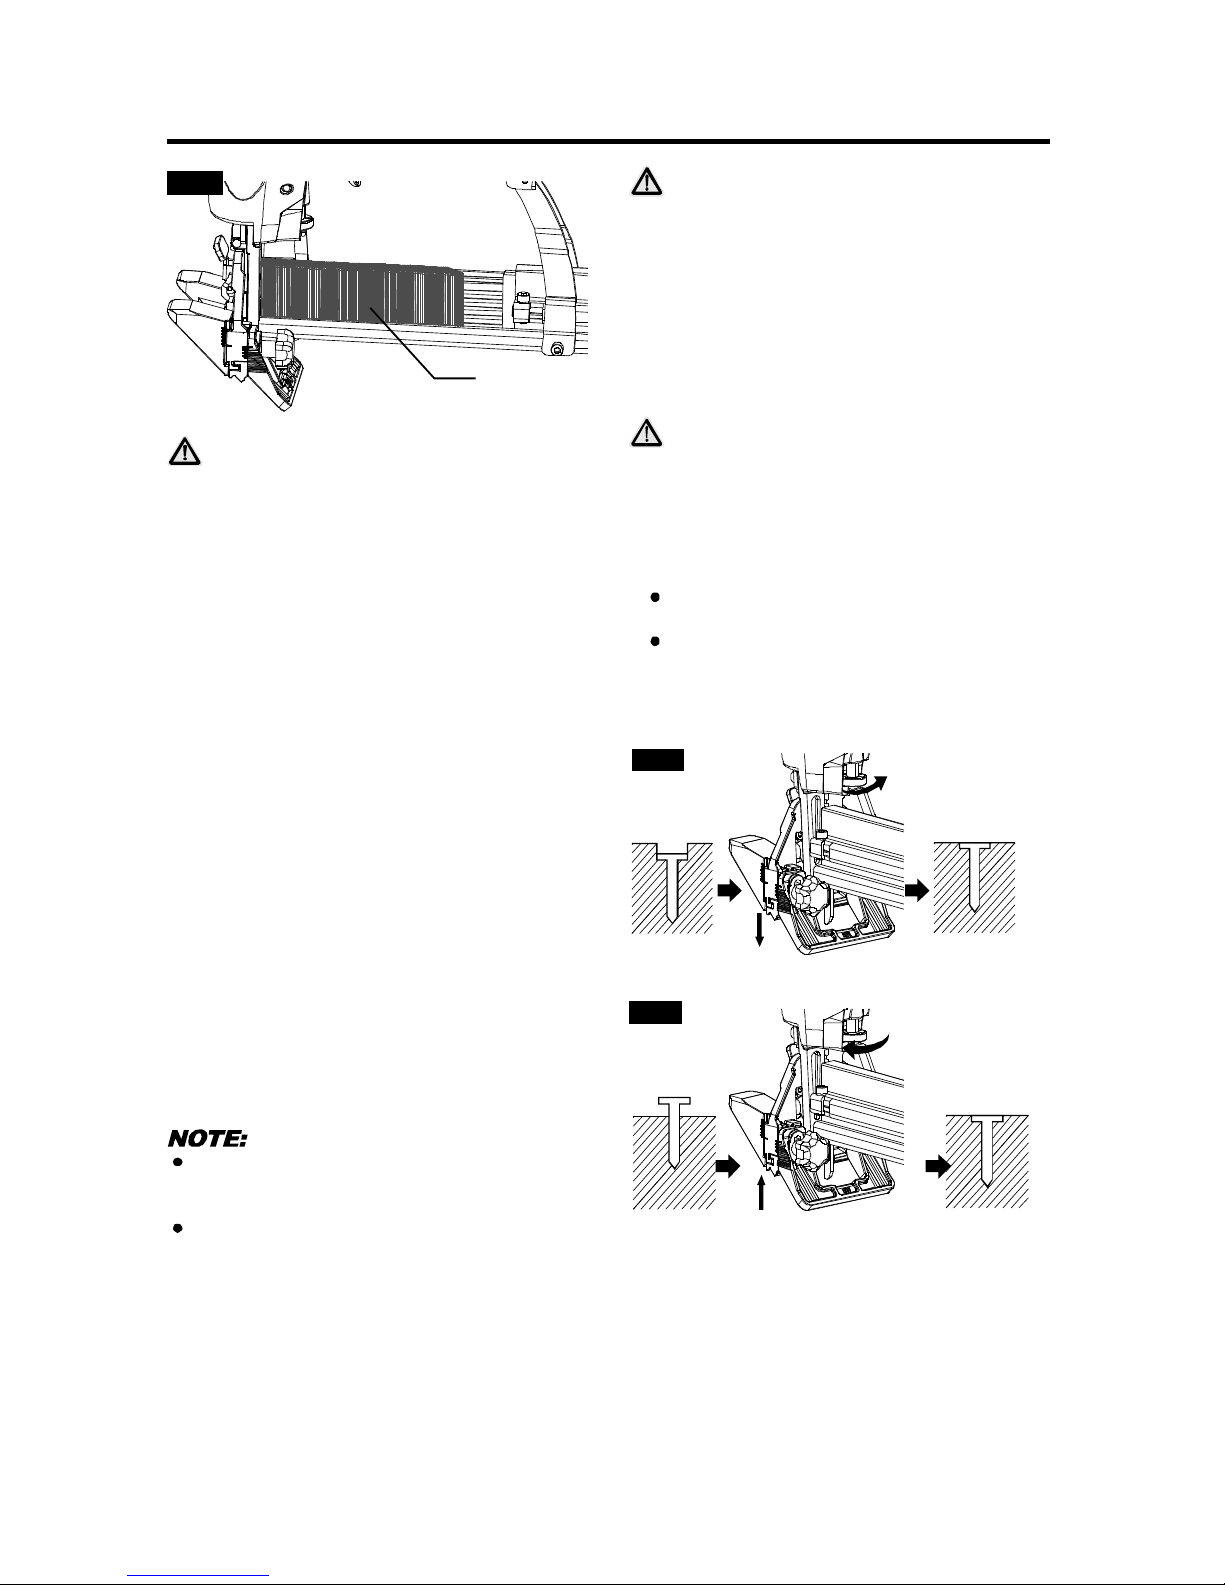
First,press thesafetyagainstthewood;next,pullthe
triggertodrivethefastener.Afterfasteningonce,
fasteningwillnotbepossibleagainuntilthetriggeris
releasedandpressedagain.
First,press thesafetyagainstthewood;next,pullthe
triggertodrivethefastener.First.Pullthetrigger;next,
pressthesafetyagainstthewoodtodrivethefastener.If
thetriggerisheldback,afastenerwillbedriveneach
time whenthesafety ispressedagainst thewood.
First,press thesafetyagainstthewood;next,pullthe
triggertodrive thefastener.Follow thesamesequence
tocontinuedrivingfasteners.
GENERAL SAFETYRULES
PERSONALSAFETY
Theemployermustenforcetheuseofsafety glasses by
thetooloperatorandothersinworkarea.
Always
wearearprotectiontoprotectyourearsfromloud noise,
Alwayswearheadprotectiontoprotectyourheadfrom
flying objects.
Adustmask, non-skidsafety
shoesandahardhatmustbeusedfortheapplicable
conditions.Wearafull faceshieldifyouareproducing
metalfilingsorwoodchips.
Donotwearlooseclothing or
jewelry.Containlonghair.Keepyourhair,clothing,and
glovesawayfrommoving parts.Loose clothes,jewelry,
or longhaircanbecaughtinmovingpartsandincreases
therisk ofinjury.
Donotusetoolwhiletiredor undertheinfluenceof
drugs,alcohol, or medication.Amomentofinattention
whileoperatingthetoolmay causeseriousinjury.
Keepfingersawayfrom
triggerwhennotdrivingfasteners,especiallywhen
connectingthetooltotheairsupply.
keepproperfooting and balance
at alltimes.Properfooting and balanceenablebetter
controlofthetoolinunexpectedsituations.
Entangledorsnarledhoses can
causealossofbalance or footinginadditionto
unintentionaltooloperation.Attachthehose tothe
structuretoreduce theriskoflossofbalance ofthehose
shifts.
ALWAYSWEAREARANDHEADPROTECTION.
USESAFETYEQUIPMENT.
DRESSPROPERLY.
STAYALERT, WATCH WHATYOUAREDOINGANDUSE
COMMONSENSE WHENOPERATING APOWERTOOL.
AVOIDUNINTENTIONALFIRING.
DONOTOVERREACH.
MAKESUREAIR HOSEISFREEOFSNAGSAND
OBSTRUCTIONS.DONOTATTACHANAIRHOSEOR
TOOLTO YOUR BODY.
WORKAREA
KEEPTHEWORK AREACLEANANDWELLLIGHTED.
Clutteredbenchesanddarkareas increasetherisksof
accidents.
suchas inthepresenceofflammable
liquids,gases,ordust.Thetool createsasparkwhich
may igniteflammableliquids,gasesordust.
Donotlet visitorshandlethe
tool. Allvisitorsshouldbekeptsafetyaway fromwork
area.
Respectthetoolas aworkingimplement.
DONOT OPERATETHETOOL INEXPLOSIVE
ATMOSPHERES,
KEEPVISITORSAWAY.
NEVERENGAGEINHORSEPLAYWITHTHETOOL.
WARNING
keepthismanualforthesafetywarningsandprecautions,
operating,inspection, maintenance. Keepthis manualand
thereceiptinasafeand dryplaceforfuturereference.
OPERATORSANDOTHERSINWORKAREAMUSTWEAR
SAFETYGLASSESWITH SIDESHIELDS. Whenoperating
thetool,alwayswearsafetyglasseswithsideshields,
andmake sureothersinworkareawearsafetyglasses.
Safety glassesmustconformtotherequirements of
AmericanNationalStandardsInstitute, ANSIZ87.1and
provideprotection againstflyingparticlesbothfromthe
frontand side.
TOOLUSEANDCARE
NEVERPOINT TOOLATYOURSELFOROTHERSIN
WORK AREA.
KEEPFINGERSAWAYFROMTRIGGERWHENNOT
DRIVING FASTENERSTO AVOIDACCIDENTALFIRING.
NEVERMODIFYORALTERATOOL.
KNOWTHISTOOL.
USEONLYFASTENERSTHATARERECOMMENDEDFOR
YOURMODELS.
CHECKFORMISALIGNMENT ORBINDINGOFMOVING
PARTS,BREAKAGEOF PARTS,ANDANYOTHERS
Alwaysassumethetoolcontains
fasteners.Neverpointthetoolat yourselfor others,
whetheritcontainsfastenersornot.If fastenersare
mistakenlydriven,itcanleadtosevereinjuries.Never
engageinhorseplaywiththetool. Respect thetool as a
working implement.
Nevercarrythetoolwithfingerontriggersince you
coulddriveafastenerunintentionallyandinjureyourself
or someoneelse.Alwayscarrythetoolbythehandle
only.
Doingsomaycause
malfunction andpersonalinjuries.
Readmanualcarefully,learnits
applicationsandlimitations,as well as thespecific
potentialhazardsrelatedtothistool.
Donotusethewrong fastenersorload
thefastenersincorrectly.