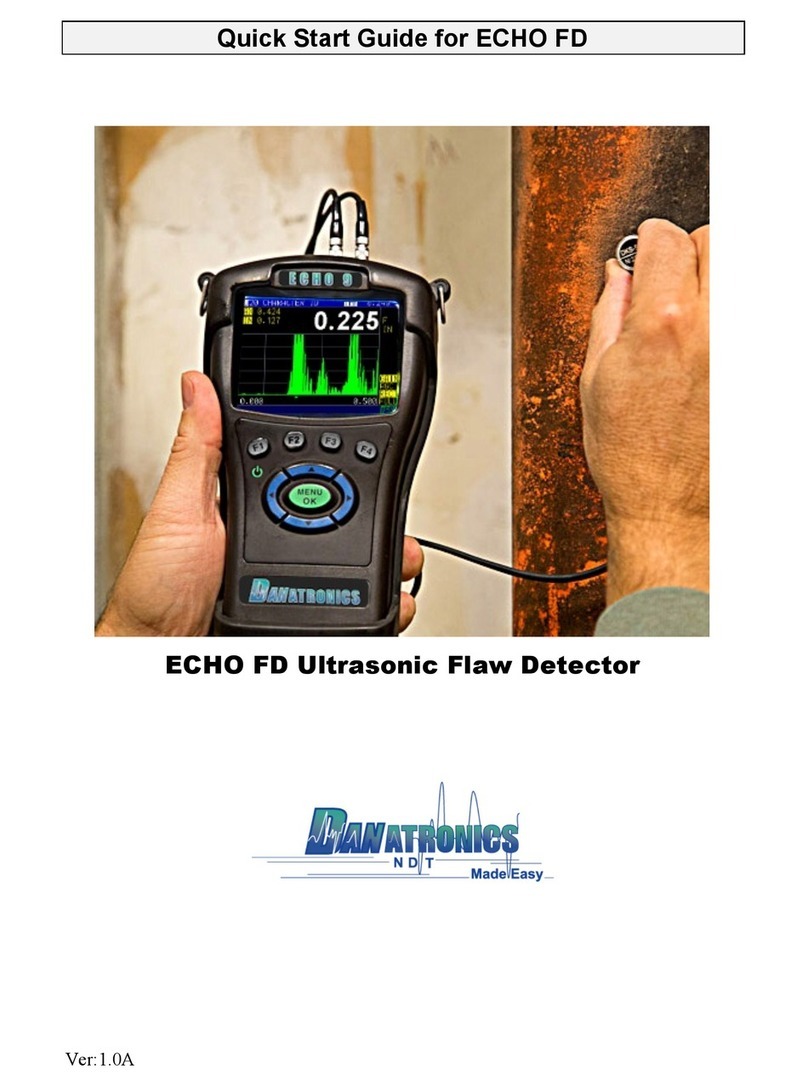
Danatronics ECHO Series User manual

Ver:1.0A
ECHO FD Manual
ECHO FD Ultrasonic Flaw Detector

Danatronics, Corp.
2
Liability
Ultrasonic testing is a function of using the proper equipment (electronics, transducer,
cable and couplant combination) for the inspection and a qualified operator who knows
how to use this manual, the instruments and all calibration procedures. The improper use
of this equipment, along with the improper calibration can cause serious damage to
components, factories, facilities, personal injury, and even death. ALL DANATRONICS
ULTRASONIC THICKNESS GAGES ARE NOT INTRINSICALLY SAFE AND
SHOULD NOT BE USED IN ANY HAZEDOUS OR EXPLOSIVE AREAS.
It is understood that the operator of this equipment is a well trained inspector qualified by
either their own company or another outside agency to issue Ultrasonic Level I, 40 hour
class room training in Ultrasonic Theory. Danatronics, Corp. and any of its employees or
representatives shall not be held responsible for improper use of this equipment for its
intended use. Proper training, a complete understanding of Ultrasonic wave propagation,
thorough reading of this manual, proper transducer selection, correct zeroing of the
transducer, correct sound velocity, proper test blocks, proper cable length, proper
couplant selection all play a factor in successful ultrasonic thickness gaging. Special care
should be taken when test pieces have rough or painted surfaces, particularly those
applications where the test piece is thin to begin with as doubling of the echoes is
possible even if the transducer is capable of measuring the desired thickness. As
transducers wear or heat up, results can be either too thin due to a lack of sensitivity as a
result of wear or too thick due to heating up of the transducer, referred to as “drift.”

ECHO FD Ultrasonic Flaw Detector
3
Table of Contents
Liability
1 Getting Started
About the ECHO Series
Powering On/Off
Keypad Functions
Function Keys
Battery Pack
Monitoring the Battery Charge from the Display Screen
Re-Charging the Battery – this likely has changes due to new battery
Using Non-Rechargeable Batteries
Using the External Charger
Boot, Bail, and Strap Features
Placing the Boot on the Gage
Removing the Boot from the Gage
Using the Boot, Strap, and Bail
Other Gage Features
Using T/R 1 and T/R 2 ports
Locating USB Slot
Using the Accessory Mount
Locating the Altitude Change Release Regulator
2 Setup Selection
Stored Setups
Saving and discarding an altered stored setup
3 ECHO FD Calibration
Straight Beam Calibration
Velocity Only Calibration
Angle Beam Calibration
4 Measurement Screen

Danatronics, Corp.
4
ECHO FD User Interface
Display Screen
Changing parameters from the Measurement Screen
Gain
Frequency
Measurement Mode
Reject
Rectification
Gate 1 Start
Gate 1 Width
Gate 1 Level
Gate 1 Alarm
Gate 1 Auto 80
Gate 2 Start
Gate 2 Width
Gate 2 Level
Gate 2 Alarm
Gate 2 Auto 80
Zero
Velocity
Angle
Thickness
Energy
DAC
Curve
DAC Gain
Range
Delay
Gate 1 Detection
Gate 2 Detection
Measurement Box 2
Measurement Box 3
Measurement Box 1

ECHO FD Ultrasonic Flaw Detector
5
ID
Peak Pitch Memory
AWS D-rating
5 Datalogger/Communications
Bluetooth Name
View Name
Change Name
Turning Bluetooth on/off
Using the Datalogger Directory
Creating a New Datalogger File
4D File Creation
Using the Save Option
Choosing Where to Save Readings
Reviewing Datalogger Files
Datalogger Measurement Screen
Datalogger Media
Notes
Notes Dir
Notes Media
Output Format
Overwrite
Send
Send Key
Send Via
6 Customizing Display Options
Backlight
Brightness
Color

Danatronics, Corp.
6
Demo
Grid View
Grid View Font
User (Left hand/Right hand)
Waveform
7 Adjusting the Initial Settings
About
Auto Off
Beeper/Measurement Beep
Calibration Type
Clock
Gage Type
Language
Locks Password
Options
Reset
Database Reset
Parameter Reset
Setups Reset
All of the Above (Database/Parameter/Setup) Reset
Bluetooth Reset
Resolution
Transducer Selection/Setups Selection
Units
Vibrate
8 Locks
Advanced Locks
9 Measurements
API 5UE
API Defect Reference

ECHO FD Ultrasonic Flaw Detector
7
API Calibration
API Measurment
Angle Beam Angle
Angle Beam Thickness
B-Scan
B-Scan Setup
B-Scan
B-Scan Direction
BScanLOS
B-Scan Max Thick
B-Scan Save AScan
Making B-Scan Measurements
B-Scan Display Options
B-Scan File review
Encoded B-Scan
B-Scan Encoder Resolution
B-Scan Rewrite
CSC
Pipe Diameter
Coating Thickness
DAC (Distance Amplitude Correction Curves) GUI
DAC Mode
DAC Gain
DAC Gain Step
Floating Gates
Gate Tracking
Setting Gate Alarms
Positive Gate Alarm
Negative Gate Alarm
Minimum Depth Alarm
Gain
Peak Pitch Memory

Danatronics, Corp.
8
Rectification
Ref Gain Step
Vel Velocity
X Value
10 Test
11 Exporting and Updating with DataXL and DataXL Mobile
DataXL
Downloading and Installing DataXL
Installation Troubleshooting
Windows Defender Smart Screen
Setup File Failure to Launch
Updating ECHO Software
Sending and Receiving Files
Sending Files to ECHO Gages
Exporting Files from ECHO Gages
DataXL Mobile
System Requirements
Device Connection
Live Mode
Gage Flash Directory and Gage SD Directory
Mobile Device Directory
Creating a New File
Settings
12 Technical Specifications
Product Specifications for ECHO Series
Bluetooth Regulatory Information
Regulatory Approval ID Numbers
Regulatory Approval Details and Marks
Brazil
Canada

ECHO FD Ultrasonic Flaw Detector
9
China
United States
Acoustic Sound Speed for Common Materials
13 Technical Assistance

Danatronics, Corp.
10
1 Getting Started
About the ECHO Series
ECHO FD is a portable ultrasonic flaw detector in the same field-proven case as our
popular ECHO series, and it represents a breakthrough in terms of cost, size, ease of use,
and versatility. ECHO FD can even toggle from an every day flaw detector to a corrosion
or precision thickness gage making it the smallest and most affordable unit in the world
to offer such a vast application set. Our new hand-held ultrasonic flaw detector is packed
with many useful and practical features including:
3.5" sunlight readable display with color pallet
Change color and vibrate on alarm
2 independent gates
DAC
AWS
API-5UE
Peak Pitch Memory
2GB, expandable to 32GB, micro SD card memory
Datalogger including B-scan and export of reading to excel
13 hour battery life
Custom rubber boot with padded wrist strap and bail
Made and designed in the USA

ECHO FD Ultrasonic Flaw Detector
11
2 Basic Operations
Make sure the connector is plugged into TR 2 when using a single element probe.
Power On the Unit
To power on any ECHO FD, follow these steps:
1. Press and hold the F1 key for more than 3 seconds. The power symbol, as shown
below, is under the F1 key printed on the keypad.
2. After powering on the ECHO FD, the unit will display briefly display the Setup
menu before opening the Measurement Mode. The Measurement Mode displays
the last instrument settings as well as the battery life in the bottom right corner.
The image below shows the battery life at 49%.
Note: Set your parameters based on the type of probe you are using.
3. Press the MENU/OK key and use the up and down arrow keys to select the
Setups option. Press the MENU/OK key again.
Power symbol
under the F1 key

Danatronics, Corp.
12
4. In the Setups menu, use the up and down arrow keys to select the probe closest to
the one you will be using. If none of the options are close, then press the F1 –
Exit key to set your own parameters.
ECHO FD has 4 default setup template files that cannot be deleted. They are as follows:
1. Straight beam contact probe 5 MHz, 5" range
2. Dual probe 5 MHz on a 0.100-0.500" (2.52-12.7mm) test block
3. Angle beam AWS type 2.25 with ref gain on
4. Angle beam quick change 5 MHz, 45 degree
To get started, we recommend that you choose a setup close to what you will be using.
This will allow you to get echoes and make smaller adjustments when fine-tuning your
setups and calibrations. As stated, the default setups cannot be deleted. Once a new
custom setup is saved (1,800 max.), you can also use the included Data XL interface
program to save them on your computer and even send the setups to additional ECHO
FDs.
Keypad Functions
The figure below shows the full keypad layout representative of each ECHO series unit.

ECHO FD Ultrasonic Flaw Detector
13
The following table refers to each key or symbol shown on the keypad. Note, the F keys
correspond to text above each key and prompts change depending on which screen you
are adjusting.
Key Function
Up arrow key
Down arrow key
Left arrow key
Right arrow key
On/Off symbol (under the F1 key)
MENU/OK key
F1 Varies
F2 Varies
F3 Varies
F4 Varies
Function keys, or F keys (e.g., F1, F2, F3, F4), have various unit functions and may
change depending on the display screen. View the bottom of the display screen for the
function that corresponds with the appropriate F key. For example, F1 may correspond
with the Save function, F2 with the Freeze function, or F3 with the Directory function

Danatronics, Corp.
14
Battery Pack
To ensure the highest level of performance and protection, the battery compartment is
separated from the electronic components of the unit.
Monitoring the Battery Charge from the Display Screen
The ECHO unit continuously displays the percentage of battery life remaining on the
bottom right corner of the measurement display screen. When the battery life is below
10%, the battery indicator will turn from green to red. When the battery life is below 5%,
the indicator will flash.
Note: Power off the ECHO unit to ensure any saved data is stored internally.
Re-charging the Battery
To re-charge the battery, simply plug in the charger to an AC outlet (between 100-240V)
and plug the other end into the USB connector on the top of the ECHO series unit. The
F4 key will light up with a blue LED when charging, and the light will go out when fully
charged. Allow several hours (up to 10 hours) to fully charge. We recommend using the
charger and high-quality USB cable that is supplied with the ECHO unit. Using lower
quality USB cables can result in little or no charge.
USB port

ECHO FD Ultrasonic Flaw Detector
15
Note: It is possible to use a computer to charge the unit, but this will take significantly
more time than using an AC outlet and we do not recommend it; however, if you decide
to charge the flaw detector using this method, make sure the unit is powered off before
you connect the USB to the computer and to the flaw detector itself.
When charging is complete, the F4 key will appear translucent in color. Power off the
flaw detector, and unplug the charger from the USB connector on the top of the unit.
Keep in mind, there is a battery indication monitor on the bottom right of the screen that
displays the percentage of battery life, as shown in the image below at 71%.
Boot, Bail, and Strap Features
The custom rubber boot with built in bail and padded wrist strap is an accessory for the
ECHO series gages. Not only does the boot help to protect the gage from the elements,
but the functional bail and strap also offers a variety of positioning options.
Placing the Boot on the Gage
To insert the gage into the rubber boot, follow these steps:
1. Guide the gage strap through the hole at the top of the boot (either right or left
side).

Danatronics, Corp.
16
2. Slide the gage into the top of the boot.
3. Gently apply pressure to the bottom of the gage until it fully pops into the boot.
Removing the Boot from the Gage
Be sure that the bail is set in the open position before attempting to remove the boot.
Follow these steps:
1. Apply pressure to the bottom two corners of the boot until the gage pops out.
2. Wriggle the top section of the gage out of the boot.
3. Guide the gage strap through the hole at the top of the boot.
Using the Boot Strap and Bail
The boot strap is attached to the bail on the back of the boot. It can be used as a right- or
left-handed strap, or a finger strap. You can also connect the strap to a 4-point chest
harness for hands-free use.
The bail, including the straps, can be removed from the boot. This is useful when adding
accessories or locating the gage’s serial number. Simply open the bail and apply gentle
pressure to one side of the connector, which is located at the top of the bail. The piece
will pop off exposing the accessory mount (see below) and gage serial number.
Other Gage Features
Using the T/R 1 and T/R 2 Ports
On the top of the ECHO series gages are two ports for transducer connectivity.
If you are using a dual element transducer, you may use either port—T/R 1 or T/R 2—
interchangeably. However, if you are using a single element transducer, plug the
connector into the T/R 1 port only.
RS-232
RS-232 is available as a custom connector type (required paid hardware modification).
The RS-232 connector can not be installed on gages modified to work with Danatronics
EZ Scan encoder
Locating the USB Slot
The ECHO series gages are furnished with a USB 2.0 slot on the top of the gage. Use the
USB slot to connect AC chargers or to connect to a computer for cross-functionality.
Using the Accessory Mount
On the back of the gage is a ¼ x 20 accessory mount. This connector point is compatible
with a multitude of accessories including a magnetic pipe attachment and a Gorilla Pod.
Locating the Altitude Change Release Regulator
At the bottom of the gage is a circular outline with small holes. This feature regulates
pressure due to altitude change. Any pressure built up inside the gage will be
automatically released.

ECHO FD Ultrasonic Flaw Detector
17

Danatronics, Corp.
18
8 Transducer/Setup Selection
New setups can be selected from the Setup selection screen, which appears briefly after
the unit powers on. The Transducer Setup selection screen can also be accessed by going
to the Main Menu, selecting Initial Settings then Setup Selection.
Stored Setups
Up to 2,700 setups can be stored in ECHO FD, which can keep track of calibration and
instrument settings upon file creation. In addition, ECHO FD has 4 default template files
denoted by a square to the left of the file name. None of the default files can be deleted.
They are as follows:
1Straight beam contact probe 5 MHz, 5" range
2Dual probe 5 MHz.
3Angle beam AWS type 2.25 with ref gain on
4Angle beam quick change 5 MHz, 45 degree
If any default parameter is altered, such as changing the Gain or Range, an asterisk will
appear next to the file denoting the change (as shown in the image above). If you press
the F3 – Discard key, then any changes made will be discarded. Pressing the F2 – Save
key will allow you to save the setups, and the following screen will appear:

ECHO FD Ultrasonic Flaw Detector
19
Press the F4 – Rename key when you are done and the new file name will populate at the
end of the selection in the Setups screen.
Saving and discarding an altered stored setup:
When making a change to any parameter to a default setup, the ECHO will put an
asterisk next to the file indicating something has changed. Your choice is to Save the new
setup by pressing F2 and typing in a new name or discarding the changes by pressing F3.
The ECHO can save more than 2,600 custom setups which is ideal for varying
applications.

Danatronics, Corp.
20
Note: The default setups will not be erased when assigning a new Setup File
Note: If you get an “insert transducer” message and are using a dual transducer you can
try swapping the connector or rotating the molded plug from where the cable plugs into
the top of the gage. If this does not work, the transducer likely needs to be replaced.
Other manuals for ECHO Series
2
This manual suits for next models
1
Table of contents
Other Danatronics Security Sensor manuals
Popular Security Sensor manuals by other brands

Xtrails
Xtrails ICAM IFT Series Communications guide

Sealey
Sealey PP4.V2 instructions

Interlogix
Interlogix AS520 Series quick start guide

S+S Regeltechnik
S+S Regeltechnik RHEASGARD KLGF Series Operating Instructions, Mounting & Installation

CEAG
CEAG Cooper Safety SL 3301 Mounting and operating instructions

STEINEL PROFESSIONAL
STEINEL PROFESSIONAL IR Quattro DALI manual