Questions? Call Toll- ree (877) 271-STOP [7867]
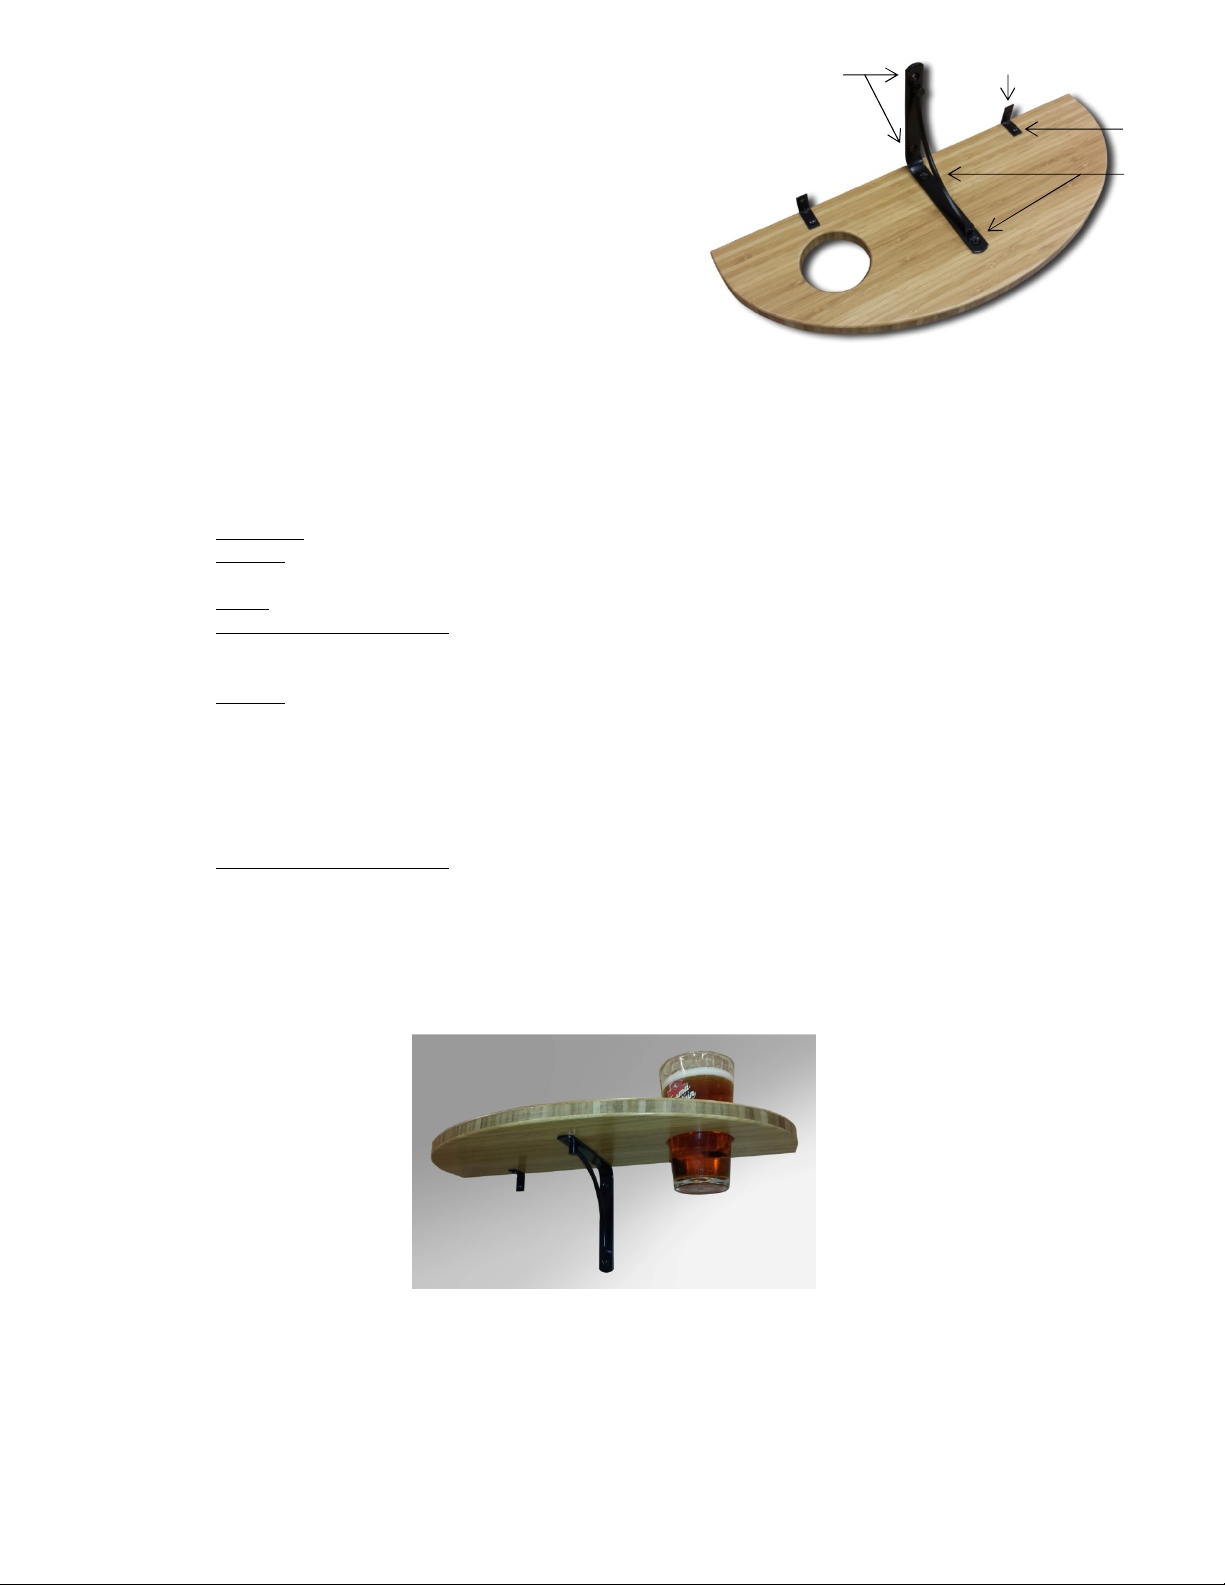
the HS screws correspond with the large bracket. Be
sure to install the brackets perpendicular to the wall side
of the shelf
b. Optional: Use a square to place the brackets
perpendicular to the wall side of the shelf
c. Very Important: Use care when installing the screws to
avoid overdriving them. This may result in an unstable
wall mounting condition
4. Position the shelf at the wall mounting location then
mark the four mounting holes
a. A helper is useful for this step. One person holds the shelf while the other marks the holes
b. Optional: use a level to assist in leveling the shelf orientation
c. While firmly holding the shelf in place, use a pencil to carefully mark inside each of the four mounting holes of the
brackets where the shelf will be attached to the wall
d. Remove the shelf from the wall then place it out of the way in a safe place for the next step
5. Determine the material you will be attaching to then pre-drill at the marks as required
a. Important: carefully center drilled holes on the marks so the shelf brackets will line up in step 7.
b. Drywall: pre-drilling isn’t required unless screwing through drywall into wood (if yes, see step 5.c.) Also see step
6.b.iii. for a method to mount into a wood stud for additional strength
c. Wood: pre-drill using a 7/64 inch diameter drill bit to a depth equal to the screw length
d. Plaster, concrete or masonry: pre-drill using a 3/16 inch diameter masonry drill bit to a depth equal to the screw
length
6. For non-wood walls, install an anchor at each mark or pre-drilled hole as required
a. Drywall: install one E-Z Ancor at each mark. Install the anchors with a Philips screwdriver or electric screwdriver
using a #2 driver head or bit
i. If you encounter a wood stud, remove the E-Z Ancor and pre-drill using a 7/64” drill bit. Only a screw is
required at a wood stud; do not use an anchor.
ii. Be careful to center the anchor on the mark so the shelf brackets will line up in step 7.
iii. or the strongest mounting, use a stud finder to locate a wall stud inside the wall near the center of the
desired shelf mounting location. Mount the center bracket into the stud
b. Plaster, concrete or masonry: install one plastic anchor into each pre-drilled hole. Do this by hammering it into place
so the flat head is flush with the wall surface
7. Attach the shelf to the wall using the FHW and RHW screws, two of each
a. Line up the bracket holes with the anchors or mounting holes in the wall
b. Drive in the screws using a manual or electric Philips screwdriver. The HW screws correspond with the large
bracket; the RHW screws are used with the small brackets
c. This completes the installation
Shelf Cleaning
•Use a soft cotton cloth dampened with soapy water to periodically clean the shelf surface and/or cup holder inserts then follow
with a dry cotton cloth to remove any residual soapy water
•Avoid the use of abrasive pads or cleaners
•When heavier cleaning is needed, use a cleaning solution intended for wood surfaces with a polyurethane finish


