Datajack MiFi 2200 User manual

1

2
MiFi 2200 Basics
This device offers more freedom than ever before. No wires, no cables—just access to your data when you
need it. The power of the internet is truly at your fingertips.
Package Contents
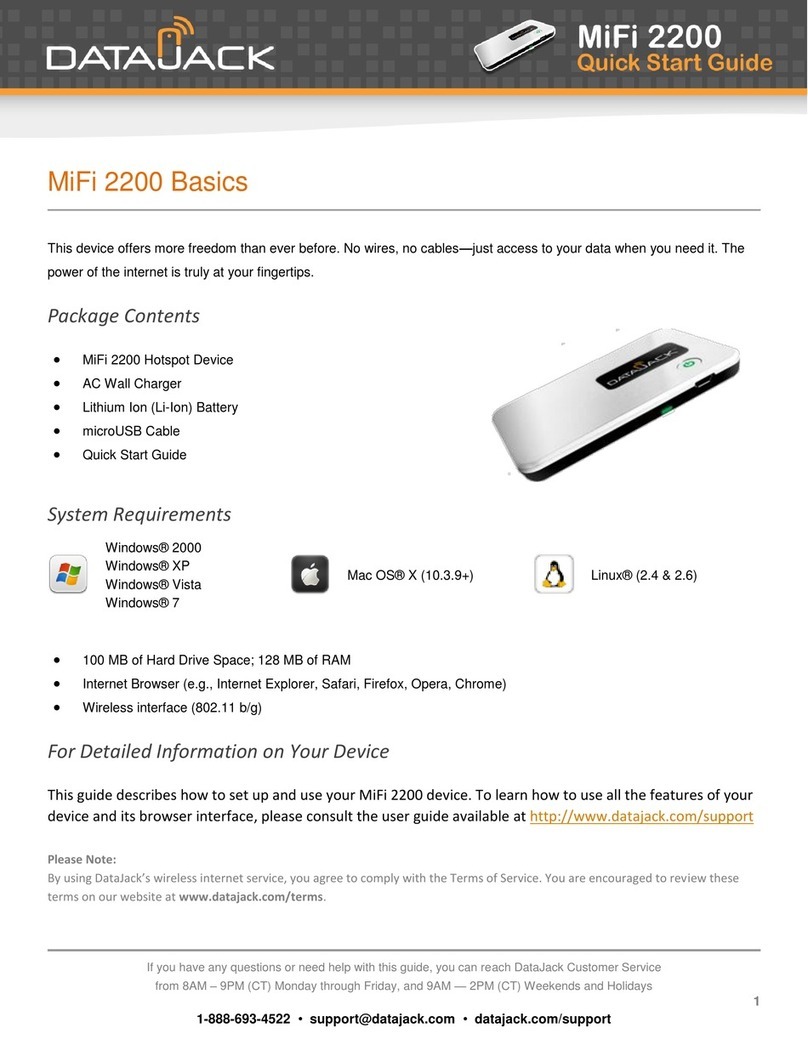
·MiFi 2200 Hotspot Device
·AC Wall Charger
·Lithium Ion (Li-Ion) Battery
·microUSB Cable
·Quick Start Guide
System Requirements
Windows® 2000
Windows® XP
Windows® Vista
Windows® 7
Mac OS® X (10.3.9+)
Linux® (2.4 & 2.6)
·100 MB of Hard Drive Space; 128 MB of RAM
·Internet Browser (e.g., Internet Explorer, Safari, Firefox, Opera, Chrome)
·Wireless interface (802.11 b/g)
By using DataJack’s wireless internet service, you agree to comply with the Terms of Service. You are encouraged to review these
terms on our website at www.datajack.com/terms.

3
Your MiFi 2200 Hotspot Device
·Power Button —Powers on and off the device. Also indicates power, battery, and roaming activity.
·microUSB Port —The AC wall charger that was included with your device connects here.
·Service Status Indicator (LED) —Provides information about your mobile broadband connection.

4
Inserting and Charging the Battery
1. Slide open the door at the bottom of the device.
2. Insert the battery by lining up the gold contact points on the battery with the gold contact points in the
battery compartment. Then, press down gently until the battery is seated.
3. Replace the battery cover and slide it closed while pressing gently until it locks into place.
4. Connect the microUSB end of the AC wall charger to the microUSB port of the device.

5
Initial Connection and Setup
1. Open any web browser on your computer. Internet Explorer, Safari, Firefox, or Chrome will work fine.
2. Enter http://192.168.1.1 in to the address bar of your web browser and press the Enter or Return key.
An onscreen wizard will appear and guide you through the activation of your MiFi Device.
3. When requested, please enter the default admin password and click the Login button.
·If you ordered your device prior to January 20, 2012, your default admin password is afnconnect
·If you ordered your device after January 20, 2012, your default admin password is admin

6
4. Your activation status will be shown to you on the Activation screen. If you have already called to
activate your device, this screen will state Activation is complete.
5. Click the Next button.
6. Once activated, the MiFi Setup Wizard will prompt you for a new admin password. Please enter and
verify your new admin password into the appropriate fields. We strongly recommend that you change
your password to something other than the default password.
NOTE
Be sure to record your new admin password.

7
7. Click the Next button.
8. You have the option of configuring the WiFi settings of your MiFi device on the WiFi Settings screen.
9. Once you are finished configuring your WiFi settings, click the Next button to proceed.

8
10. The MiFi Setup Wizard is now complete. After you click the Finish button, your device will restart and
you must reconnect to your wireless network and enter the network key you created.

9
Interface Basics
Opening the Browser Interface
1. Open any web browser on your computer. Internet Explorer, Safari, Firefox, or Chrome will work fine.
2. Enter http://192.168.1.1 in to the address bar of your web browser and press the Enter or Return key.
3. Type the current admin password into the Login box in the upper right corner and click the Login button.
4. The Home screen will open.

10
The Home Screen
The Home screen is the first screen you see after logging in to the browser interface. It the main point of entry
for all your work in the browser interface.
The Menu Bar
The menu bar runs horizontally along the top of the browser interface. This allows you to navigate through the
menu items, and displays information about your device’s connection strength and battery level.
Home Screen Sections
The Home screen is divided into two sections that you can expand or collapse. Click the solid black pointer
next to the section title to expand or collapse each section.
Internet Connection
The Internet Connection section tells you:
·Your connection status.
·The number of bytes received and transmitted. This information is for reference only. For an accurate
reading of your usage, please login to your account at www.datajack.com/myaccount.
·The duration of the current connection.
·The IP address of and subnet mask for the device.

11
WiFi
The WiFi section tells you:
·The profile currently in use.
·The network name (also known as the SSID).
·The security method in use.
·The number of users currently connected to the device.
·The IP address of and subnet mask for the wireless browser interface.
To change WiFi settings, use the WiFi menu. See WiFi Menu (page 13)

12
Password Settings
Password settings allow you to change the admin password that gives access to the browser interface for your
MiFi Device.
Create a New Admin Password
1. Type your current admin password into the Current Password box.
2. Type the new password (must have 4 to 64 characters) in the New Password box, and then again in the
Verify New Password box.
3. Click the Apply button.

13
WiFi Menu
The WiFi menu has three components:
†WiFi Profiles —to view or change settings for your secure profile or to set up a Temporary Hotspot.
†MAC Filter —to allow only certain devices to connect to the MiFi device.
†Status —to view profile information, see who is connected to the MiFi device, and view the WiFi log.
You can also retrieve your Network Key from this screen.
WiFi Profiles
Click WiFi Profiles on the WiFi menu to configure your secure profile or set up a Temporary Hotspot.

14
The WiFi Profile page displays the following information:
†Profile —The profile currently being used.
†Network Name (SSID) —Name of the network you are connected to. You can change the name to
something more descriptive if you want, or if other devices are in use within range of yours.
†802.11 Mode —The type of wireless networking you are currently using.
†Channel —The radio channel that the device is using to broadcast it’s SSID. This should usually be set
to Auto (default) and left unchanged. Available channels are 1 through 11.
†Security —The type of security the profile is using. This applies to the Secure and the Temporary
Hotspot profiles.
†Authentication —Locked to Open Access for all profiles.
†Encryption —Displays the type of encryption for the security type in use.
†Network Key —Passcode or password used to access the network.

15
Choosing a Profile
Select a profile from the Profile list:
†Secure —This is the profile you should use most of the time. You can set up this profile with the
security measures you need to use your MiFi device safely.
†Temporary Hotspot —This profile allows you to set up a secure temporary hotspot to allow others in
your work area (maximum of five) to go online at the same time.
†Open —This profile does not require a password to connect to your MiFi device. Any user who can see
your network name (SSID) can connect to your MiFi device.
Setting Security
You can use WEP (64-bit or 128-bit), WPA Personal/PSK, WPA2 Personal PSK, or WPA/WPA2 Mixed Mode
security.
TIP
Some WiFi clients become confused if the security is changed and the network name is not. If you change
security settings and do not get asked for the new network key when you try to reconnect, delete the existing
“old” network name from your “Preferred Networks” list. Then you can reconnect.
1. From the WiFi Profile screen, select Secure as the Profile.
2. Select a security protocol from the Security list. (The Encryption box displays the corresponding
encryption level)
3. Enter a new network key in the Network Key box. (Permissible characters are listed in gray just under the
Network Key box)
4. Click the Apply button. Your device will restart, and you must reconnect to your wireless network using
the new Network Key.
NOTE
Be sure to record your Network Key.

16
Setting Up a Temporary Hotspot
You can use this profile to create a secure temporary hotspot to allow a maximum of five connections to your
MiFi device at one time.
This profile generates a temporary network name and network key that you can use to allow others to
connect to your MiFi device without you having to change the security settings on your secure profile.
To set up a temporary hotspot:
1. From the WiFi Profile page, select Temporary Hotspot as the profile. You will see a new (temporary)
network name (SSID) and network key.

17
2. Click the Apply button. Your device will restart, and you must reconnect to your wireless network with
the temporary network name and network key.
Members of your workgroup can now use the temporary network name and network key to connect to your
MiFi device.
MAC Filter
MAC filtering allows you to limit access to your MiFi device to only those devices with a specified MAC address
(a unique code assigned to hardware such as network adapters).
The MAC Filter screen allows you to enable or disable MAC filtering and to add or delete MAC address from
the trusted client list.
NOTE
Do not enable MAC filtering unless you have added your own MAC address to the trusted client list. Otherwise,
you will be unable to access your MiFi device.

18
Finding the MAC Address
The MAC Address is also known as a hardware or physical address for a device, usually a network adapter. It
consists of six pairs of numbers and letters (for example, 00-21-9B-1C-64-34).
You can view the MAC address for any device connected to your MiFi device by using the WiFi Clients section
of the WiFi Status screen. See WiFi Clients (page 20)
·On a Windows machine, you can find the MAC address by running “ipconfig /all” from the Command Prompt
window. The MAC address is referred to as the Physical Address. (Select Start > All Programs (or Programs) >
Accessories > Command Prompt to open the Command Prompt window)
·On a Mac, open System Preferences > Network. In the Show list, click Airport. The MAC address is the Airport
ID.
Using MAC Filtering
1. From the MAC Filter screen, type the MAC address for your computer into the Add Trusted Client MAC
Address box and click Add Client. You can use either “:” or “-“ as the separator (for example,
00:21:9B:1C:64:34 or 00-21-9B-1C-64-34).
TIP
You can cut-and-paste your computer’s address from the WiFi Clients section of the WiFi Status screen.
2. If desired, type the MAC address for other computers into the Add Trusted Client MAC Address box and
click Add Client.
3. Select the Enable MAC Filter check box and click the Apply button.

19
WiFi Status
WiFi Status provides you with information about your wireless network, and is divided into three sections.

20
WiFi Network
The WiFi Network section of the WiFi Status screen displays the following information:
†Profile currently in use.
†Name of the network you are connected to.
†Number of clients connected to the device.
†Maximum number of clients allowed to connect to your MiFi device
†Channel being used.
†Current wireless mode.
†Security type and encryption for the current profile.
†Network Key link (click to retrieve the network key)
WiFi Clients
The WiFi Clients section of the WiFi Status page shows the clients that are currently connected to the device.
Other manuals for MiFi 2200
1
Table of contents
Other Datajack Wireless Router manuals
Popular Wireless Router manuals by other brands

Draytek
Draytek Vigor 2110 Declaration of conformity
Jinan USR IOT Technology
Jinan USR IOT Technology WIFI232-A user manual

Flyingvoice
Flyingvoice SR3000 user manual
AirLive
AirLive WN-151ARM Quick setup guide
Planet
Planet FRT-401 Quick installation guide
Silvercrest
Silvercrest KH 990 operating instructions
