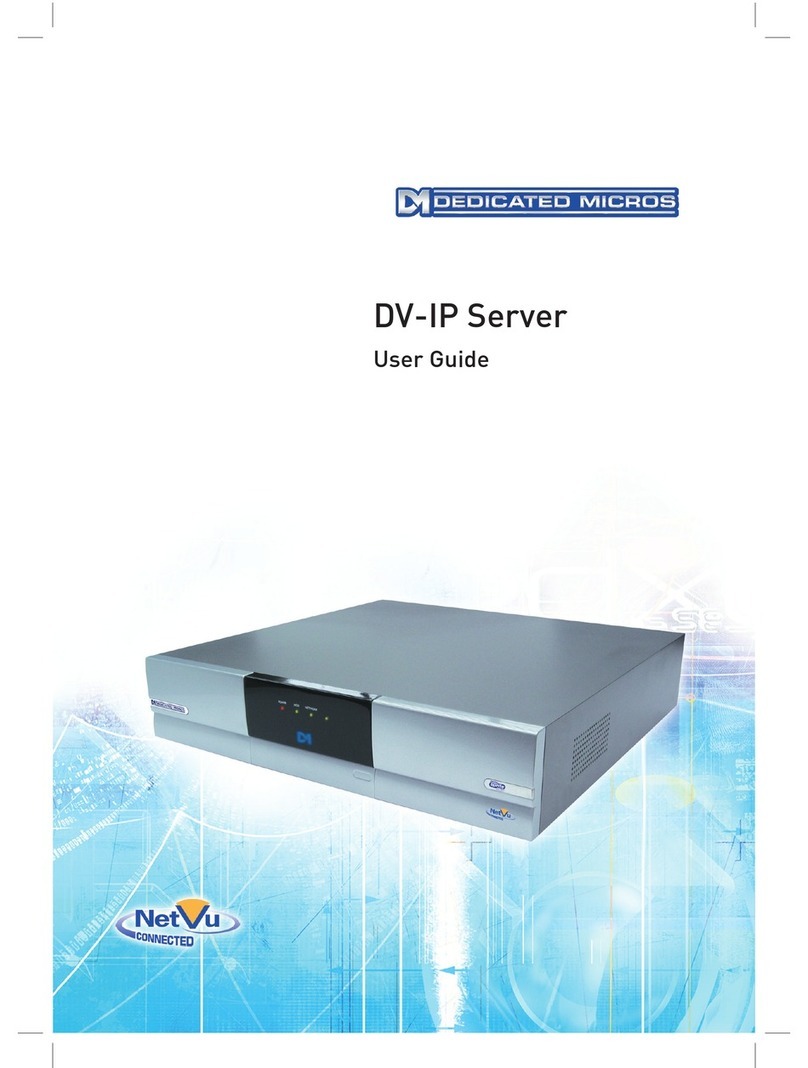
Dedicated Micros DV-IP Operating instructions

DV-IP Server
Installation and
Operation Guide

Dedicated Micros ©2008
2
DV-IP Server
Whilst every attempt is made to ensure these manuals are accurate and current, Dedicated Micros reserve the right to alter or
Contents
Introduction3
Features4
Important Safeguards6
Installing the Unit8
Installing the DV-IP Server12
21
Remote Control23
Main Menu25
26
System Settings29
Unit Status 31
Console Settings41
Camera Settings52
Record Settings57
Alarm Settings 67
81
Analytics & Text93
Archive98
99
Using the IR Remote Control124
Appendix A129
Appendix B130
Appendix C132
Appendix D 133

Dedicated Micros ©2008 3
DV-IP Server
Introduction
What is the…
DV-IP Server ?
A comprehensive digital recording solution, the DV-IP Server is a stand-alone high-performance
recording system offering reliable, networked, scalable CCTV at an affordable price.
Ideal for installations where high record rates and network capabilities are required. The DV-IP
Server offers JPEG or MPEG-4 recording at scalable quality settings and global record rates of up to
100pps at 4CIF resolution (dependant on model).
Dedicated Micros renowned MultiMode record feature enables an operator to set different recordingrecord feature enables an operator to set different recording
rates, resolution and compression formats across scheduled, normal and alarm modes for each
individual camera.
Available with 8, 12 or 16 camera inputs, all offering telemetry control, the DV-IP Server has built in
Alarm functionality and onboard Activity detection software. The IP Camera support function allows
digital video streams from IP addresses to be viewed and recorded.
To give operators maximum viewing exibility, the DV-IP Server can be congured for spot and main
monitor outputs. Camera channels can be viewed in single or multi-screen mode on a local monitor
or remotely over an IP connection.
The accompanying Infra-Red (IR) remote control has a colour coded ‘Softkey’ interface with
conguration menus common to both local monitor and web interface, making for easy set-up and
operation.
Dedicated Micros trademark plug and play intuitive set-up and user-friendly interface helps keep
installation and operator training to a minimum.
The DV-IP Server includes as standard internal storage with expansion available via two high-speed
SATA ports. A DVD-R Writer and USB ports are also provided for external video archiving.
The unit’s retail capabilities offers integrated text support, allowing users to connect with cash
registers in retail applications to monitor Point Of Sale (POS) locations. Capturing and associating
video with the relevant text information allows the operator to search video footage by time, event,
and text data to provide evidence of fraud or to aid identication of regular offenders.
The DV-IP Server is Analytics capable, enabling a number of software upgrade packages to be
installed. These allow integration of features such as people counting, object left/removed and
ANPR.
Among the many other features included as standard on the DV-IP Server are; picture in picture
viewing and remote monitoring (utilising DM’s unique TransCoding capabilities to provide uent live
and replay images).
With telemetry control of up to 16 cameras (including coax telemetry), control of dome cameras,
audio recording, activity detection and many more exciting features, the DV-IP Server is the ideal
product when high-performance video recording and transmission is required at an affordable cost.
For further information about any of the points above, please visit our website:
www.dedicatedmicros.com
or contact customer services in your region.

Dedicated Micros ©2008
4
DV-IP Server
Features
The DV-IP Server from Dedicated Micros is equipped with an array of valuable features designed to
enhance the operator experience.
• 8, 12 or 16 camera input options8, 12 or 16 camera input options
• Up to 100pps recording at QCIF to 4CIF resolution
• Telemetry support (Coax & Serial)Telemetry support (Coax & Serial)
• Alarm Inputs & OutputsAlarm Inputs & Outputs
• Internal storage
• MultiMode
• Built in activity detectionBuilt in activity detection
• Point&go telemetry control
• Text support and text search features ideal for retail installationsText support and text search features ideal for retail installations
• BS8418 compliantBS8418 compliant
COMMON CONFIGURATION INTERFACE

Dedicated Micros ©2008 5
DV-IP Server
The DV-IP Server includes a unique colour-coded menu structure and onscreen Graphical User
VIDEO TIMELINE
MAPS
Point&go
ePTZ
Absolute Positioning
camera around a site and greatly increases event response time, particularly for operators unfamiliar
Design of the manual
For ease of use, this manual has three parts:

Dedicated Micros ©2008
6
DV-IP Server
Important Safeguards
Read Instructions
Power Sources
Servicing
Do not attempt to service this unit yourself as opening or removing covers may expose you to
Ventilation
Lightning Strike
Regulatory Notes and FCC and DOC Information
(USA and Canadian Models Only)

Dedicated Micros ©2008 7
DV-IP Server
CE Mark
Laser
• To prevent exposure to laser emanations (harmful to the eyes), do not attempt to

Dedicated Micros ©2008
8
DV-IP Server
Installing the Unit
Before you start
Check the contents of the box
Remove all items from the packaging and check the items listed below are present:
• DV-IP Server (either 8, 12 or 16 input)
• IR Remote Control
• IR Remote Control Extender
• USB Mouse
• 2 x RS485 interface modules
• DV-IP Server Installation & Operation Guide
Note: Before installing the DV-IP Server DVR, carefully read all Safety Instructions and the
following information on where the unit should be located.
Available Accessories
The following accessories can also used in conjunction with the DV-IP Server:
• Managed Storage Unit - Extend storage capacity to 5TB
• Managed Continuous Archiving - Mirrored RAID1 storage unit
For further information about any of the above products, please contact Dedicated Micros customer
services in your region.
Choosing a location for installation
• Ensure the receiving end of the IR remte control extender faces the operator position
and is not more than 3 metres (10

Dedicated Micros ©2008 9
DV-IP Server
Electrical Connections
Please ensure the following are available and have been tested prior to the installation:
• Mains point
(Recommended)
Quick Overview of DV-IP Server Record Settings
DV-IP Server units provide out of the box:
MultiMode
MultiMode
Complete Flexibility
Note: It is the Installer/Owner’s responsibility to ensure that the record duration is set to the
necessary requirements of the application.
MultiMode Recording
The unit supports MultiMode recording which is a storage technology developed by Dedicated
Micros. This offers the ability to set different recording rates, resolutions and compression formats
across scheduled, normal and alarm modes for each individual camera.
By varying the quality, bit rate and le size of the recorded images, the MultiMode function can
increase recording capabilities of the unit.
MultiMode offers:

Dedicated Micros ©2008
10
DV-IP Server
Installation
Front Panel connections
Data
DVD-R
USB
LED’s Power
HDD
Network
Rear Panel connections
16 Input model
12 Input model
8 Input model

Dedicated Micros ©2008 11
DV-IP Server
Video
8. 12 & 16 way units
MON B Spot Monitor output
MON A S Video Connection
Audio
input
Data
IR Infra-Red Input connector for IR Remote Control Extender
Power
Alarms and relays
20 general alarm inputs
Range of Alarm states are:

Dedicated Micros ©2008
12
DV-IP Server
Installing the DV-IP Server
This procedure shows the sixteen camera input version.
Step 1 Connecting Video
The DV-IP Server supports up to 8, 12 or 16 connected Video Inputs (dependant on model) via the
Note: Remember the last piece of equipment in line must be terminated.

Dedicated Micros ©2008 13
DV-IP Server
Step 2 Monitor
Step 3 Connecting Audio
• Record - local audio from a site to accompany video
Note: The Audio output can be congured as a challenge output or as a replay output.

Dedicated Micros ©2008
14
DV-IP Server
Step 4 Connecting to the Network
Network Settings->Network->IP Address.
Refer to ‘Conguring The Unit’ for further guidance on locating the unit’s IP address and for details of
the default DNS (Domain Name Server) address.
3

Dedicated Micros ©2008 15
DV-IP Server
Step 5 Relays
Relay Connector
Pins Connection
Step 6 Alarms
Relay Connector
Pin Alarm Input Connection
1 - 20 1-20
21-25 Earth Common

Dedicated Micros ©2008
16
DV-IP Server
End Of Line Circuitry

Dedicated Micros ©2008 17
DV-IP Server
Step 7 Connecting Serial Ports
Note: Telemetry cameras should be connected to Serial 3 and 4. Text data can be retrieved from
any serial port.
RS232
RS485
Note: Refer to Appendix A for further guidance on Serial Port pin allocation for
Telemetry cameras.
Step 8 Connecting a Keyboard
Note: Refer to ‘Unit Operation’ for further guidance regarding supported keyboards.

Dedicated Micros ©2008
18
DV-IP Server
Step 9 Connecting Telemetry Cameras
Simple Dome Connection
Pin connections for RS485 connection to a dome on serial port 3/4 are:
Green 9 TX-
Dennard 2040 & 2060 Domes
A Dennard 2040/2060 Dome can be connected via either co-axial telemetry or RS485 twisted
pair.
DM Oracle Domes
A DM Oracle dome can be connected via either co-axial telemetry or RS485 twisted pair. Oracle
Domes are congured using the specic pages available in the Conguration menu, refer to
‘Oracle Dome Conguration’ for more information.
refer to the Oracle Dome documentation for
more information on hardware confguration
UTC
Red - 1
Serial
Red - 2

Dedicated Micros ©2008 19
DV-IP Server
Step 10 Connecting IR Remote Control Extender
Step 11 Connecting Power
RF

Dedicated Micros ©2008
20
DV-IP Server
Advanced Installation
Connecting Storage devices
Dedicated Micros Managed Storage Expansion units
For further information regarding the DM Managed Storage Expansion unit, please contact
Other manuals for DV-IP
3
Table of contents
Other Dedicated Micros Server manuals
Popular Server manuals by other brands
IBM
IBM System x3620 M3 7376 manual

Dell
Dell PowerEdge 1655MC supplementary guide
Nortel
Nortel Passport 4460 Hardware reference

Intermec
Intermec G4000 Compliance Insert
Fujitsu Siemens Computers
Fujitsu Siemens Computers Primergy TX200 S3 Options guide
Digital Watchdog
Digital Watchdog Blackjack bolt DW-BJB0LT2T-LX quick start guide

HP Enterprise
HP Enterprise ProLiant DL380 Maintenance and service guide
Acer
Acer Altos G300 user guide
Sun Microsystems
Sun Microsystems Blade 8000 Series Site planning guide
Advantech
Advantech EKI-1360-BE Series user manual
Cisco
Cisco UCS C24 Installation and service guide
Sun Microsystems
Sun Microsystems Netra 440 Service manual

