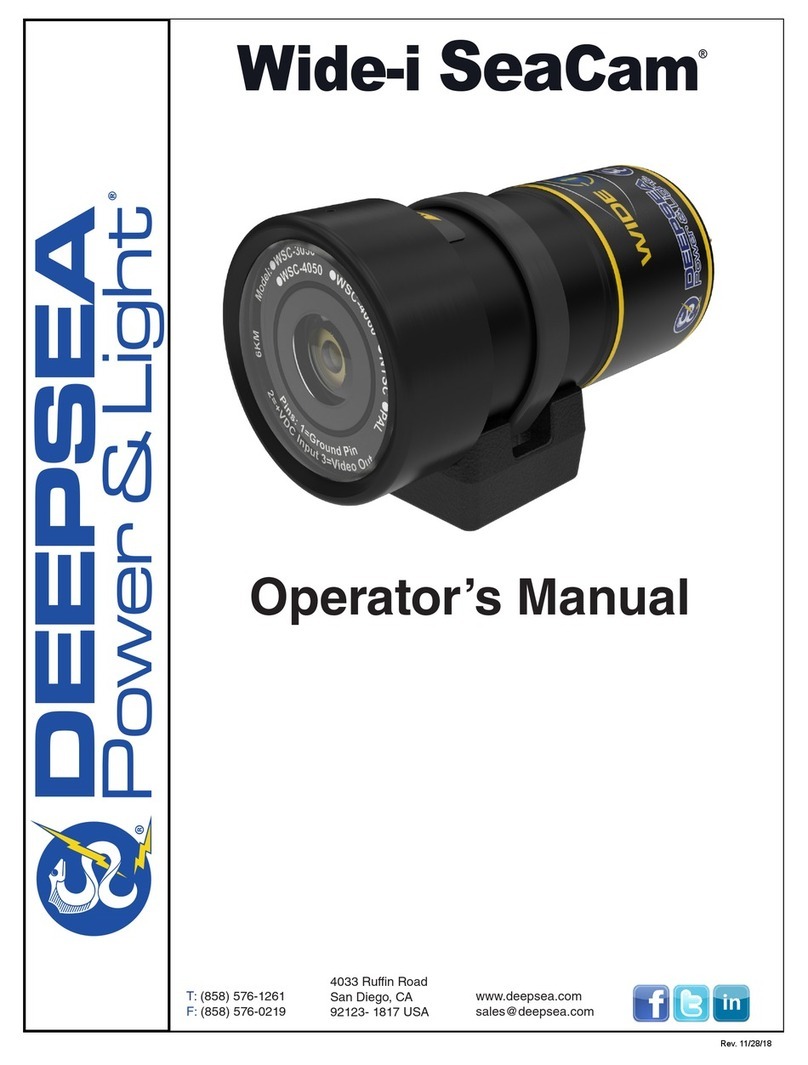
Operator’s Manual
5
Super Wide-i SeaCam®
motion. If required gently twist components while
separating.
4. Pour out any water trapped in the housing.
5. If the camera is completely flooded, rinse the
internal components with clean fresh water in
order to minimize contamination and corrosion.
6. Allow parts to dry in air or a convection oven set
at 60° C (190° F).
Troubleshooting
1. If the camera stops working while underwater,
assume that it has flooded. See Flooding Repair
procedure.
2. Once determined that the camera is not flooded,
or if the camera does not turn on during pre-
deployment checks, troubleshoot in the following
sequence:
a. Check the cable/inline connector to make
sure that correct voltage and current are
being supplied, and that the pinout matches
the camera. See page 2 of this manual for
electrical specs and standard connector
pinouts.
b. Remove the endcap to access the bulkhead
connector. Inspect the assembly for visual
signs of wear. Use a multi-meter check for
continuity or shorts in the connector. Try a
spare connector, if available.
c. If the camera still does not work, return it
to DeepSea Power & Light using the RMA
Procedure.
RMA Procedure for Repair
For warranty and non-warranty repairs, please contact
DeepSea Power & Light for an RMA number prior to
returning the item. Please have the light model number,
serial number, and any other pertinent information along
with a description of the problem on hand when calling, or
include them in a fax or e-mail.
Tel: 858-576-1261
Fax: 858-576-0219
When shipping the item, be sure that the freight is pre-paid
(CODs will not be accepted) and that the RMA number is
clearly printed on the outside of the box.
All shipments should be sent to the address below:
DeepSea Power & Light
Attn: RMA ####
4033 Ruffin Road
San Diego, CA 92123-1817
U.S.A
If a camera appears ooded upon removal
from the water, it should be treated as
potentially dangerous. Point the camera away
from persons and valuable equipment and
make sure that the power is disconnected.
See the Flooding Repair Procedure for more
information.
Operation Procedures
Operation Instruction
1. Prepare a power supply with 11~30 VDC output.
2. Plug the red [positive(+)] and black [negative(-)]
banana plugs of the camera cable into their
respective jacks on the power supply.
3. Plug the BNC connector on the topside of the
cable into the monitor or VCR video-in jack (a
BNC-to-RCA adapter may be required by the
monitor/VCR in use).
4. Lubricate the camera bulkhead connector with
an appropriate silicone lubricant (spray type
recommended), and using a linear motion plug
the female inline connector into the male bulkhead
connector on the back of the camera.
5. Screw the locking sleeves together firmly (hand
tighten. Do not use tools).
6. The camera is now ready for operation; switch
the power supply ON to power the camera. The
camera draws approximately 300 mA of current
during operation, and will work when supplied
between 11~30 VDC.
Video Output
The Super Wide-i SeaCam is capable of producing an
incredible wide field of view both in and out of water.
There is no vignetting effect due to the propriety designed
water corrected lens.
The camera puts out an unbalanced, composite analog
video with 1.0Vp-p 75 ohm signal output
Flooding Repair Procedure
If the camera stops working while underwater, you
should assume that it has been flooded. When working
on a potentially flooded camera, it is important to use
appropriate personal protective equipment to include, at
a minimum, eye and hand protection.
1. Immediately turn off the power to the unit.
2. Open the housing by first removing the connector
for the device.
3. Remove the rear end cap-retaining ring. Do so
by separating the two components using a linear
