manuals.online logo
Brands
  1. Home
  2. •
  3. Brands
  4. •
  5. DeLonghi
  6. •
  7. Dehumidifier
  8. •
  9. DeLonghi DNS65 User manual

DeLonghi DNS65 User manual

10
Read the separate safety instructions before using the appliance
1. DESCRIPTION
1.1 Description of appliance (A)
A1. Control panel
A2. Deector
A3. Lifting handle
A4. Dust lter or nano silver lter
A5. Air inlet grille
A6. Water level viewing window
A7. Condensate collection tank
A8. Tank extraction grip
A9. Air outlet grille
A10. Continuous drain rubber stopper
A11. Condensate drain hose
1.2 Description of control panel (B)
B1. ON/STAND-BY button
B2. Dehumidifying button
B3. Dry/ECO button
B4. Deector swing button
B5. Timer button
B6. Ioniser button
B7. Ioniser light
B8. Tank full/tank absent light
B9. Alarm light
B10. Delayed shutdown lights (2/4/8 hours)
B11. Maximum, forward, vertical deector swing light
B12. Turbo or Economy programme light for laundry drying
function
B13. Maximum, minimum and automatic dehumidifying lights
Please note: Before plugging the appliance check the cap on
back of water tank is correctly inserted
2. INSTALLATION
min. 50 cm
min. 20 cm
min. 20 cm
min. 20 cm
min. 60 cm
Position the appliance in the room to be dehumidied.
Please follow the minimum distances between the appliance
and furniture or walls, as stated in gure.
Failure to do so would obstruct ventilation, jeopardising correct
operation of the appliance.
When the appliance is functioning, you should keep all doors
and windows closed while the appliance is in operation.
If doors and windows are opened, the temperature and humidity
in the room may change and it could therefore require longer to
dehumidify the room.
With temperatures of less than 1°C or above 40°C,
dehumidication is automatically deactivated and the appliance
switches to fan only mode.
If the humidity is lower than 20%, the safety circuit triggers
automatically and the dehumidier shuts down to avoid
damage.
If the humidity in the room drops, the dehumidication capacity
is automatically reduced.
Do not drop or tilt the appliance.
If the appliance falls over, place it upright immediately.
Even when the room is dehumidied, condensation and mould
may form externally or in poorly ventilated points, for example
behind furniture.
3. DRAINING THE CONDENSATE WATER
The condensate can be drained in 2 ways:
3.1 Draining into the tank
The condensate is drained directly into the tank (A7).
When the tank is full, the appliance stops and the control panel
(A1) shows the tank alarm (B8).
Proceed as follows:
1. Extract the tank slowly using the designed grip, holding
the appliance rmly (g. 1) and empty it into a sink or a
bathtub.
2. Position the handle of the tank vertically as shown (g. 2)
for carrying to the pouring site.
3. Empty the tank by the opening (g. 3.) No need to remove
the lid unless for washing the tank.
4. If needed, replace the lid and lower the handle.
5. Put the tank back in the appliance.
When the empty tank is put back, the appliance starts
functioning according to the previous settings.The tank full light
goes o.
Please note:
• Do not remove the oat inside the tank. The oat is required
to sense when tank is full.
• Replace the lid correctly before returning the tank to the
appliance.
11
• When you remove the tank, do not touch internal parts of
the dehumidier. It could damage the appliance.
• Push the tank into place carefully. If it knocks against the
walls or is incorrectly inserted, the appliance may not
function. (The tank full light ashes.) Remove the tank
then replace carefully in position.
3.2 Continuous external draining
If the appliance is to be operated for long periods but you are
unable to empty the tank regularly, you are recommended to use
continuous draining. Proceed as follows:
1. Remove the rubber bung from the outlet tube (Fig. 4).
2. Fasten the rubber hose to the spout (g. 5).
3) Make sure the hose is no higher than the spout (g.
6), otherwise the water will ow into the tank of the
appliance. Make sure there are no kinks in the hose.
Please note:
• Keep the rubber bung. You will need it to plug the hose or
close the outlet tube if you revert to draining into the tank.
4. MODE SELECTION
1. Plug the appliance into a mains socket.
2. Press the ON/STAND-BY button (B1) to turn the
appliance on: the appliance will operate in the previously-
set mode and the deector (A2) opens in a preset position.
To turn the appliance o, press the ON/STAND-BY button again.
Please note:
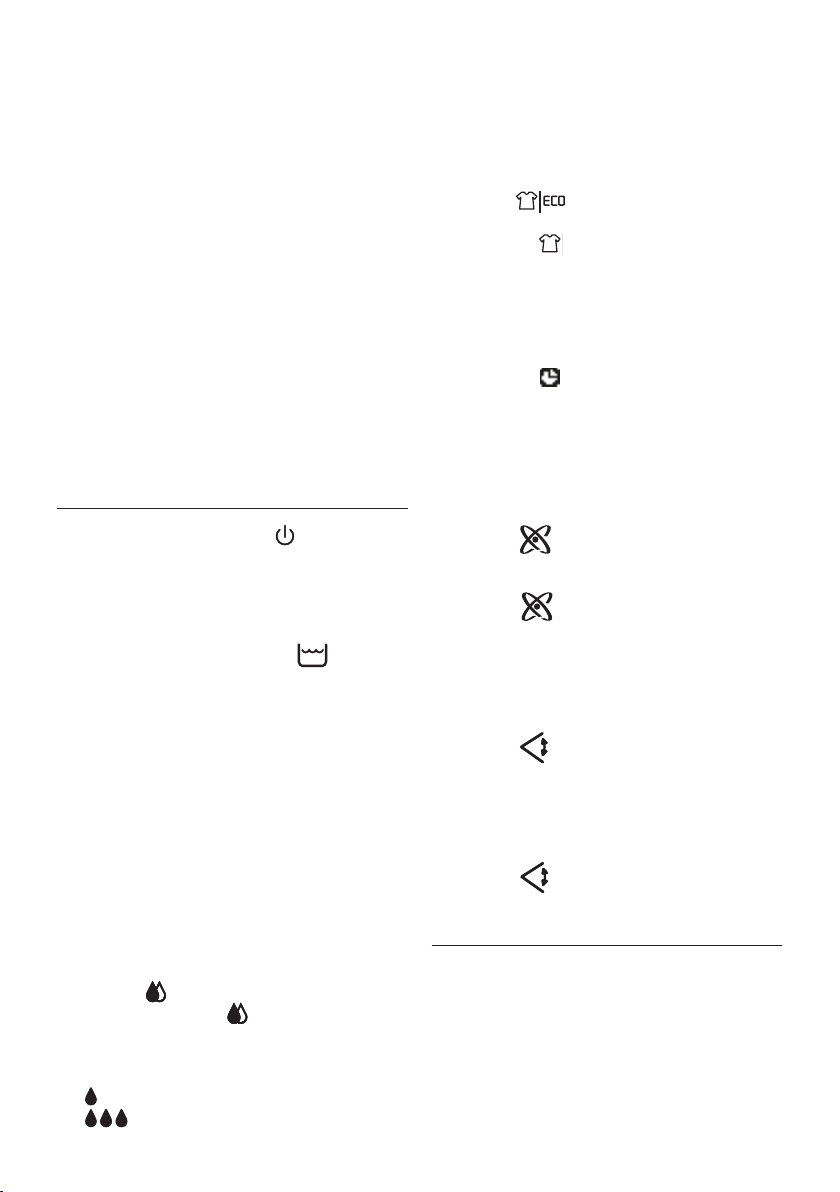
• If the tank is full or absent, the light (B8) appears
on the control panel, it is necessary to empty or correctly
position the tank (A7) (see paragraph “3.1 Draining into
the tank”).
• Place the dehumidier at least than 30 cm from the
laundry to be dried.
• NEVER place the dehumidier under the laundry to be
dried.
• When started up, or when power is restored, the appliance
operates in the mode selected before it shut down.
Important: Before unplugging from the mains, wait for
the fan to stop. The fan remains in operation for about
two minutes after the appliance is turned o to allow
the heating element to cool down.
4.1 Dehumidifying mode
1. Press the button (B2).
2. Each time you press the button, the relative light
(AUTO, MIN, MAX) comes on (g. 7).
• AUTO: to maintain a comfortable level of humidity.
(Auto will be displayed by default at the rst run )
• (Min) for silent operation.
• (Max) to dehumidify rapidly.
Please note:
The humidity level is maintained at around 55% in Auto mode
andthe appliancethereforecomeson and goes o automatically.
(When a humidity of 55% is reached, the appliance switches into
fan mode.)
4.2 Dry mode
1. Press the (B3) button (g. 8). You can choose
between two dierent programmes:
• Turbo mode : to dry garments rapidly and or during
the winter.
• ECO Economy function: during the summer. The appliance
operates automatically with low energy consumption.
4.3 Timer function
Before using this function, make sure the appliance is on.
• Each time the button is pressed the number of hours
the appliance operates changes (2-4-8 hours). (Fig. 9)
When the timer is set, even if the tank full light is ashing,
after emptying and repositioning the tank, the appliance
continues to operate for the time left.
4.4 Ioniser mode
1. Before using this function, make sure the appliance is on.
Press the button (B6). The light comes on and the
appliance emits negative ions from the air outlet grille (g.
10).
2. Press the button (B6) again to interrupt negative
ion emission. (The light goes o).
A large quantity of negative ions are produced, quantitatively
similar to those present in environments such as forests or
waterfalls.
4.5 Swing function
1. Press the (B4) button to set automatic swing of the
deector, (g.11) choosing between three types of swing:
• 1st press (air is delivered forwards and vertically)
• 2nd press (air is delivered forwards)
• 3rd press (air is delivered vertically).
2. Press the (B4) button again to stop the deector in
its current position.
5. CLEANING AND MAINTENANCE
• Always disconnect the appliance from the mains before
carrying out cleaning operations.
• Never submerge the appliance in water.
5.1 Routine cleaning of the tank (once a month)
• Extract the tank and remove the lid as described previously.
DO NOT remove the oat!
• Rinse all the components with water two or three times.
Depending on where the dehumidier is used, the inside
12
of the tank may become dirty as a result of dirt and dust
contained in the air. If this is the case, wash in mild soapy
water to remove the most stubborn dirt.
5.2 Cleaning the cabinet
• Never pour water directly over the appliance.
• Never use petrol, alcohol or solvents.
• Never spray insecticides or similar substances: the plastic
may be deformed.
• Clean the surfaces of the appliance using a soft cloth, never use
abrasive sponges as these may scratch the surface.
5.3 Cleaning the dust lter or nano silver lter
(on certain models only)
If the lter (A4) is dirty, air circulation is compromised and the
eciency of dehumidifying is decreased. It is therefore good
practice to clean the lter at regular intervals. The frequency
depends on the environment and the duration of operation.
If the unit is used constantly or systematically, you are recom-
mended to clean the lter once a week.
• To remove the air ter (A4) extract the lter by pulling it
(g. 12).
• Use a vacuum cleaner to remove dust accumulations from
the lter. If the lter is very dirty, rinse well with lukewarm
water. The temperature of the water should not exceed
40 °C. After washing the lter, allow it to dry completely
before reinserting it.
• If present, the nano silver lter, besides retaining powder
particles, has also an ecient antibacterial action. In addi-
tion, it greatly reduces irritants such as pollen and spores.
The lter is treated with small particles of silver (on the
scale of millionths of a millimetre) which are able to block
the multiplication of and destroy any bacteria or spores
coming into contact with them
5.4 For long periods of downtime
• Unplug the appliance from the power socket and empty the
tank (A7).
• Clean the dust lter (A4) and put it back in.
• Cover the appliance with a plastic bag to protect it from dust.
6. TECHNICAL SPECIFICATION
Power supply voltage See rating plate
Rated power input “
Fan speed 2
Air lter Yes
Tank Capacity 2,8 lt
Operating limits:
temperature 1°C - 35°C
relative humidity 30% - 95%
13
7. ALARMS ON THE DISPLAY
ALARM CAUSE SOLUTION
The tank (A7) is missing or incorrectly
positioned
Put correctly the tank back in place (see par. “3.1
Draining into the tank”
The tank is full Empty the tank (see par.“3.1 Draining into the tank”)
Contact Customer Care
8. TROUBLESHOOTING
Below is a list of possible malfunctions.
If the problem cannot be resolved using the proposed solution, contact the Service Centre.
PROBLEM CAUSE SOLUTION
The appliance does not work The appliance is not plugged in Plug into the mains
There is no current Check the power supply
The tank is full of water Position the tank correctly
The tank is incorrectly positioned
The appliance is operating in dehu-
midifying mode but the humidity does
not decrease
The lter is clogged Clean the dust lter or nano silver lter (par.
“5.3 Cleaning the dust lter”)
Either the temperature or the humidity in
the room is too low
In certain conditions it is normal for the
appliance not to dehumidify: check the
operation limits of the appliance (see chap.
“.Technical specication”). In certain cases
it is advisable to heat the room you wish to
dehumidify.

Other DeLonghi Dehumidifier manuals

DeLonghi de 300 User manual

DeLonghi

DeLonghi de 300 User manual

DeLonghi DEC12 User manual

DeLonghi

DeLonghi DEC12 User manual

DeLonghi DE120 User manual

DeLonghi

DeLonghi DE120 User manual

DeLonghi DEX16F User manual

DeLonghi

DeLonghi DEX16F User manual

DeLonghi DEC180E User manual

DeLonghi

DeLonghi DEC180E User manual

DeLonghi DD40P User manual

DeLonghi

DeLonghi DD40P User manual

DeLonghi DES16EW User manual

DeLonghi

DeLonghi DES16EW User manual

DeLonghi DD Series User manual

DeLonghi

DeLonghi DD Series User manual

DeLonghi DE320GB User manual

DeLonghi

DeLonghi DE320GB User manual

DeLonghi DDSX220WFA User manual

DeLonghi

DeLonghi DDSX220WFA User manual

DeLonghi Dehumidifier User manual

DeLonghi

DeLonghi Dehumidifier User manual

DeLonghi DEC 21 User manual

DeLonghi

DeLonghi DEC 21 User manual

DeLonghi Tasciugo Ariadry Slim User manual

DeLonghi

DeLonghi Tasciugo Ariadry Slim User manual

DeLonghi de 300 User manual

DeLonghi

DeLonghi de 300 User manual

DeLonghi DDSX220WF User manual

DeLonghi

DeLonghi DDSX220WF User manual

DeLonghi AriaDry DD230P User manual

DeLonghi

DeLonghi AriaDry DD230P User manual

DeLonghi DEM8.5 User manual

DeLonghi

DeLonghi DEM8.5 User manual

DeLonghi DEX212SF User manual

DeLonghi

DeLonghi DEX212SF User manual

DeLonghi DD45 User manual

DeLonghi

DeLonghi DD45 User manual

DeLonghi DDE 40E User manual

DeLonghi

DeLonghi DDE 40E User manual

DeLonghi de 400 User manual

DeLonghi

DeLonghi de 400 User manual

DeLonghi DDSX220WF User manual

DeLonghi

DeLonghi DDSX220WF User manual

DeLonghi DH90 User manual

DeLonghi

DeLonghi DH90 User manual

DeLonghi DD30P User manual

DeLonghi

DeLonghi DD30P User manual

Popular Dehumidifier manuals by other brands

Yoer DRYO DE02W manual

Yoer

Yoer DRYO DE02W manual

Friedrich D25BNP Installation and operation manual

Friedrich

Friedrich D25BNP Installation and operation manual

McIntire DH-10 Setup and operation

McIntire

McIntire DH-10 Setup and operation

Seaira Global WatchDog NXT60 Installation and operation manual

Seaira Global

Seaira Global WatchDog NXT60 Installation and operation manual

Carlton DH2400 quick start guide

Carlton

Carlton DH2400 quick start guide

Somogyi Home DHM 10LR instruction manual

Somogyi

Somogyi Home DHM 10LR instruction manual

Maytag 23-11-2242N-005 instruction manual

Maytag

Maytag 23-11-2242N-005 instruction manual

Aerial AD 110 instruction manual

Aerial

Aerial AD 110 instruction manual

ATIKA ALE 600 N Original instructions

ATIKA

ATIKA ALE 600 N Original instructions

ionmax ION622 user manual

ionmax

ionmax ION622 user manual

INVENTOR EP3-ION-10L user manual

INVENTOR

INVENTOR EP3-ION-10L user manual

Midea Torr owner's manual

Midea

Midea Torr owner's manual

GEAppliances ADEL30 owner's manual

GEAppliances

GEAppliances ADEL30 owner's manual

omi ED18 Instruction and maintenance manual

omi

omi ED18 Instruction and maintenance manual

LG LD651EBL specification

LG

LG LD651EBL specification

turbionaire PRO 90N instruction manual

turbionaire

turbionaire PRO 90N instruction manual

Meaco 12L Low energy Dehumidifier User instruction manual

Meaco

Meaco 12L Low energy Dehumidifier User instruction manual

eeese Danny user manual

eeese

eeese Danny user manual

manuals.online logo
manuals.online logoBrands
  • About & Mission
  • Contact us
  • Privacy Policy
  • Terms and Conditions

Copyright 2025 Manuals.Online. All Rights Reserved.