6
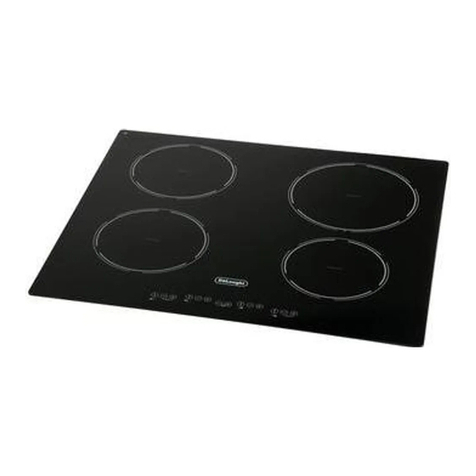
HOTPLATES:
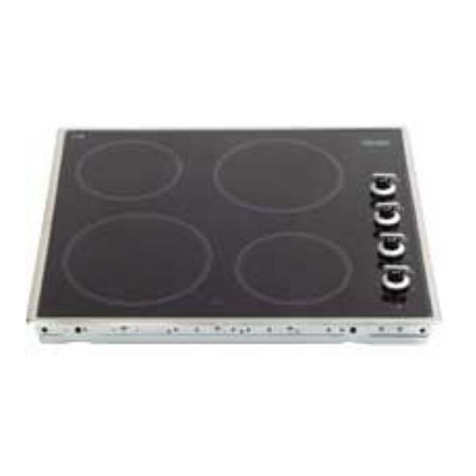
The heating elements are formed by a coil of resistant material which reaches the working tempera-
ture quickly.
Warning for the eyes: Do not stare at the hotplates when they are on.
TOUCH CONTROL OPERATION:
i) The very first time power is connected to the cook-top, it will be in locked mode for safety.
ii) To begin any operation, touch the lock key for 3 seconds.
iii) To turn on an element, touch the corresponding on/off key.
The power level indicator LED at position 5 will flash.
Press the minus key within 10 seconds to reduce power, or the plus key within 10 seconds
to increase power.
iv) To switch off the element, press the on/off key.
v) It is possible to lock the element on during operation by touching the lock key for 3 seconds.
vi) To switch off the element while in locked mode, press the lock key for 3 seconds followed
by the on/off key.
Note: If an object is placed over the hob control, or if liquid is spilled over the controls, the cooktop
will automatically turn off. If the cooktop is fitted with extended elements, the second zone will
turn on by holding down the extended plus key for that element for 3 seconds.
The power level for that element can then be set by touching the plus or minus keys.
After an element is turned off & the surface temperature of the plate is higher than 50°C, the tem-
perature indicator LED’s will flash until the surface temperature drops below 50°C.
TIMER OPERATION
The timer can be set to automatically turn the cooktop off after a preset time
(from 1 - 99 mins).
To set the timer, perform the following steps:
·Touch the timer key A (Fig. 6) to select the cooking area which, previously turned on, which
will be displayed on indicator B (Fig. 6)
·Set the desired cooking time using the plus or minus keys in the timer area.
·If the timer has been set to turn off more than one element, the LED indicator in the timer area will
show time remaining for each element every 3 seconds.
·The elements which are in timer mode can be identified by the first power level indicator LED
flashing for that element.
·The timer function can be turned off by touching on/off key D (Fig. 6).
SAFETY HINTS
·Never put cooking foil or plastic materials on the ceramic surface when the hob is hot.
·Make sure that the hob is clean before you use it.
·Remember that the plates will remain hot for approximately half an hour after the plate has been
switched off.
·Before you switch the hob on, make sure you know what controls turn each element on. We
recommend you to set the pan over the cooking
plate before switching it on.
·Pan handles should never stand beyond the kitchen work top. This will ensure children cannot
reach them.
·Do not use pans with rough bases as these may scratch the hob surface.
TIMER

