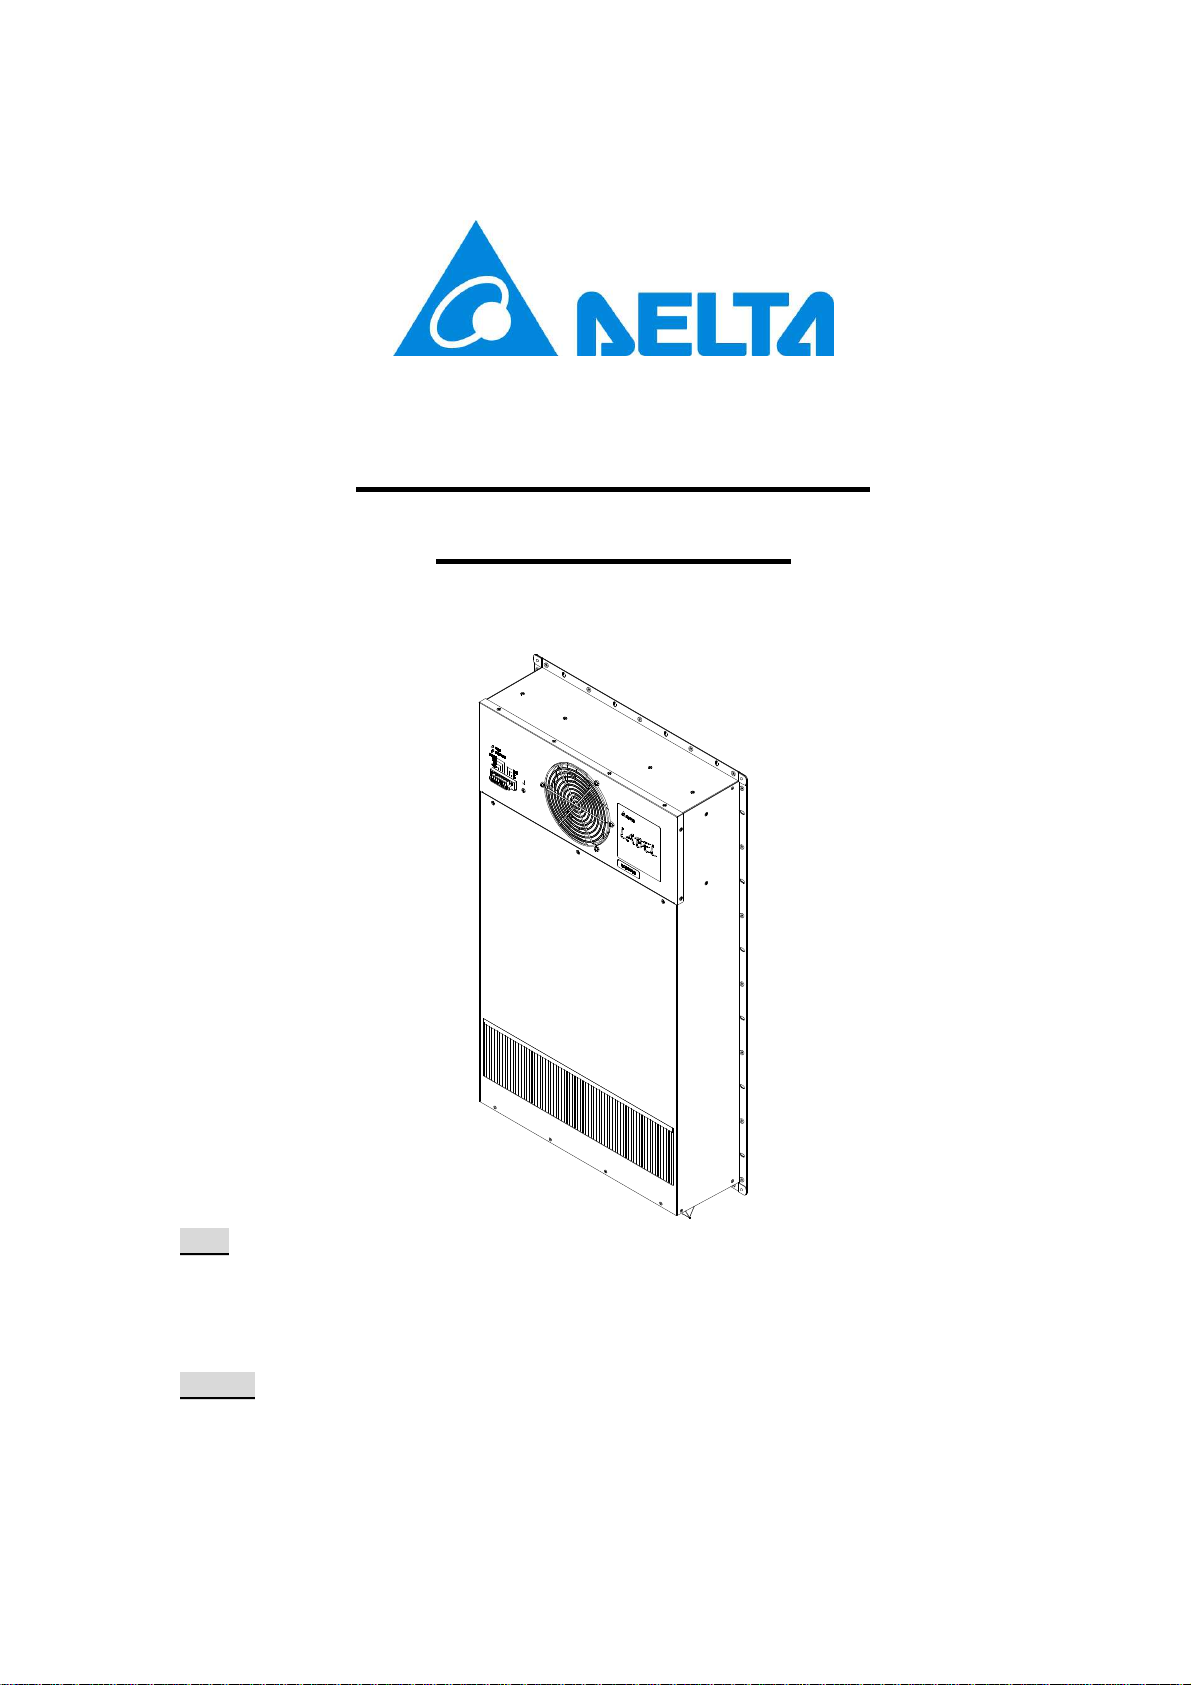
HEX060PA Heat Exchanger Instruction Manual
Page 7
Quarterly
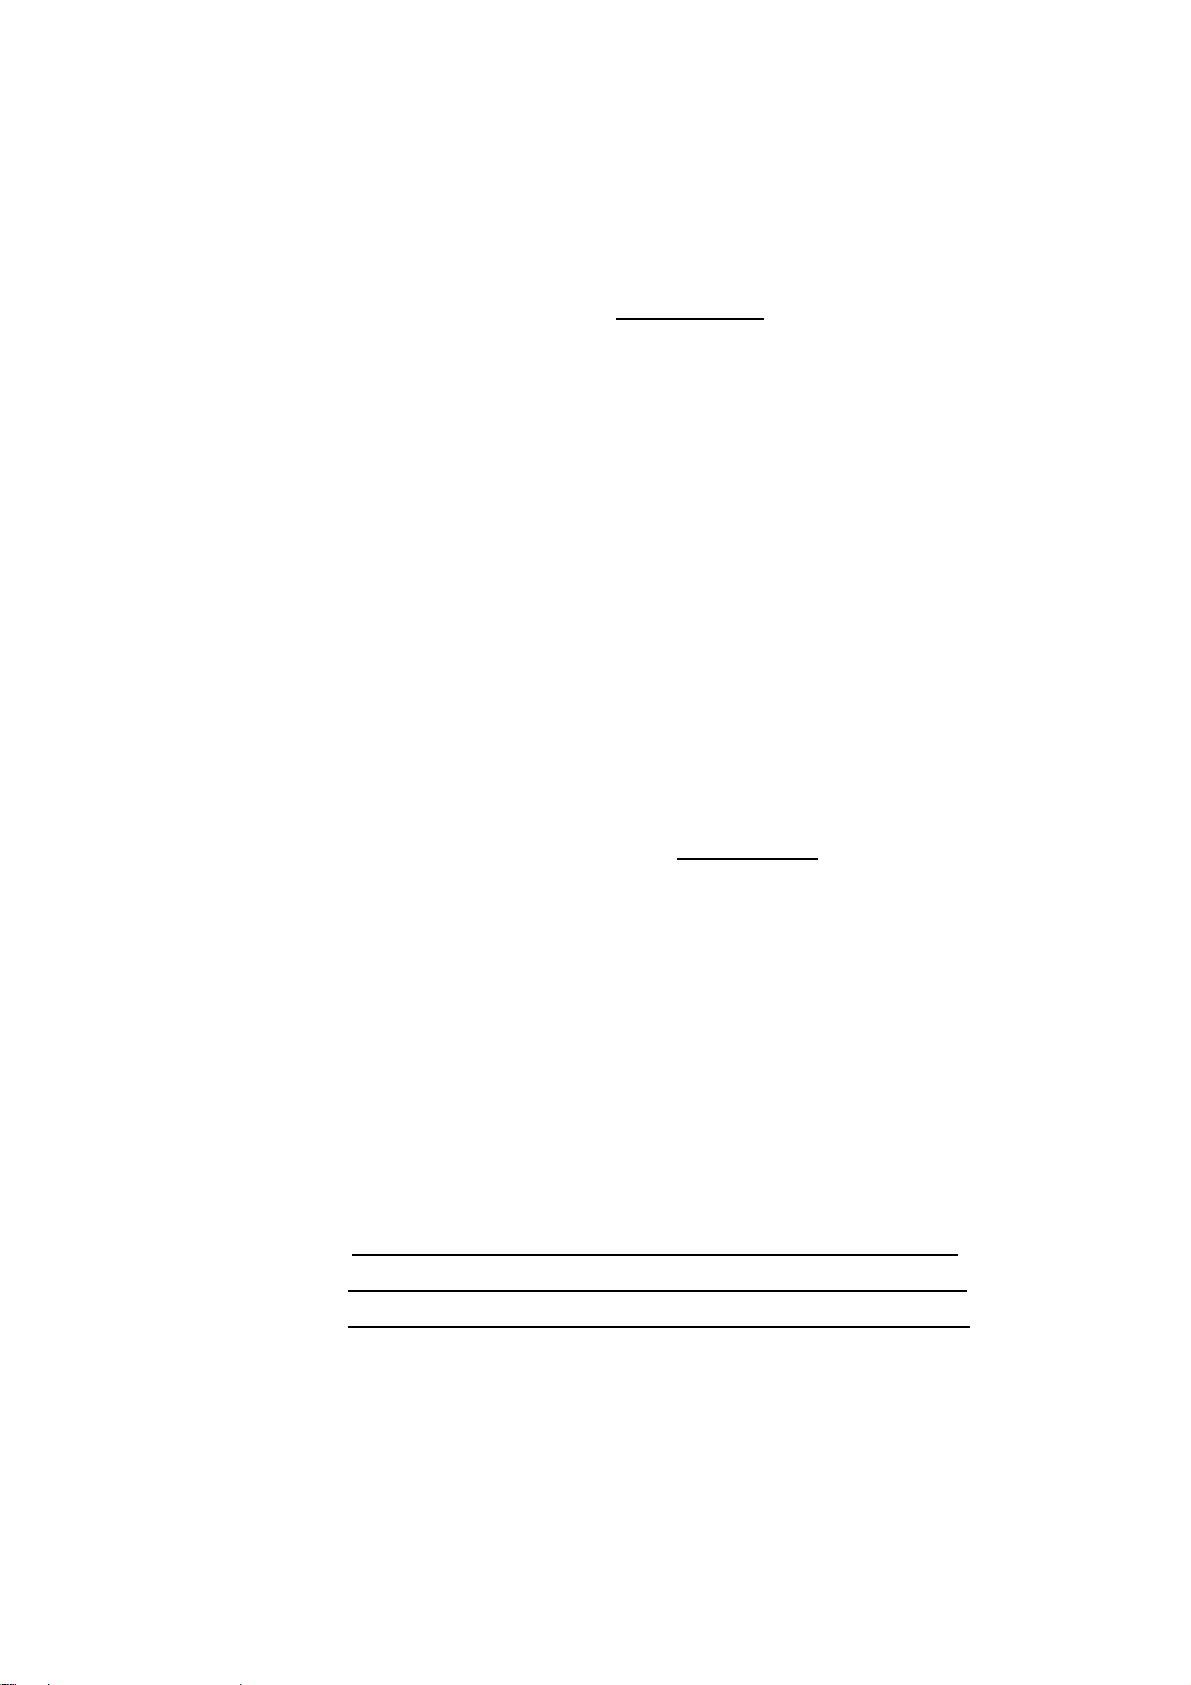
User can follow below sequence to proceed the maintenance .
Internal loop maintenance :
* The maintenance is from internal side .
* Use screw driver to remove the secured screw on upper
portion of chassis assy (Item 1) .
* Disassemble the internal plate assy (Item 7) and disconnect
fan from controller (Item 3) , Note to record the connection
location .
* Use brush and low pressure air to remove dust on
internal plate assy (Item 7) , internal fan (item 4) & heat
exchange CORE opening .
* Hold internal plate assy (Item 7) and connect fan to
controller (Item 3) .
* Re-attach internal plate assy back (Item 7) and use screw
driver to secure screw with chassis assy (Item 1) .
External loop maintenance :
* The maintenance is from from internal side .
* Use screw driver to remove the secured screw on upper
portion of chassis assy (Item 1) .
* Disassemble the internal plate assy (Item 7) and disconnect
fan from controller (Item 3) . Note to record the connection
location .
* Remove frame assy (Item 2) carefully to avoid waterproof
foam between around fame assy (Item 2) and chassis assy
(Item 1) to be damaged .
* Use brush and low pressure air to remove the dust on
external fan (Item 5) & heat exchange CORE opening .
* Please check waterproof foam whether had damaged
before secure frame assy (Item 2) back , if yes , please
remove damaged and stick new waterproof foam first .
* Hold internal plate assy (Item 7) and connect fan to
controller (Item 3) .
* Re-attach internal plate assy back (Item 7) and use screw
driver to secure screw with chassis assy (Item 1) .