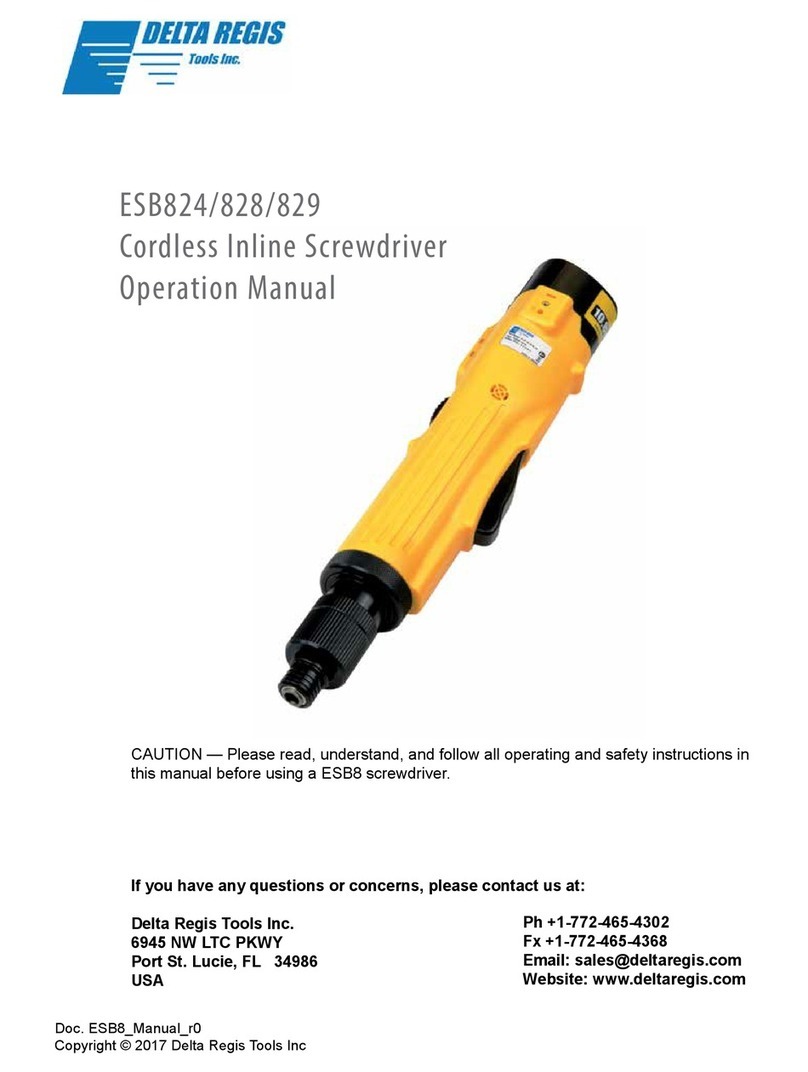
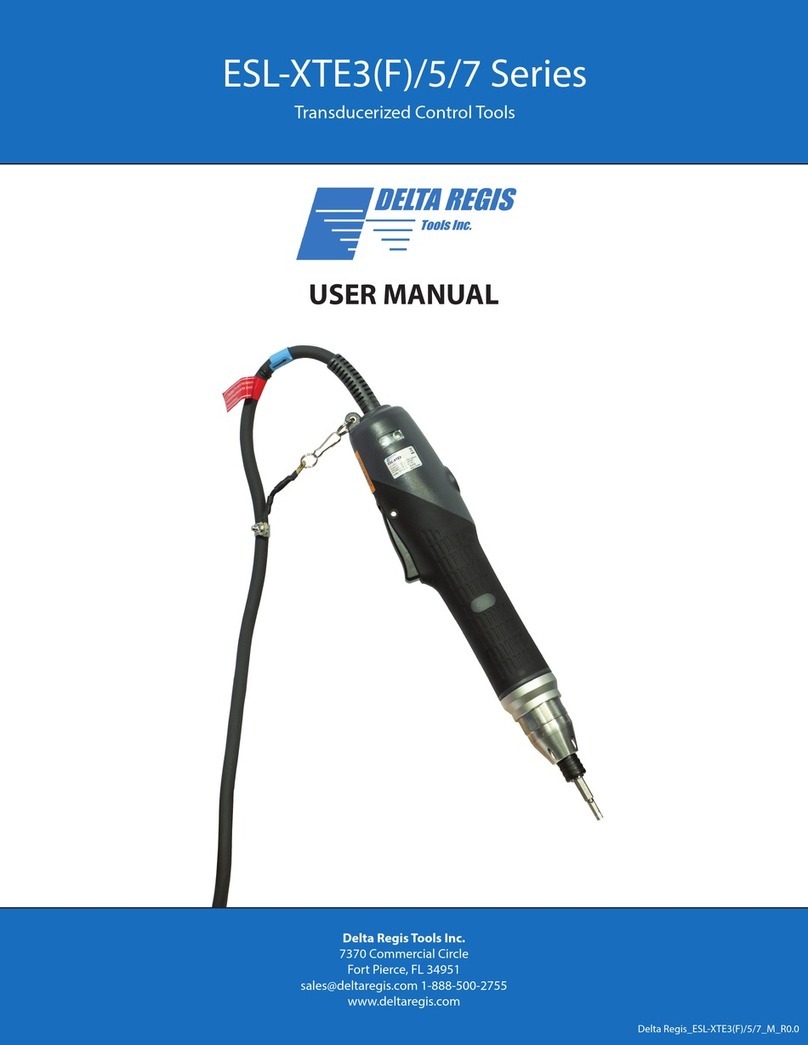
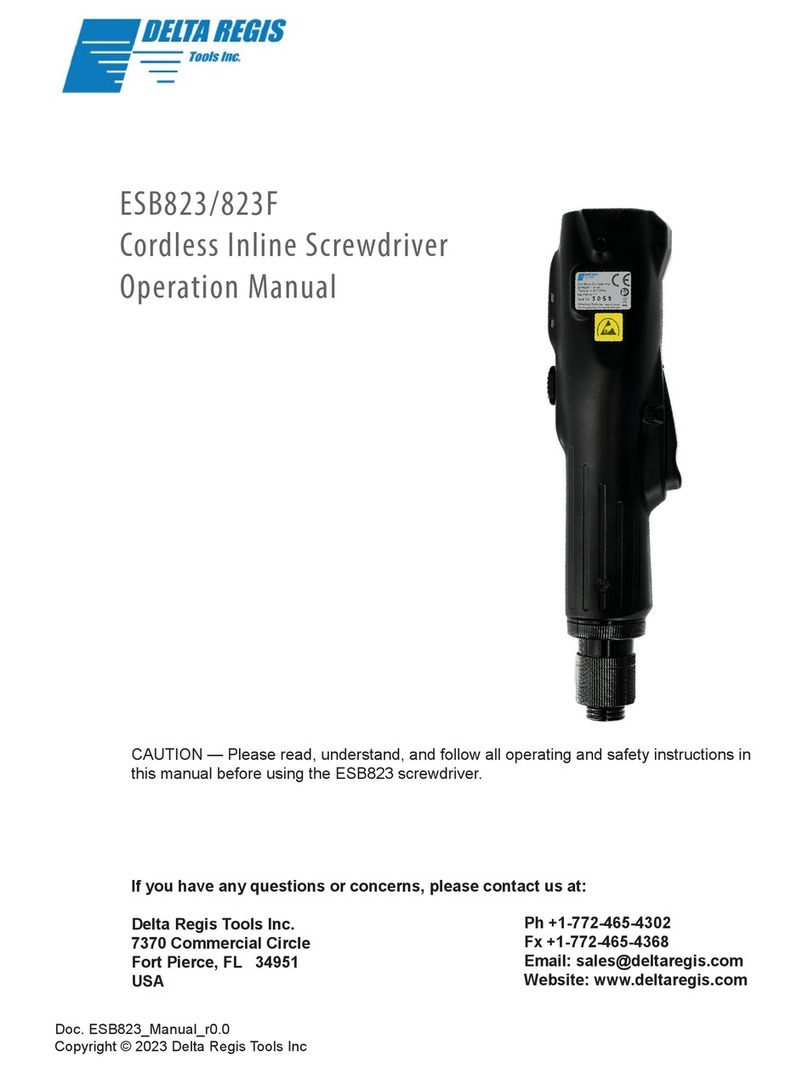
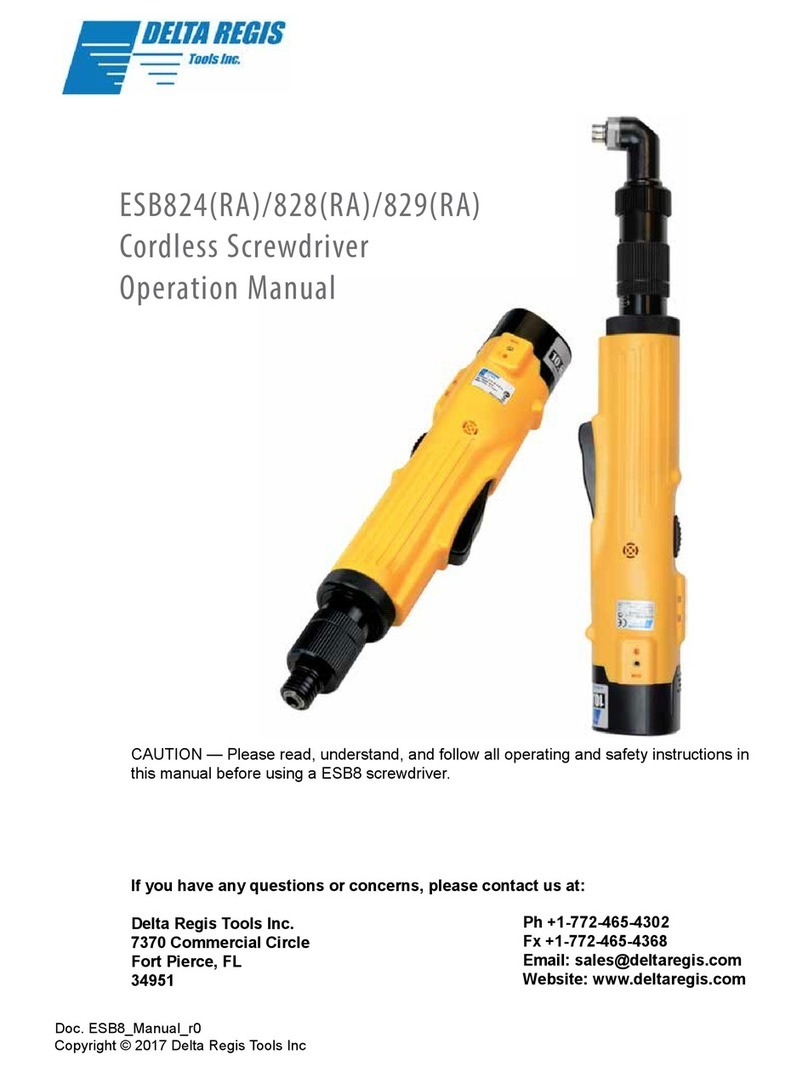
manuals.online logo
Brands
  1. Home
  2. •
  3. Brands
  4. •
  5. Delta Regis
  6. •
  7. Power Screwdriver
  8. •
  9. Delta Regis ESL210-ESD User manual

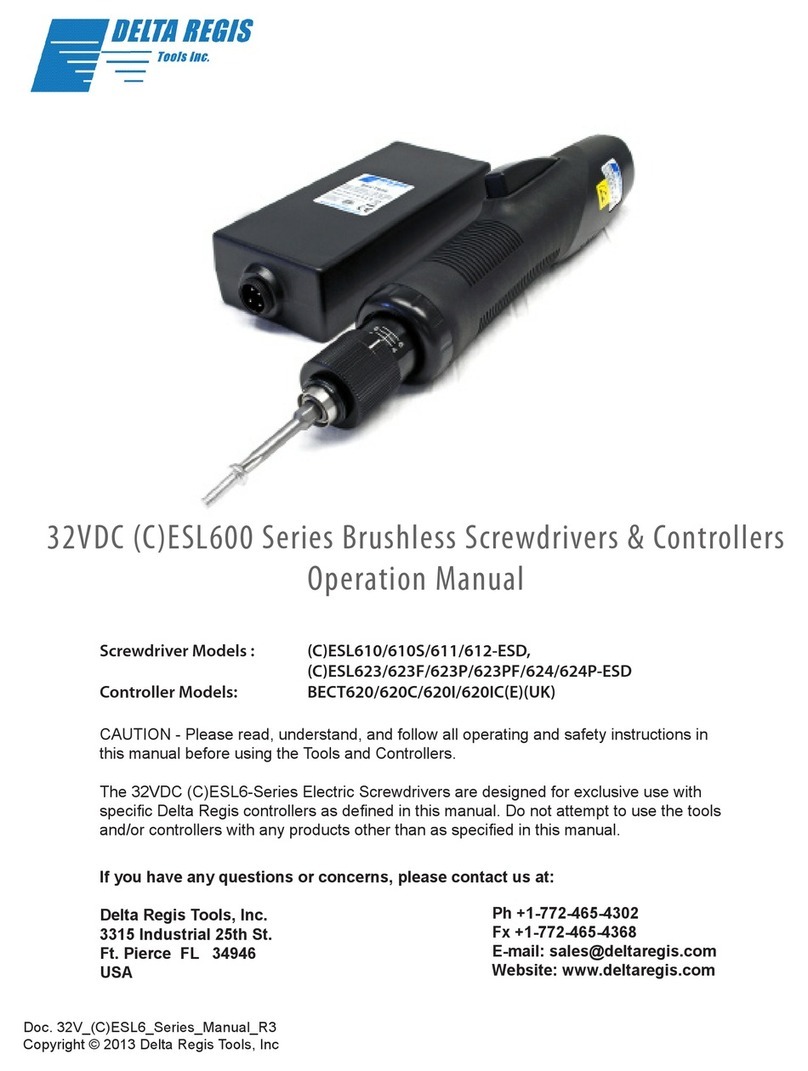
Delta Regis ESL210-ESD User manual

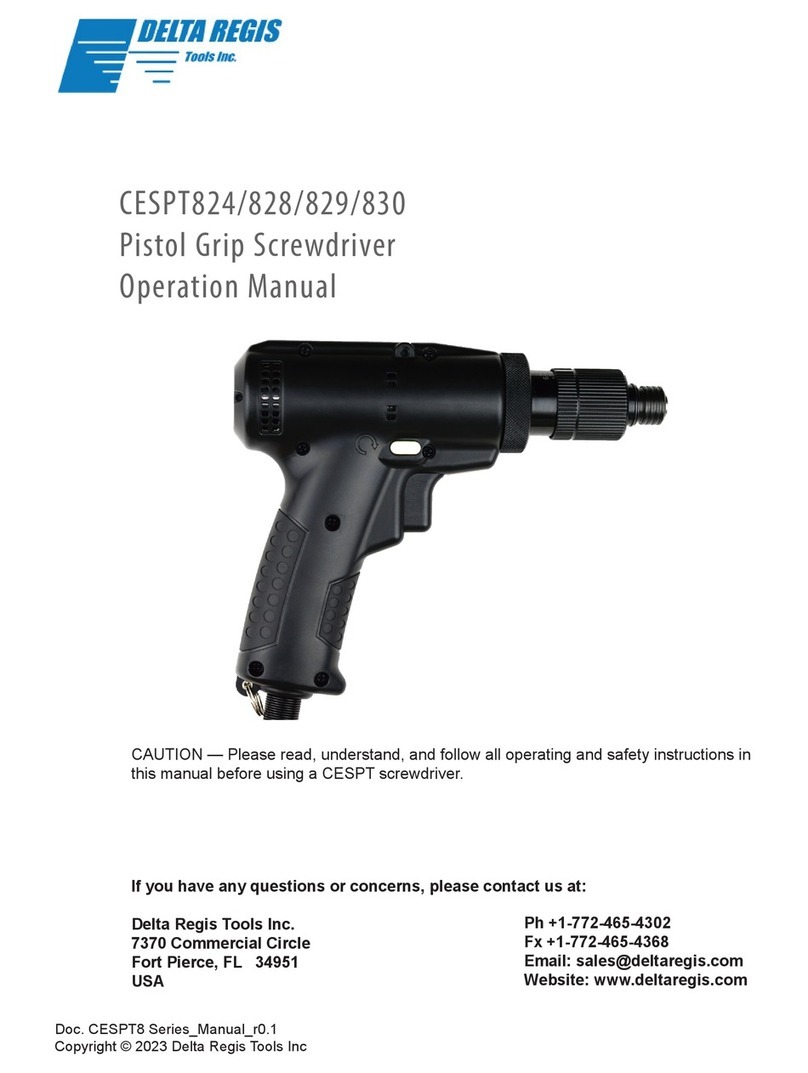
‘ESL2’ Series Brushless Screwdriver & Controller
Operation Manual
CAUTION - Please read, understand, and follow all operating and safety instructions in this
manual before using the Tools and Controllers.
The ESL2 Series of Delta Regis 12VDC Screwdrivers is designed for exclusive use with specic
Delta Regis Controllers as specied in this manual. Do not attempt to use the tools and/or
controllers with any products other than as specied in this manual.
If you have any questions or concerns, please contact us at:
Delta Regis Tools, Inc.
3315 Industrial 25th St.
Ft. Pierce FL 34946
USA
Ph +1-772-465-4302
Fx +1-772-465-4368
E-mail: [email protected]om
Website: www.deltaregis.com
Doc. ESL2_Series_Manual_R0
Copyright © 2011 Delta Regis Tools, Inc
Screwdriver models: ESL210-ESD, ESL210S-ESD, ESL211-ESD, ESL211S-ESD
Controller model: BECT200(E)(UK)
ESL2 Series
Operation Manual
www.deltaregis.com
Important - Installation and Safety
Please read and understand the operation manual and follow all safety and operation instructions.1.
Use these products in a suitable dry, indoor location. Do not use the tools and controllers in damp, wet or2.
high temperature environments. Do not use in the presence of ammable liquids or gases.
Ensure that the controller has proper ventilation. Do not expose the tools and controllers to areas subject to3.
airborne contaminants (eg. dust, metal lings).
Use only a properly grounded electrical outlet of the correct supply voltage to power the controller. Ensure4.
that the supply is overload protected and of sucient amperage capacity.
Use only the correct plug for the controller and outlet. Hold the plug of the power cord when connecting or5.
disconnecting. Do not pull on the cable.
Do not expose the cable, tool or controller to oil, chemicals, or heat. Ensure that the cable is routed and6.
used in such a manner as to not be subject to sharp objects that may abrade or cut the cable.
Locate the controller in a suitable, safe location on a steady surface. Do not place in a high location where7.
there may be a risk of it falling. Secure the controller in position to prevent possible movement caused by
pulling on the power or tool cables.
Do not cover the controller or stack any objects on top of or near the controller. Ensure that adequate8.
clearance and ventilation is provided around the perimeter of the controller.
The ‘BECT200’ Controller is for use exclusively with Delta Regis brand ‘ESL2’ series screwdrivers as specied9.
on the following pages. Use of the controller (or screwdriver) with any other screwdriver (or controller) may
result in malfunction, damage, or injury.
In the event that the controller is overloaded beyond the maximum current rating, an internal fuse will10.
disrupt power. Should the controller stop functioning, or exhibit abnormal or intermittent operation, please
discontinue use immediately and send the controller to an authorized service centre for troubleshooting
and repair.
Excessive duty cycle will cause the tool and/or controller to overheat. If this occurs, discontinue use until11.
cooled down and reduce cycle rate. As a general rule, do not exceed 15-20 screws/minute.
Turn the main power switch o when the controller is not being used. Unplug the controller if it is not12.
being used on a regular basis.
Do not attempt to disassemble or repair the screwdriver or controller. Repairs should only be performed by13.
qualied technicians properly trained in the safe operation, troubleshooting, and repair of these devices.
Please consult Delta Regis for the location of the nearest service depot.
Use only the factory specied Delta Regis brand replacement parts and accessories with these tools and14.
controllers.
Any damage to the tool and/or controller resulting from misuse, abuse, or failure to follow these guidelines15.
will void the limited product warranty.
Warning - Failure to understand and follow proper installation guidelines, safety requirements, and
operating instructions may result in malfunction, component damage, property damage, shock hazard,
re hazard, injury or death.
Grounding - This controller (and AC power cord) is equipped with a 3-prong electrical receptacle/plug with
ground pin. The controller must be connected to a properly grounded AC electrical outlet. Do not attempt
to use this controller without a properly functioning ground connection. Never connect a live circuit to the
ground pin or internal yellow-green ground wire.
Pg 2 of 4
Model Number(1) Start Type Range In.Lbs Range Nm
Speed (RPM)
Hi / Lo
Screwdriver
Bit Type
Length
in / mm
Grip Dia.
in / mm
Weight
lbs / g
ESL210-ESD Lever 0.07 - 1.32 0.01 - 0.147 1000 / 700 4mm 6.5 / 165 0.9 / 23 0.4 / 170
ESL210S-ESD Lever 0.07 - 1.32 0.01 - 0.147 280 / 200 4mm 6.5 / 165 0.9 / 23 0.4 / 170
ESL211-ESD Lever 0.44 - 3.08 0.05 - 0.343 1000 / 700 4mm 6.5 / 165 0.9 / 23 0.4 / 170
ESL211S-ESD Lever 0.44 - 3.08 0.05 - 0.343 280 / 200 4mm 6.5 / 165 0.9 / 23 0.4 / 170
Controller for above tools
BECT200(2) Input 100-240VAC, 50/60hz, 1A ; Output 12/9VDC, 30W 105 x 52 x 31 mm 0.3 / 140
ESL2 Series
Operation Manual
www.deltaregis.com Pg 3 of 4
(1) To specify screwdriver without ESD safe housing, remove sux ‘-ESD’ from part number.
(2) Controller includes standard North American power cord. Add sux‘E’for EU cord, sux ‘UK’ for UK cord.
Model Numbers and Specifications
Product Overview / Operation
Torque Lock Sleeve
(included with driver)
Covers torque adjustment
to deter tampering.
Bit Holder
Accepts 4mm round,
winged driver bits.
Pull back sleeve to
insert bit, align bit
and release to lock.
Start Lever
Press to run screwdriver
in forward (CW) direction.
Hold until clutch trips and
driver shuts o.
Torque Adjustment Nut and Reference Scale
Rotate nut CW to increase torque setting.
Rotate nut CCW to decrease the torque setting.
Note - Scale values (1-5) are for reference purposes
only and do not indicate an actual torque value.
Reverse Button
With Start Lever released,
press and hold button with
thumb to run screwdriver
in reverse (CCW) direction.
Detachable Tool Cable
Align cable and insert fully
into receptacle. Carefully
tighten nut - do not cross-
thread or overtighten.
Suspension Bail
Use to support driver
from tool balancer.
AC Power Cord
Plug BECT200 power cord into properly grounded AC outlet.
ON / OFF Power Switch
Use to turn controller power ON (1) or OFF (0).
Switch power controller OFF when not in use.
Hi/Low Speed Switch
Select desired operating speed (Hi or Low) for screwdriver.
Tool Cable Connector
Align cable and insert fully
into receptacle. Carefully
tighten nut - do not cross-
thread or overtighten.
ESL2 Series
Operation Manual
www.deltaregis.com Pg 4 of 4
Controllers are not user serviceable. Any repairs must be performed by a Delta Regis authorized service center.
Please consult Delta Regis Tools for further information and the location of the nearest authorized service center.
Repairs to brushless screwdrivers must be performed by trained personnel, knowledgeable and qualied in the
repair of DC electric screwdrivers. Use only genuine Delta Regis parts when servicing these products.
Do not attempt to modify the tools or controllers.
Service
Delta Regis Screwdrivers and Controllers are warranted for one year from the date of purchase against defects in
material and workmanship. In addition, the brushless motor in the screwdriver is warranted for three years from
the date of purchase against defects in material and workmanship. This warranty does not cover damage due to
transportation, abuse, misuse, or improper service. Our sole remedy is to repair or replace (at our discretion) any
unit found to be defective due to defects in material or workmanship. It is the responsibility of the user to return
any product thought to be defective, freight prepaid, to our warehouse for inspection and evaluation.
There is no warranty of merchantability or tness of purpose. In no event will Delta Regis Tools, Inc.
be liable for business interruptions, loss of prots, harm, injury, damage, personal injury, cost of delay,
or any other special, indirect, incidental, or consequential losses, costs, or damages.
Warranty
Plug the screwdriver cable into the tool and secure the connector nut. Repeat at the controller end.1.
With the controller’s power switch OFF, insert the power cord into an appropriate AC receptacle.2.
Insert the required screwdriver bit into the screwdriver’s bit holder.3.
Turn on the power switch. Select desired speed (Hi/Low) via the switch on the side of the controller.4.
Grip the screwdriver around the housing diameter so that the index nger can comfortably operate the start5.
lever with the remainder of the ngers securely holding the body of the screwdriver. Maintain a rm grip to
prevent the driver from spinning in the hand during operation.
To install a fastener, position the tip of the driver bit properly into the screw head. Press and hold the start6.
lever - the driver will turn on (rotate CW) and rundown the fastener. When the tool reaches the preset torque,
the driver will shut o. Release the trigger once the driver has completed this cycle and shut o. To stop the
screwdriver before rundown completion, release the start lever.
To reverse out a fastener, with the start lever released, push the reverse button with the thumb.7.
Set-up and Tool Operation
The torque adjusting nut at the nose of the tool is used to set the output torque of the driver. Rotate the nut
clockwise (covering increasing numbers on the scale) to increase torque output and ccw to decrease. The
numeric scale is for reference only and does not indicate actual torque values. Setting the driver to provide a
specic torque value requires torque testing equipment and auditing/verication of the installed fastener.
Make adjustments through a series of gradual increases, starting below the desired torque level. Once the desired
torque setting is achieved, install the torque lock sleeve to help avoid accidental changes in adjustment.
The driver’s output torque should be checked/veried on a regular basis. Frequency of verication will depend on
the user’s specic application and quality control requirements.
Adjusting Screwdriver Output Torque

This manual suits for next models

4

Other Delta Regis Power Screwdriver manuals

Delta Regis ESB824P User manual

Delta Regis

Delta Regis ESB824P User manual

Delta Regis BESL3 Series User manual

Delta Regis

Delta Regis BESL3 Series User manual

Delta Regis ESL-XTE3 Series User manual

Delta Regis

Delta Regis ESL-XTE3 Series User manual

Delta Regis 18VDC ESB6-X Series User manual

Delta Regis

Delta Regis 18VDC ESB6-X Series User manual

Delta Regis ICESL6 User manual

Delta Regis

Delta Regis ICESL6 User manual

Delta Regis ESL300 User manual

Delta Regis

Delta Regis ESL300 User manual

Delta Regis ESB824 User manual

Delta Regis

Delta Regis ESB824 User manual

Delta Regis BECT620C User manual

Delta Regis

Delta Regis BECT620C User manual

Delta Regis BSP824 User manual

Delta Regis

Delta Regis BSP824 User manual

Delta Regis CESPT830 User manual

Delta Regis

Delta Regis CESPT830 User manual

Delta Regis ESB828 User manual

Delta Regis

Delta Regis ESB828 User manual

Delta Regis ESB823 User manual

Delta Regis

Delta Regis ESB823 User manual

Delta Regis CESL8 Series User manual

Delta Regis

Delta Regis CESL8 Series User manual

Delta Regis 600 Series User manual

Delta Regis

Delta Regis 600 Series User manual

Delta Regis ESB6-8 User manual

Delta Regis

Delta Regis ESB6-8 User manual

Delta Regis ESL310-ESD User manual

Delta Regis

Delta Regis ESL310-ESD User manual

Delta Regis CESPT824 User manual

Delta Regis

Delta Regis CESPT824 User manual

Popular Power Screwdriver manuals by other brands

WorkPro W004532A Operator's manual

WorkPro

WorkPro W004532A Operator's manual

Powerplus POWX0057 manual

Powerplus

Powerplus POWX0057 manual

Hyundai power products HPP18V2B2A manual

Hyundai power products

Hyundai power products HPP18V2B2A manual

Fieldmann FASTPOWER 20V Series user manual

Fieldmann

Fieldmann FASTPOWER 20V Series user manual

Makita DFS441 instruction manual

Makita

Makita DFS441 instruction manual

Atlas Copco QMC21-25-HM4 Product instructions

Atlas Copco

Atlas Copco QMC21-25-HM4 Product instructions

Makita DFL651F instruction manual

Makita

Makita DFL651F instruction manual

Tchibo 301226 Original instructions for use

Tchibo

Tchibo 301226 Original instructions for use

Makita BFR440RFE instruction manual

Makita

Makita BFR440RFE instruction manual

Tryton TUV12B Operating	 instruction

Tryton

Tryton TUV12B Operating instruction

IKEA TRIXIG manual

IKEA

IKEA TRIXIG manual

Black & Decker ASL146 Original instructions

Black & Decker

Black & Decker ASL146 Original instructions

Ryobi RAD1801 Original instructions

Ryobi

Ryobi RAD1801 Original instructions

Ferm CDM1097 Original instructions

Ferm

Ferm CDM1097 Original instructions

Atlas Copco LUM22 HR6-P Product instructions

Atlas Copco

Atlas Copco LUM22 HR6-P Product instructions

Parkside 6-LIA Operation and safety notes

Parkside

Parkside 6-LIA Operation and safety notes

Worcraft CRH-S20LiB manual

Worcraft

Worcraft CRH-S20LiB manual

Facom E.218 instruction manual

Facom

Facom E.218 instruction manual

manuals.online logo
manuals.online logoBrands
  • About & Mission
  • Contact us
  • Privacy Policy
  • Terms and Conditions

Copyright 2025 Manuals.Online. All Rights Reserved.