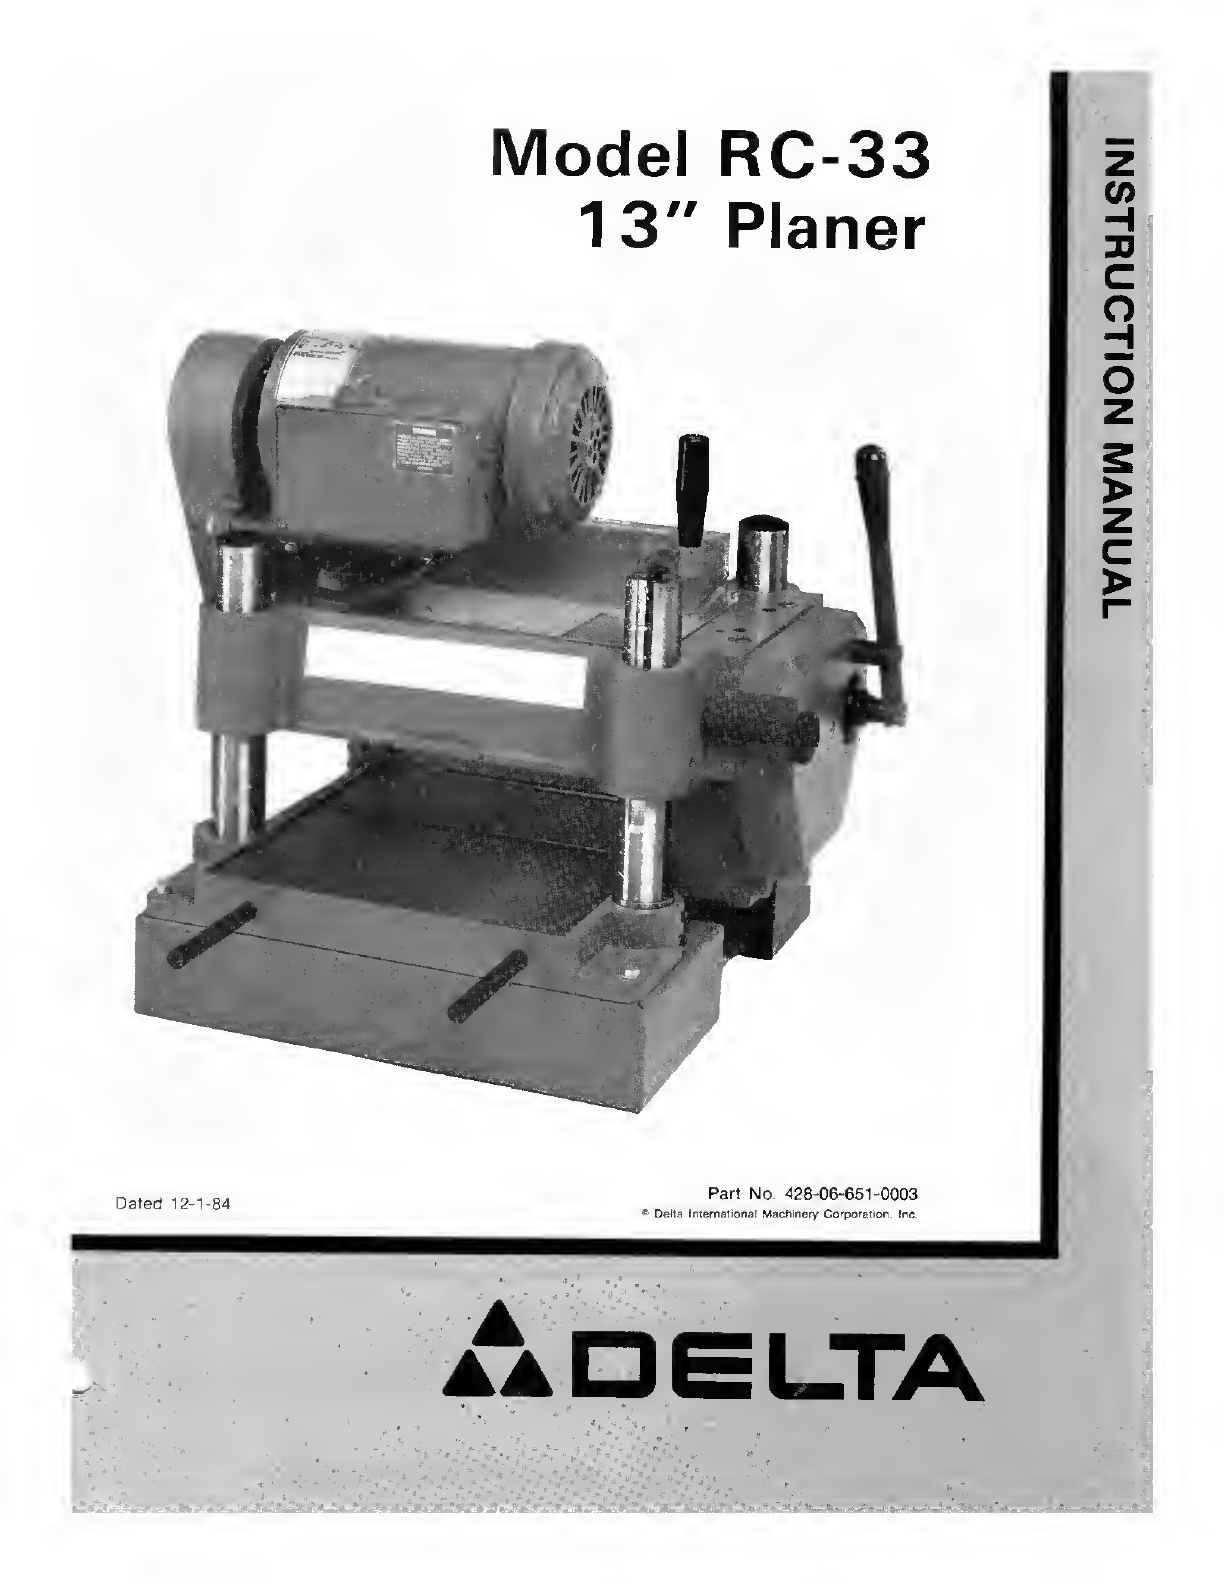
Delta RC-33 User manual
Other Delta Planer manuals

Delta
Delta ShopMaster TP300 User manual

Delta
Delta TP305 User manual

Delta
Delta 22-790X User manual

Delta
Delta 22-785 User manual

Delta
Delta 22-660 User manual

Delta
Delta ShopMaster TP400LS User manual

Delta
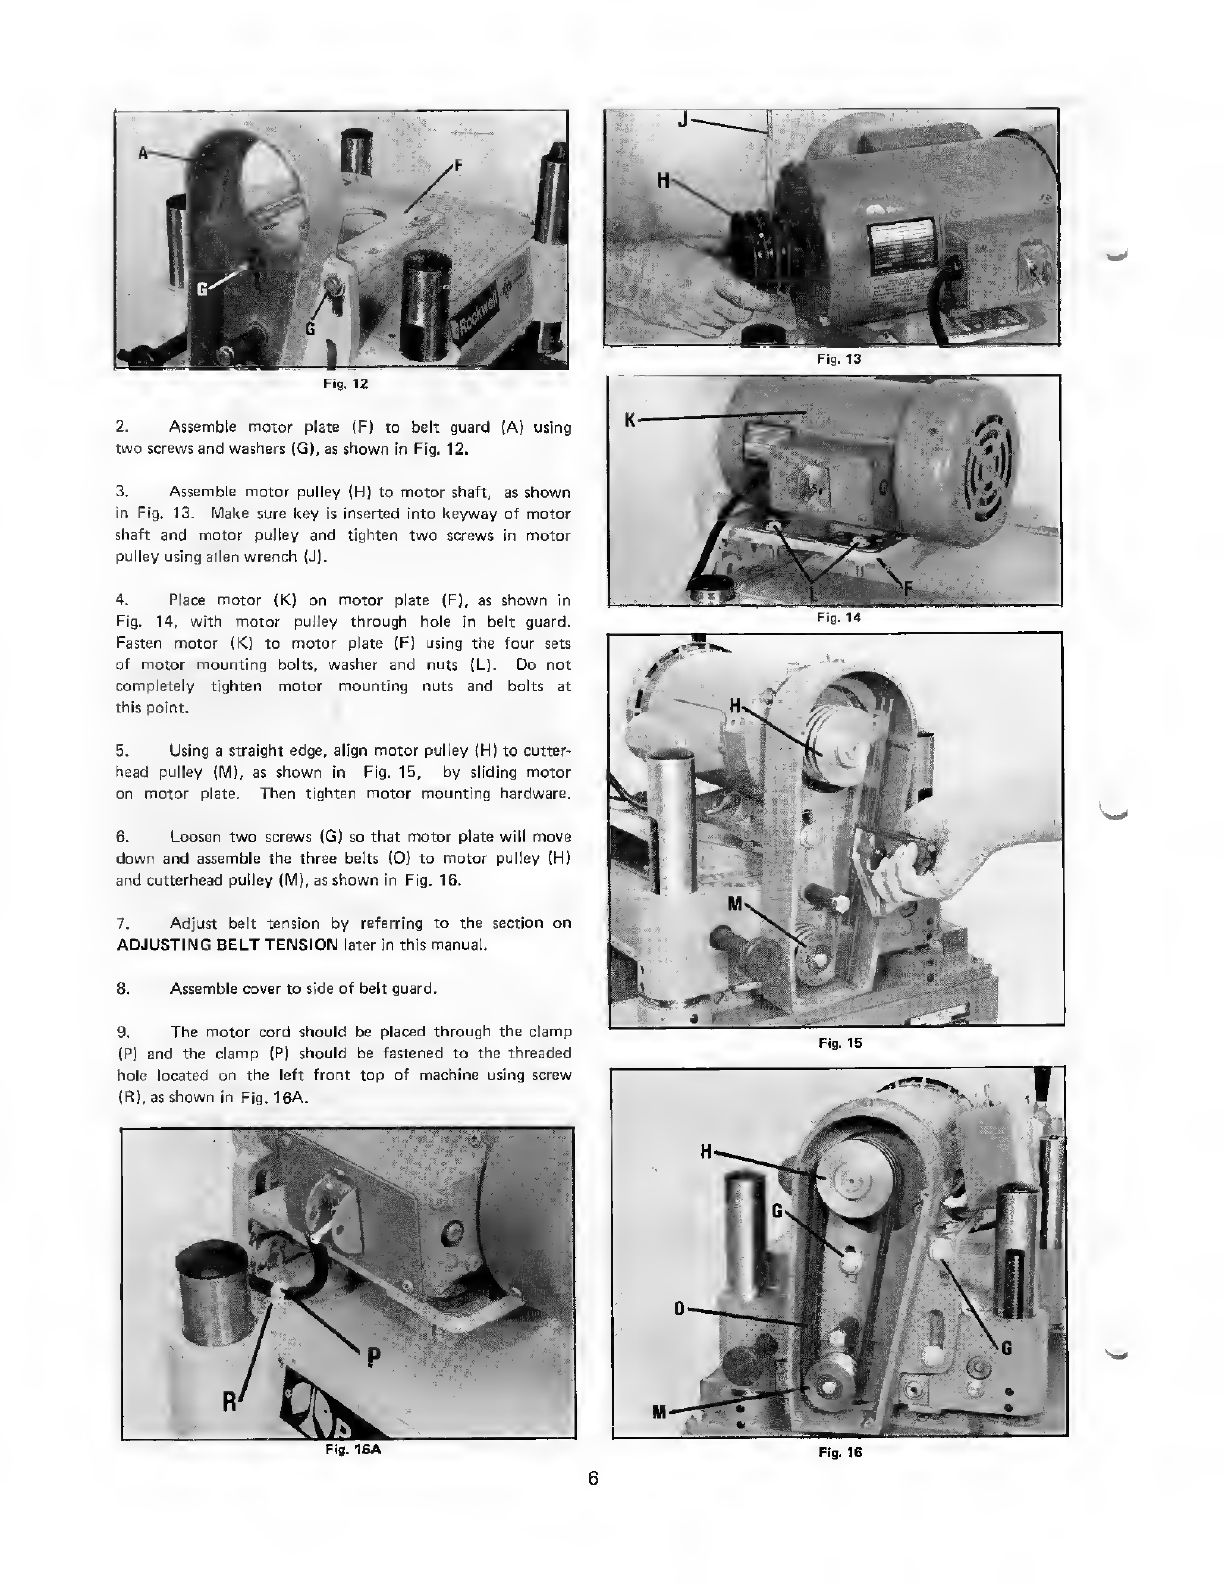
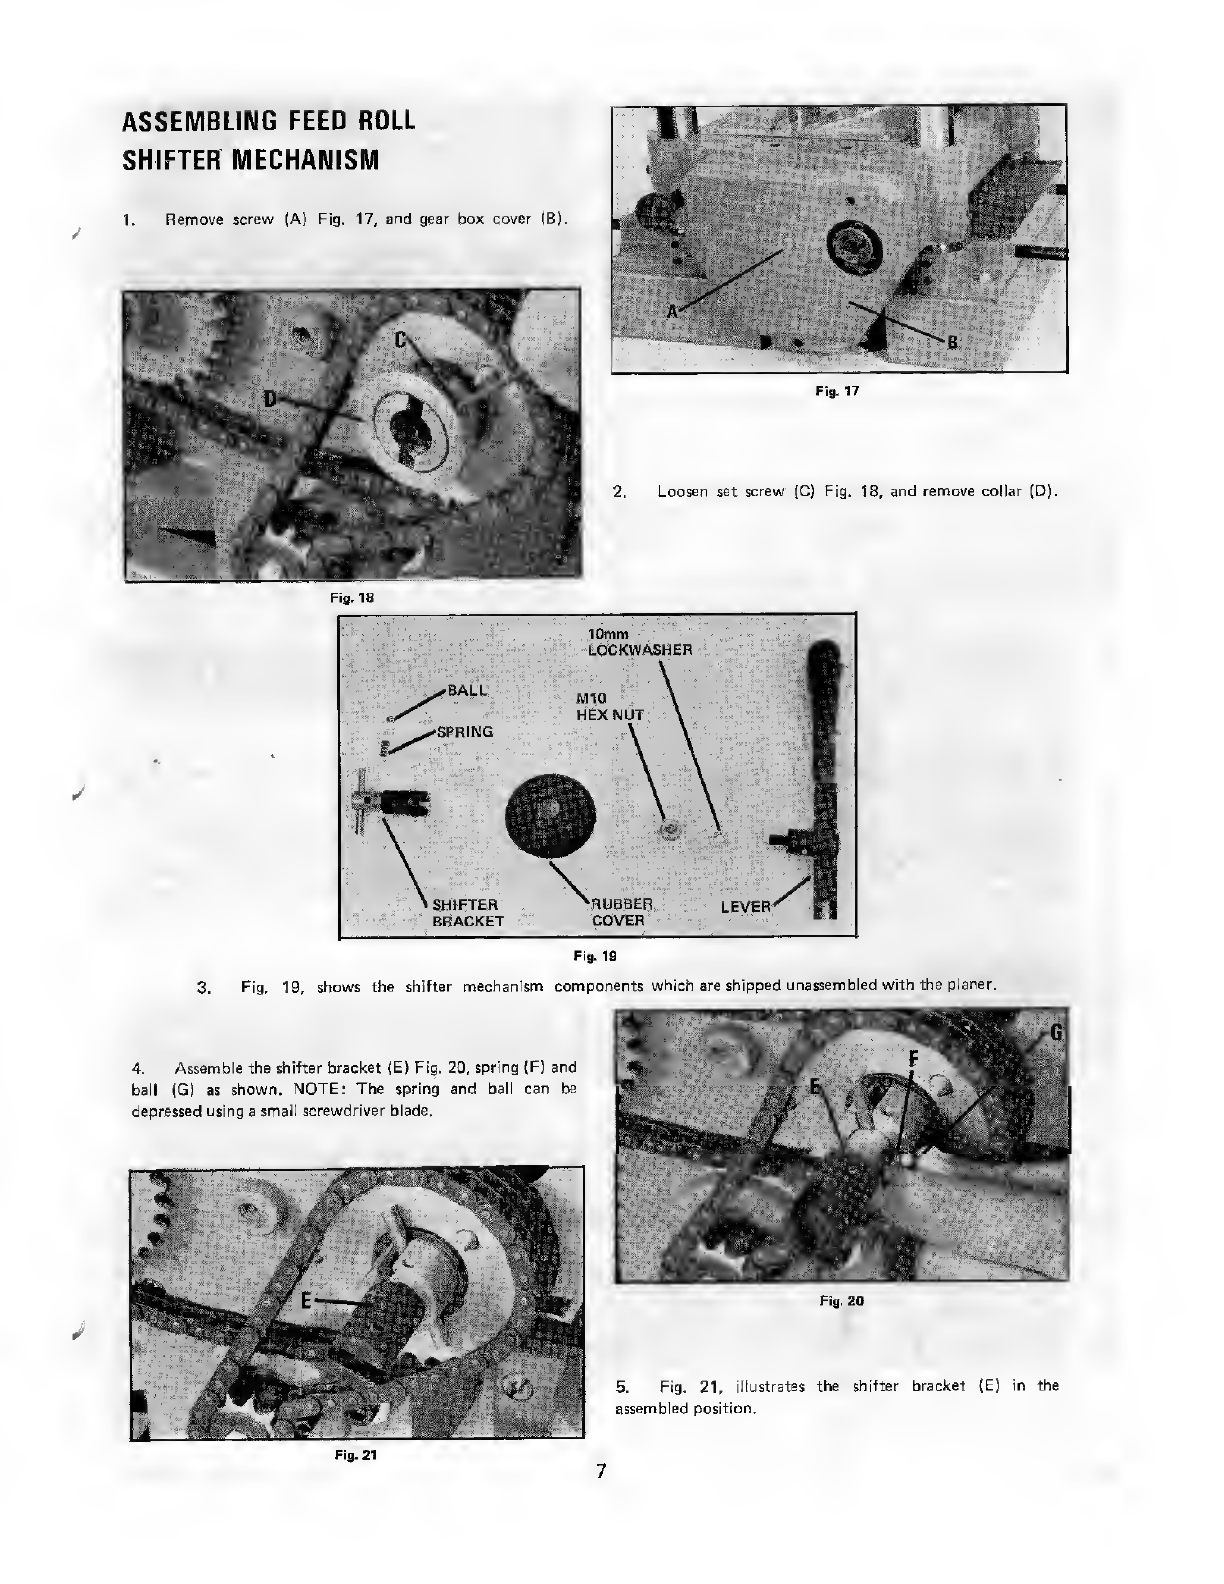
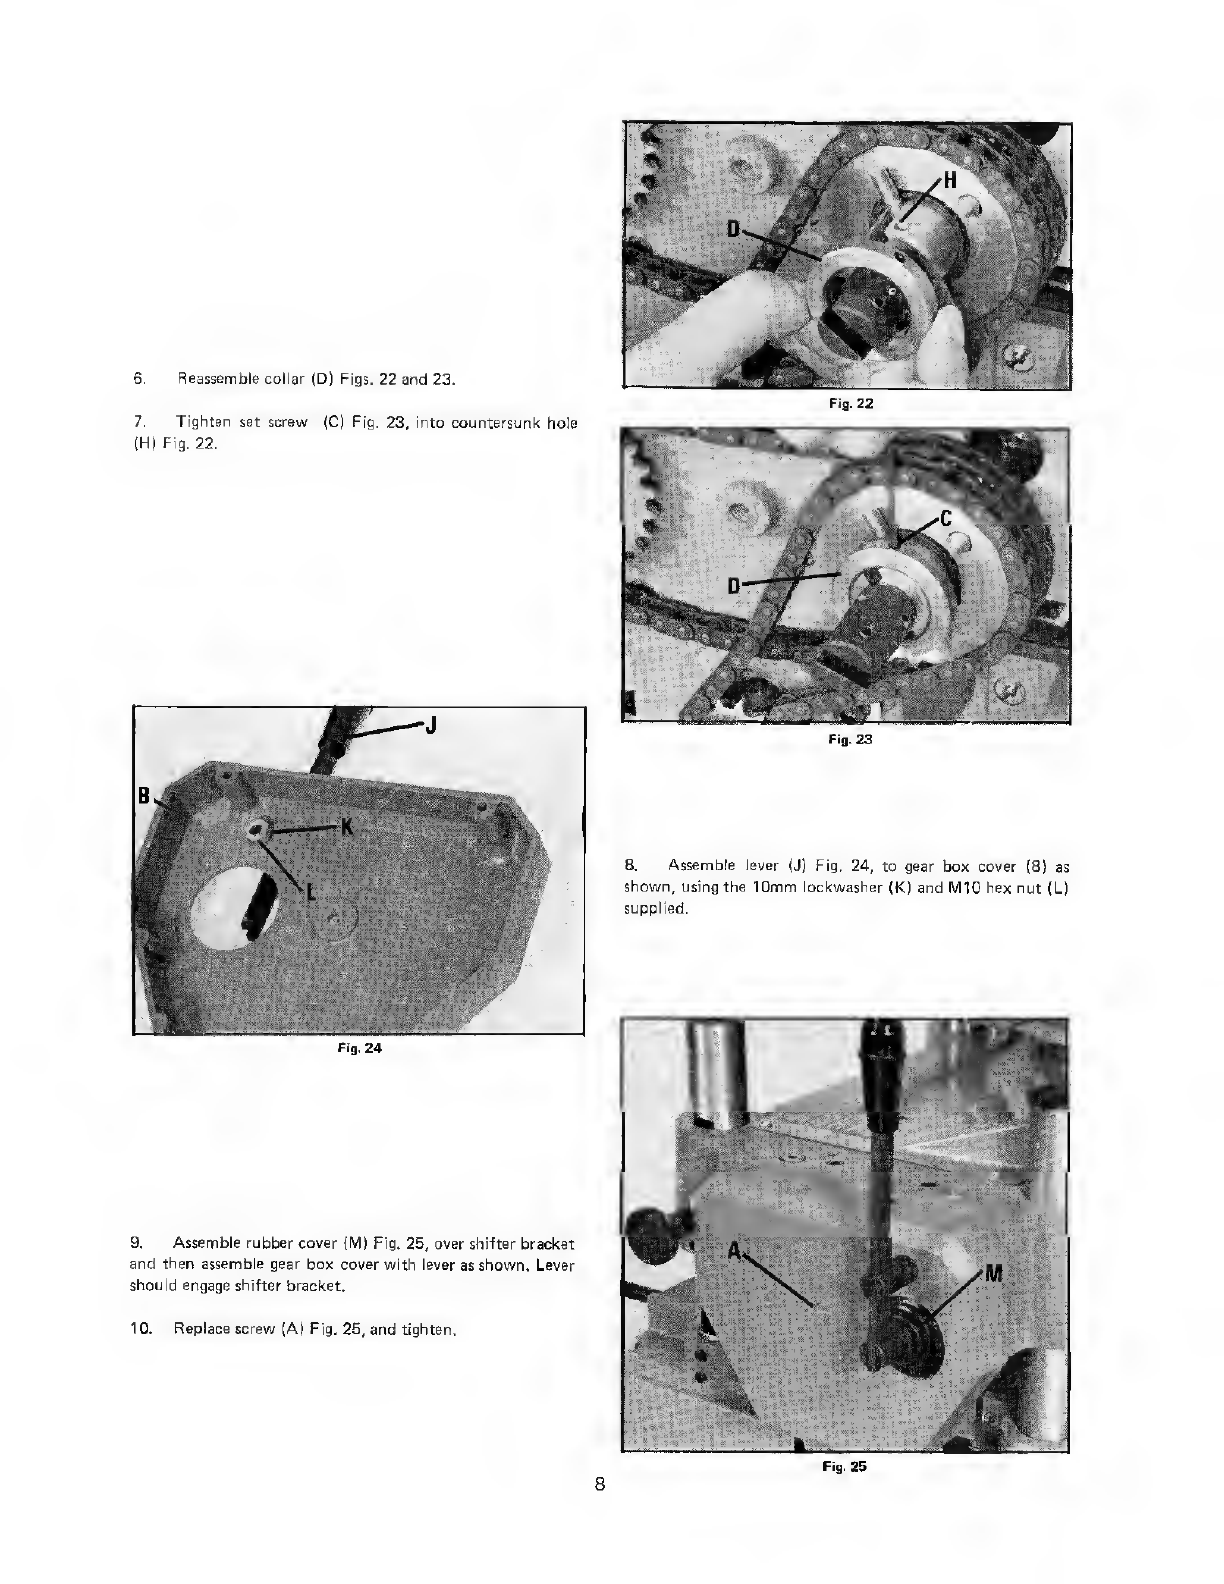
Delta RC-33 User manual

Delta
Delta 22-560 User manual

Delta
Delta DC-580 20" PLANER 22-450 User manual

Delta
Delta 22-555 User manual

Delta
Delta RC-63D User manual

Delta
Delta RC-33 User manual

Delta
Delta 22-470 User manual

Delta
Delta 22-540 User manual

Delta
Delta 22-610 User manual

Delta
Delta RC-51 User manual

Delta
Delta 13" PORTABLE PLANER 22-590 User manual

Delta
Delta 22-560 User manual

Delta
Delta Milwaukee PM-1738 Manual

Delta
Delta 18657 User manual


Popular Planer manuals by other brands

Felisatti
Felisatti PF180/1500 operating instructions

DeWalt
DeWalt DW 1150 Operation, adjustmants, maintenance, spare parts

Triton
Triton TRP UL Operating and safety instructions

Melbourne
Melbourne MTC-49407 owner's manual

VARO
VARO POWERplus POW1520 manual

Powermatic
Powermatic 209 Operating instructions and parts manual