Delta Hybrid E5 User manual

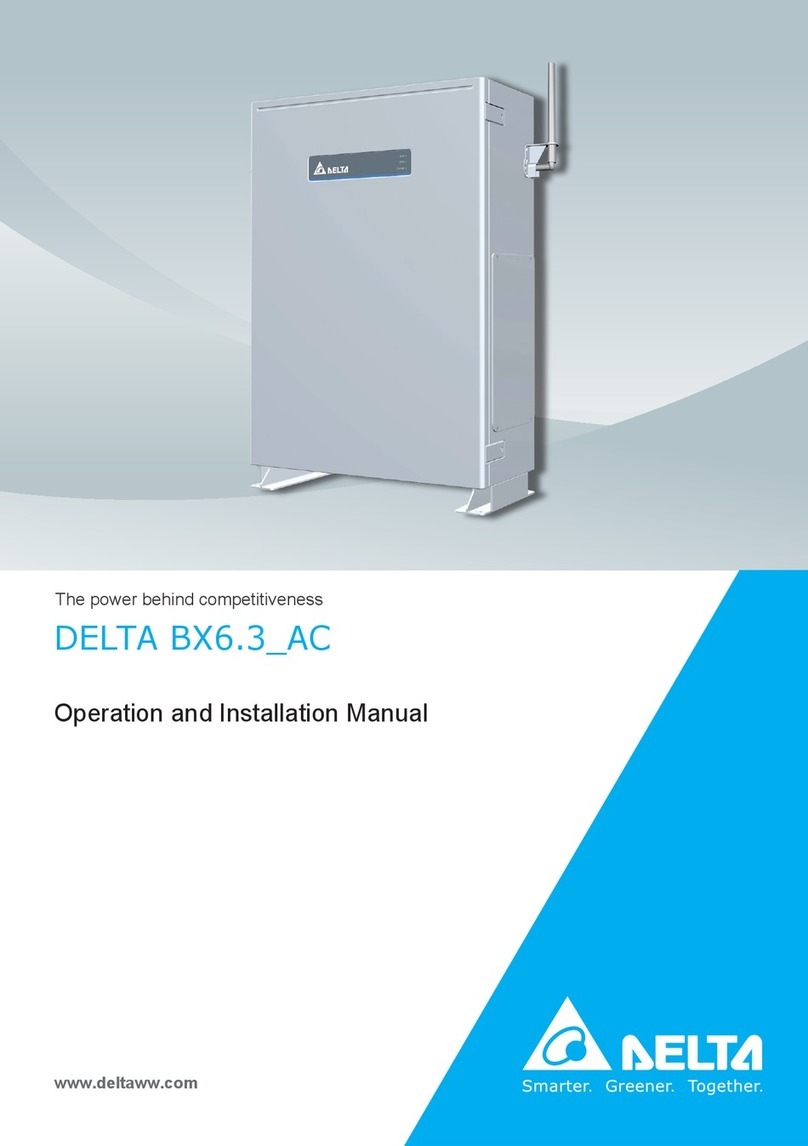
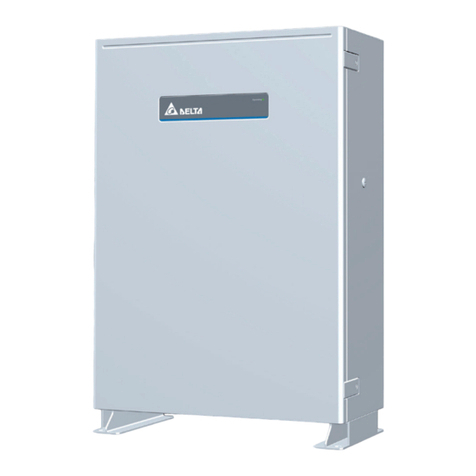
Hybrid E5 Battery Storage System
Installation instructions
EuropeUnited Kingdom

2Installation Instructions for the Hybrid E5 Battery Storage System EU V1 EN 2018-09-17
The Delta manuals undergo continuous revision in order
to provide you with complete information regarding the
installation and operation of our inverters. Therefore,
before starting installation work, always consult www.
solar-inverter.com to check whether a newer version of the
Quick Installation Guide or of the comprehensive Installa-
tion and Operation Manual is available.
© Copyright – Delta Electronics (Netherlands) B.V. – All
rights reserved.
This manual is intended for installers.
The information in this manual is to be treated as conden-
tial and no part of this manual may be reproduced without
prior written permission from Delta Electronics. The infor-
mation in this manual may not be used for any purpose not
directly connected to the use of the inverter.
All information and specications can be modied without
prior notice.
All translations of this manual not authorized by Delta
Electronics (Netherlands) B.V. must include the annotation:
"Translation of the original operation manual".
Delta Electronics (Netherlands) B.V.
Tscheulinstraße 21
79331 Teningen
Germany
Authorized representative for this product in the EU:
Delta Electronics (Netherlands) B.V.
Zandsteen 15
2132 MZ Hoofddorp
Netherlands

3
Installation Instructions for the Hybrid E5 Battery Storage System EU V1 EN 2018-09-17
Basic safety instructions. . . . . . . . . . . . . . . . . . . . . . . . . . . . . . . . . . . . . . . . . . . . . . . . . . . . . . . . .4
Inverter . . . . . . . . . . . . . . . . . . . . . . . . . . . . . . . . . . . . . . . . . . . . . . . . . . . . . . . . . . . . . . . . .4
Battery box . . . . . . . . . . . . . . . . . . . . . . . . . . . . . . . . . . . . . . . . . . . . . . . . . . . . . . . . . . . . . . . 5
System overview . . . . . . . . . . . . . . . . . . . . . . . . . . . . . . . . . . . . . . . . . . . . . . . . . . . . . . . . . . . . . 6
Scope of supply. . . . . . . . . . . . . . . . . . . . . . . . . . . . . . . . . . . . . . . . . . . . . . . . . . . . . . . . . . . . . .8
Inverter . . . . . . . . . . . . . . . . . . . . . . . . . . . . . . . . . . . . . . . . . . . . . . . . . . . . . . . . . . . . . . . . .8
Battery box . . . . . . . . . . . . . . . . . . . . . . . . . . . . . . . . . . . . . . . . . . . . . . . . . . . . . . . . . . . . . . . 8
Power meter: P1E or P3E . . . . . . . . . . . . . . . . . . . . . . . . . . . . . . . . . . . . . . . . . . . . . . . . . . . . . . . 9
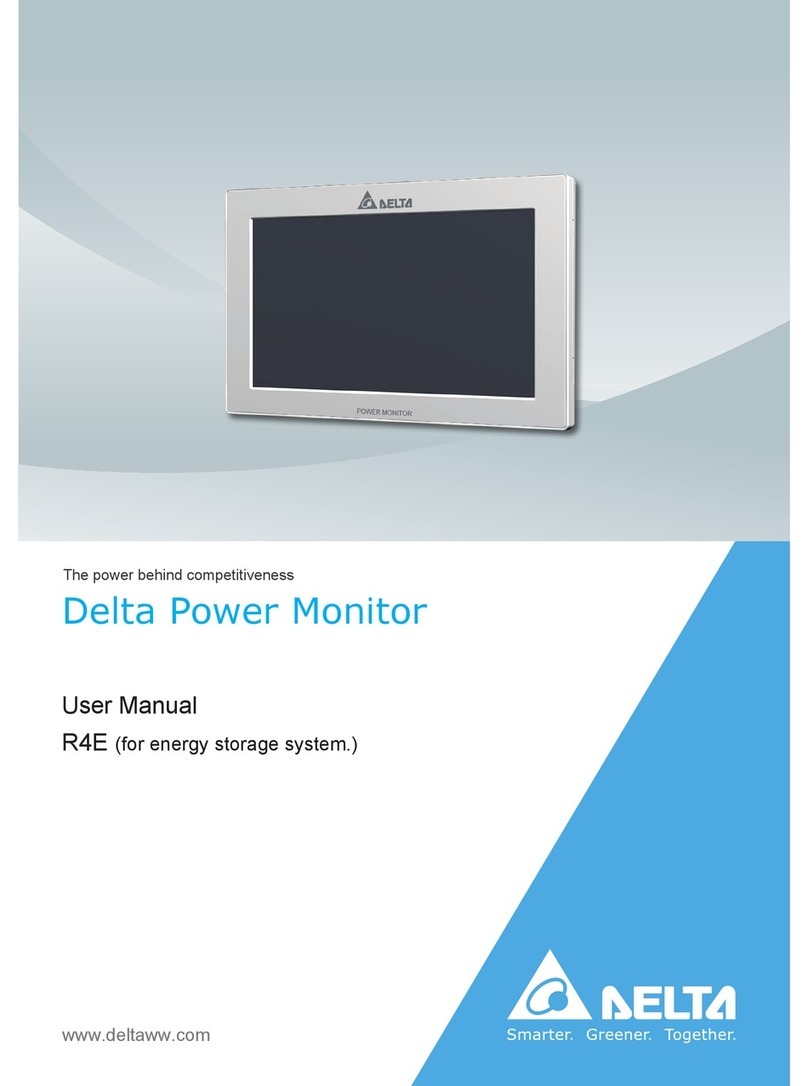
R4E Smart Monitor . . . . . . . . . . . . . . . . . . . . . . . . . . . . . . . . . . . . . . . . . . . . . . . . . . . . . . . . . . .9
Components of the system . . . . . . . . . . . . . . . . . . . . . . . . . . . . . . . . . . . . . . . . . . . . . . . . . . . . . . 10
Inverter . . . . . . . . . . . . . . . . . . . . . . . . . . . . . . . . . . . . . . . . . . . . . . . . . . . . . . . . . . . . . . . . 10
Battery box . . . . . . . . . . . . . . . . . . . . . . . . . . . . . . . . . . . . . . . . . . . . . . . . . . . . . . . . . . . . . . 12
Power meter . . . . . . . . . . . . . . . . . . . . . . . . . . . . . . . . . . . . . . . . . . . . . . . . . . . . . . . . . . . . . 14
Smart Monitor . . . . . . . . . . . . . . . . . . . . . . . . . . . . . . . . . . . . . . . . . . . . . . . . . . . . . . . . . . . . 15
Planning the installation . . . . . . . . . . . . . . . . . . . . . . . . . . . . . . . . . . . . . . . . . . . . . . . . . . . . . . . . 16
Inverter installation location . . . . . . . . . . . . . . . . . . . . . . . . . . . . . . . . . . . . . . . . . . . . . . . . . . . . . 16
Battery box installation location . . . . . . . . . . . . . . . . . . . . . . . . . . . . . . . . . . . . . . . . . . . . . . . . . . . 17
Circuit diagram for 1-phase grids. . . . . . . . . . . . . . . . . . . . . . . . . . . . . . . . . . . . . . . . . . . . . . . . . . . 18
Circuit diagram for 3-phase grids. . . . . . . . . . . . . . . . . . . . . . . . . . . . . . . . . . . . . . . . . . . . . . . . . . . 20
Dimensions . . . . . . . . . . . . . . . . . . . . . . . . . . . . . . . . . . . . . . . . . . . . . . . . . . . . . . . . . . . . . . . 22
Inverter . . . . . . . . . . . . . . . . . . . . . . . . . . . . . . . . . . . . . . . . . . . . . . . . . . . . . . . . . . . . . . . . 22
Battery box . . . . . . . . . . . . . . . . . . . . . . . . . . . . . . . . . . . . . . . . . . . . . . . . . . . . . . . . . . . . . . 23
Power meter and Smart Monitor . . . . . . . . . . . . . . . . . . . . . . . . . . . . . . . . . . . . . . . . . . . . . . . . . . . 24
Mounting . . . . . . . . . . . . . . . . . . . . . . . . . . . . . . . . . . . . . . . . . . . . . . . . . . . . . . . . . . . . . . . . 25
Inverter . . . . . . . . . . . . . . . . . . . . . . . . . . . . . . . . . . . . . . . . . . . . . . . . . . . . . . . . . . . . . . . . 25
Battery box - Floor mounting . . . . . . . . . . . . . . . . . . . . . . . . . . . . . . . . . . . . . . . . . . . . . . . . . . . . . 28
Battery box - Wall mounting . . . . . . . . . . . . . . . . . . . . . . . . . . . . . . . . . . . . . . . . . . . . . . . . . . . . . 30
R4E Smart Monitor . . . . . . . . . . . . . . . . . . . . . . . . . . . . . . . . . . . . . . . . . . . . . . . . . . . . . . . . . . 33
P1E and P3E Power meter. . . . . . . . . . . . . . . . . . . . . . . . . . . . . . . . . . . . . . . . . . . . . . . . . . . . . . 34
Connect inverter to battery box . . . . . . . . . . . . . . . . . . . . . . . . . . . . . . . . . . . . . . . . . . . . . . . . . . . . 35
Readying charging cables for use and connecting them . . . . . . . . . . . . . . . . . . . . . . . . . . . . . . . . . . . . . . . 35
Readying CANBUS cable for use and connecting it . . . . . . . . . . . . . . . . . . . . . . . . . . . . . . . . . . . . . . . . . 38
Connect the communication card of the inverter. . . . . . . . . . . . . . . . . . . . . . . . . . . . . . . . . . . . . . . . . . . 39
Overview . . . . . . . . . . . . . . . . . . . . . . . . . . . . . . . . . . . . . . . . . . . . . . . . . . . . . . . . . . . . . . . 39
Connecting the communications cable . . . . . . . . . . . . . . . . . . . . . . . . . . . . . . . . . . . . . . . . . . . . . . . . 41
Connecting inverter and Smart Monitor via RS485. . . . . . . . . . . . . . . . . . . . . . . . . . . . . . . . . . . . . . . . . . 43
Connecting inverter and power meter via RS485. . . . . . . . . . . . . . . . . . . . . . . . . . . . . . . . . . . . . . . . . . . 44
Connecting the inverter to the mains (AC) . . . . . . . . . . . . . . . . . . . . . . . . . . . . . . . . . . . . . . . . . . . . . . 45
General information . . . . . . . . . . . . . . . . . . . . . . . . . . . . . . . . . . . . . . . . . . . . . . . . . . . . . . . . . 45
Readying AC cable for use and connecting it . . . . . . . . . . . . . . . . . . . . . . . . . . . . . . . . . . . . . . . . . . . . 46
Connecting CT cable of the power meter . . . . . . . . . . . . . . . . . . . . . . . . . . . . . . . . . . . . . . . . . . . . . . . 49
Connecting the inverter to solar modules (DC). . . . . . . . . . . . . . . . . . . . . . . . . . . . . . . . . . . . . . . . . . . . 51
Commissioning . . . . . . . . . . . . . . . . . . . . . . . . . . . . . . . . . . . . . . . . . . . . . . . . . . . . . . . . . . . . . 53
Technical specications . . . . . . . . . . . . . . . . . . . . . . . . . . . . . . . . . . . . . . . . . . . . . . . . . . . . . . . . 54
Inverter . . . . . . . . . . . . . . . . . . . . . . . . . . . . . . . . . . . . . . . . . . . . . . . . . . . . . . . . . . . . . . . . 54
Battery box . . . . . . . . . . . . . . . . . . . . . . . . . . . . . . . . . . . . . . . . . . . . . . . . . . . . . . . . . . . . . . 56
Power meter, Smart Monitor . . . . . . . . . . . . . . . . . . . . . . . . . . . . . . . . . . . . . . . . . . . . . . . . . . . . . 57
Customer Service - Europe . . . . . . . . . . . . . . . . . . . . . . . . . . . . . . . . . . . . . . . . . . . . . . . . . . . . . . 60
Table of Contents
4Installation Instructions for the Hybrid E5 Battery Storage System EU V1 EN 2018-09-17
Inverter
DANGER
Electric shock
Potentially fatal voltages are present at the
inverter during operation. When the inverter
is disconnected from all power sources, this
voltage remains in the inverter for up to 60
seconds.
Therefore, always carry out the following
steps before working on the inverter:
1. Turn the AC/DC disconnector to the OFF
position.
2. Disconnect the inverter from all AC and
DC voltage sources and make sure that
none of the connections can be acciden-
tally restored.
3. Wait at least 60 seconds until the internal
capacitors have discharged.
DANGER
Electric shock
Potentially fatal voltages are present at the in-
verter DC connections. When light falls on the
solar modules, they immediately start to gen-
erate electricity. This also happens when light
does not fall directly on the solar modules.
►Never disconnect the inverter from the
solar modules when it is under load.
►Turn the AC/DC disconnector to the OFF
position.
►Disconnect the connection to the mains so
that the inverter cannot supply energy to
the mains.
►Disconnect the inverter from all AC and
DC voltage sources. Ensure that none of
the connections can be restored acciden-
tally.
►Ensure that the DC cables cannot be
touched accidentally.
●To comply with the IEC 62109-5.3.3 safety require-
ments and avoid injury or material damage, the
inverter must be installed and operated in accordance
with the safety and operating instructions set out in
this manual. Delta Electronics is not responsible for
damage resulting from failure to follow the safety and
operating instructions set out in this manual.
●The inverter may be installed and commissioned only
by installers who have been trained and certied for
the installation and operation of mains-based solar
inverters.
●All repair work on the inverter must be carried out
by Delta Electronics. Otherwise, the warranty will be
void.
●Warning instructions and warning symbols attached
to the inverter by Delta Electronics must not be re-
moved.
●The inverter has a high leakage current value. The
grounding cable must be connected before com-
mencing operation.
●Do not disconnect any cables while the inverter is
under load due to risk of a fault arc.
●To prevent damage due to lightning strikes, follow the
provisions that apply in your country.
●The surface of the inverter can get very hot during
operation. Wear safety gloves when you touch the
inverter (apart from at the display).
●Only equipment in accordance with SELV (EN 60950)
may be connected to the RS485 interfaces.
●All connections must be sufciently insulated in order
to ensure the IP65 degree of protection. Unused con-
nections must be closed using cover caps.
Basic safety instructions

5
Installation Instructions for the Hybrid E5 Battery Storage System EU V1 EN 2018-09-17
Basic safety instructions
Battery box
DANGER
Explosive gases
Explosive gases may escape from the battery.
►Protect the battery box and its surround-
ings from open re, embers and ying
sparks.
►Set up the battery box at a sufcient dis-
tance from heat sources and ammable
materials.
►Install, operate and maintain the battery
box according to the instructions of the bat-
tery manufacturer.
►Follow the battery manufacturer's instruc-
tions with regard to the storage and operat-
ing temperature range of the battery.
►The installation location must be protected
from ooding.
►Sufciently ventilate the area in which the
battery box is located.
WARNING
Corrosive and toxic electrolyte
The batteries contain an electrolyte that can
be corrosive and toxic in contact with eyes, re-
spiratory organs and skin. Blinding or serious
chemical burns may result.
►Install, operate and maintain the battery
box according to the instructions of the bat-
tery manufacturer.
►Follow the battery manufacturer's instruc-
tions with regard to the storage and operat-
ing temperature range of the battery.
►Sufciently ventilate the area in which the
battery box is located.
►Protect the battery box and battery from
damage.
►Never open the battery box.
►If contact with acid spray occurs, imme-
diately and thoroughly ush the affected
body area with clear water, then obtain
medical attention.
►If acid vapors are inhaled, immediately
obtain medical attention.
●The battery box may be installed and commissioned
only by installers who have been trained and certied
for the installation and operation of battery storage
systems.
●Please observe the user information supplied with the
battery.
●The battery box must always be replaced in its en-
tirety. Separate replacement of the battery alone is
not intended or allowed.
●All repair work on the battery box must be performed
by Delta Electronics or installers certied by Delta
Electronics; otherwise the warranty is voided.
●Warning instructions and warning symbols attached
to the battery box by Delta Electronics must not be
removed.
●Do not disconnect any cables while the battery box is
under load due to risk of a fault arc.
●To prevent damage due to lightning strikes, follow the
regulations that apply in your country or region.
●All connections must be sufciently insulated in order
to ensure the IP55 degree of protection. Seal any
unused connection openings with the closure caps
supplied.

6Installation Instructions for the Hybrid E5 Battery Storage System EU V1 EN 2018-09-17
System overview
E5 Inverter
Battery box 1
Battery box 2
(optional)
1 Current clamp
Per phase
DC String 1
DC String 2
Smart Monitor
Electronic
household meter
House connection box
L1 L2
L3 PE
N
Freezer
Fish tank
Lights
TV
The current meter records the
measured data supplied by the
current clamps and sends the
data to the inverter.
The inverter has a separate
MPP tracker for each of the
two DC inputs (DC1 and
DC2). Either 2 separate DC
strings or a single DC string
can be connected to the DC
inputs.
System overview
Hybrid E5 Battery Storage System
for use with three-phase mains
The Smart Monitor assists with
setup and monitoring of the system
and is connected to the inverter via
RS485.
The inverter forms
the heart of the
system. All important
information can be
read off the display.
Current
meter
In normal operation, the batteries are charged via the
solar modules. Power is only ever supplied to the
batteries via the mains to perform a maintenance
charge, if necessary.
Upon interruption of the mains supply, the Hybrid E5
System switches to battery supply power, thereby
preventing critical electrical equipment from shutting
L2
The current clamps measure
current and voltage in each phase.
L1’
L1
L’
L’
L1
The plug connector for the television is connected to
L2 and in the event of mains failure is not supplied if
energy is only available from the batteries.
Washing machine The plug connector for the washing machine is
connected directly to L1. If mains power is
present, current is supplied to the plug connec-
tor. In the event of mains failure, the plug
If the Smart Monitor is connected to the router,
the Hybrid E5 System can be monitored and
configured from a laptop.
In this example, the
inverter is connected to the
L1 phase.
If the Smart Monitor is connected to
a router, the system can be
monitored from a PC.
Router
All devices connected to L’ of the inverter are
supplied with power from the batteries in the
event of mains failure.
In this example, the lights,
fish tank and freezer are
connected to L’ of the inverter
and will be supplied with
battery power if necessary;
such as during an emergen-
cy.
To mains
In the standard case, i.e., when mains power is available
and the sun is shining, all consumers in the house –
including the three-phase ones – are supplied via the
mains, the solar module or the batteries. If the mains
have failed and solar energy is not available, solely the
consumers connected to L’ of the inverter will be
supplied.

7
Installation Instructions for the Hybrid E5 Battery Storage System EU V1 EN 2018-09-17
System overview
E5 Inverter
Battery box 1
Battery box 2
(optional)
1 Current clamp
Per phase
DC String 1
DC String 2
Smart Monitor
Electronic
household meter
House connection box
L1 L2
L3 PE
N
Freezer
Fish tank
Lights
TV
The current meter records the
measured data supplied by the
current clamps and sends the
data to the inverter.
The inverter has a separate
MPP tracker for each of the
two DC inputs (DC1 and
DC2). Either 2 separate DC
strings or a single DC string
can be connected to the DC
inputs.
System overview
Hybrid E5 Battery Storage System
for use with three-phase mains
The Smart Monitor assists with
setup and monitoring of the system
and is connected to the inverter via
RS485.
The inverter forms
the heart of the
system. All important
information can be
read off the display.
Current
meter
In normal operation, the batteries are charged via the
solar modules. Power is only ever supplied to the
batteries via the mains to perform a maintenance
charge, if necessary.
Upon interruption of the mains supply, the Hybrid E5
System switches to battery supply power, thereby
preventing critical electrical equipment from shutting
L2
The current clamps measure
current and voltage in each phase.
L1’
L1
L’
L’
L1
The plug connector for the television is connected to
L2 and in the event of mains failure is not supplied if
energy is only available from the batteries.
Washing machine
The plug connector for the washing machine is
connected directly to L1. If mains power is
present, current is supplied to the plug connec-
tor. In the event of mains failure, the plug
If the Smart Monitor is connected to the router,
the Hybrid E5 System can be monitored and
configured from a laptop.
In this example, the
inverter is connected to the
L1 phase.
If the Smart Monitor is connected to
a router, the system can be
monitored from a PC.
Router
All devices connected to L’ of the inverter are
supplied with power from the batteries in the
event of mains failure.
In this example, the lights,
fish tank and freezer are
connected to L’ of the inverter
and will be supplied with
battery power if necessary;
such as during an emergen-
cy.
To mains
In the standard case, i.e., when mains power is available
and the sun is shining, all consumers in the house –
including the three-phase ones – are supplied via the
mains, the solar module or the batteries. If the mains
have failed and solar energy is not available, solely the
consumers connected to L’ of the inverter will be
supplied.

8Installation Instructions for the Hybrid E5 Battery Storage System EU V1 EN 2018-09-17
Inverter
Mounting plate
Inverter
Plug for DC connection between
inverter and battery box
IP65 plug for communica-
tion cable between inverter
and battery box
MC4 plug for connecting the solar module,
2x DC positive, 2 x DC negative
AC plug
Battery box
Battery box
Plug for DC connection between inverter and battery box, 2x DC positive,
2 x DC negative, type: Phoenix Contact ???
IP65 plug for communication cable
between inverter and battery box
2 mounting angles (left/right) for fastening to the wall
Scope of supply

9
Installation Instructions for the Hybrid E5 Battery Storage System EU V1 EN 2018-09-17
Scope of supply
R4E Smart Monitor
Power supply (not suitable for Germany).
Power is supplied via the inverter.
1 x sensor cable for 3 current
clamps (2 m)
Power meter: P1E or P3E
1 single-phase power meter (to be
afxed to DIN rail)
3 insulated cable lugs
3 current clamps
1 plug for RS485
connection
1 DIN rail, 12.5 cm (incl. 2 screws for wall
mounting)
2 stoppers for power meter (to be
afxed to DIN rails)
1 three-phase power meter (to be
afxed to DIN rails)
Scope of supply, P1E only Scope of supply, P3E only
Scope of supply P1E and P3E R4E Smart Monitor
1 current clamp
5 insulated cable lugs
1 x sensor cable for 1 current
clamp (2 m)
2 mounting screws for fas-
tening to the wall

10 Installation Instructions for the Hybrid E5 Battery Storage System EU V1 EN 2018-09-17
Overview
1
2
3
1Display, buttons, and LED
2Electrical connections
3Type plate
Electrical connections
123 4 6 7 85
1AC/DC disconnector 5Battery communication (CANBUS)
2Connection for solar modules 6Communication connection (RS485, digital inputs,
external power-off)
3Connection for battery 7Mains connection
4Switch on the Hybrid E5 System when no external
power is supplied via the mains. Energy from the
solar modules is used to start up the system.
8Bypass switch
Inverter
Components of the system

11
Installation Instructions for the Hybrid E5 Battery Storage System EU V1 EN 2018-09-17
Components of the system
Inverter
Display, buttons, and LEDs
Label Designation Use
LEDs
Grid Mains Green LED; lights up when the inverter is supplying power to the mains.
AlArm Alarm Red LED; displays a warning, an error or a fault.
Buttons
Exit Exit the current menu.
Cancel the setting for a parameter. Changes are not applied.
Down Move downwards in the menu.
Reduce the value of a congurable parameter.
Up Move upwards in the menu.
Increase the value of a congurable parameter.
Enter
Select menu item.
Open a congurable parameter for editing.
Cancel the setting for a parameter. Changes are adopted.
LED status messages
Grid AlArm Meaning
Flashes Off Inverter starts; inverter is in Standalone mode
On Off Inverter is in normal operating mode
Off On Warning, fault or failure. A corresponding message is shown on the display.
Off Off The inverter is switched off = The AC/DC disconnecter is in the OFF posi-
tion.
Flashes Flashes Inverter is in Bootloader mode.

12 Installation Instructions for the Hybrid E5 Battery Storage System EU V1 EN 2018-09-17
Overview
Linke Seite
(Batterieeingang)
Rechte Seite
(Batterieausgang)
Electrical connections
2 3 41 6 75
1BATTERY + Positive charging cable for inverter 5COMM. Communication connection (CAN-
BUS)
2BATTERY – Negative charging cable for inverter 6BATTERY – Positive charging cable for next bat-
tery box
3COMM. Communication connection (CAN-
BUS)
7BATTERY + Negative charging cable for next bat-
tery box
4STANDALONE Switch on the Hybrid E5 System
when no external power is supplied
via the mains. Energy from the bat-
tery is used to start up the system.
Battery box
Components of the system

13
Installation Instructions for the Hybrid E5 Battery Storage System EU V1 EN 2018-09-17
Components of the system
Battery box
LEDs
Label Designation Use
FAult Error
Red LED. Indicates an error or warning.
Blinking: Warning
Continuous light: Error
StAndby / OnStandby / On
Green LED
Blinking: Standby Mode
Continuous light: Normal operating mode
ChArGe / diSChArGe Charge / Discharge
Yellow LED
Blinking: Battery is currently charging
Continuous light: Battery is currently discharging
Additional LED status messages
All three LEDs blink Update rmware
All three LEDs are continuously illuminated Communication error

14 Installation Instructions for the Hybrid E5 Battery Storage System EU V1 EN 2018-09-17
Power meter
Components of the system
1 12
34
55
4
2
3
P1E P3E
1AC cable connection
2Current clamp(s) connection
3Reset button
4RS485 cable connection and RS485 termination resistor
5Status LED

15
Installation Instructions for the Hybrid E5 Battery Storage System EU V1 EN 2018-09-17
Components of the system
Smart Monitor
1
2
3
4
5
1USB Connection 1
2USB Connection 2
3LANA connection (RJ45)
4Communication connection (CAN, RS485, +12 V sup-
ply voltage)
5Connection for external power supply (not included in
the scope of delivery. Voltage is supplied via RS485.)

16 Installation Instructions for the Hybrid E5 Battery Storage System EU V1 EN 2018-09-17
Installation clearances and air circulation
►Ensure sufcient air circulation. Warm air must be
able to escape from below. Leave enough space
around the inverter.
►Note the Operating temperature range without derat-
ing and the Operating temperature range.
When the Operating temperature range without derat-
ing is exceeded the inverter reduces the AC power
fed into the mains.
When the Operating temperature range is exceeded,
the inverter stops feeding AC power into the mains.
This is normal operating behavior for the inverter and
is necessary to protect the internal electronics.
>20 cm>20 cm
>20 cm>20 cm
Mounting alignment
►Mount the inverter vertically.
Installation location of the inverter
►Attach the inverter so that the information on the
display can be read and the buttons can be operated
without any problems.
►The inverter is heavy. The wall has to be able to bear
the heavy weight of the inverter.
►Always use the mounting plate supplied with the
inverter.
►Use mounting materials (dowels, screws etc.) that are
suitable for the wall or the mounting system, as well
as the heavy weight of the inverter.
►Mount the inverter on a vibration-free wall to avoid
disruptions.
►When using the inverter in residential areas or in
buildings with animals, possible noise emissions can
be disturbing. Therefore, carefully choose the place of
installation.
►Mount the inverter on a reproof wall.
Outdoor installations
►Indoor installation is generally preferable. The inverter
has a protection rating of IP65 and can therefore
be outdoors as well. When installed outdoors, the
inverter should nevertheless be protected by a roof
against direct solar irradiation, rain and snow, in order
to ensure sufcient air circulation.
Inverter installation location
Planning the installation

17
Installation Instructions for the Hybrid E5 Battery Storage System EU V1 EN 2018-09-17
Planning the installation
Battery box installation location
Installation clearances and air circulation
►Ensure sufcient air circulation. Hot air must be able
to dissipate upwards. Leave enough space around
the battery box.
►Note the operating temperature range.
>100 cm >100 cm >100 cm
>100 cm

18 Installation Instructions for the Hybrid E5 Battery Storage System EU V1 EN 2018-09-17
Circuit diagram for 1-phase grids
Planning the installation
N’L’NL
BT CANDC2DC1
PE
DATA
GND
VCC
DATA
DATA
DATA
485-B (–)
CAN-L
CAN-H
485-A (+)
GND
+12V
LAN
N L
CT
485 A (+)
485 B (–)
485 A (+)
485 B (–)
TERM.
PE
L1
N
kWh
LN
Battery box
Smart Monitor
Router
Inverter
Meter cabinet
Electrical consumers to be
supplied via batteries or solar
modules in the event of
mains failure should connect
to L’ and N’ of the inverter.
Module strings
L’: 28 A max. (Stand Alone mode: 15.7 A max.)
L: 28 A max.

19
Installation Instructions for the Hybrid E5 Battery Storage System EU V1 EN 2018-09-17
Planning the installation
Circuit diagram for 1-phase grids
N’L’NL
BT CANDC2DC1
PE
DATA
GND
VCC
DATA
DATA
DATA
485-B (–)
CAN-L
CAN-H
485-A (+)
GND
+12V
LAN
N L
CT
485 A (+)
485 B (–)
485 A (+)
485 B (–)
TERM.
PE
L1
N
kWh
LN
Battery box
Smart Monitor
Router
Inverter
Meter cabinet
Electrical consumers to be
supplied via batteries or solar
modules in the event of
mains failure should connect
to L’ and N’ of the inverter.
Module strings
L’: 28 A max. (Stand Alone mode: 15.7 A max.)
L: 28 A max.

20 Installation Instructions for the Hybrid E5 Battery Storage System EU V1 EN 2018-09-17
Circuit diagram for 3-phase grids
N’L’NL
BT CANDC2DC1
PE
DATA
GND
VCC
DATA
DATA
DATA
485-B (–)
CAN-L
CAN-H
485-A (+)
GND
+12V
LAN
L1 L2 L3
CT
N
485 A (+)
485 B (–)
485 A (+)
485 B (–)
TERM.
PE
L3
L2
L1
N
kWh
L3L2L1N
Battery box
Smart Monitor
Router
Inverter
Meter cabinet
Module strings
All other electrical consumers
can be connected to any given
phase.
L’: 28 A max. (Stand Alone mode: 15.7 A max.)
L: 28 A max.
Electrical consumers to be
supplied via batteries or solar
modules in the event of
mains failure should connect
to L’ and N’ of the inverter.
Planning the installation
Table of contents
Other Delta Storage manuals

Delta
Delta BX6.3 AC100 Series User manual

Delta
Delta R4E User manual

Delta
Delta MS300 Series User manual

Delta
Delta STORAGE BOX User manual

Delta
Delta BX6.3 DD User manual

Delta
Delta Rackman Australia MonkeyMESH User manual

Delta
Delta BX6.3 DD Specification sheet

Delta
Delta BX6.3 AC Series Specification sheet
Popular Storage manuals by other brands

Kingston Technology
Kingston Technology SD10V/8GB Specifications

Oracle
Oracle 3.2 TB NVMe user guide

Hitachi
Hitachi Deskstar 7K3000 Quick installation guide

Qsan
Qsan XCUBESAN XS5226S XCUBESAN XS3224D Hardware manual

Apricorn
Apricorn Aegis Portable A25-USB 160GB user guide

Rocstor
Rocstor Rocport 5CX Quick installation guide