Deltec MCE 600 Guide

MCE600 Series Hang On (HOB)
Protein Skimmers
(MCE 601)
Operating instruction
and Spare parts list

EN
IMPORTANT SAFETY INSTRUCTIONS
WARNING To guard against injury, basic safety precautions should be observed, including the following.
1) READ AND FOLLOW ALL SAFETY INSTRUCTIONS.
2) DANGER –To avoid possible electric shock, special care should be taken since water is employed in the use of
aquarium equipment. For each of the following situations, do not attempt repairs by yourself; return the appliance
to an authorized service facility for service or discard the appliance.
a) If the appliance shows any sign of abnormal water leakage, immediately unplug it from the power source.
(Immersible equipment only)
b) Carefully examine the appliance after installation. It should not be plugged in if there is water on parts not
interned to be wet.
c) Do not operate any appliance if it has a damaged cord or plug, or if it is malfunctioning or has been dropped or
damaged in any manner.
d) To avoid the possibility of the appliance plug or
receptacle getting wet, position aquarium stand
and tank to one side of a wall-mounted
receptacle to prevent water from dripping onto
the receptacle or plug.
A “drip-loop”, shown in the figure below, should
be arranged by the user for each cord
connecting an aquarium appliance to a
receptacle. The “drip-loop” is that part of the
cord below the level of the receptacle, or the
connector if an extension cord is used, to
prevent water travelling along the cord and
coming in contact with the receptacle.
If the plug or socket does get wet, DON´T
unplug the cord. Disconnect the fuse or circuit breaker that supplies power to the appliance. Then unplug and
examine for presence of water in the receptacle.
3) Close supervision is necessary when any appliance is used by or near children.
4) Always unplug an appliance from an outlet when not in use, before putting an or taking off parts, and before
cleaning. Never yank cord to pull plug from outlet. Grasp the plug and pull to disconnect.
5) Do not use an appliance for other than intended use. The use of attachments not recommended or sold by the
appliance manufacturer may cause an unsafe condition.
6) Make sure an appliance mounted on a tank is securely installed before operating it.
7) Read and observe all the important notices on the appliance.
8) If an extension cord is necessary, a cord with a proper rating should be used. A cord rated for less amperes or
watts than the appliance rating may overheat. Care should bee taken to arrange the cord so that it will not be
tripped over or pulled.
9) This appliance has a polarized plug (one blade is wider than the other). As safety feature, this plug will fit in a
polarized outlet only one way. If the plug does not fit, contact a qualified electrician. Never use with an extension
cord unless plug can be fully inserted. Do not attempt to defeat this safety feature.
Exception: This instruction may be omitted for an appliance that is not provided with a polarized attachment plug.
Removing of the plug invalidates the warranty!
SAVE THESE INSTRUCTIONS

EN
External Protein Skimmer MCE 601
Operating Instructions
The Multi Compact External skimmer is ideal for ‘hang on’ installation directly onto the outside of the aquarium
or sump and requires no further supply pump for highly efficient operation.
Assembly
The skimmer has been packed in a partially disassembled state to prevent damage in transit. Do not switch on
the recirculation pump however unless the pump is immersed or flooded with water.
Important
Before you install the unit in position fill the body with fresh water from the mains supply to ensure that there
has not been any damage in transit.
Installation
Hang the skimmer body on the outside of the aquarium in a suitable position. The skimmer sits on the black
support bar where the outlet pipes come out of the body and is held in place by the clear retaining clamp,
which tightens onto the outlet pipe Hang the skimmer body on the outside of the aquarium in a suitable
position. The inlet pipe is fitted with a strainer on one end, which simply pulls off for future cleaning. The
outlet pipe consists of a 40mm clear pipe to direct water back over any stress bars and into the tank. To
prevent bubbles from entering the aquarium an ingenious degassing plate pushes into the end of the outlet
pipe.
Operation and setting
With the unit secured in position, fill the body with tank water by removing the skimmer cup and pouring
water down the opening until the water exits the skimmer. Refit the cup, initially positioned quite high out of
the body close the tap on the air intake pipe, only now fit the inlet pipe and switch on the pump on stage 4
(controller). Open the air intake tap and set it to the 12 o’clock position. The body of the skimmer should now
be white with fine dense foam. Leave the skimmer to settle down for a day or so before fine adjustment. After
two to three days, or earlier in a previously unskimmed tank, a thick drown foam will be produced at the neck
of the skimmer. Move the skimmer cup up or down to collect this foam. Moving the cup downwards will result
in an increased quantity of wetter foam and moving it up a darker, foam which is preferable. It is
recommended that the skimmer cup is emptied every 2-4 days or as required. The cup should be wiped clean
of any fatty deposits as build up of this waste product will greatly reduce the performance. Whilst cleaning
leave the pump switched off, for 15 minutes to allow any salt deposits in the venturi tube to dissolve.
Please Note
The skimmer cup is reversible by 180° so that, depending on the mounting position of the skimmer, the clear
side is always visible.
Media Chamber
The chamber below the outlet pipe has been provided to allow the addition of media such as Deltec
Phosphatadsorber, Deltec Special Carbon or biological media to be used easily and effectively in a position of
good flow. Media used in this chamber must be contained in a bag to prevent carry over back to the aquarium.
To prevent the bag from floating up and blocking the outlet pipe, the skimmer comes as standard with a
sliding outlet protection plate, which must be fitted at any time that media is used in the unit.
This plate is fitted above the media bag with the horizontal section at its lowest point.
Optional Media Box with sliding lid
This item is available as an optional extra to allow use of the multi compact with a greater volume of media.
Larger media can be added directly to the box, which has a perforated base and a perforated sliding lid. Finer
media can be used by the addition of sponge top and bottom to prevent the media from washing out or by use
of a mesh bag.
Use with ozone
skimmers are suitable for use with ozone and will automatically suck the gas through the venturi
hose. A maximum volume of 25 mg/h should be used on tank volumes that are suitable for this skimmer. Do
not use excessive ozone, as it is dangerous and can cause severe headaches.
Maintenance
The skimmer range should require very little adjustment and maintenance due to the high levels of
calcium in marine aquariums and large volumes of air drawn in, it is common for deposits to accumulate.
Regular introduction of a small amount of RO water into the inlet tap whilst running may help to prevent any
build up of salt and debris in the venturi.
The MCE 601 is fitted with an electronically controllable 24V DC pump. It is recommended every 3 months to
strip down the pump to check and clean the impellor of debris.

EN
Fault finding
Malfunction
cause
remedy
Pump produces
insufficient air
airline or venturi blocked
clean
airline kinked
remove kink
ozonizer blocked
clean
excessive air bubbles in
aquarium water
caused by additives in certain
sea salts and water conditions
use different salt or feed heavily for a
period, empty skimmer cup frequently,
open air tap fully. This condition may last
for several weeks.
air tap closed to far
open air tap
Pump has stopped after it
has been running without
water
Dry running protection is
activated
Disconnect from mains, wait 1 minute and
restart.
Technical data
Dimensions
(l/w/h) app.
Power
consumption
Air flow app.
min. height for
sump installation
Aquarium size
normal stocking
Aquarium size
light stocking
MCE 601
260x85x500mm
12 Watt
400 ltr./h
(stage4)
575mm
500 ltr.
600 ltr.

MCE 601

Spare Parts List
tיt. M tיt. Bezeich nuno Descזiםfion Descזizione Descזiםfion
A 28007000 Pum e DCC 2 Kom len Pum DCC2 c l. Pom a DCC 2 c l. Pom e DCC 2 c l.
1 31117100 Gehauf>e Skimmer bodv on v A arecchio base senza Pos. 2- Corps d'ecumeur seu
2 93010010 Mini Re:auliervenfil Tap Mini va vola di reaolazione Robinet d'air
3 61751048 Silikonschlauch 5/8 Silicon h,ose 518mm ז
ubo d i silicone 5/8 Tuvau de silicone 5/8 mm
4 31116300 Schaumtopf Deckel Lid Coperchio del reci iente di Couvercle
5 31117200 Schaumtopf mit Oberl auf Skimmer cup Recipie:nte di raccolta Gobelet (sans couvercle)
6 31132000 Media Box an if Media Box v an if Media Box facoltafivamente Media box sur if
7 27084000 Laufein'heit DCC2 Needle wheel DCC2 Girante a s azzola per DCC2 Rotor modifie brevete DCC2
7a 27084100 Laaer DCC2 Bearinas DCC2 Cuscinetto Palier
8 26084000 Stator DCC2 Stator DCC2 Statore er DCC2 Stator DCC2
9 81123900 Adapter Adapter Adattatore Entree de e m l rise d'air)
10 28008000 Pum enaehause Pum ho usina Allo iamento a m Ca ter e m
11 31117951 Trennplatte Divide plate Piastra di sezionamento Plaauette deversoir realable
12 31117910 Deckel Filterkammer Lid Coperdhio della camera filtrante Seoaration
13 31117920 Distanz latte Plate Distanziatore Plaauette
14 31119730 Halter Holder Su oo o Su o 1
15 31117940 Deckel klein Lid Coperchio piccolo Se arafion efite
16 31117960 Abstandhalter Slidina spacer Distanzial e camera filtrante Plaauette hauteur realable
18 31117810 Ansaua rohr mit Winkel Sucfion e i ז
ubo d 'as irazione Coude PVC 90 diametre 20mm
19 10100460 Ansauakorb Strainer Grialia ,di as irazione Corbeille
20 31117970 Ablaufs.chOtte Deaassin a late Piastra di deaassamento Plaauette de deaazaae
21 12350000 Kunststoffschraube M4 Screw M4 Vite di lastica M4 Vis M4
22 29084000 0-Rina 0-Rina 0-Rina 0-Rina
23 26084000 Kontroller DCC 2 Controller DCC 2 Control lore Controleur
24 29002000 Netzteil DCC 2 1,5A Ballast DCC 2 1,5A Alimentazione Source de courant
25 29012000 FuO latte DCC 2 Foot late Peda i!! Marche ied
26 29012100 SilikonfuB Silicone foot Piedi di silicone Pied de silicone
27 12350000 Randelschraube rot Knurled-head-screw Vite rosso Vis a ailenes

Deltec GmbH
Steller Straße 75
D-27755 Delmenhorst
Deutschland / Germany
www.deltec-aquaristic.com
Other manuals for MCE 600
1
This manual suits for next models
1
Table of contents
Other Deltec Water Pump manuals
Popular Water Pump manuals by other brands
Grundfos
Grundfos ALPHA1 L Installation and operating instructions
Loctite
Loctite MM25 operating manual
Grundfos
Grundfos AP30 Installation and operating instructions
Grundfos
Grundfos CR Series Installation and operating instructions
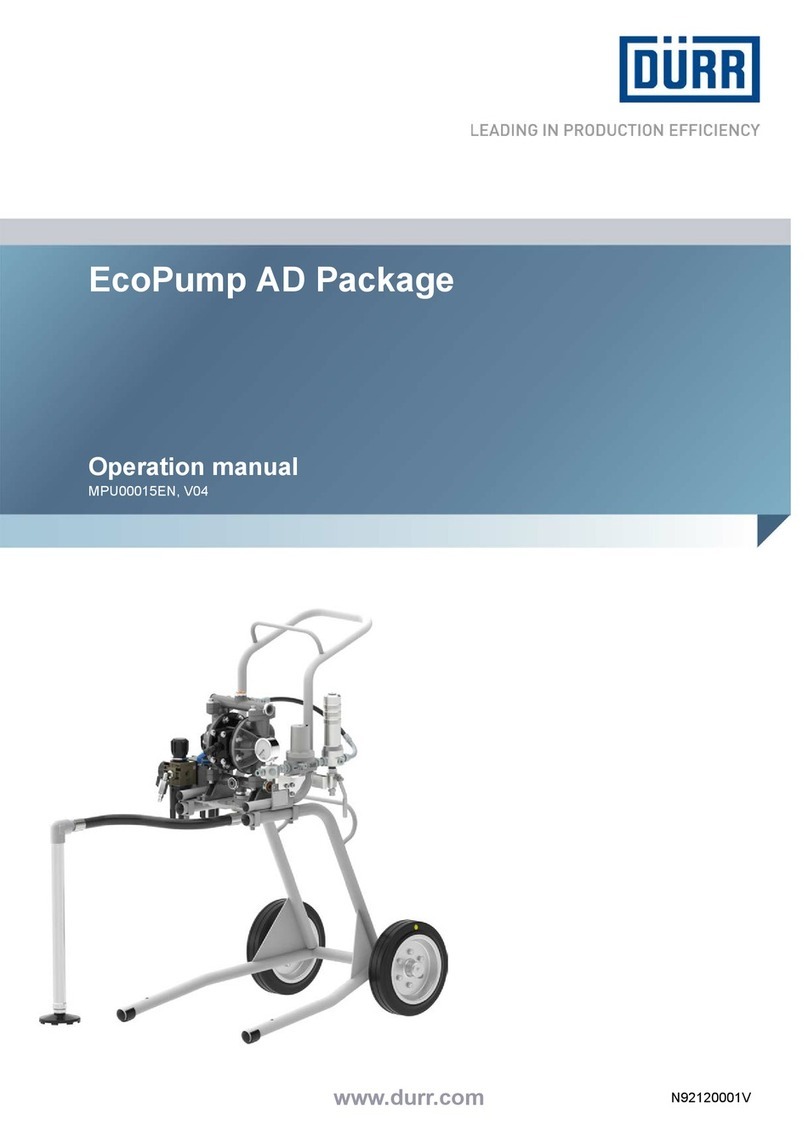
DÖRR
DÖRR EcoPump AD Package Operation manual
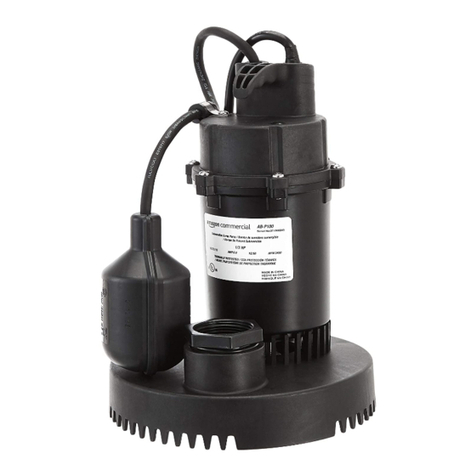
Amazon
Amazon B07SR159QF manual
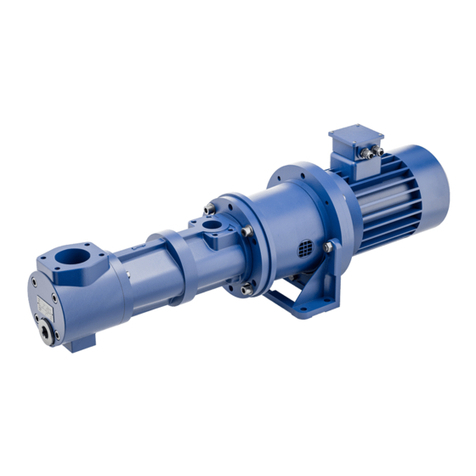
KRAL
KRAL CL Series operating instructions
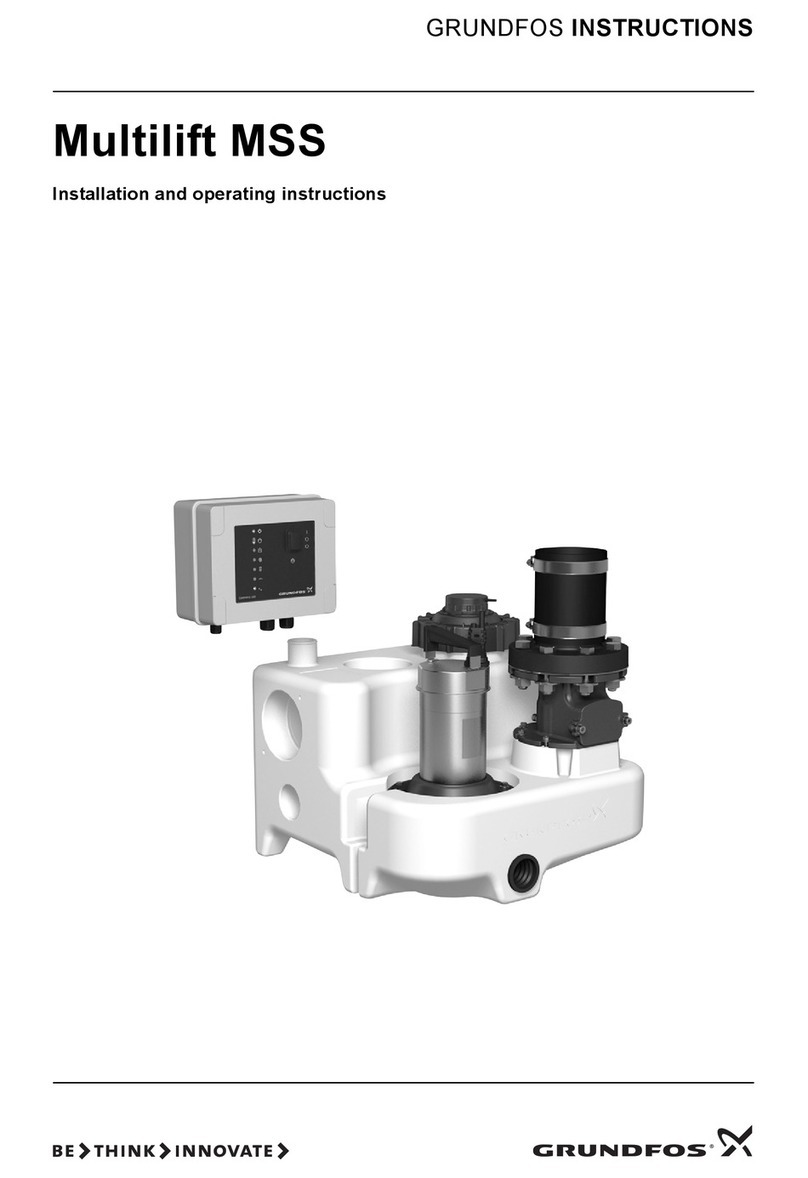
Grundfos
Grundfos MSS Series Installation and operating instructions

nomad
nomad NTG25 TRANS-FLO Operation manual

Pentair
Pentair ONGA VF150 owner's manual

SFA
SFA Sanibest 128 installation instructions
Giant
Giant GP7124A-4000 Operating instructions/ repair and service manual
