ZOOM
INSTALLATION INSTRUCTIONS
Note: Follow the Electrical Codes of the Country where this fixture will be installed. For Canada follow the Canadian Electrical
Code (CE) and for the United States follow the National Electrical Code (NEC). Failure to follow these instructions could
result in electric shock or damage property. All wiring should also be performed by a qualified electrician. Check with local
electrical authority for installation compliance regulations. Due to variations in roofing materials use these installation
instructions as a guideline only.
INSTALLATION INSTRUCTIONS
3Check all wire for loose connections. Insert junction
box cover into place.
4Turn on the power.
5Connect the L7-15 plug into the receptacle.
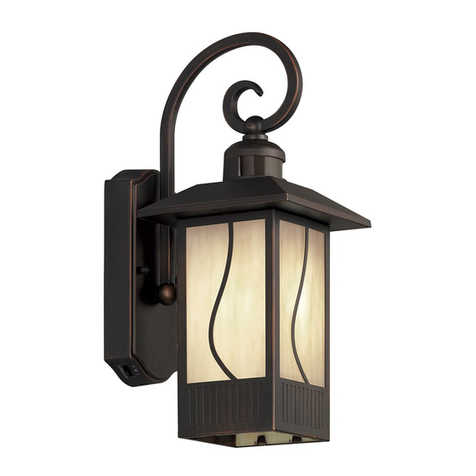
The Zoom light fixture should light up properly.
1Turn off power. Then remove junction box cover
2An electrician has to connect the power feed from the AC source
throught the 3/4” pipe and into the junction box pictured above.
The pipe can be locked into place onto the junction box by using
1 locknut on the outside of the box and one on the inside flange.
The L7-15 receptacle has to be connected to the AC source using
appropriate hardware.
Bracket for
attaching hook
L7-15 Plug Hook attached to
junction box
Unfasten screw until the hook clears the
attaching hook cutout. Once the hook is in
place fasten back the screw and close
off space
L7 - 15 Receptacle
Unfasten screw until the hook clears the
attaching hook cutout. Once the hook is in
place fasten back the screw and close
off space
3/4” Pipe
3/4” Lock nut
Junction box
Metal hook
3/4” Lock nut
