DDEENNOONNEELLEECCTTRROONNIICCSS((UUSSAA)),,IINNCC..,,1199CCHHAAPPIINNRROOAADD,,BBUUIILLDDIINNGGCC,,PPIINNEEBBRROOOOKK,,NNJJ0077005588
MMAAIINN::((997733))339966--00881100
WWEEBBSSIITTEEAADDDDRREESSSS::hhttttpp::////wwwwww..uussaa..ddeennoonn..ccoomm
2
•You are now shown a screen where you are to tell the DVD-2900 how far away you are (in
your favorite listening position) from each speaker in your system. We recommend using a
tape measure for this, and round up to the next number in whole feet, for example if you are
14’ ¾” away, then tell the 2900 for that speaker 15 feet. Once you have done all the speakers
in your system, press the ‘Return’ key.
•NOW TOGGLE TO THE ‘CHANNEL LEVEL’ BUTTON, AND PRESS ‘ENTER’
•For these adjustments we highly recommend you use an SPL (Sound Pressure Level) meter,
Radio Shack makes a excellent analog one for about $35. This exerciseis similar to setting
up the surround processor, with a twist. Since you are using test tones generated inside the
DVD-2900, and not the processor, it is crucial that you first have your Receiver/Pre-pro
calibrated. This is because the better processors automatically raise their volume controls
when doing test tone calibration, and once you have completed the processor’s calibration
you now have a test tone reference point for the DVD-2900.
•Using the display, or indicator on the volume control, mark down the reference point volume of
your processor when it is outputting its internal test tones, and set the volume to that point
before calibrating the DVD-2900.
•We suggest setting the ‘Test Tone’ to manual as this setting allows you to control the tempo of
calibration, not the player. It is also easier on the nerves. Go through each channel, so they
calibrate to, or as close to, 75dB on the meter. The test tone outputs on the 2900 may not be
enough to get to true 75dB (depending on the External Inputs output settings –see below), so
get close, but make sure all the channels measure to the same point.
•Many receivers/pre-pros have individual channel input and/or output level controls on
their External Inputs, these may need to be adjusted to obtain proper calibration.
Please check out the product’s Owners Manual for assistance. All DENON AVRs have
independent output level controls for the External Analog Inputs, while the 28/38/5803
models also have a Subwoofer Input Level control adjustment.
•If your particular product does not have level controls, DENON recommends to set the
5 Main Channel levels to their lowest output setting and leave the Subwoofer at 0dB
(highest output setting) in the DVD-2900 before starting the calibration process.
•ONCE COMPLETED, PRESS THE ‘RETURN’ KEY TWICE. YOU SHOULD BE BACK TO THE
‘AUDIO SETUP’ MENU. TOGGLE DOWN TO ‘SUPER AUDIOCD’, USE THE ‘RIGHT ARROW’
KEY TO HIGHLIGHT ‘MULTI-CHANNEL’ BUTTON AND PRESS ‘ENTER’. THIS WILL SET THE
DEFAULT OF THE DVD-2900 TO LOOK FOR MULTI-CHANNEL TRACKS ONSACDS FIRST (IF
PRESENT ON THE DISC), IF NONE IS AVAILABLE THE 2900 WILL GO TO THE STEREO
SACD TRACK. PLEASE REMEMBER THIS IS A DEFAULT SETTING IN THE SETUP OF THE
PLAYER, YOU CAN OVERRIDE THIS WITH THE MANUAL CONTROL DESCRIBED BELOW.
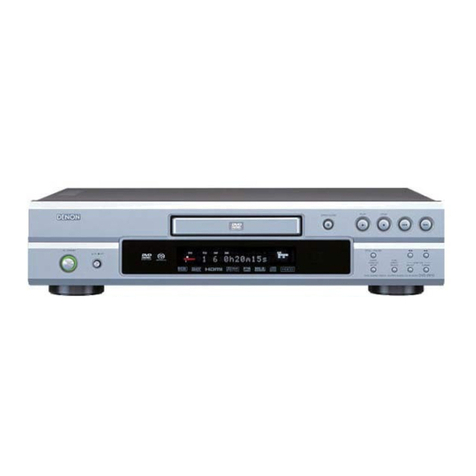
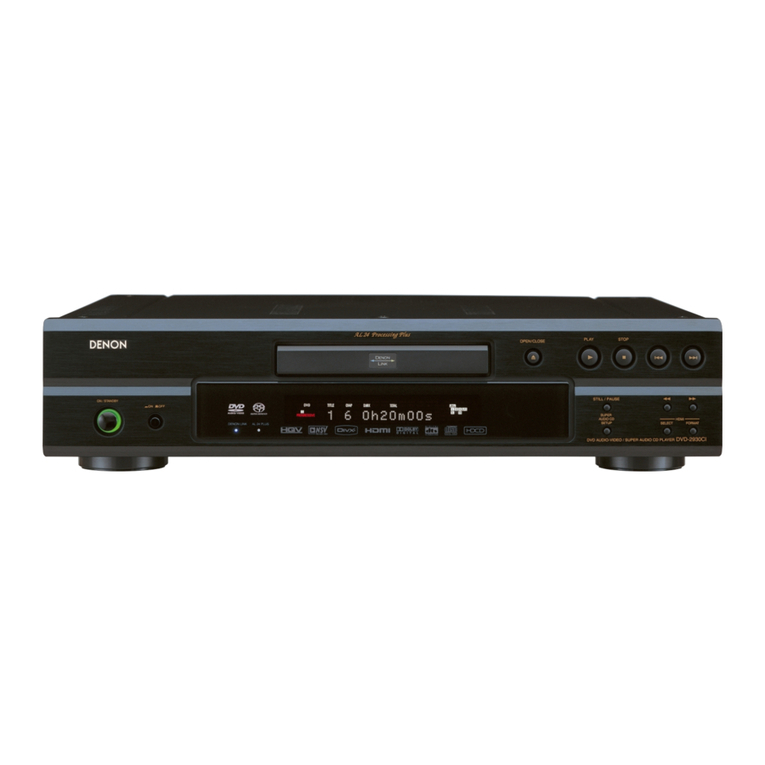
•You have the choice of accessing any soundtrack (Multi/2Ch/PCM or CD) on a SACD disc by
using the ‘Super Audio CD Setup’ button on the front panel of the player. This means you do
not have to have your Display device to switch soundtracks on SACDs.
•If the disc is a Multi-Channel Hybrid, upon insertion the DVD-2900 will grab the Multi-Channel
version first and you can begin playback. If you would like to switch between the different
versions, just depress the button, watch the front panel display to determine which version you
have selected.
