manuals.online logo
Brands
  1. Home
  2. •
  3. Brands
  4. •
  5. Denon
  6. •
  7. Receiver
  8. •
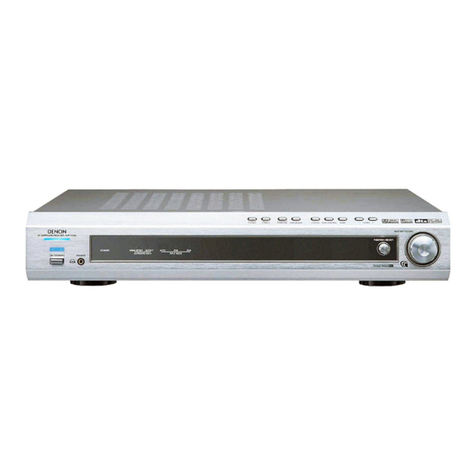
  9. Denon AVR-5805 Reference manual

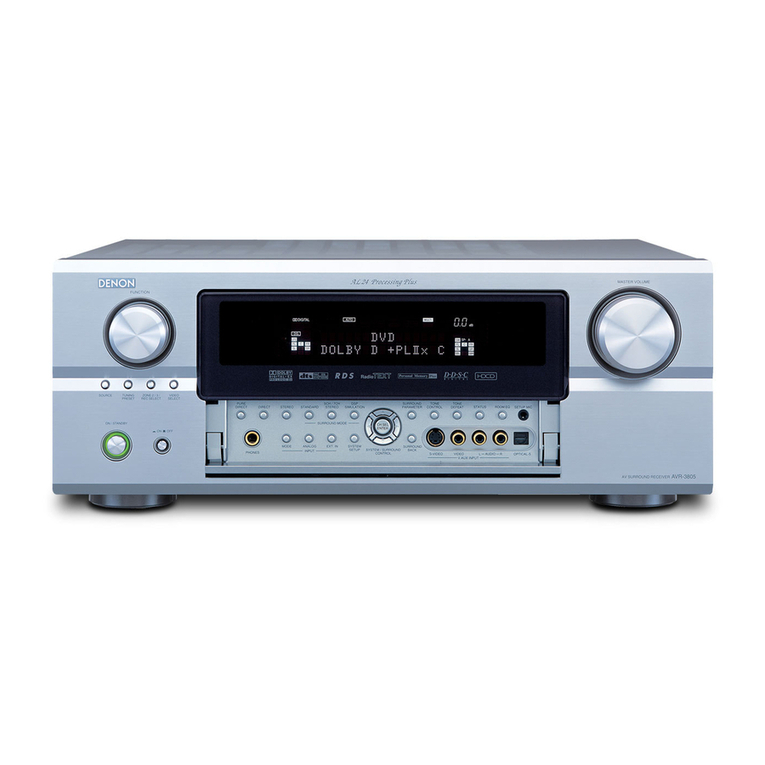
Denon AVR-5805 Reference manual

Other manuals for AVR-5805

6

Other Denon Receiver manuals

Denon AVR-1908 Instruction Manual

Denon

Denon AVR-1908 Instruction Manual

Denon AVR-E200 User manual

Denon

Denon AVR-E200 User manual

Denon AVR-X2000 User manual

Denon

Denon AVR-X2000 User manual

Denon AVR-488 User manual

Denon

Denon AVR-488 User manual

Denon AVR-E300 User manual

Denon

Denon AVR-E300 User manual

Denon AVR-X1100W User manual

Denon

Denon AVR-X1100W User manual

Denon AVR-1603 User manual

Denon

Denon AVR-1603 User manual

Denon AVR-X2200W User manual

Denon

Denon AVR-X2200W User manual
Denon avr-s720w User manual

Denon

Denon avr-s720w User manual

Denon AVR-1602 User manual

Denon

Denon AVR-1602 User manual

Denon IN-Command AVR-X4000 User manual
Denon

Denon IN-Command AVR-X4000 User manual
Denon AVR-2307CI User guide

Denon

Denon AVR-2307CI User guide

Denon AVR-1613 User manual

Denon

Denon AVR-1613 User manual

Denon AVR-884 User manual

Denon

Denon AVR-884 User manual

Denon AVR-390 User manual

Denon

Denon AVR-390 User manual

Denon AVR-X3200W User manual

Denon

Denon AVR-X3200W User manual

Denon AVR-X3200W User manual

Denon

Denon AVR-X3200W User manual

Denon AVR-3312 User manual

Denon

Denon AVR-3312 User manual

Denon AVR-4810 User manual

Denon

Denon AVR-4810 User manual

Denon AVR-888 Administrator guide

Denon

Denon AVR-888 Administrator guide

Denon ADV-1000 User manual

Denon

Denon ADV-1000 User manual

Denon AVR-X4400H User manual

Denon

Denon AVR-X4400H User manual

Denon AVR1910 - Multi-Zone Home Theater Receiver User manual

Denon

Denon AVR1910 - Multi-Zone Home Theater Receiver User manual

Denon AVR-1508 User manual

Denon

Denon AVR-1508 User manual

Popular Receiver manuals by other brands

Televes ZAS HD SAT user manual

Televes

Televes ZAS HD SAT user manual

Realistic DX-75 Operating and service instructions

Realistic

Realistic DX-75 Operating and service instructions

Saris 4620 Assembly instructions

Saris

Saris 4620 Assembly instructions

Mini DTR 206C PVR user manual

Mini

Mini DTR 206C PVR user manual

RF Elements TwistPort manual

RF Elements

RF Elements TwistPort manual

Yamaha RX-V467 owner's manual

Yamaha

Yamaha RX-V467 owner's manual

Russound SaphIR 858 instruction manual

Russound

Russound SaphIR 858 instruction manual

Quasonix RDMS Firmware update procedure

Quasonix

Quasonix RDMS Firmware update procedure

Pioneer XV-HTD1 Service manual

Pioneer

Pioneer XV-HTD1 Service manual

ATZ HDMI-V2-44HE150 manual

ATZ

ATZ HDMI-V2-44HE150 manual

Sony XNV-770BT MyTomTom Specifications

Sony

Sony XNV-770BT MyTomTom Specifications

Grundig STR 7122 TWIN Service manual

Grundig

Grundig STR 7122 TWIN Service manual

Creative Blaster Modem user guide

Creative

Creative Blaster Modem user guide

Panduit ATLONA AT-OME-RX11 installation guide

Panduit

Panduit ATLONA AT-OME-RX11 installation guide

VOLTCRAFT UTPS-40 operating instructions

VOLTCRAFT

VOLTCRAFT UTPS-40 operating instructions

JVC KW-ADV794 instructions

JVC

JVC KW-ADV794 instructions

Litelink VT-1001 operating instructions

Litelink

Litelink VT-1001 operating instructions

Sangean WR-11 Service manual

Sangean

Sangean WR-11 Service manual

manuals.online logo
manuals.online logoBrands
  • About & Mission
  • Contact us
  • Privacy Policy
  • Terms and Conditions

Copyright 2025 Manuals.Online. All Rights Reserved.

100 Corporate Drive Mahwah, NJ 07430
Service Bulletin
No.: OST-US007
Date: April 26, 2007
_____________________________________________________________
Model: AVR-5805
Subject: Disassembly Instructions
Symptom: Disassembly instructions for the AVR-5805 DAC Unit and Digital
Unit.
Solution: See the following pages for details:
______________________________________________________________________________________
CONFIDENTIALITY NOTICE:
The information contained in this document is intended for the exclusive use by DENON Authorized Service Centers and their
employees. This document may contain information that is privileged, confidential and may be protected from disclosure under
applicable laws and terms of the DENON Service Agreement. Any distribution, disclosure, dissemination or copying of this
document and the information it contains is prohibited. No responsibility will be accepted by DENON for any damage, injury or loss
resulting from the misuse of the information contained in this document.
Instruction for removal of DIGITAL UNIT ASSY and DAC UNITASSY
(1) Remove screws, detach the BOTTOM COVER (Not shown in the figure)
(2) Remove 6 screws from BACK PANEL, and remove FFCs and cables
(3) Remove 4 Card holders, then detach the Rear Plate/Ethernet/IEEE1394 assy unit.
Remove the FFCs and cables
Remove 4 Card holders
Remove 6 screws from BACK PANEL
(4) Remove FFCs and Cables
(5) Remove 2 screws and incline the PWB.
Remove 2 screws
Incline the PWB
Remove the FFCs and Cables
(6) Remove the screw.
(7) Remove each side board to board connector carefully.
Remove the screw
(8) Insert the finger in the space, and lift the PWB gradually.
(Remove the B to B connectors in the reverse side of the PWB)
Lift the PWB gradually
Remove the B to B connectors
in the reverse side of the PWB
(9) Remove the Cables and detach the Digital unit assy.
Remove the Cables
(10) Remove each side board to board connector carefully.
And detach the DAC unit assy.
Instruction for re-assemble DIGITAL UNIT ASSY and DAC UNITASSY
(11) Install the DAC unit assy and insert each side board to board connector.
(Insert the hand in the space on both sides, and push the PWB.)
(11) Install the Digital unit assy and insert the cables.
(12) Insert right side B to B connector.
Insert the B to B
Connectors.
Insert the Cables
(13) Confirm from the slot of the back panel, and insert the B to B connector carefully.
(Insert a thin board (like the ruler) from the slot, and push the PWB).
(14) Insert left side B to B connector and confirm each side board to board connector.
(Insert the hand in the space on both sides, and push the PWB.)
Insert the B to B
Connectors.
(15) Insert FFCs and Cables and tighten 2 screws
Tighten 2 screws
Insert the FFCs and Cables
(16) Install the Rear Plate/Ethernet/IEEE1394 assy unit.
(17) Insert 4 Card holders,tighten 6 screws, and insert FFCs and cables
Insert the FFCs and cables
Insert 4 Card holders
Tighten 6 screws
(18) Install BOTTOM COVER ,and tighten screws.